


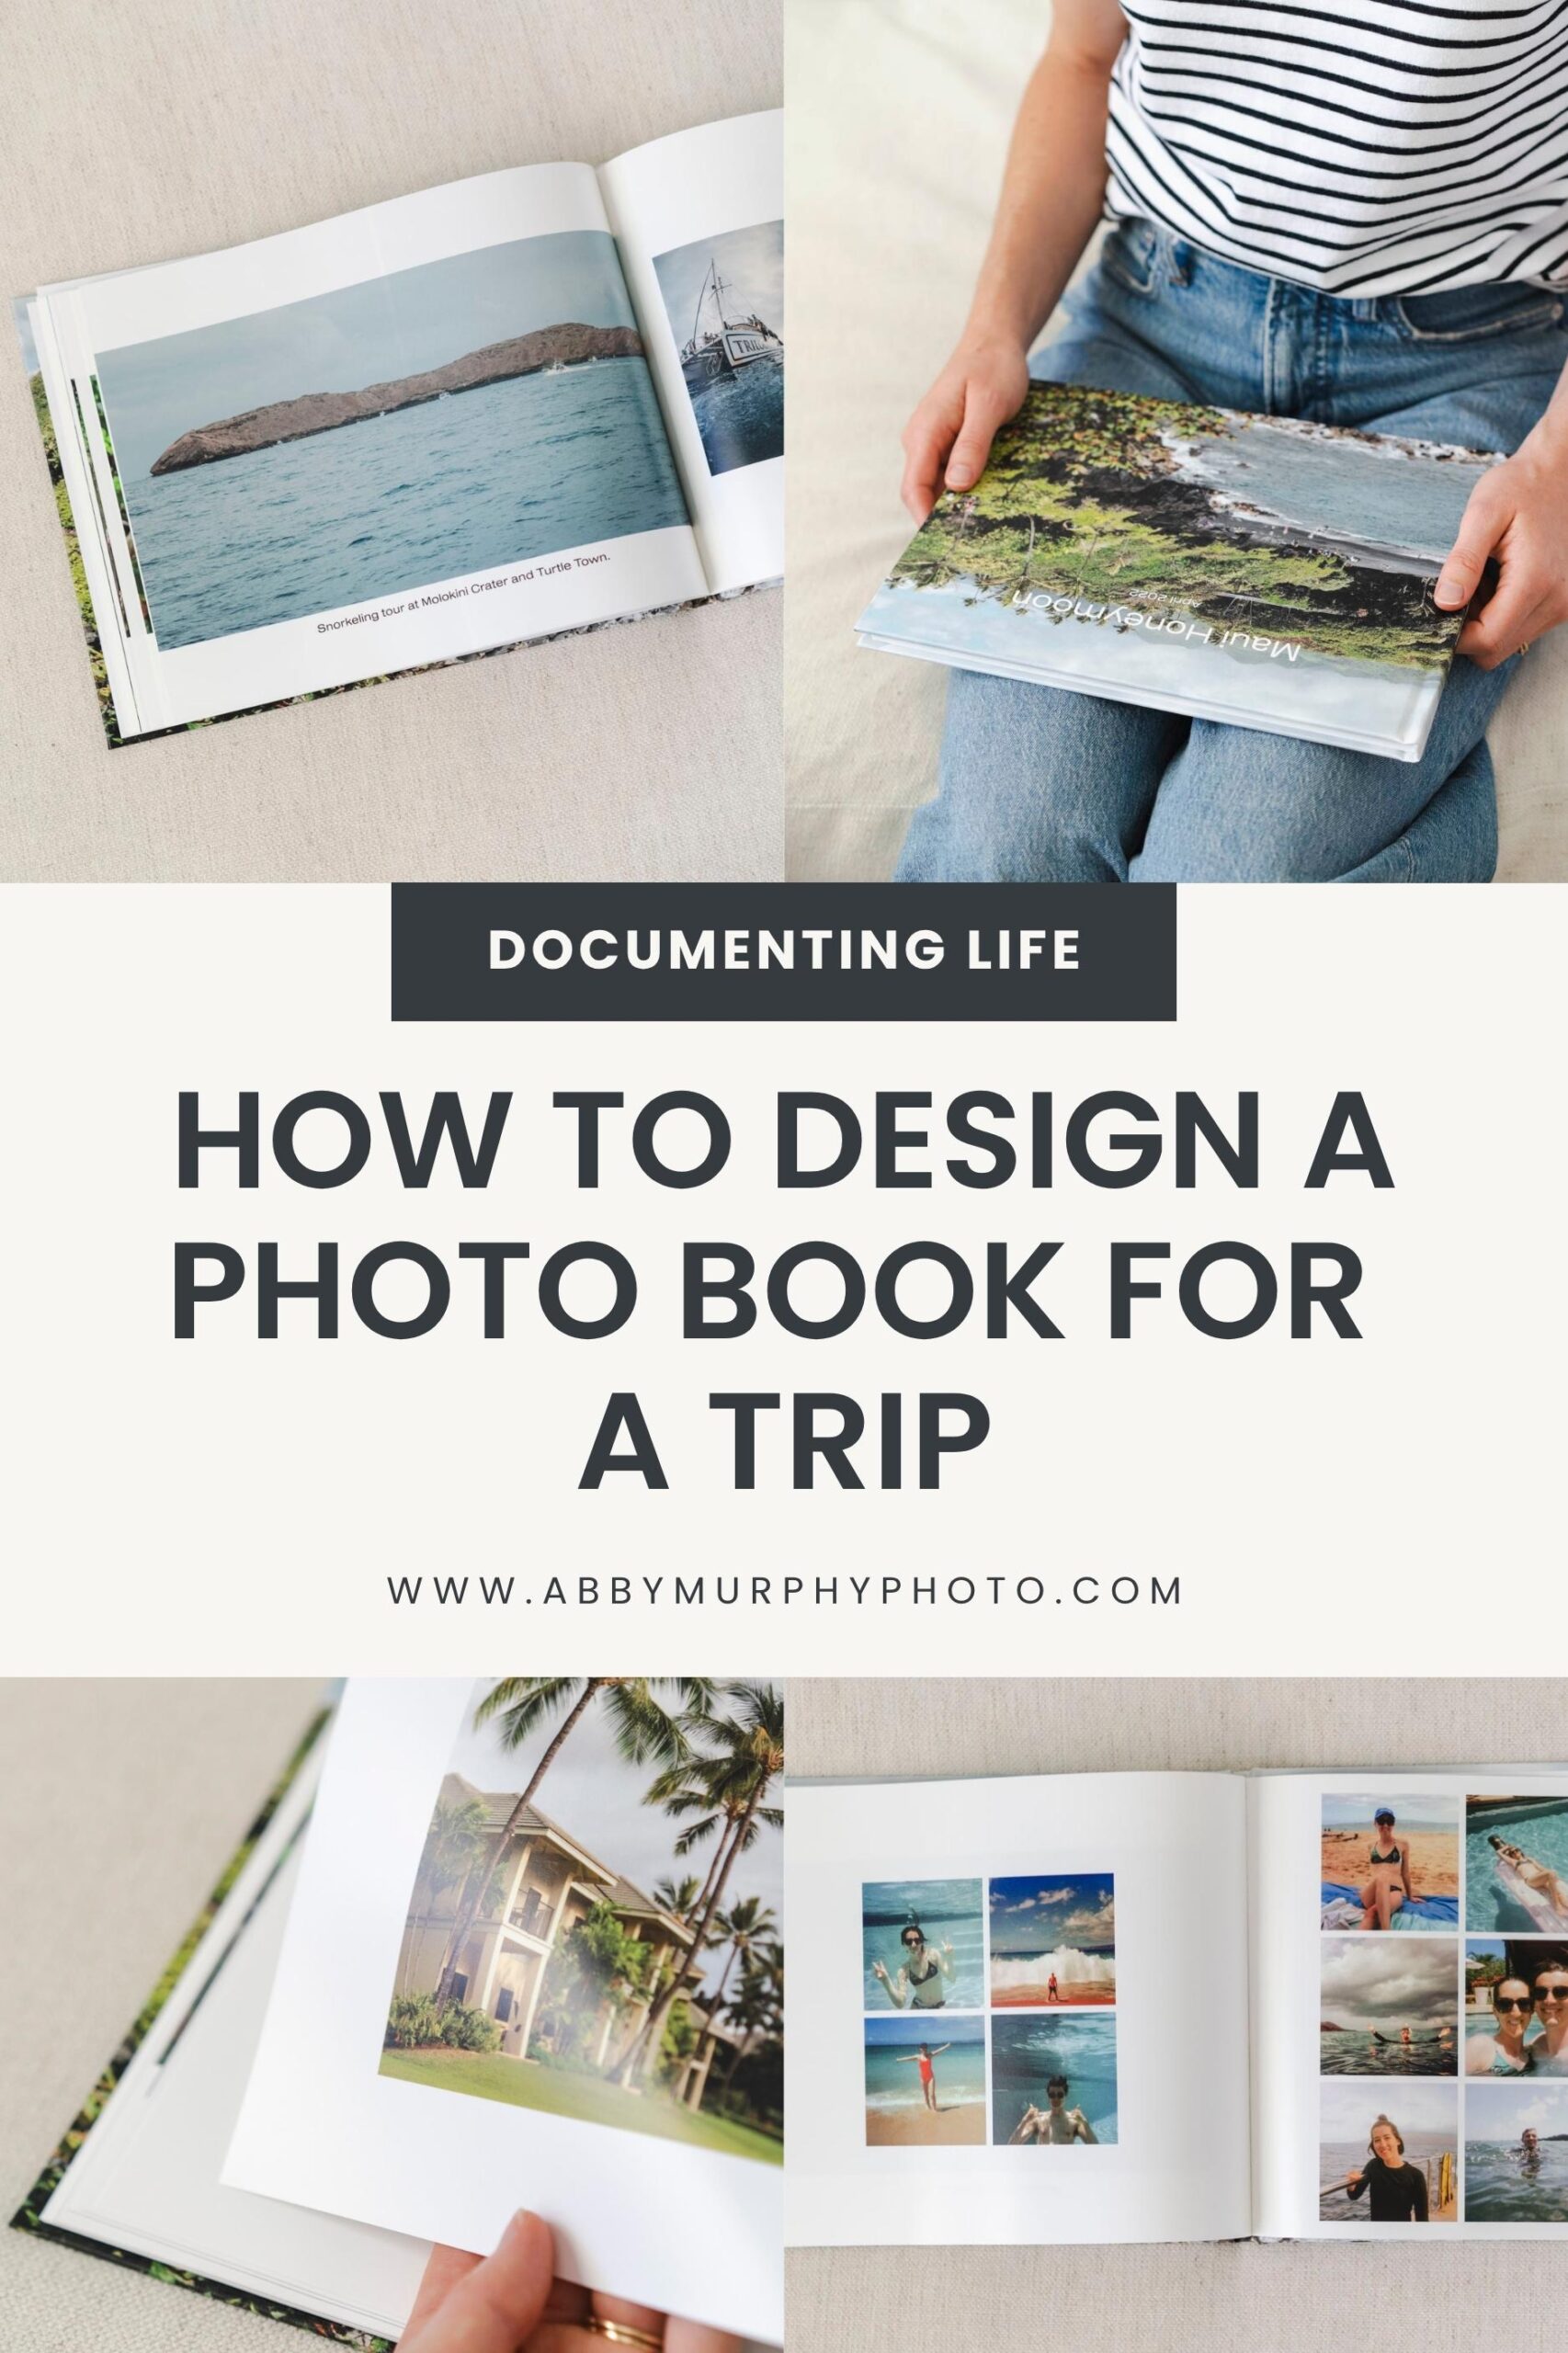
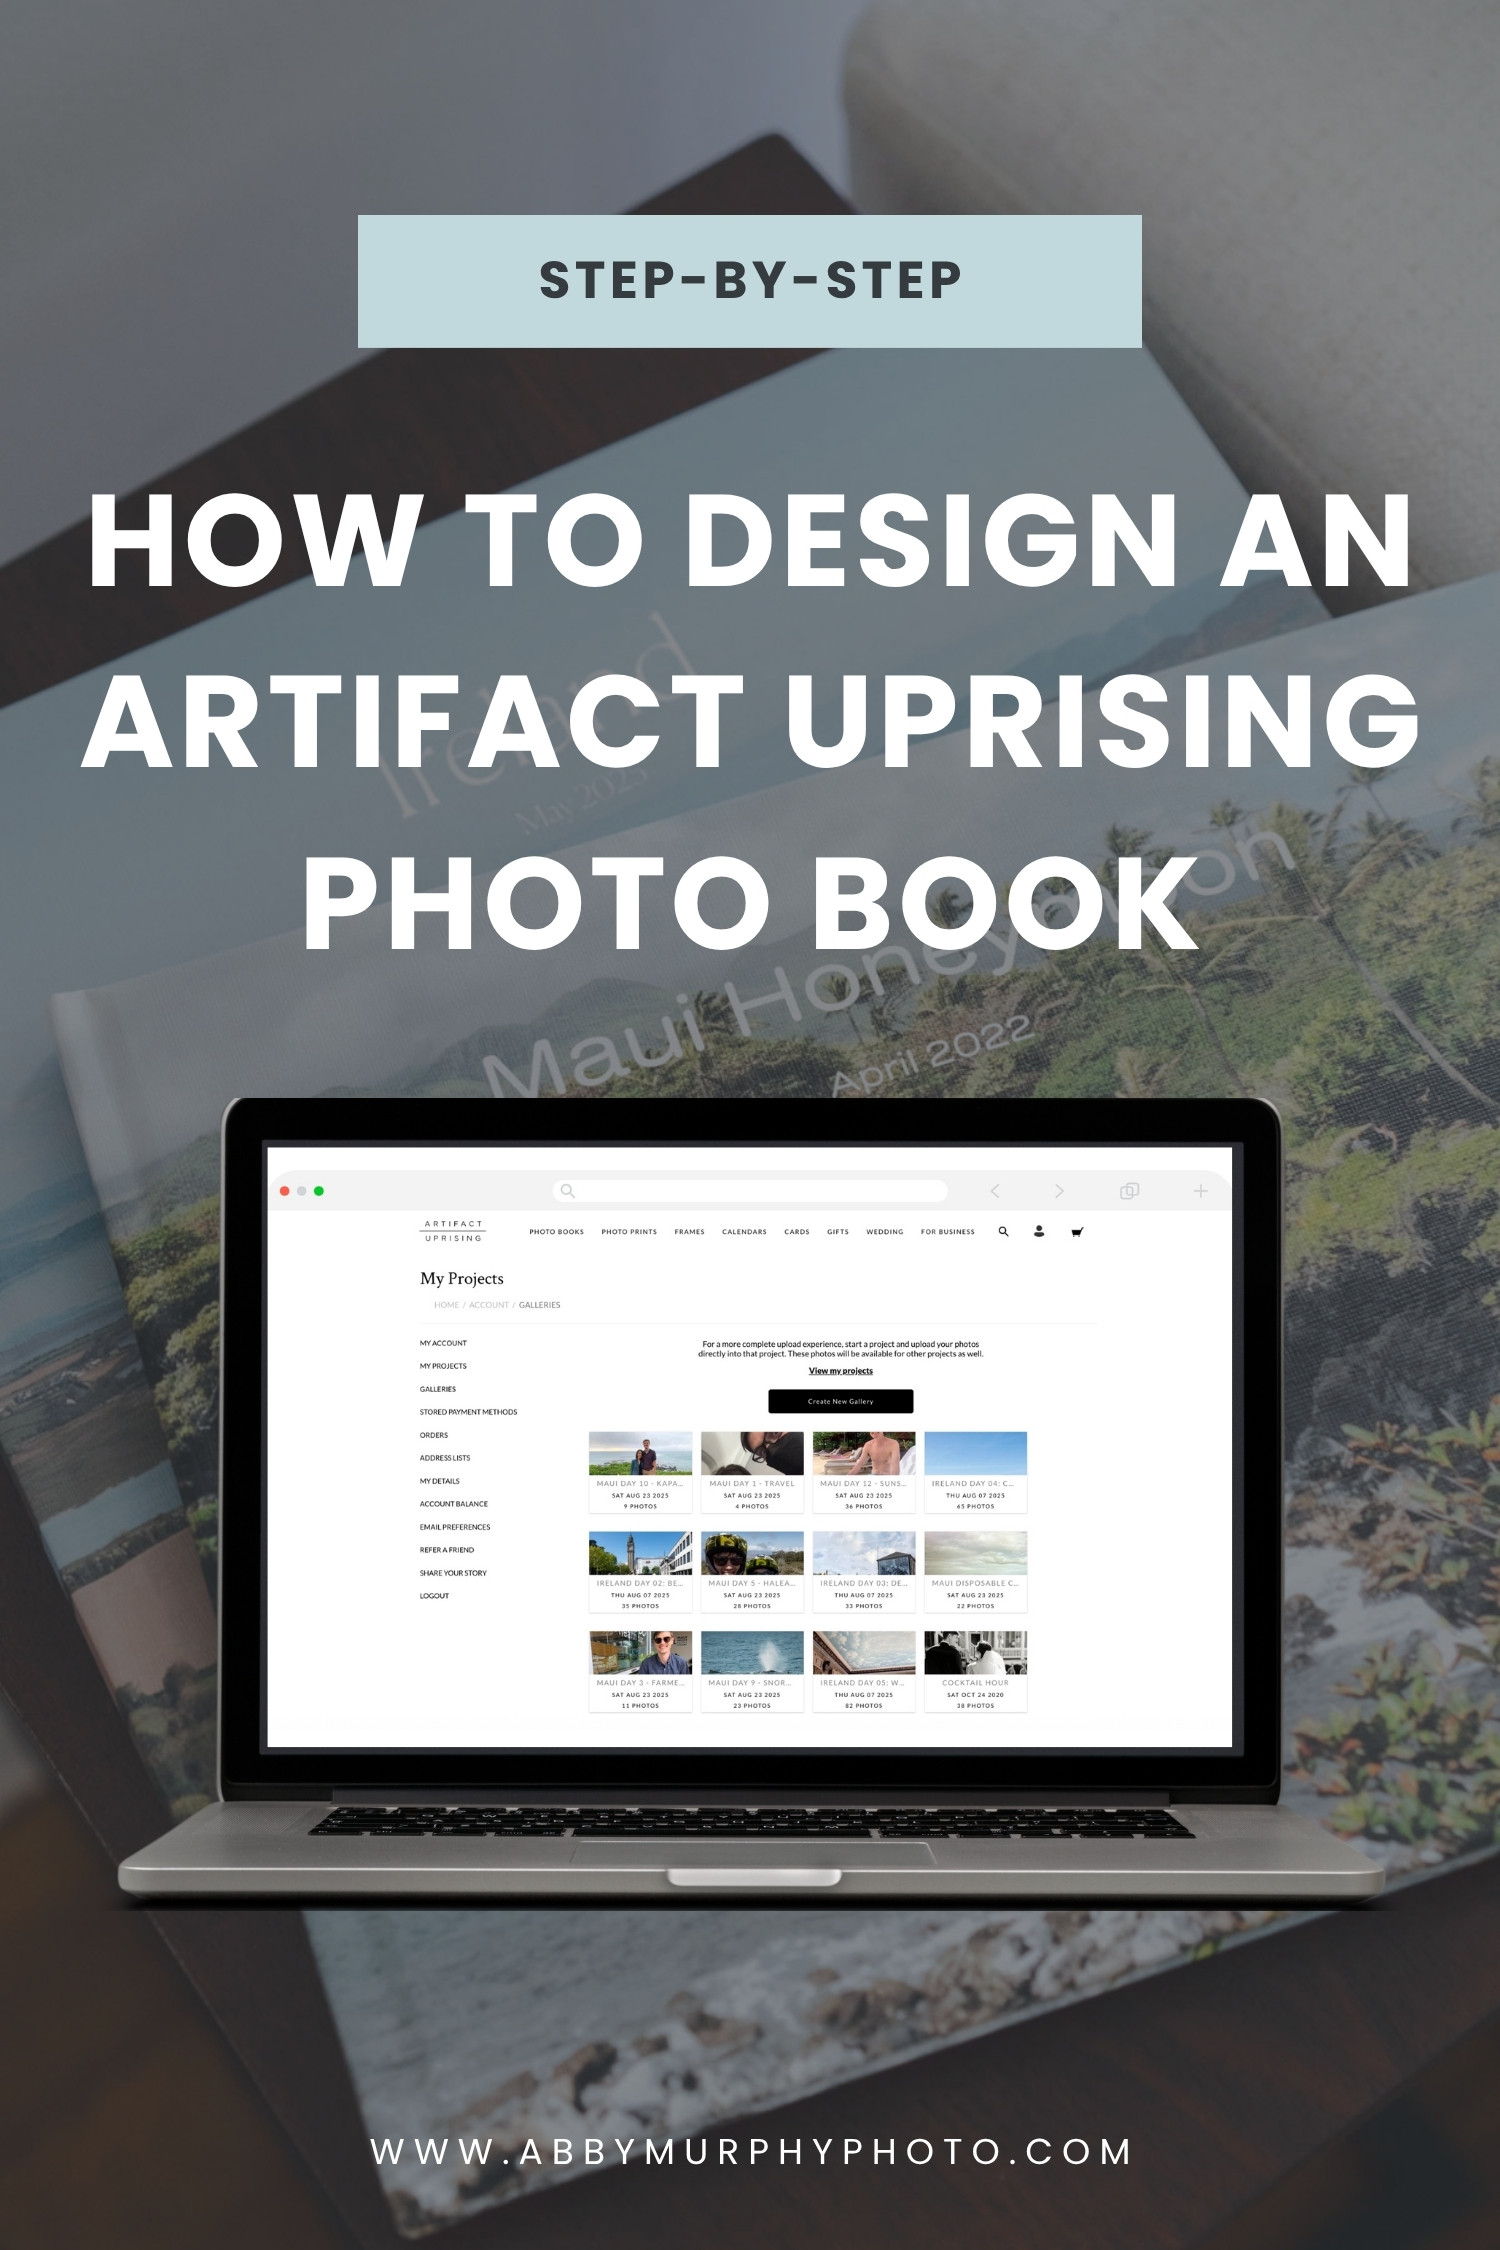
If you’re thinking about making an Artifact Uprising travel photo book, you’re probably looking for a beautiful, high-quality way to remember a favorite trip. I’ve made two, one for our Hawaii honeymoon and another for a family trip to Ireland! In this post, I’m sharing exactly how I designed them, a look at the finished books, and my best tips to help you create a photo book you’ll actually want to leave on your coffee table.
Here’s what I’ll cover in this post:
- Why I Love Artifact Uprising Photo Books
- Step-by-Step: Creating Your Artifact Uprising Photo Book
- What to Do Before Designing Your Book
- Designing the Photo Book in the Editor: My Best Tips
- Pros, Cons, & Are They Worth It?
- When Does Artifact Uprising Have Sales?
This post contains affiliate links, which means I may earn a small commission if you purchase through them (at no extra cost to you!). I only share products I truly love and recommend.
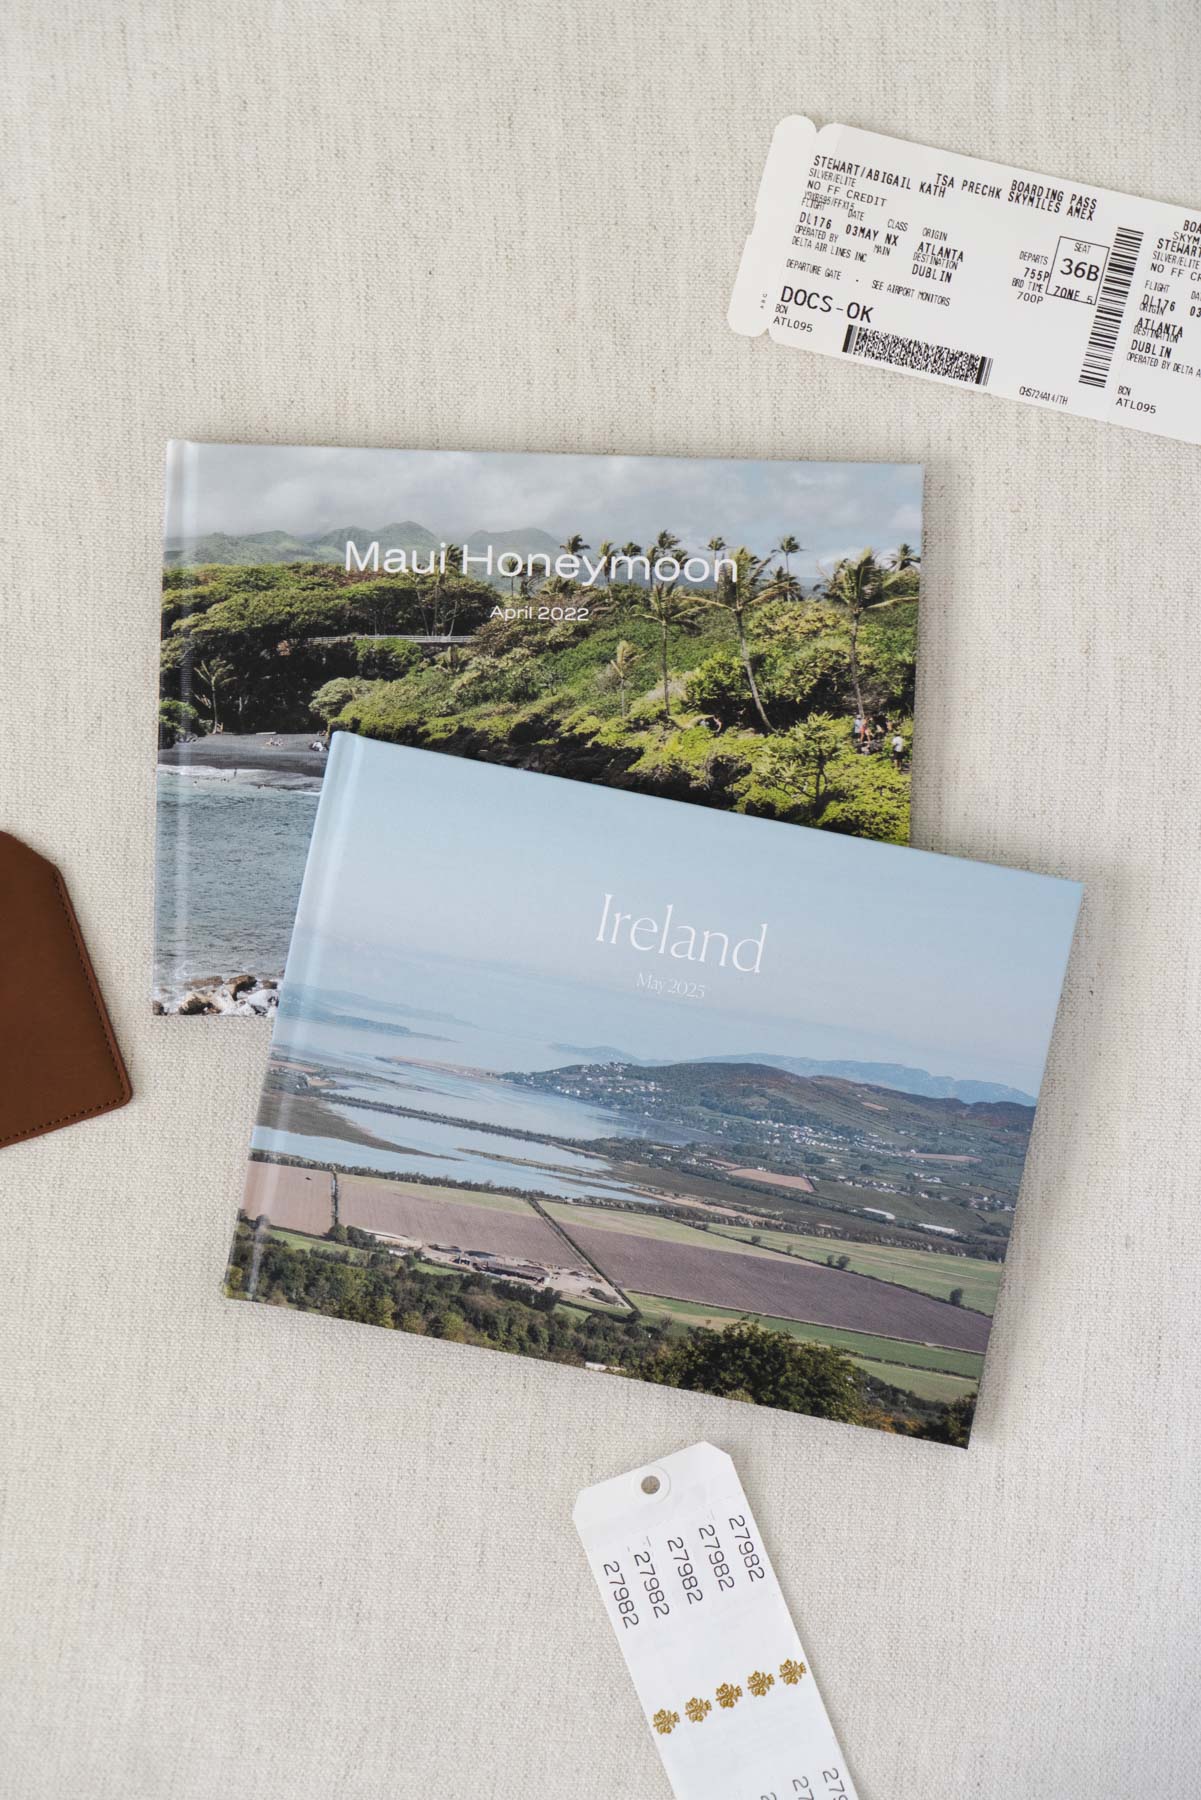
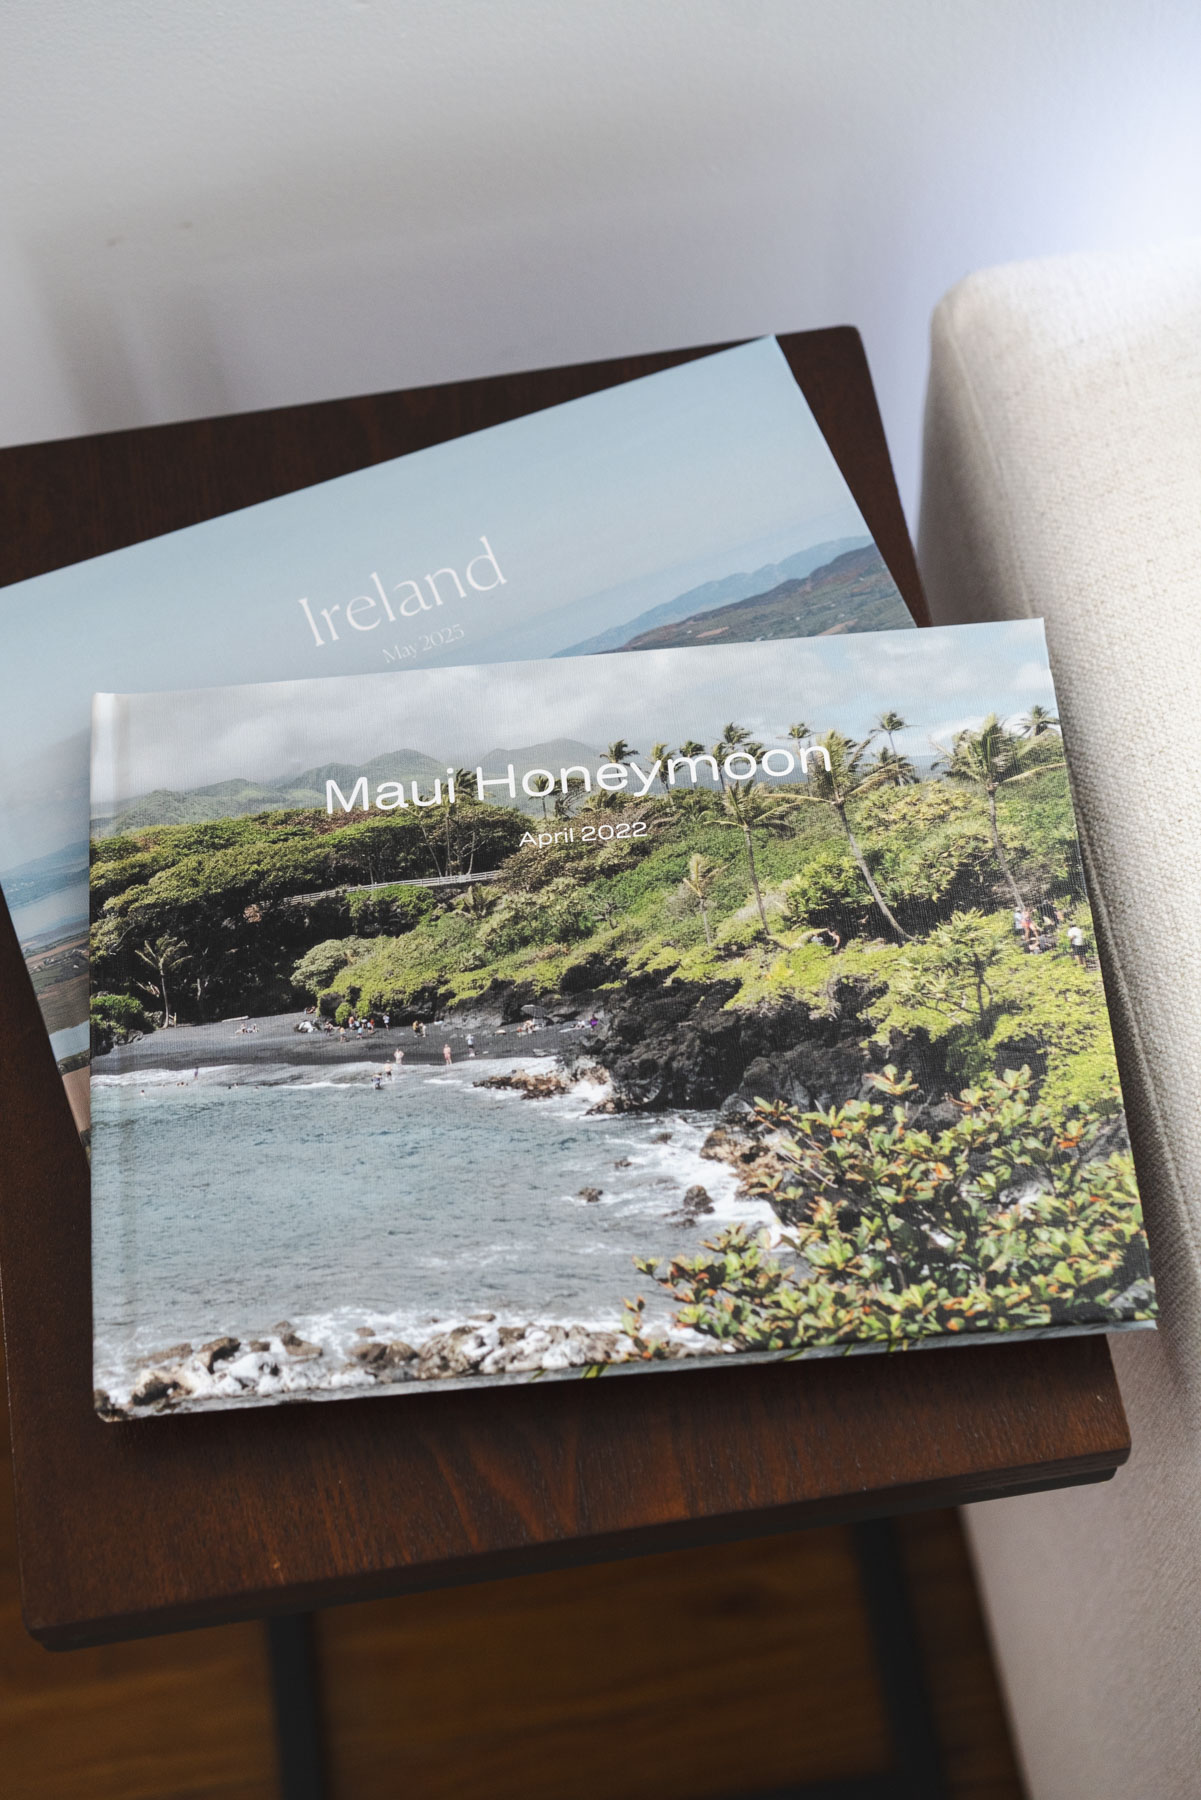
Shop the Artifact Uprising albums I feature in this post
Why I Love Artifact Uprising Photo Books
As a photographer, I naturally want (nay demand) the prints and photo products I create for myself to be high quality. But like anyone else, I’m also working with a budget, and I’m not looking to drop $1,000+ from a premium album maker every time I want to document a trip.
That’s where Artifact Uprising comes in. Their photo books strike a balance between elevated design and high-quality printing, without the luxury price tag. Yes, they’re a bit pricier than other options like Shutterfly or Mixbook, but in my experience, the materials, layout options, and overall aesthetic are worth it.
I’ve used Artifact Uprising for more than just travel books, too! I made our wedding albums with them (yes, two weddings. Thanks, Covid!) and have gifted them to family members. They’re beautiful keepsakes that look great in our home, and our family asks me for more albums as gifts. I highly recommend them for turning special photos into something tangible and timeless!
Step-By-Step: Creating Your Artifact Uprising Photo Book
If you’re new to Artifact Uprising (or to designing photo books online in general), it can seem a little intimidating at first! I’ll walk you through exactly how I created mine, with tips to make the process easier.
Step 1: Choose Your Book Type
Artifact Uprising offers several types of photo books, but my go-tos are the Photo-Wrapped Hardcover or the Hardcover Photo Book. If you’re after something with heirloom quality, Layflat Photo Albums have a seamless look with thick pages. Want something more casual? Try a Softcover Photo Book. And if you want to add memorabilia like tickets and handwritten notes, grab a Scrapbook Album or the Junk Journal!
For this post, I’ll be focusing on the Photo-Wrapped Hardcover, since that’s what I used for both of my travel albums. But many of the customization options and the design interface are the same between the styles of books.
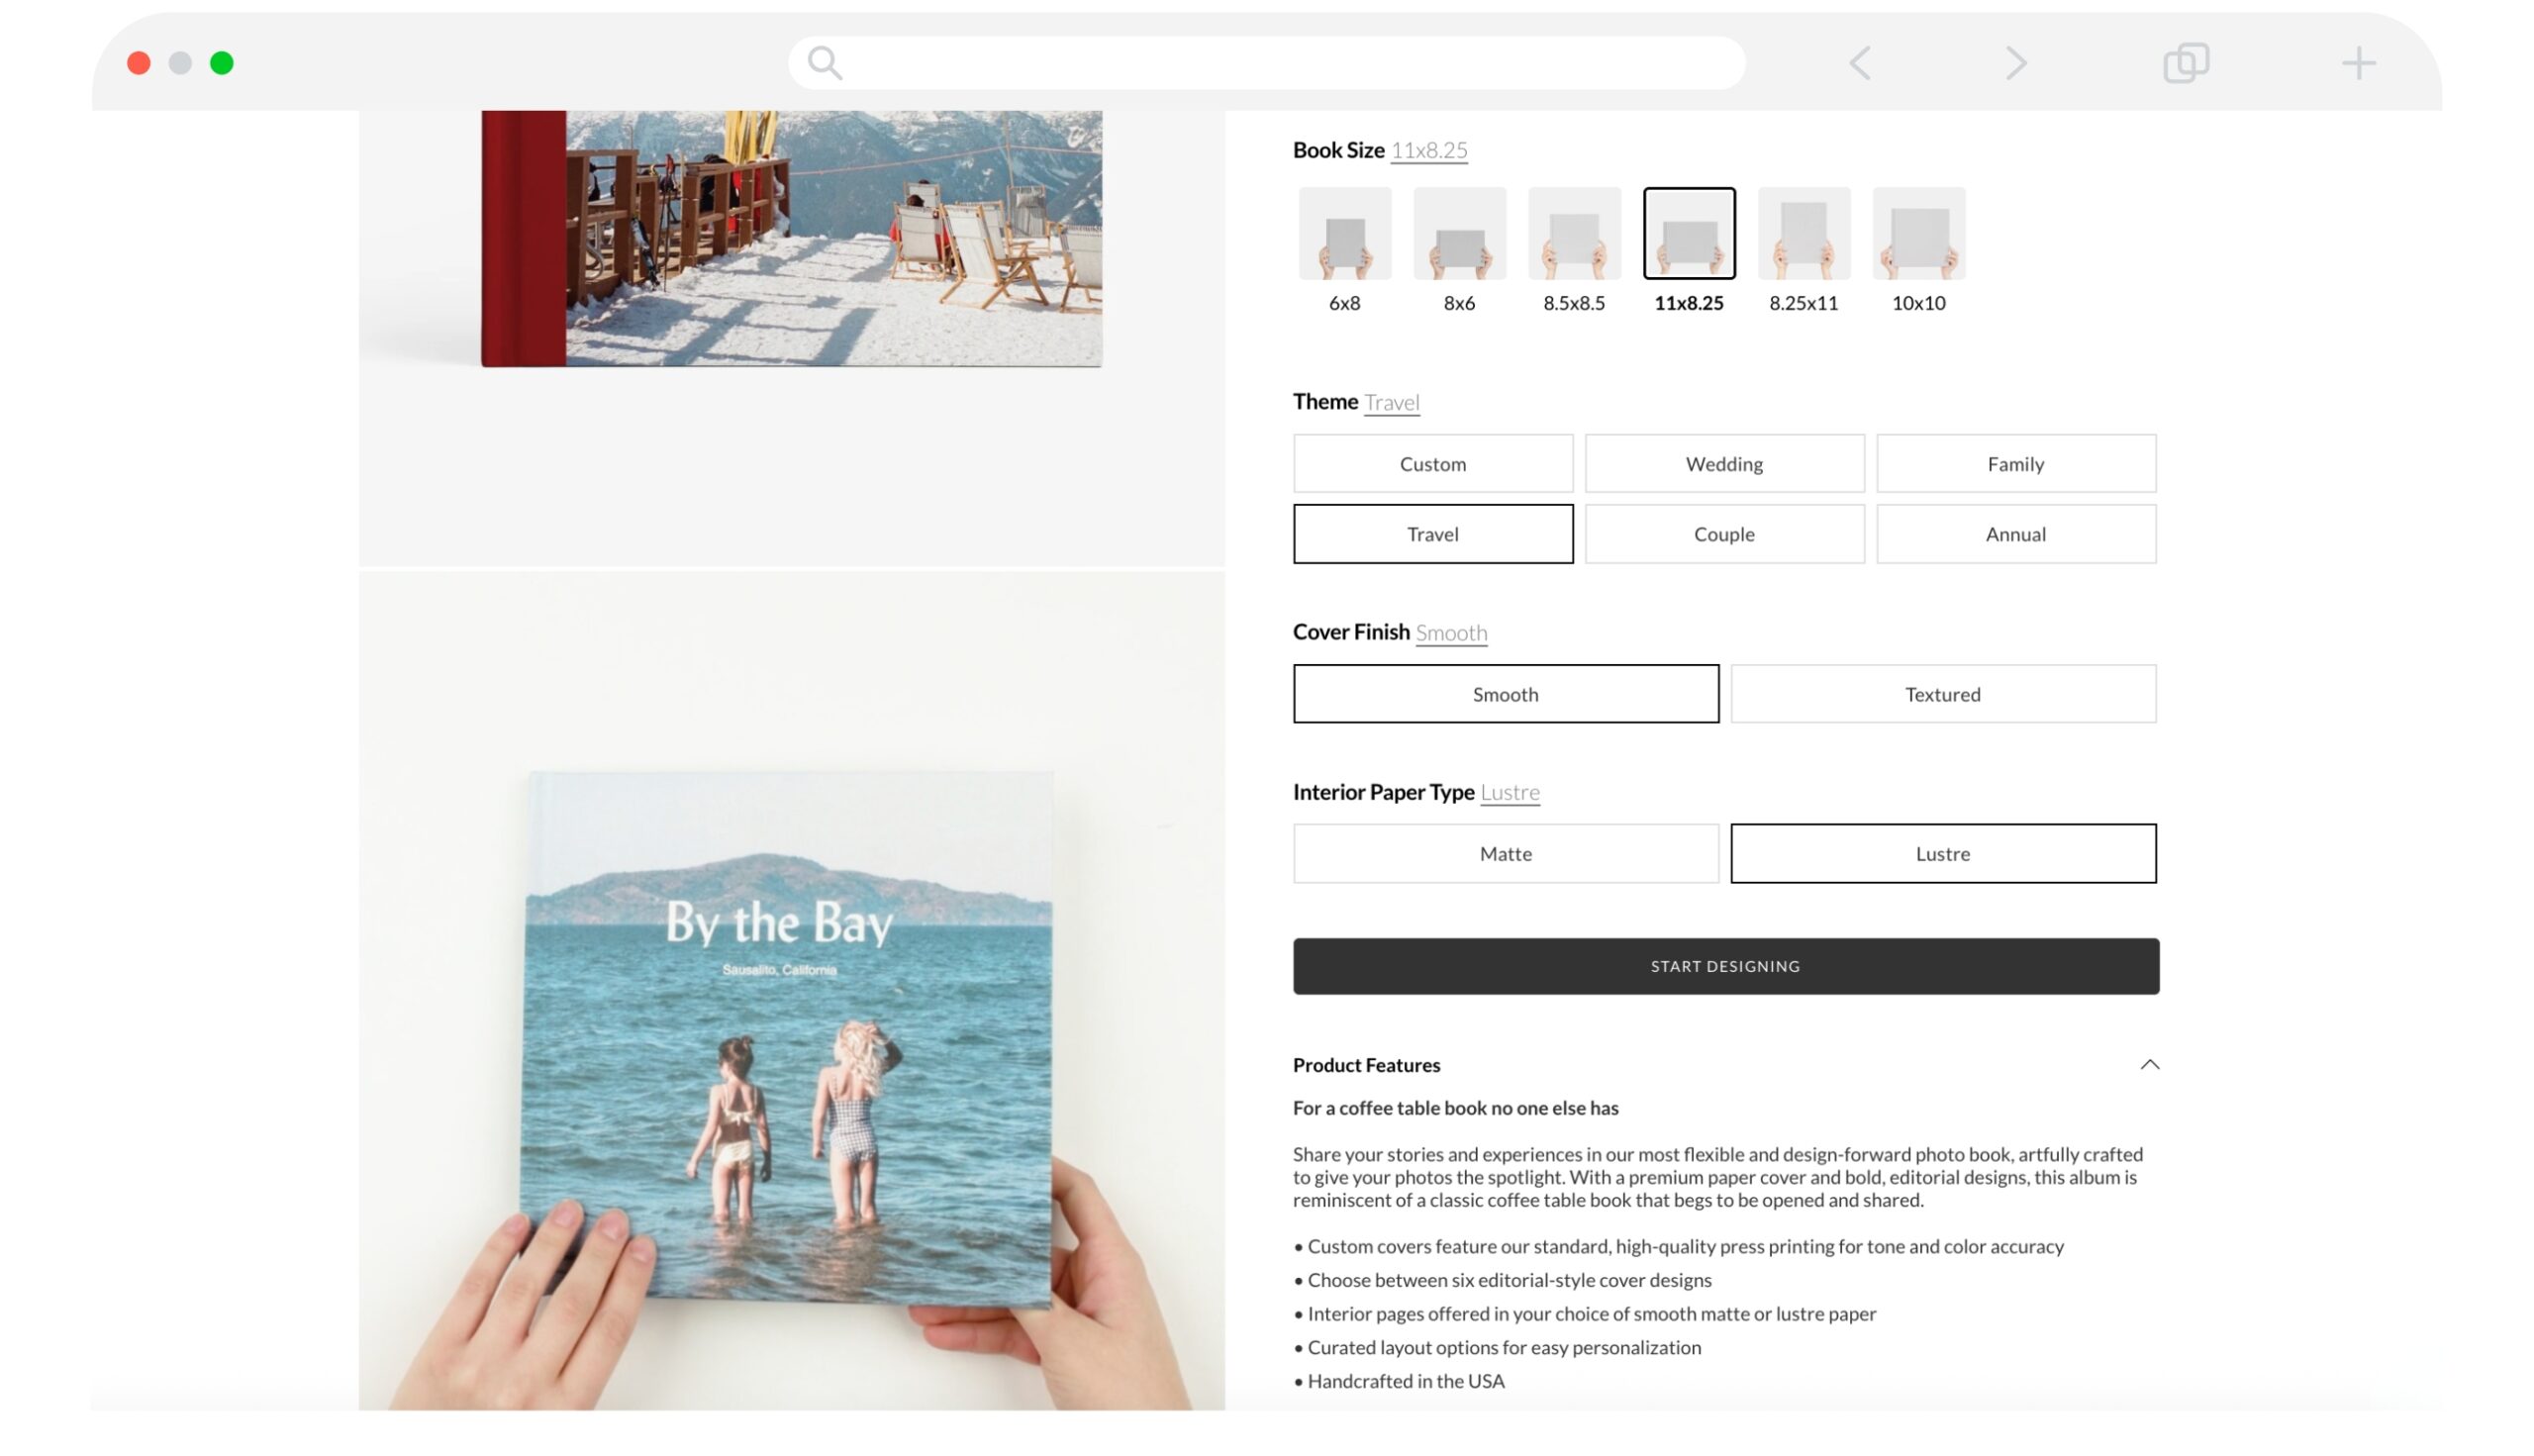
Step 2: Pick Your Size + Cover
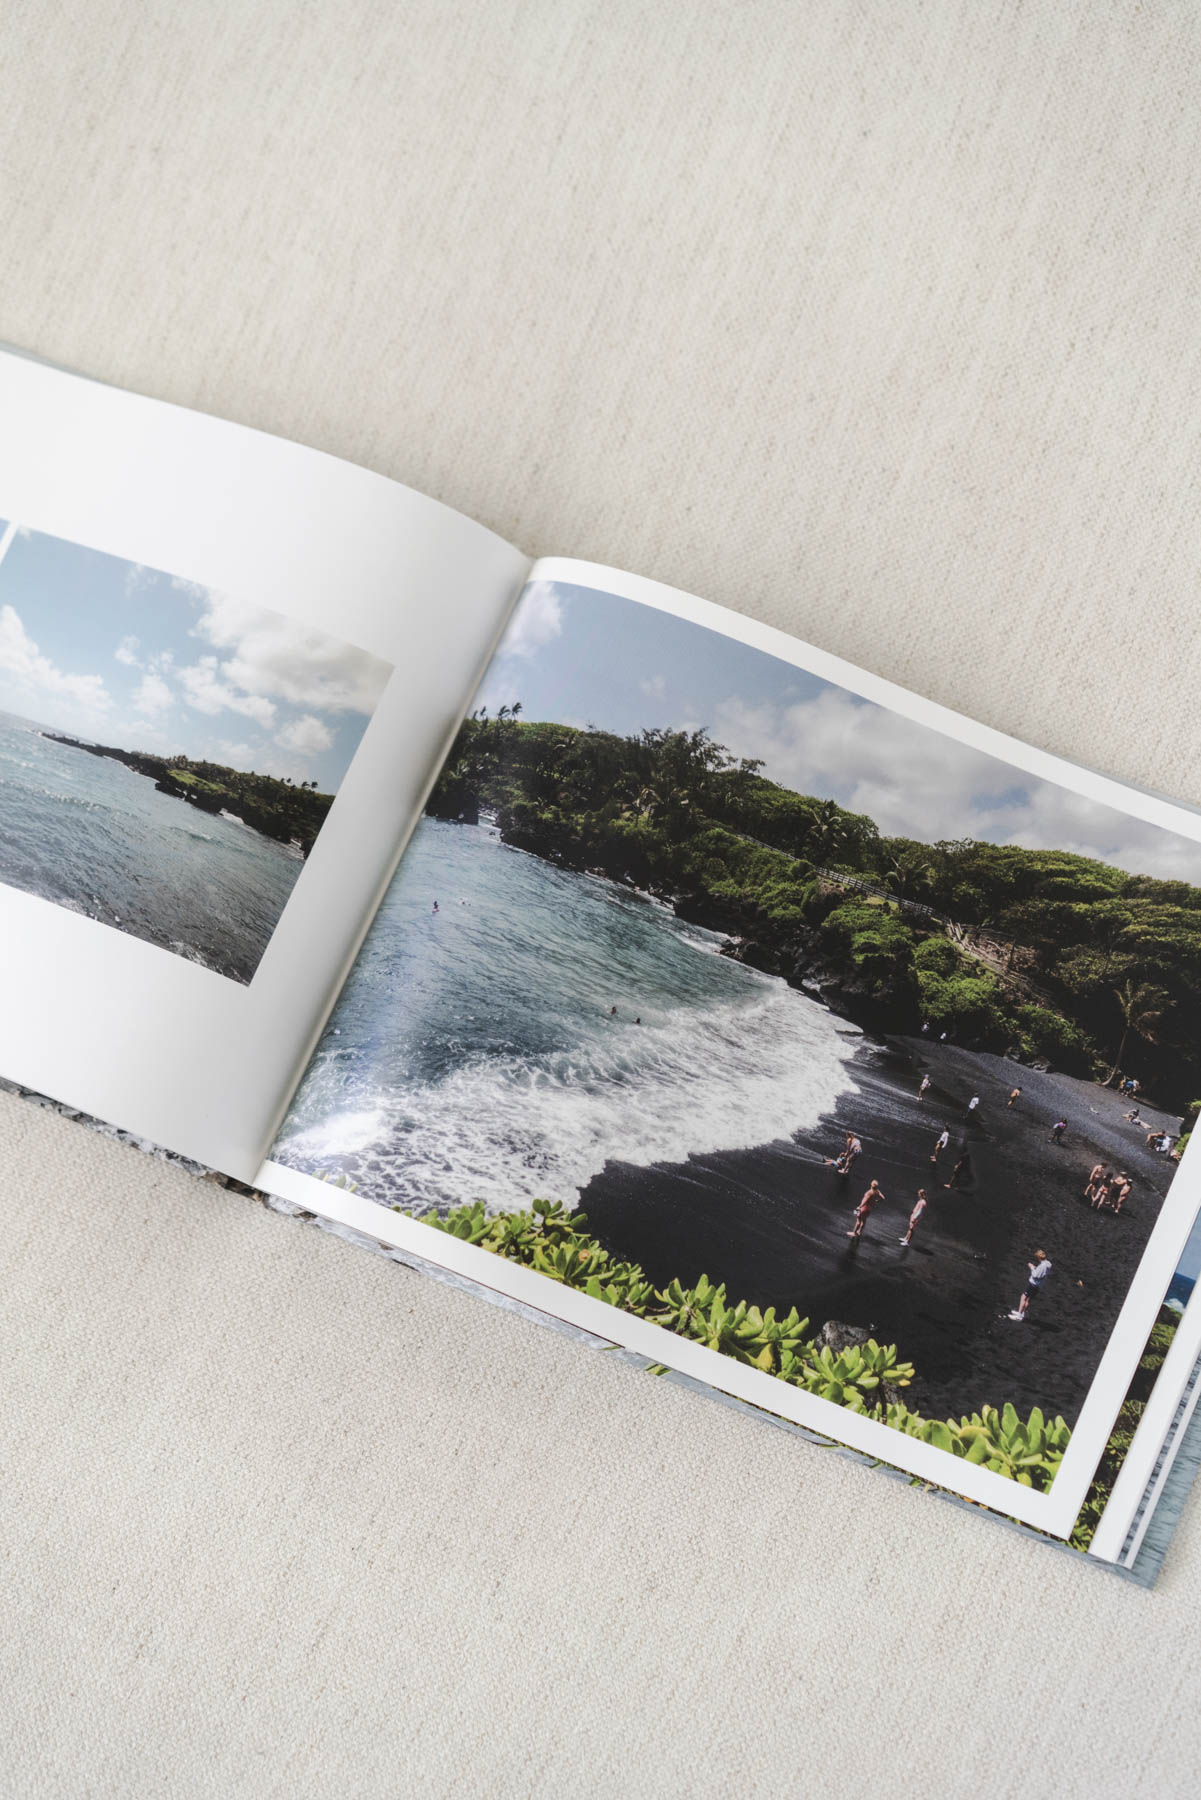
The Photo-Wrapped Hardcover comes in 7 sizes and starts at $34 (and they frequently go on sale for 15-20% off. Head to this section for tips on when to buy!). I chose the 11×8.5 horizontal size, knowing I had a lot of landscape-oriented photos. This size gave me more flexibility with layout options and made it easier to include more images per page. The Photo-Wrapped Hardcover book starts with 24 pages, but you can always add more as needed in the editor.
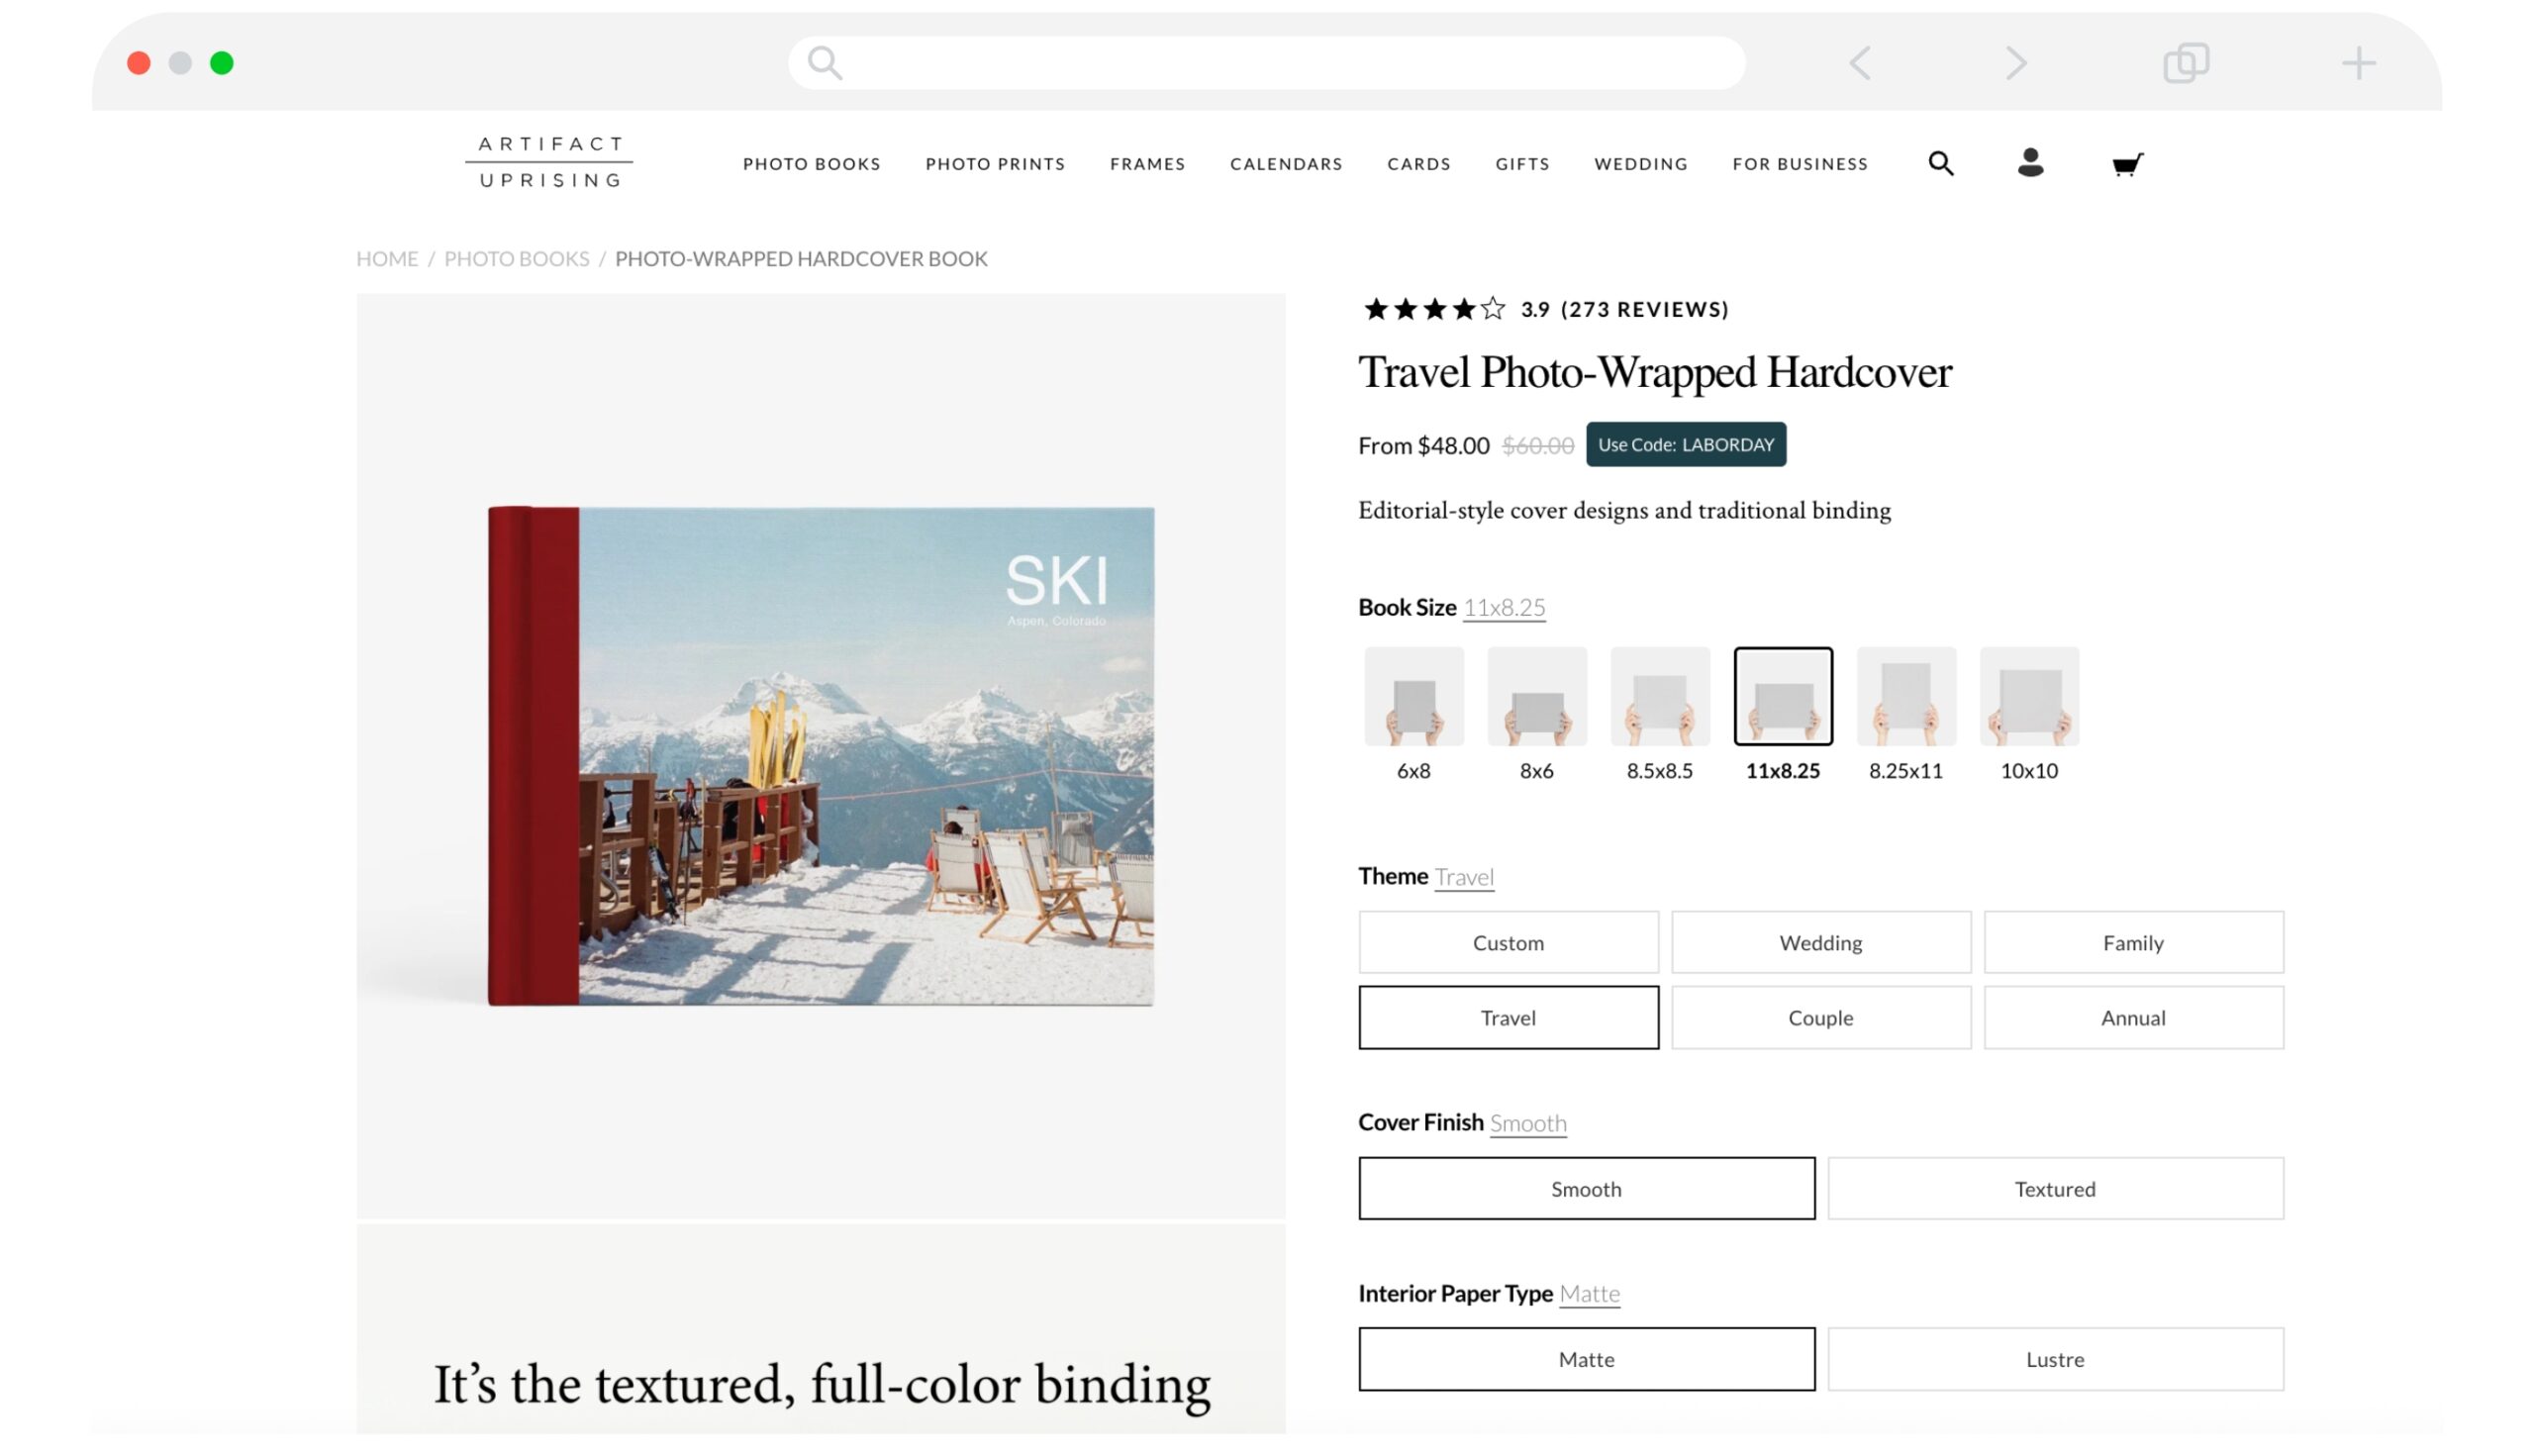
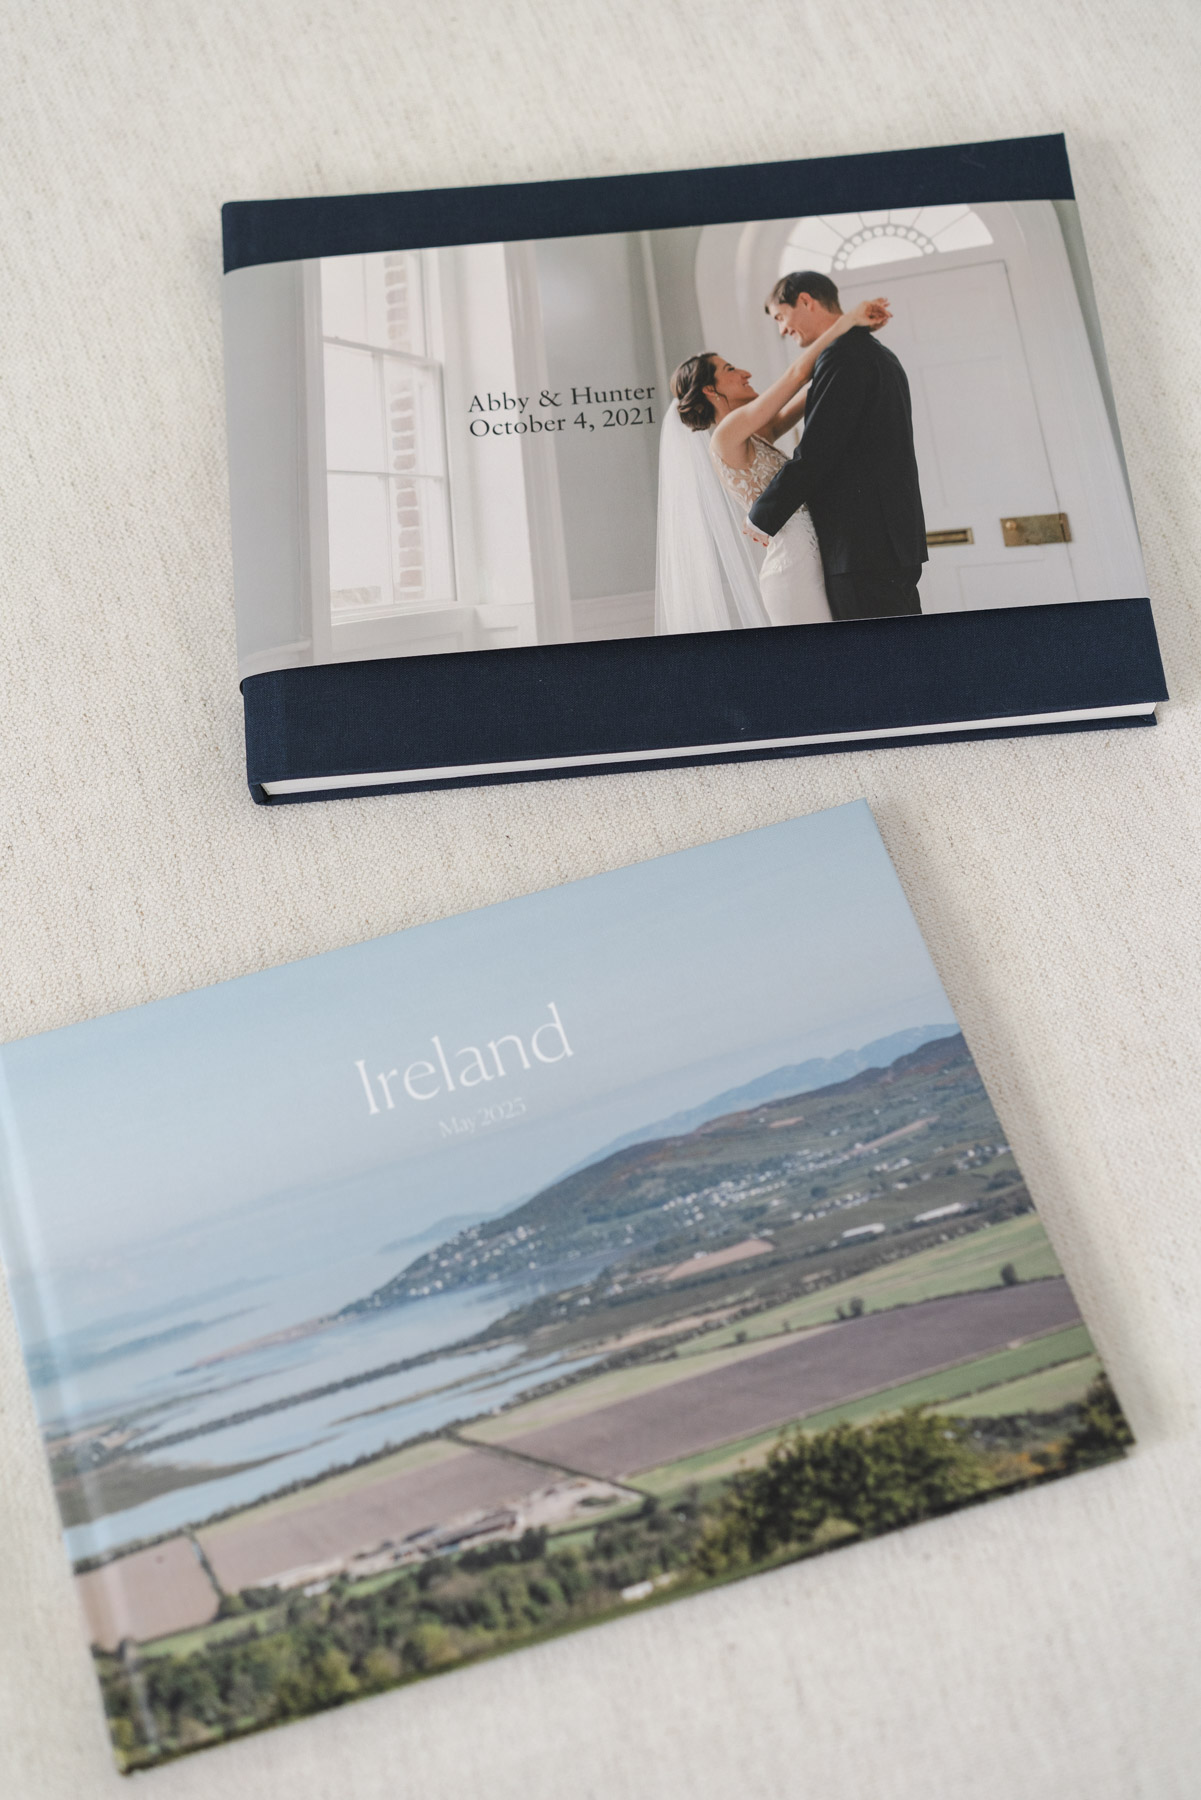
You’ll also choose from 6 cover layouts once you’re in the editor. If you prefer to have a dust jacket on your book, choose the Hardcover Photo Book instead! Here is a look at one of my wedding albums with a dust jacket, and the photo-wrapped cover on my Ireland album.
Step 3: Set Your Theme
Pick a theme to give your album a starting point. For example, you could choose Travel, but don’t overthink it. A theme just sets the initial design and cover, and you can always tweak everything later. If you’d rather build from the ground up, select Custom and start from scratch.
Step 4: Choose Your Paper Type
Then you’ll select your paper type:
- Recycled Matte (a smooth, more muted look)
- Lustre (a subtle sheen)
I personally prefer Lustre because it gives the photos just a bit of pop, but it totally depends on your style. The cover also has a subtle textured finish that feels so nice!
What to Do Before Designing Your Book
Before jumping into the editor, here are a few things I recommend doing first to make the whole process way easier (and more fun!).
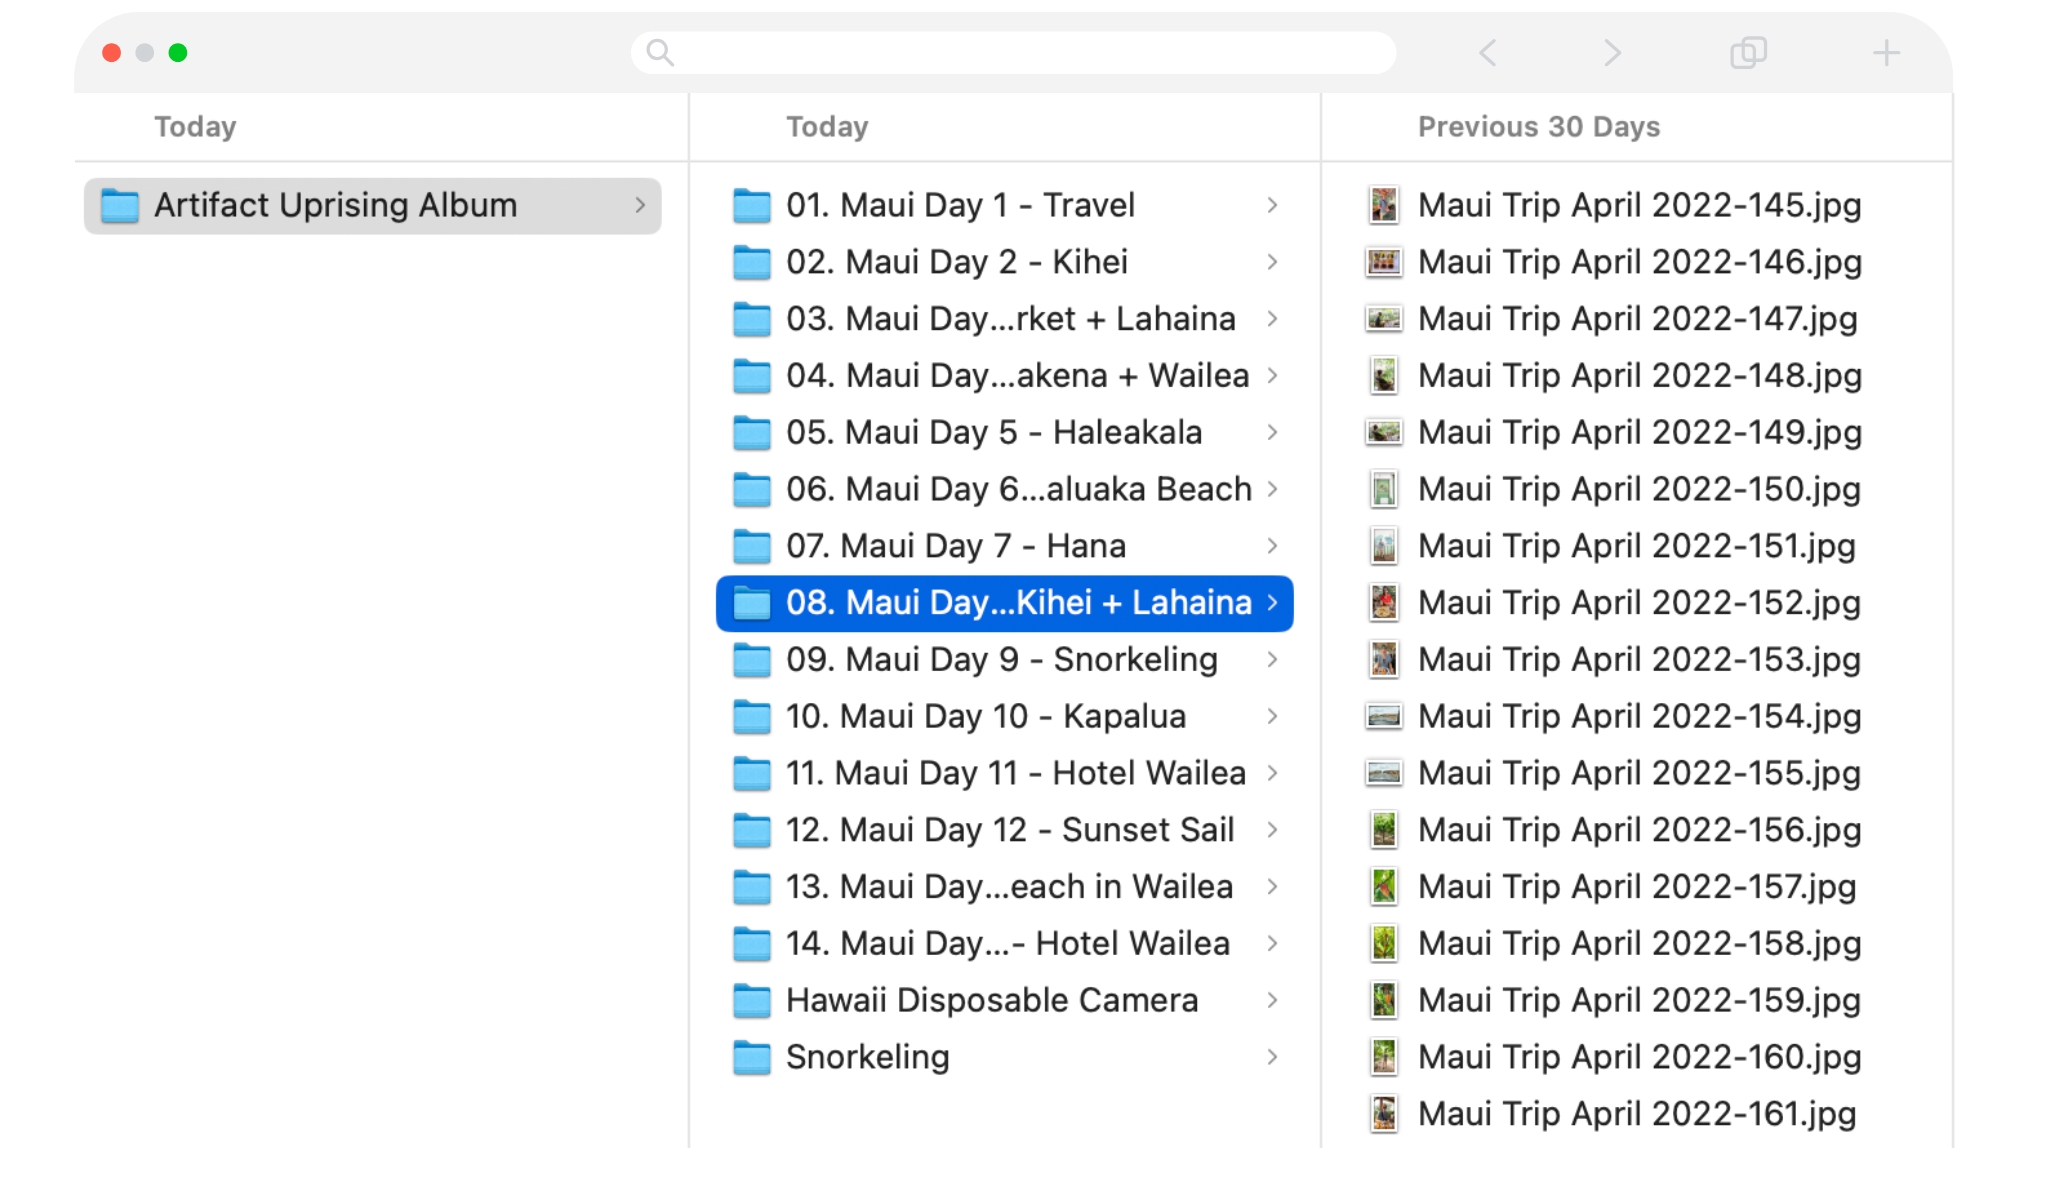
Step 5: Organize Your Photos
Organizing your photos before uploading them will save you so much time and frustration once you’re working inside the editor, so don’t skip this step!
For both our Hawaii and Ireland trips, I sorted my photos into folders by day (Day 1, Day 2, etc.). This helped me tell the story of the trip in chronological order, and it made dragging photos into layouts way easier, and scrolling through hundreds of photos in one massive folder and trying to find that one shot? Not fun!
If your trip was long or included multiple locations (like mine), this step will help you stay focused and speed things up once you’re inside the editor.
Step 6: Narrow Down What to Include
Before uploading, I also recommend trimming down your photo selection by removing any photos you’re pretty sure you don’t want to include. That said, I usually upload more photos than I think I’ll need. Having extra options in the editor is helpful when a layout calls for a different orientation or an unexpected shot.
Focus on photos that tell the story of the day or capture memorable moments. With travel photos, it’s easy to end up with tons of landscapes or monument shots that, while interesting at the time, don’t really show what made the trip meaningful. The goal is to highlight the moments that stood out and shaped each day of your trip.
If you’re struggling with what photos to include, let Artifact Uprising do it for you! Try their curation service and let an expert choose the best shots for you.
Step 7: Edit and Prep Your Photos
Artifact Uprising’s editor includes basic tools so that you can make simple tweaks like cropping and exposure right in the editor. But if you want more control over how your photos look, it’s best to do your main edits beforehand using a photo editing software (not required, but if you’re comfortable with editing photos, go for it!).
If you’re not sure where to start with editing and prepping your files, AU has a great help article covering recommended file types, sizes, and other upload tips to get you going.
One thing to keep in mind: your photos will print darker than they appear on the screen. Brighten your photos slightly and lighten up your shadows before uploading or in the editor to avoid any issues.
Step 8: Upload Your Photos
I prefer to upload my photo folders through My Account > Galleries before I get into the editor. If you upload directly into the editor, everything gets saved into a single gallery rather than separate, organized folders.

The Editor: Tips for Designing Your Artifact Uprising Travel Photo Book
As I designed my travel albums in the editor, I kept notes on what worked best. Here are my top tips for designing your book seamlessly!
Step 8: Set Up Your Project
- Name your project first. Renaming it before you start makes it way easier to recognize later when you come back to it.
- Design your cover last. I like to choose the cover photo(s), title, and fabric colors (if applicable), after I’ve already designed most of the book. This way, I can pick my absolute favorite image for the cover.
- Pick two favorite photos for the inside covers at the beginning and end of your album. I usually choose two photos that encapsulate the trip, one for the inside front cover and one for the inside back cover. Then, I start Day 1 of the trip on the first full spread.
Step 9: Design in the Editor
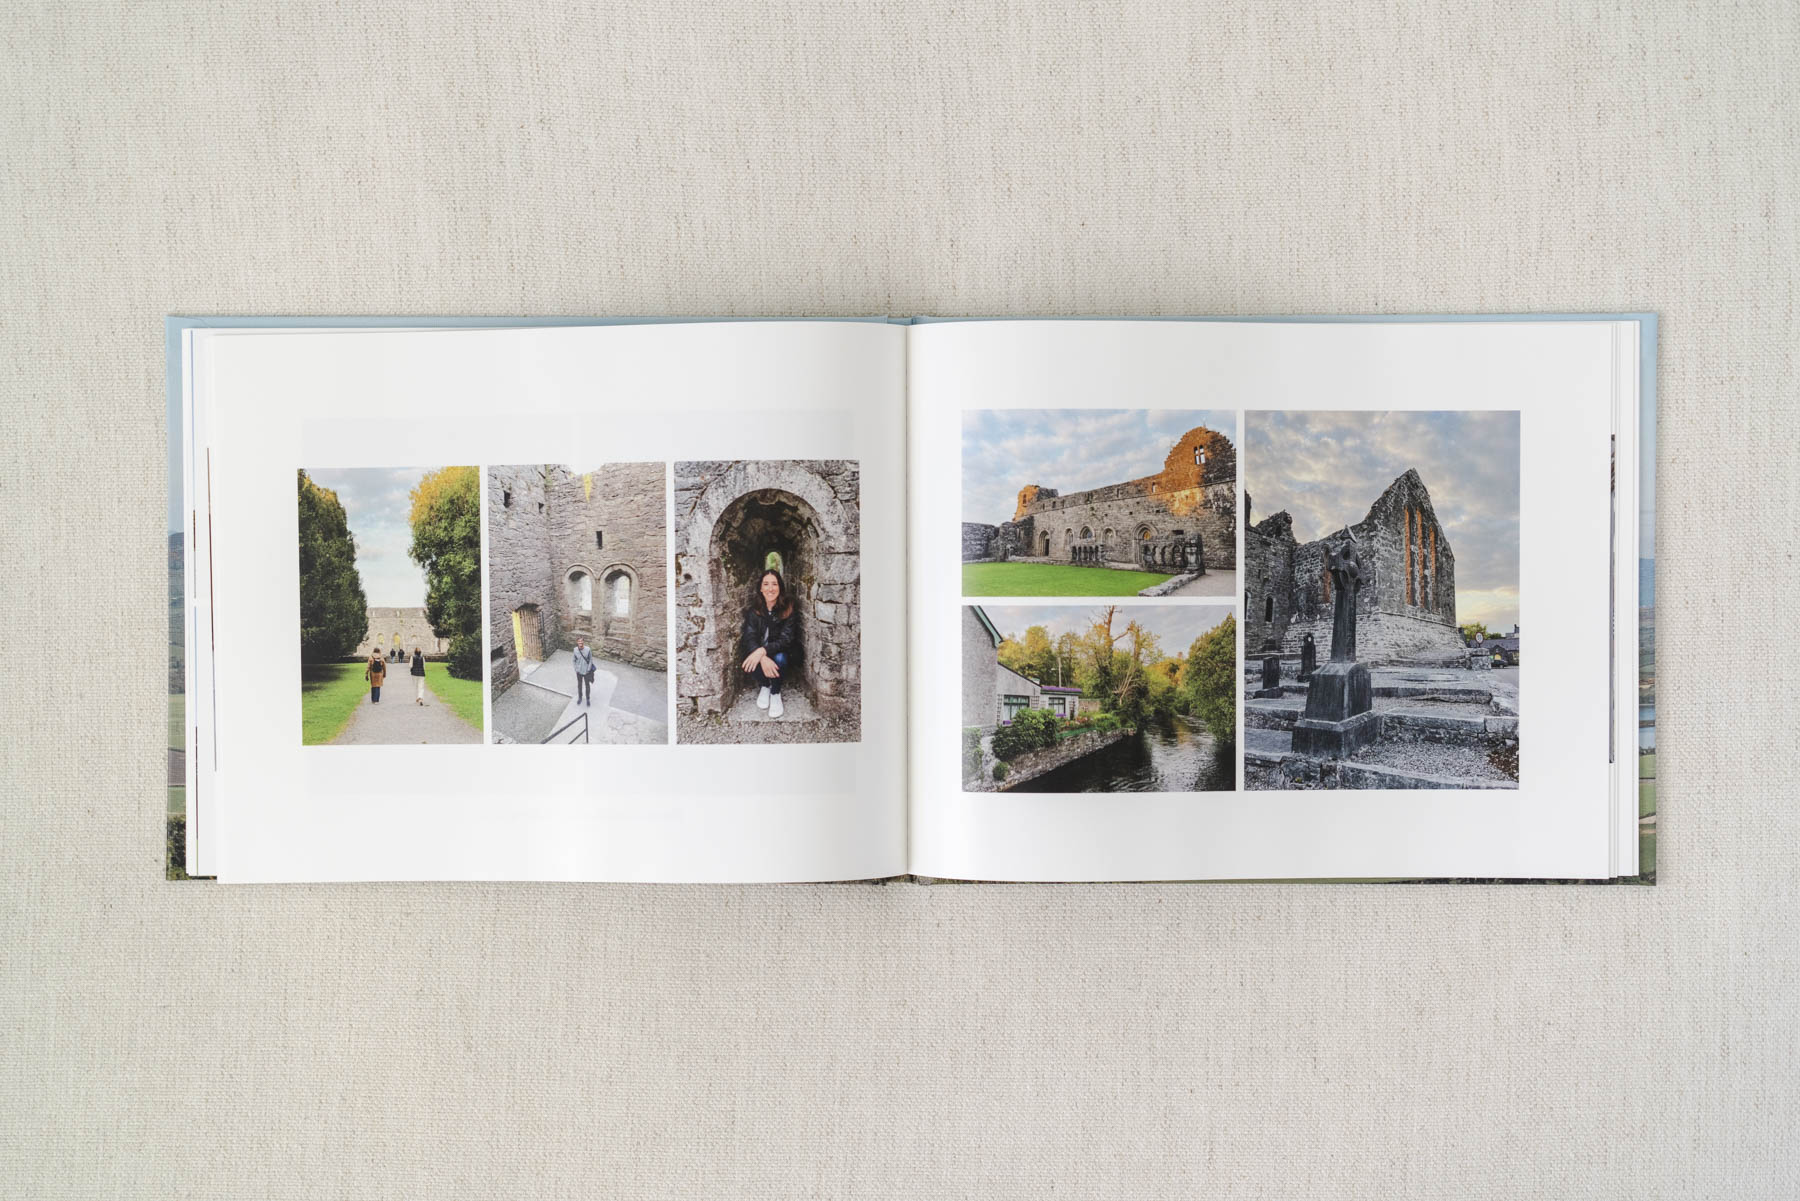
- Stick to 4-5 layouts. Using the same few layouts throughout makes the book feel cohesive and clean rather than jumbled. I also avoid layouts with the smallest image slots so I can maximize the space on the page.
- Filter layouts by number of photos. If I know I want 3 images on a spread, I filter layouts to only see ones with 3 slots. It’s faster than scrolling through all of the layout options.
- Crop carefully. Every time I drop a photo into a slot, I click Edit > Crop to make sure nothing important gets cut off. The photo ratios in the layouts don’t always match your photos.
- Leave “hide used photos” off. I keep this option in the gallery settings off so I can still see all my uploads. The editor still grays out photos I’ve already used, which makes rearranging way easier when needed.
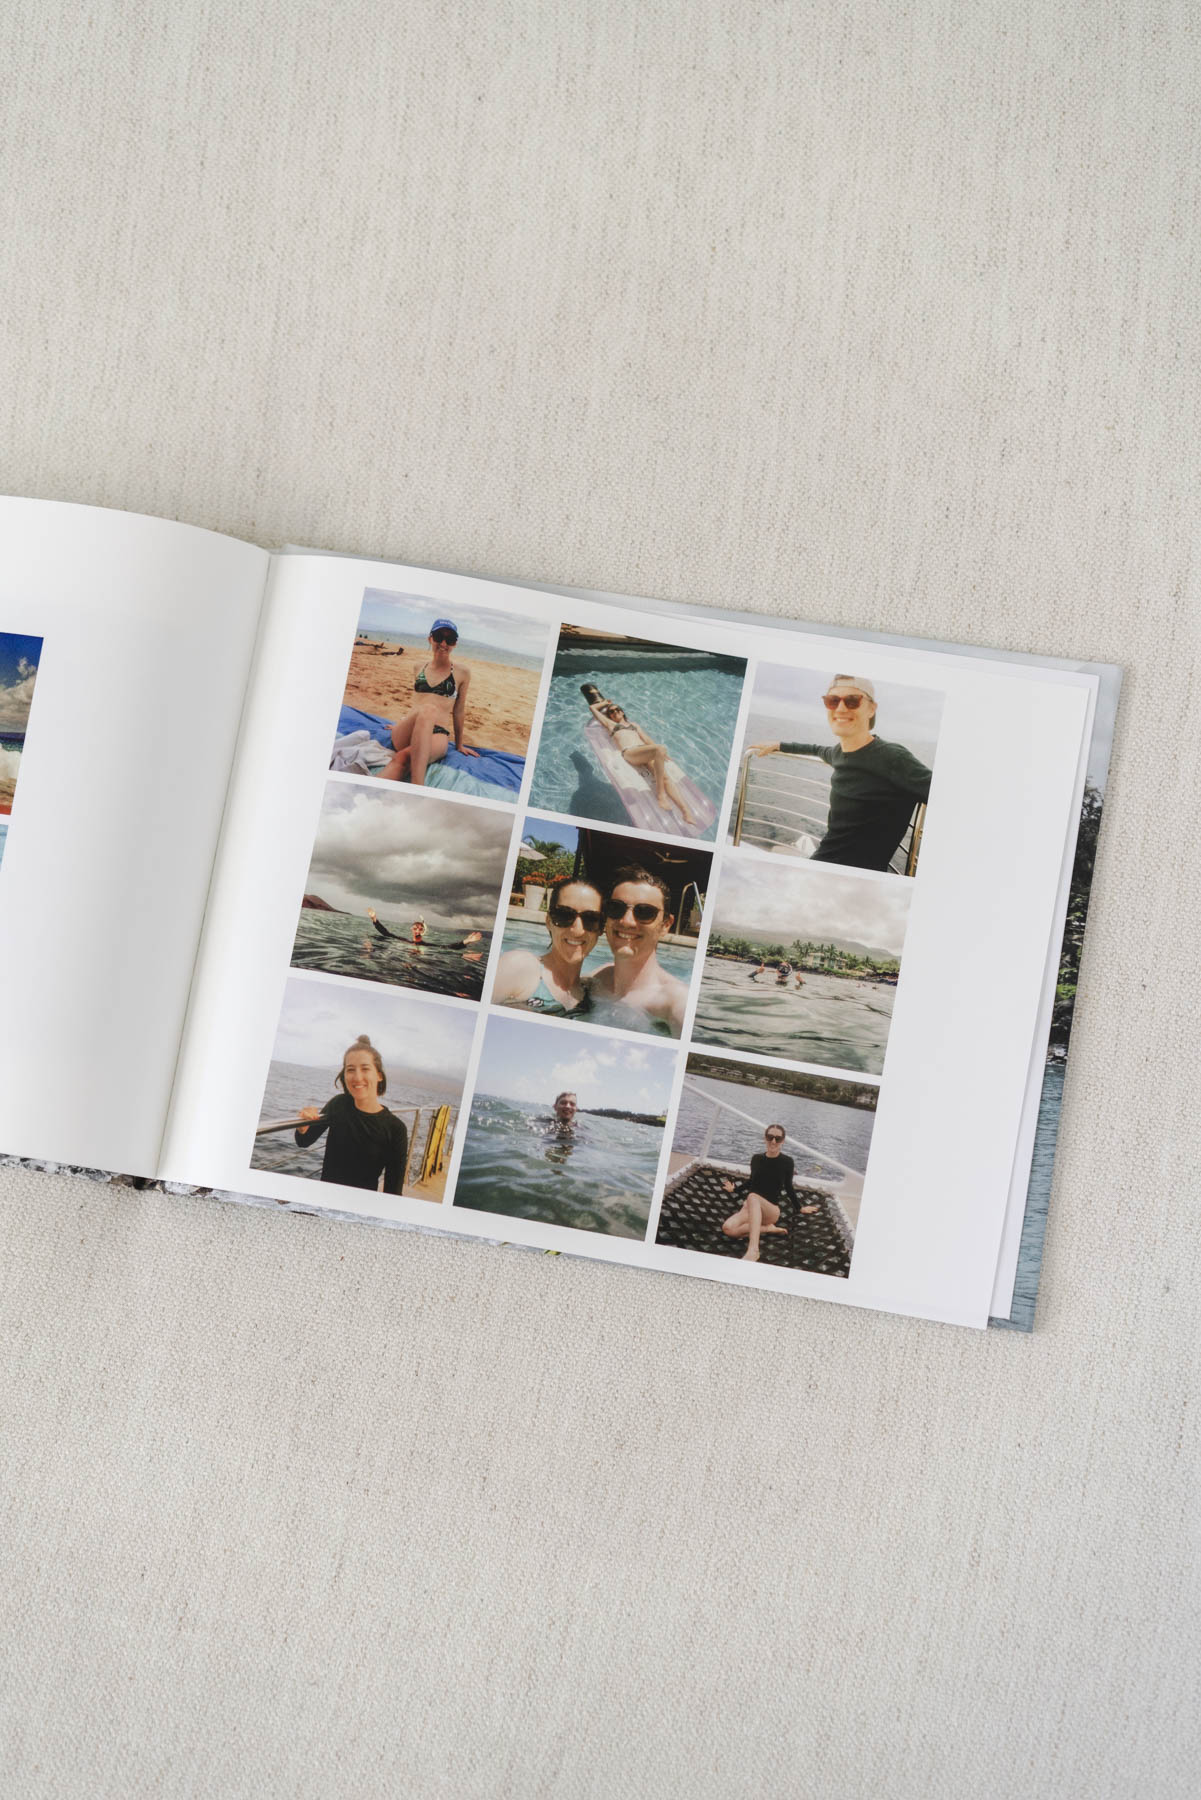
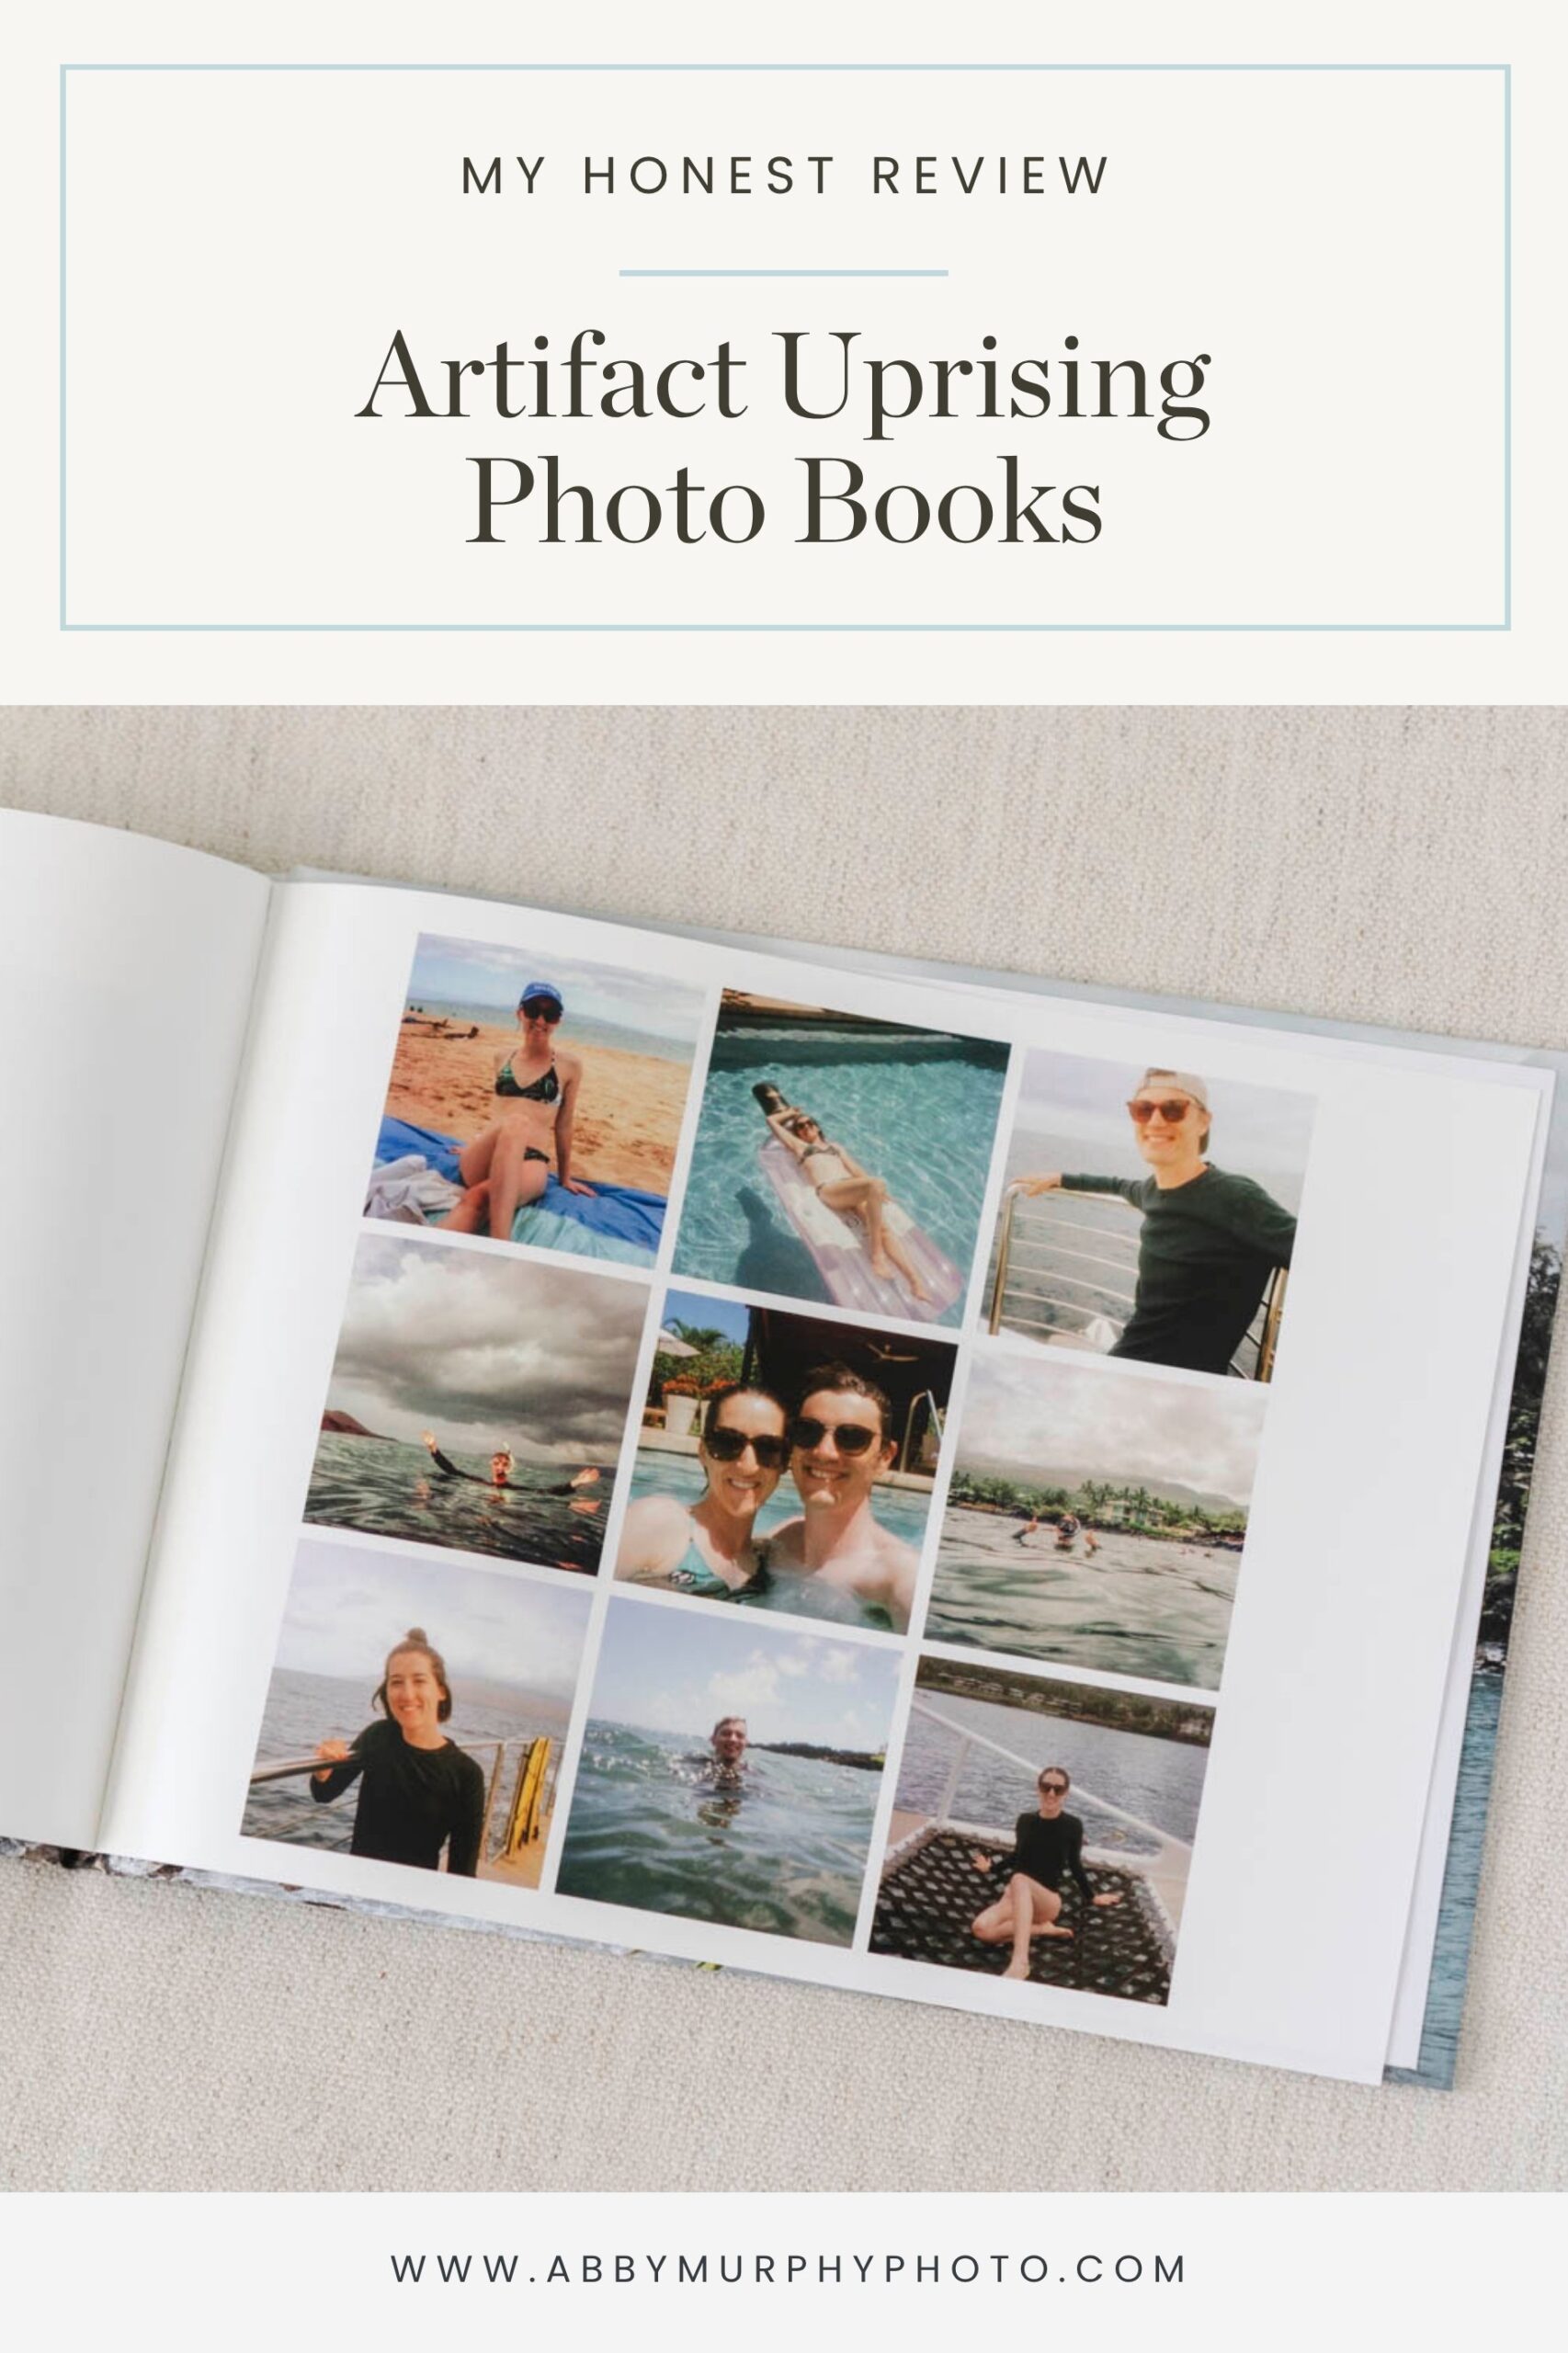
- Big photos = best photos. Use full-page spreads or large layouts for your favorite images, like your most beautiful landscapes or group photos.
- Use the Swap button. If you place a photo but then decide it needs to go somewhere else, use the Swap button to swap it with another photo or slot within your layout.
- Add captions. Click Add Text Box to add a caption with a location or memory. I’m not a huge journaler in photo albums, but I love adding a little context to my shots.
Step 10: Proof Your Album
- Use preview mode. As you design, occasionally flip through your pages in Preview mode. This is where I usually catch little things like spacing or an image that looks too dark.
- Send yourself a proof. Always, always proof your album before ordering! You’ll get an emailed PDF version of exactly how it will print. Look over it carefully to catch typos or awkward crops.
- Order! Once you’ve approved your proof, you’re ready to add your project to your cart! Be sure to check out when Artifact Uprising has sales to snag a discount.

Pros, Cons, & Are They Worth It?
Still on the fence about whether to create a travel photo book with Artifact Uprising? Here’s a quick breakdown of the pros and cons to help you decide if it’s right for you.
Pros
- Modern, minimal designs. Their book options and layouts are clean and beautifully designed, perfect if you like a more elevated, editorial feel.
- Plenty of options. From the type of photo book to cover options, there’s a book type and style for anyone.
- High-quality printing and materials. The paper, binding, and print quality all feel well-made.
- User-friendly editor. The interface is simple and intuitive, even if you’ve never made a photo book before.
Cons
- Layout limitations. Like most online photo book editors, you’re limited to their preset layouts. You can’t freely drag and drop photos anywhere on the page. But to me, this keeps the design cohesive and easier to create. If you’re design-inclined, you can upload your page designs as entire pages if you wish!
- Pricier than other brands. Compared to options like Shutterfly or Mixbook, you’ll pay more, but you can often catch sales for 15-20% off.
- Photos can print dark. Like I mentioned, your photos can print darker than they appear on the screen, especially on matte paper. Just be sure to brighten your images slightly before finalizing your design.
So…. Is It Worth It?
If you’re looking to create a high-quality and beautiful keepsake from a special trip, an Artifact Uprising travel photo book is absolutely worth it! The design, materials, and finished product feel elevated (and won’t break the bank!).
That said, if you plan to print multiple copies for friends or family, a lower-cost option might make more sense. But if you want something to display in your home, flip through often, and eventually pass down, Artifact Uprising is the way to go.
If you’re also into keeping physical photo prints, be sure to check out this post where I break down my absolute favorite photo storage carrier, and this page for a round-up of some of my other favorite memory-keeping tools!
When Does Artifact Uprising Have Sales?
If you’re not in a rush, you can design your book anytime and wait for a sale. Artifact Uprising runs promotions pretty regularly. You can almost always count on discounts around major gifting holidays like Mother’s Day, Father’s Day, Christmas, and Hanukkah, as well as seasonal promos.
They also tend to run sales around other memory-focused or family-centered holidays like Thanksgiving, Valentine’s Day, and Back-to-School season.
You can also get 15% off your first order when you sign up for emails. It’s an easy way to save if you’re ready to order!


+ SHOW comments
Add a comment