








Are your photos actually backed up, or do you just hope they are? If you constantly feel this low-grade worry (been there!), I wrote this post for you. Most people don’t find out their photos weren’t safe until it’s too late, and I don’t want it to happen to you.
I’m going to walk you through the 3-2-1 backup system to safeguard your iPhone photos, digital camera photos, and prints. It’s simpler to set up and maintain than you think!
When I was little, my family was close to losing all of our Kodak prints. They were stored in a cardboard box next to our laundry room in the basement, and a hot water heater leak damaged some of them. We probably didn’t have the negatives saved, so everything could’ve been totally lost. We did have to throw some out, but thankfully, most survived. Those original prints still have a slight mildewy smell to this day!
That near-disaster is a big reason I’m so intentional about backing up photos now. Let’s walk through exactly how to do it, so you never have to worry about it again.
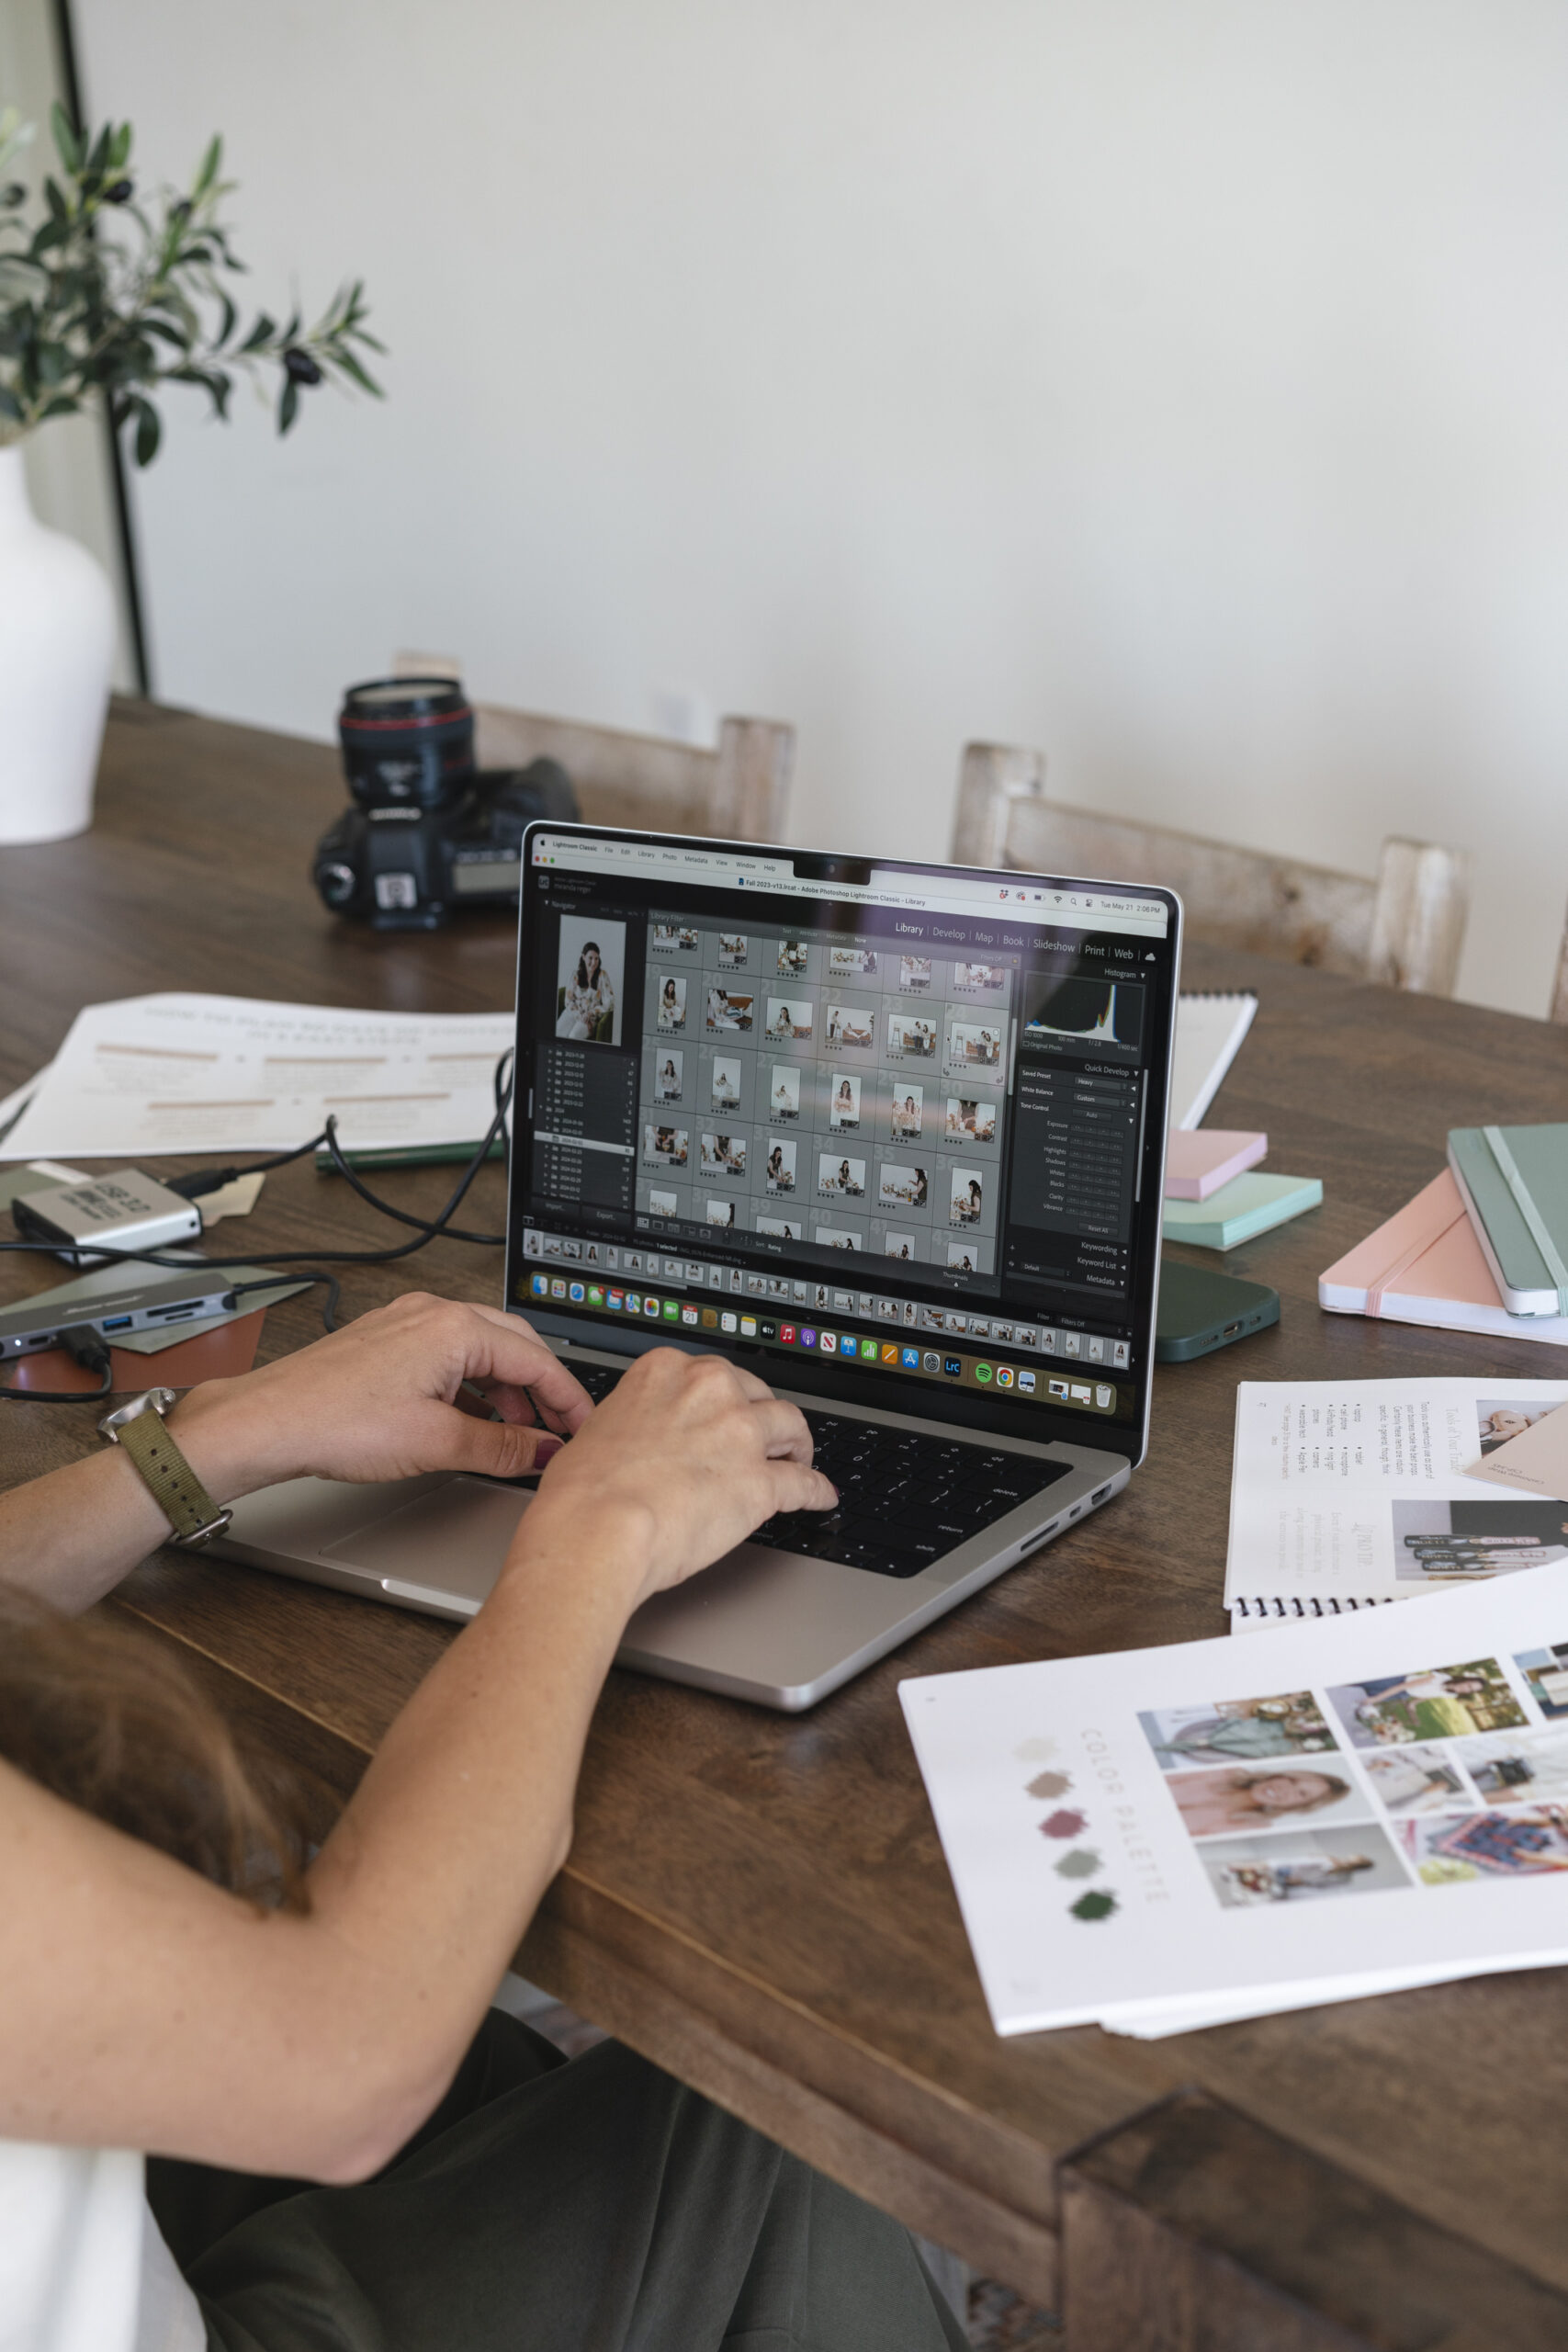
The 3-2-1 Backup Rule
The 3-2-1 backup rule is a framework for making sure your files (and memories!) are actually protected.
The idea is to keep 3 total copies of your files, stored on at least 2 different media types, with 1 copy kept off-site. Here’s how it looks, no matter what type of media you’re backing up:
- Your original files
- A second copy on a different device or medium (like an external hard drive or your computer)
- A third copy stored off-site, like in the cloud or on a hard drive at a family member’s house
I’ll show you exactly how to apply the 3-2-1 backup rule to your iPhone photos, digital photos, and prints, so you can be confident your memories are safe. Once you have this system in place, you’ll never have to worry about losing them!
How to Back Up Photos on iPhone
Your iPhone camera is always with you, but do you know if your thousands of photos are actually safe? Here’s how you can apply the 3-2-1 rule to your iPhone photos. Just set aside a little time each month, and you’ll have a system that keeps them protected.
- Original– Your iPhone
- Second copy– External hard drive. Use Image Capture (a free app built into every Mac) to transfer your photos from your iPhone to your computer, then move them to an external hard drive. I use this one!
- Offsite– Cloud service. I use Backblaze because it automatically backs up everything on my computer and hard drives whenever they’re plugged in. It’s less than $9/month on the annual plan. I cover some other cloud services worth considering in the FAQ. Also: read more below about why I don’t use iCloud Photos as a backup service.
iCloud: How to Back Up Photos
A quick but important note: iCloud Photos is a syncing system, not a true backup. That means if your phone gets lost, broken, or stolen, and you’re using iCloud, anything you delete or edit on your phone is deleted or changed across all your devices. I go into this in more detail in this post.
I keep iCloud Photos turned on for easy access across devices, but I consider this my “original” copy, not a backup.
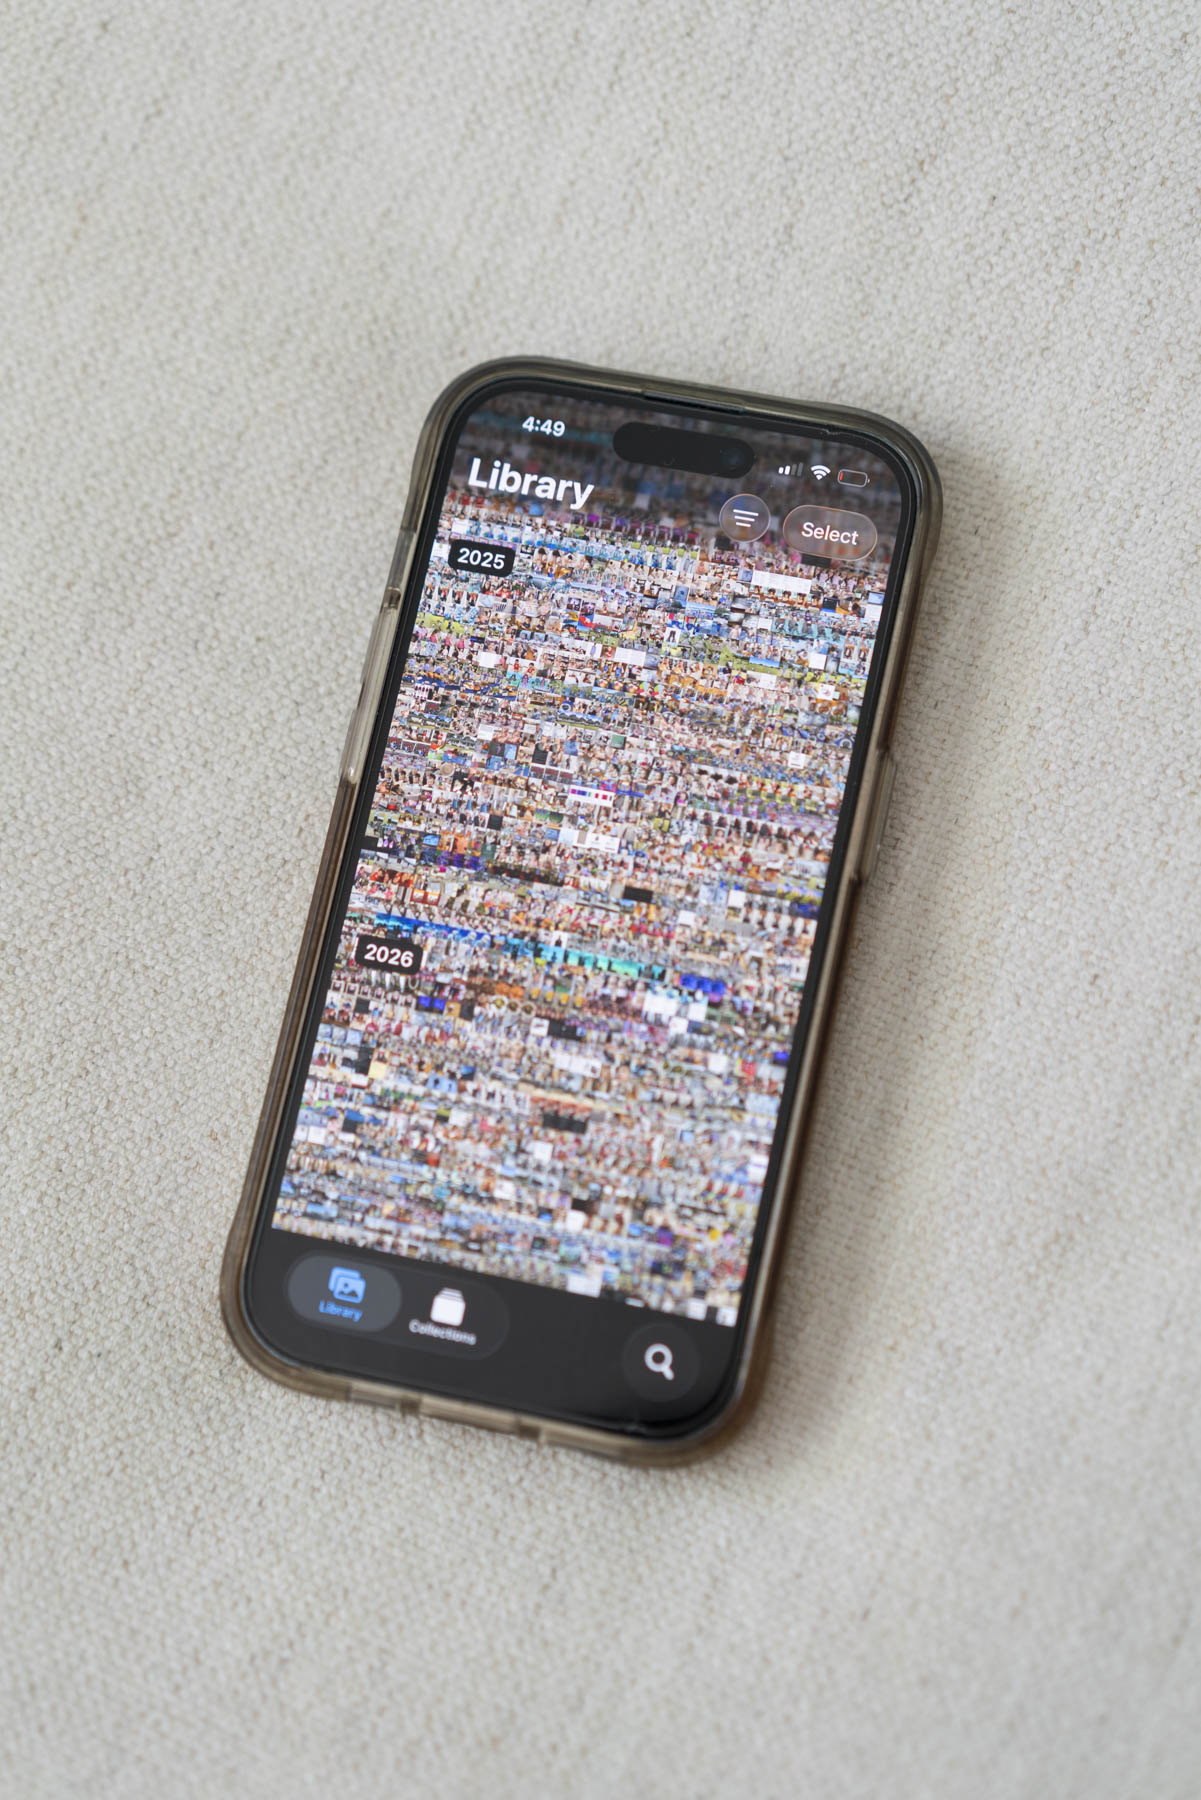
Digital Camera Photos
The system is almost identical to backing up your iPhone photos. The only difference is that your photos originate on a memory card, not on your iPhone.
Every time you take a new batch of photos, just follow these steps:
- Original- Your computer. Transfer your photos from your memory card to your computer first.
- Second copy- External hard drive. Move the files from your computer to a hard drive, then format your memory card so it’s ready to use again.
- Offsite- Cloud storage or a second hard drive. Either use a cloud service or store a second hard drive somewhere outside your home, like at a family member’s house.
Photo Prints
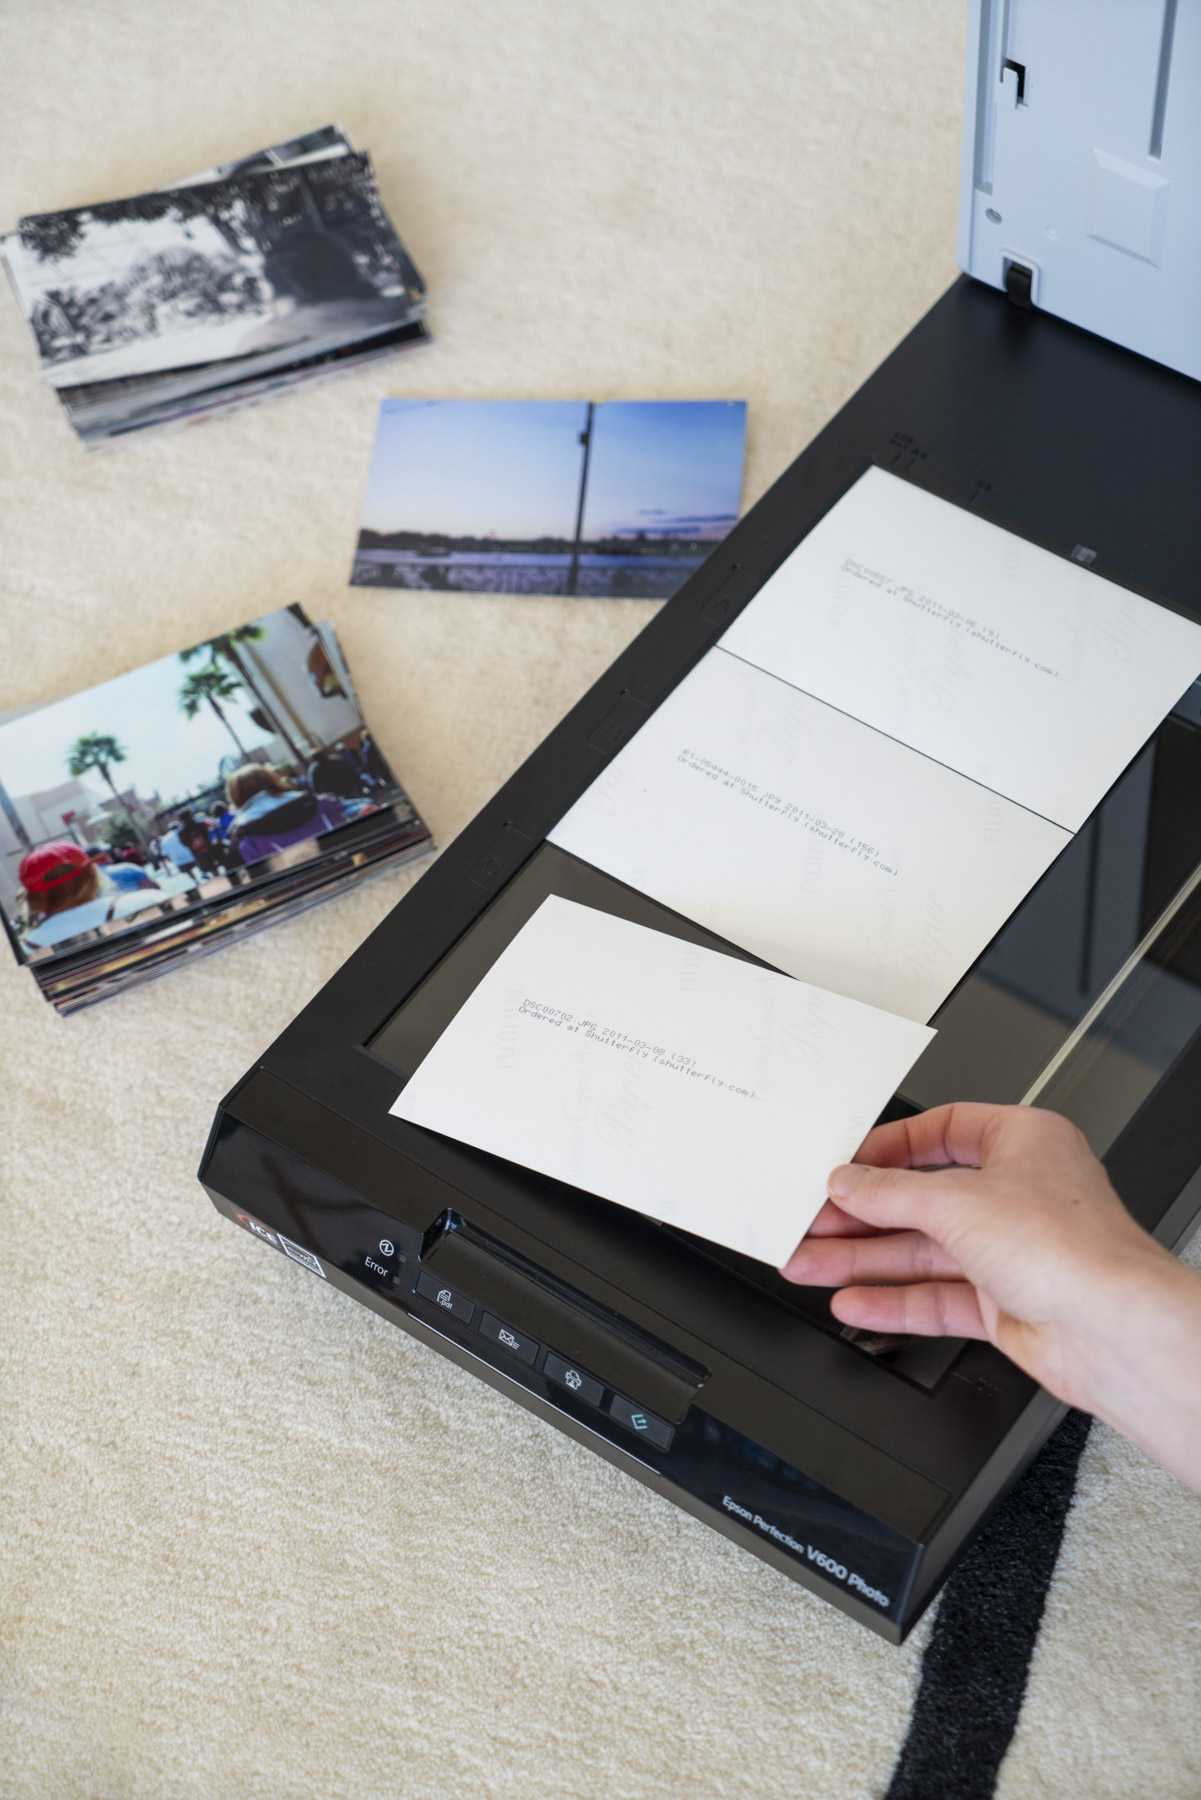
If you don’t already have your prints digitized, that’s the first step! The number of prints you need to digitize and the time you want to dedicate to the project will determine whether you’ll DIY or use a service. I used ScanMyPhotos to scan prints and slides of old family photos and had a great experience!
- Original- The physical print
- Second copy- Digitized files saved to a hard drive
- Offsite- Cloud storage or a second hard drive stored outside of your home
Digitizing your prints not only creates a backup copy, but it also makes it so much easier to share with family members and friends!
FAQ’s
How often should I update my backups for both digital and print photos?
Here are my recommended timelines for backing up your digital and printed photos:
- iPhone: Once a month
- Digital photos: Every time you shoot new photos on your memory card
- Prints: This is mostly a one-and-done project. Once you digitize your prints and get them into your backup system, you’re set. Just make sure to add any new prints you get, like school photos, to your next backup round
What are the best cloud storage service options?
Like I mentioned, I use Backblaze. It’s been my go-to for years as a professional photographer, but it really is easy for anyone to use. While I haven’t done a full deep-dive on all of these, other popular cloud storage options include:
- Google Photos: Free up to 15GB. Upgrade to Google One for $99/year for 2TB storage
- Amazon Photos: Unlimited free photo storage for Prime members (does not include video storage)
- Dropbox: Includes 2GB free storage. $15/month for 5TB storage
- OneDrive: Includes 5GB free storage. Upgrade to a Microsoft 365 plan to get 1TB for $99.99/year
Time to Back Up Your Photos
I hope this post gives you a little relief from that nagging “I need to back up my photos!” feeling! The 3-2-1 backup system is a really useful, simple tool that helps you make sure your photos are always safe and easy to access.
If you have any questions about backing up your photos, let me know in the comments or email me at abby@abbymurphyphoto.com.



+ SHOW comments
Add a comment