


Learning how to digitize old photo albums is easier than you might think, and it’s one of the best ways to preserve your photos while freeing up precious space in your closets and on your shelves!
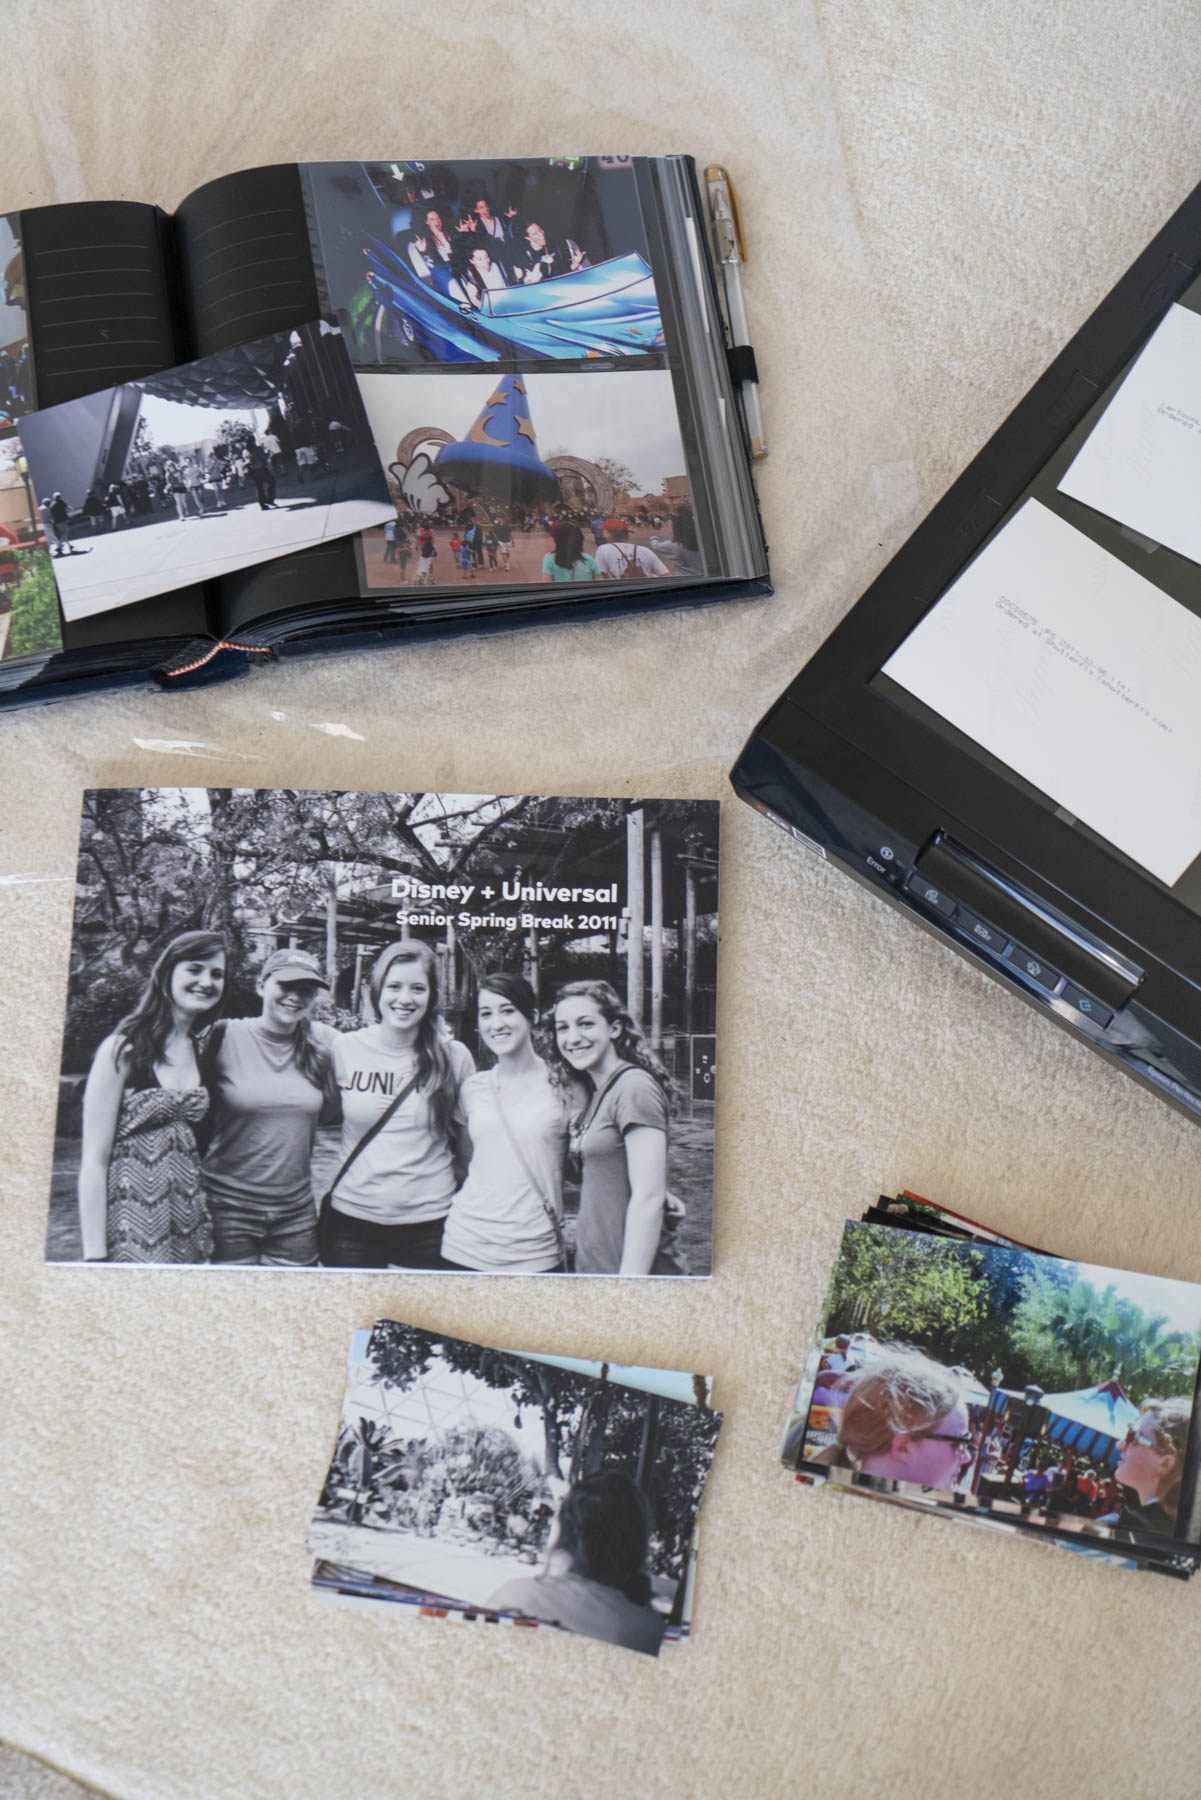
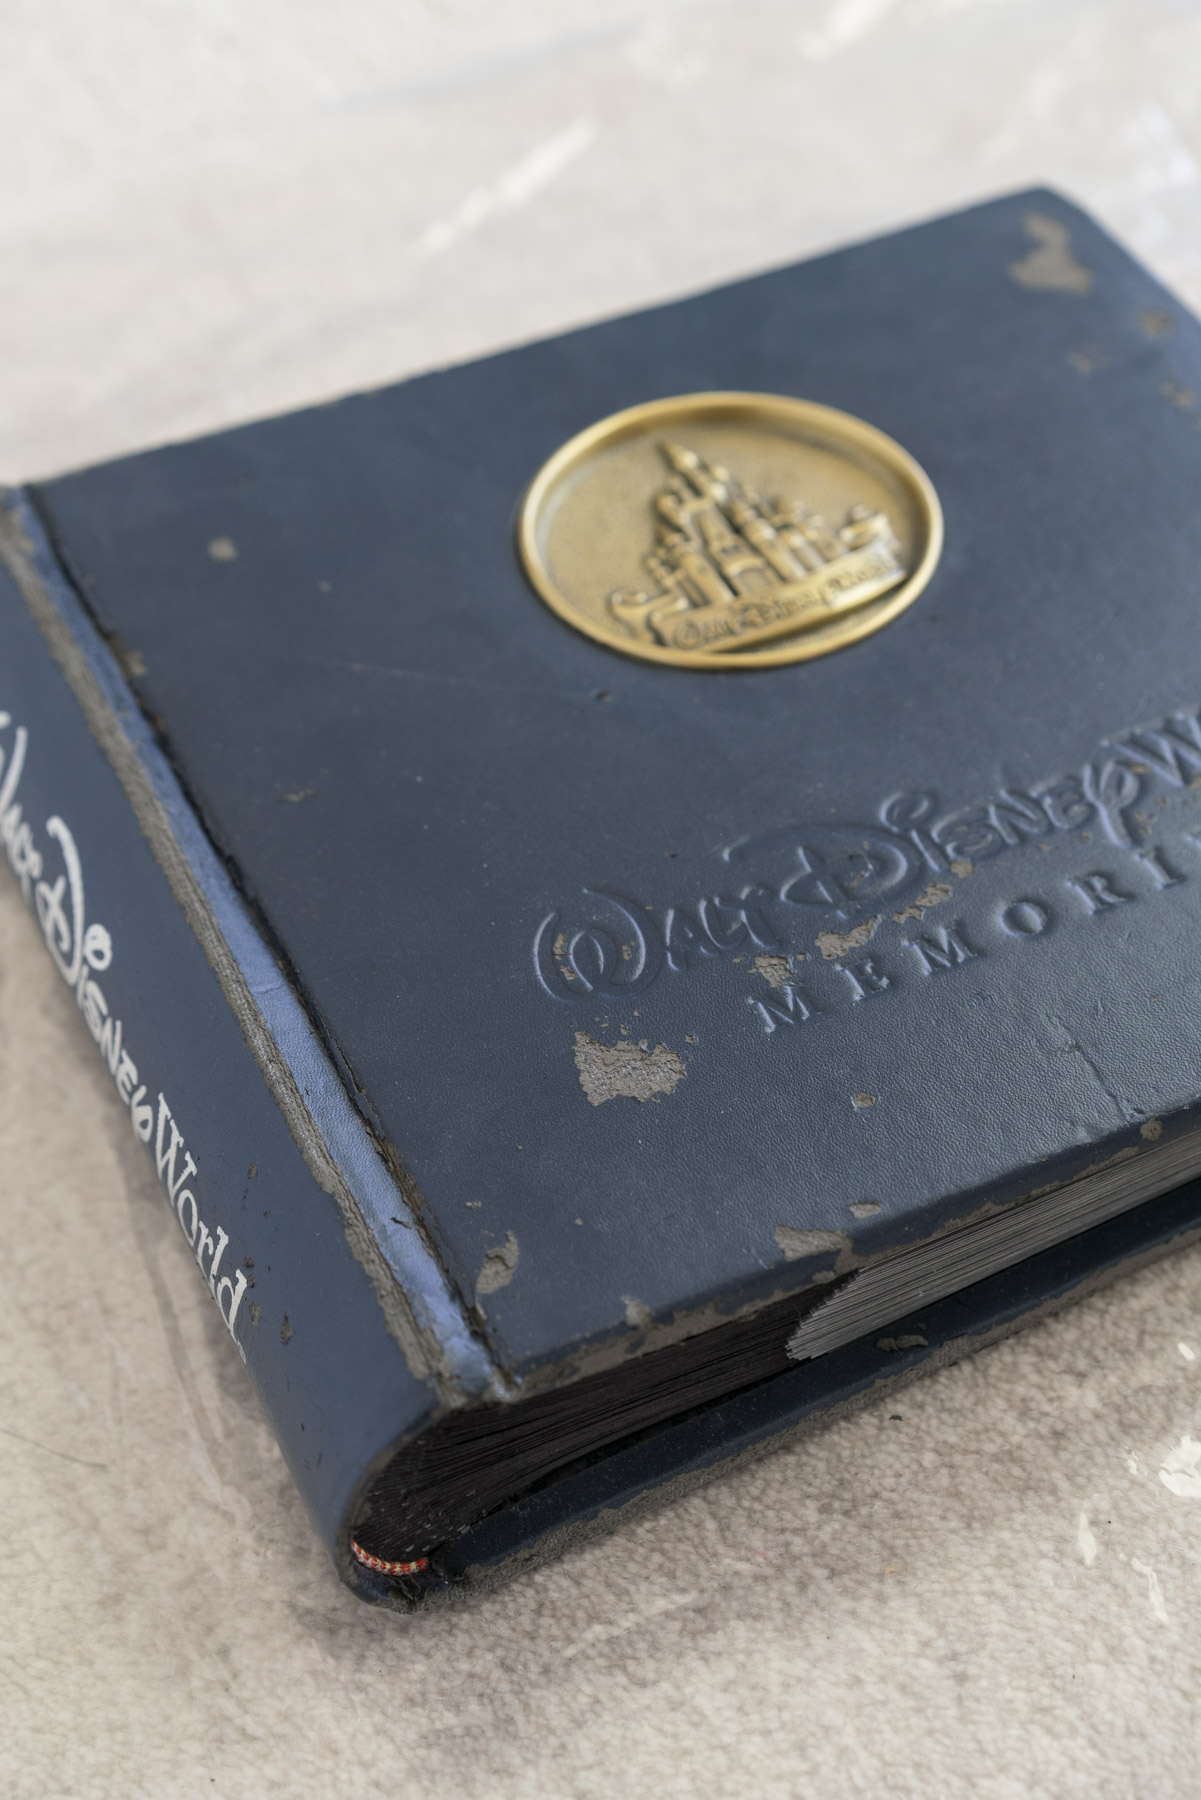
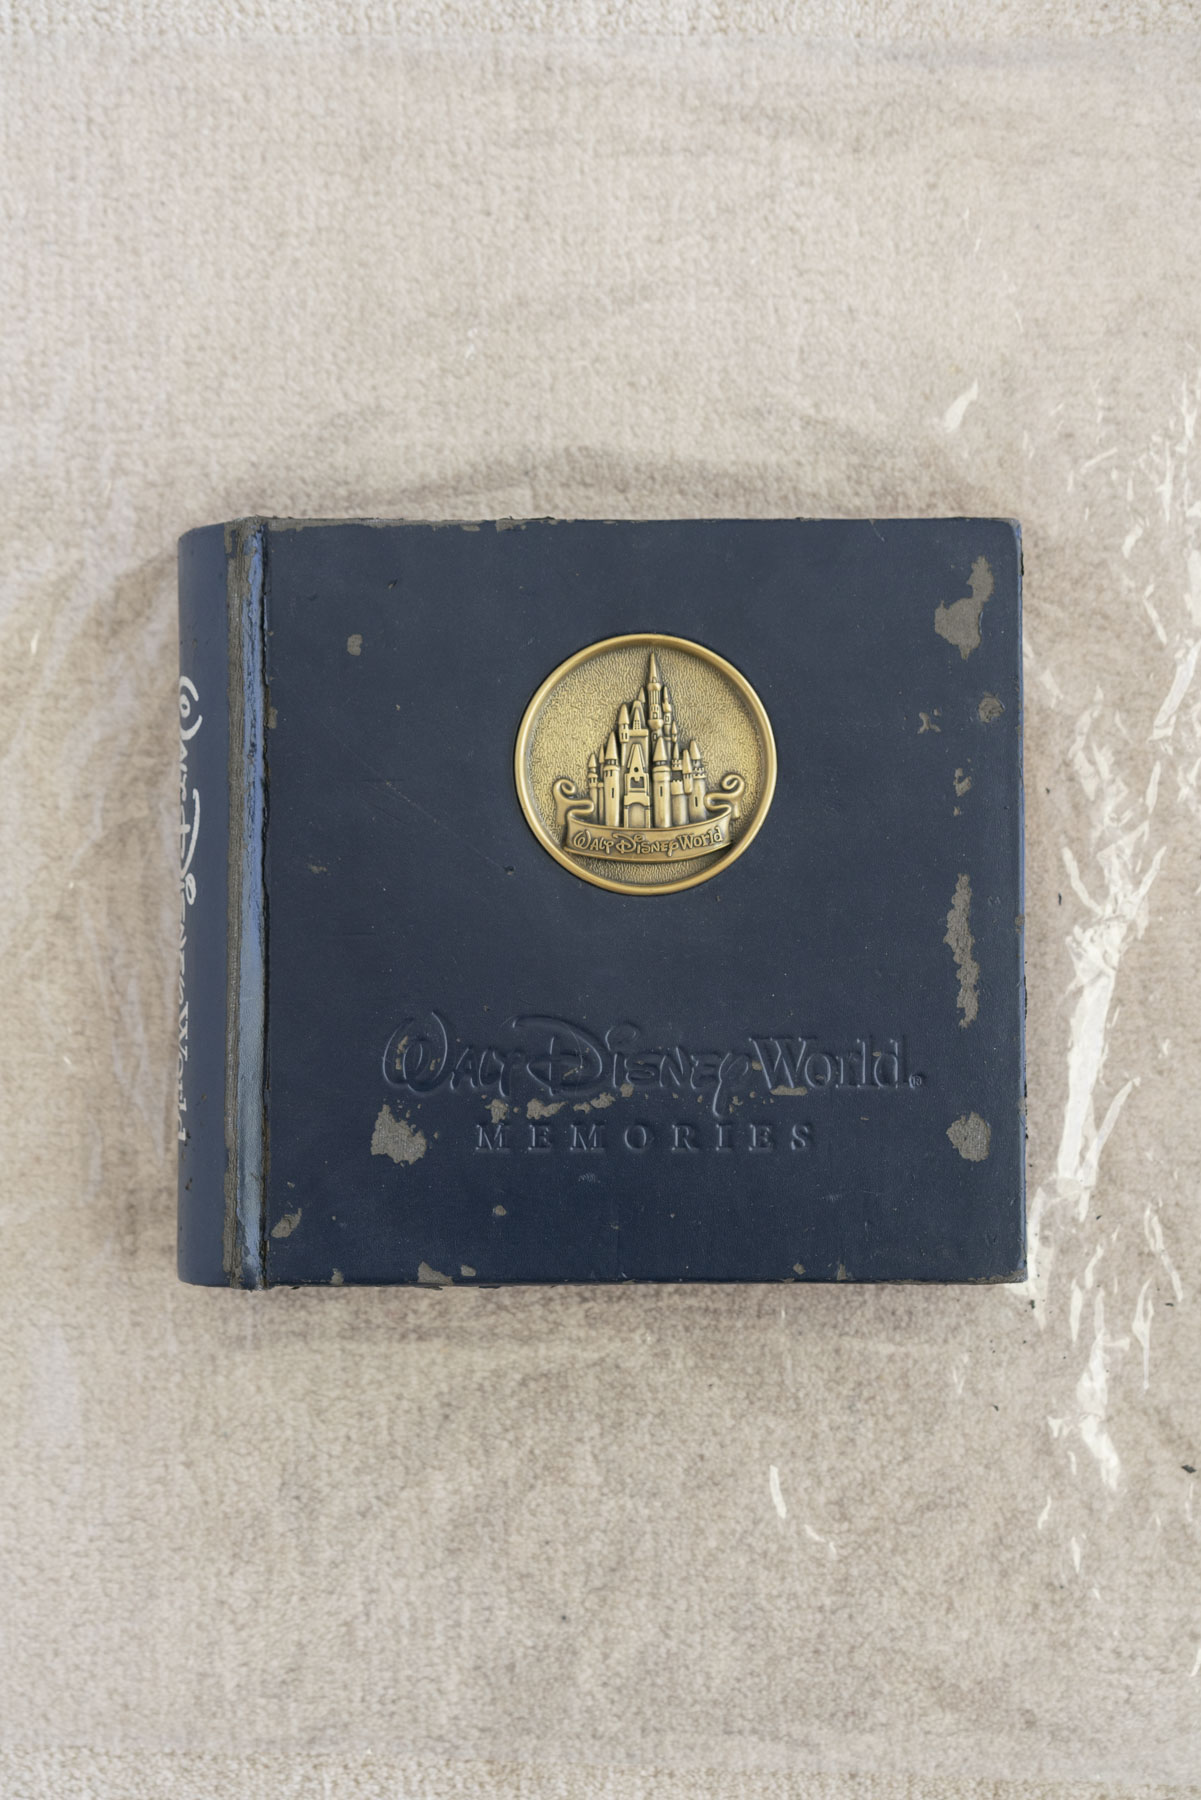
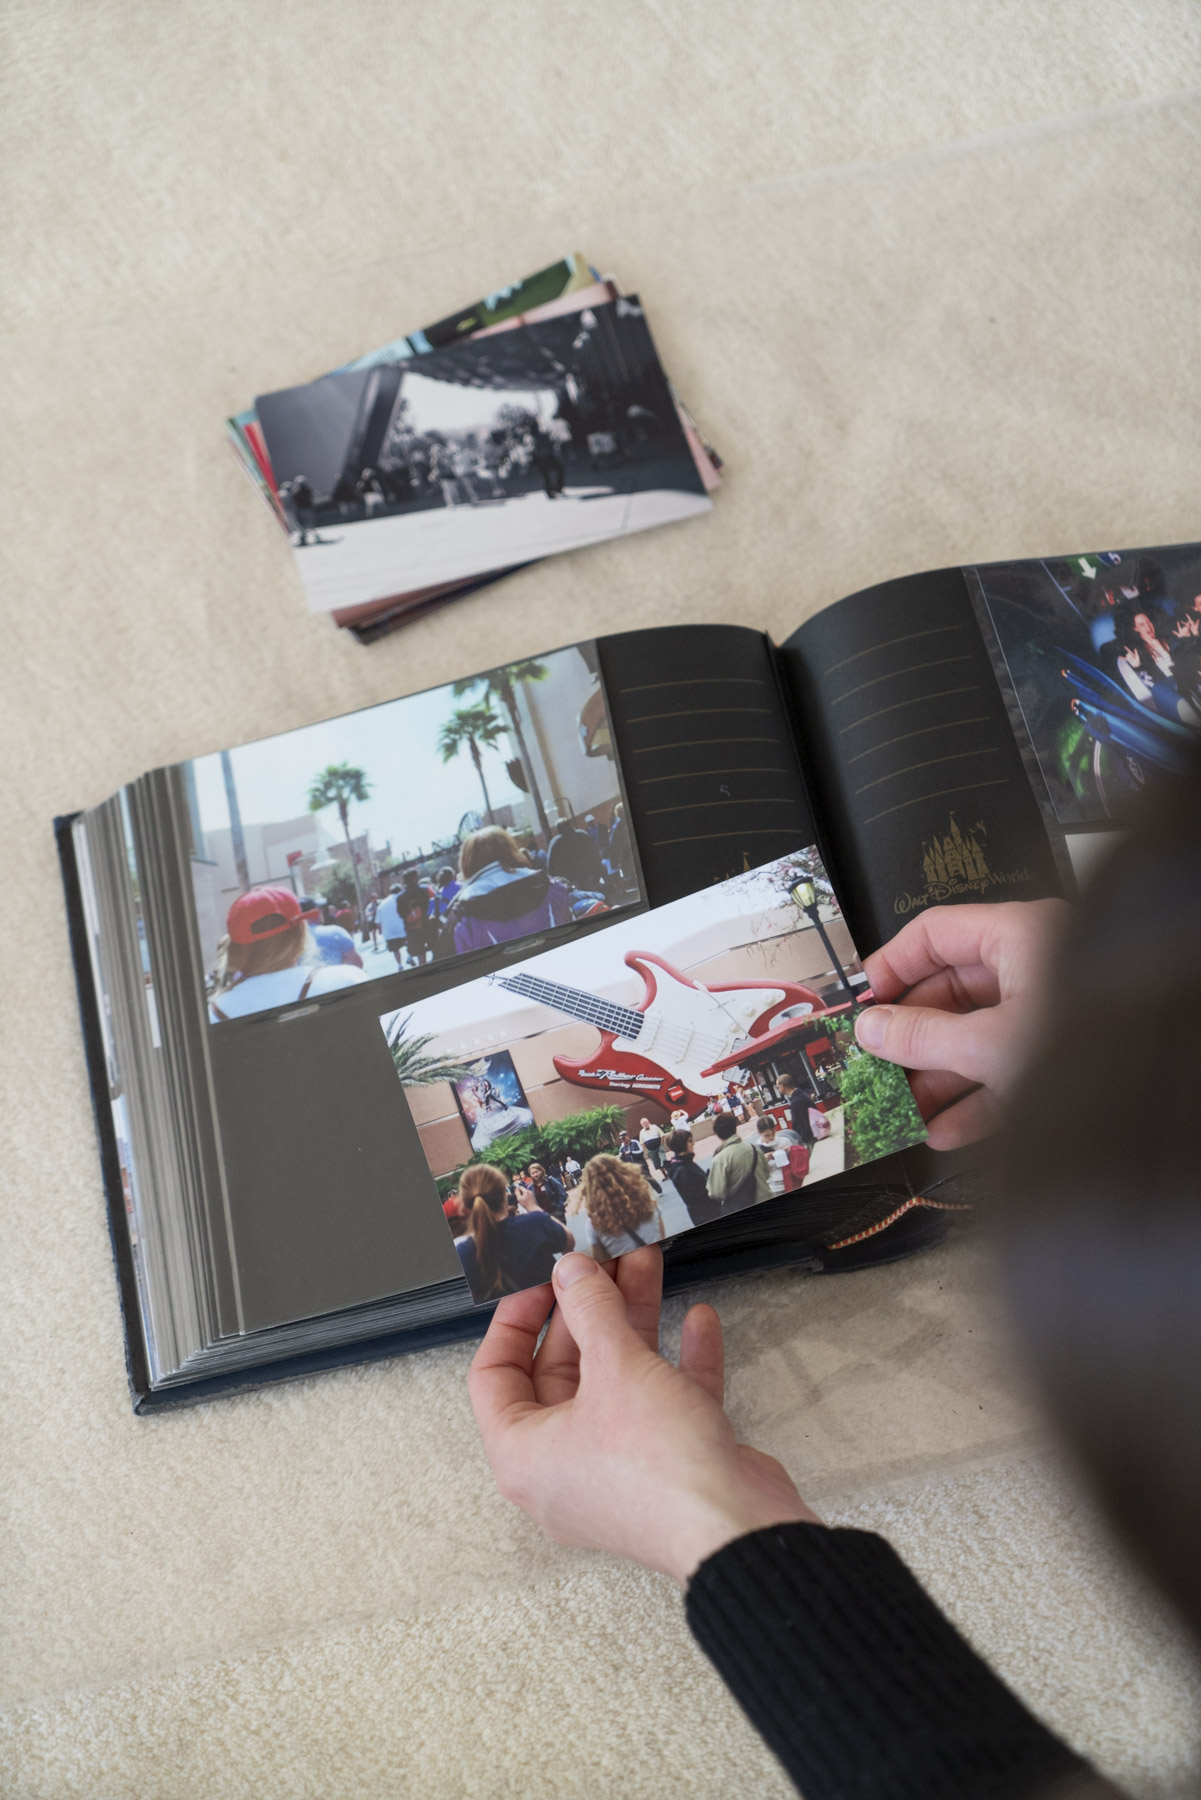
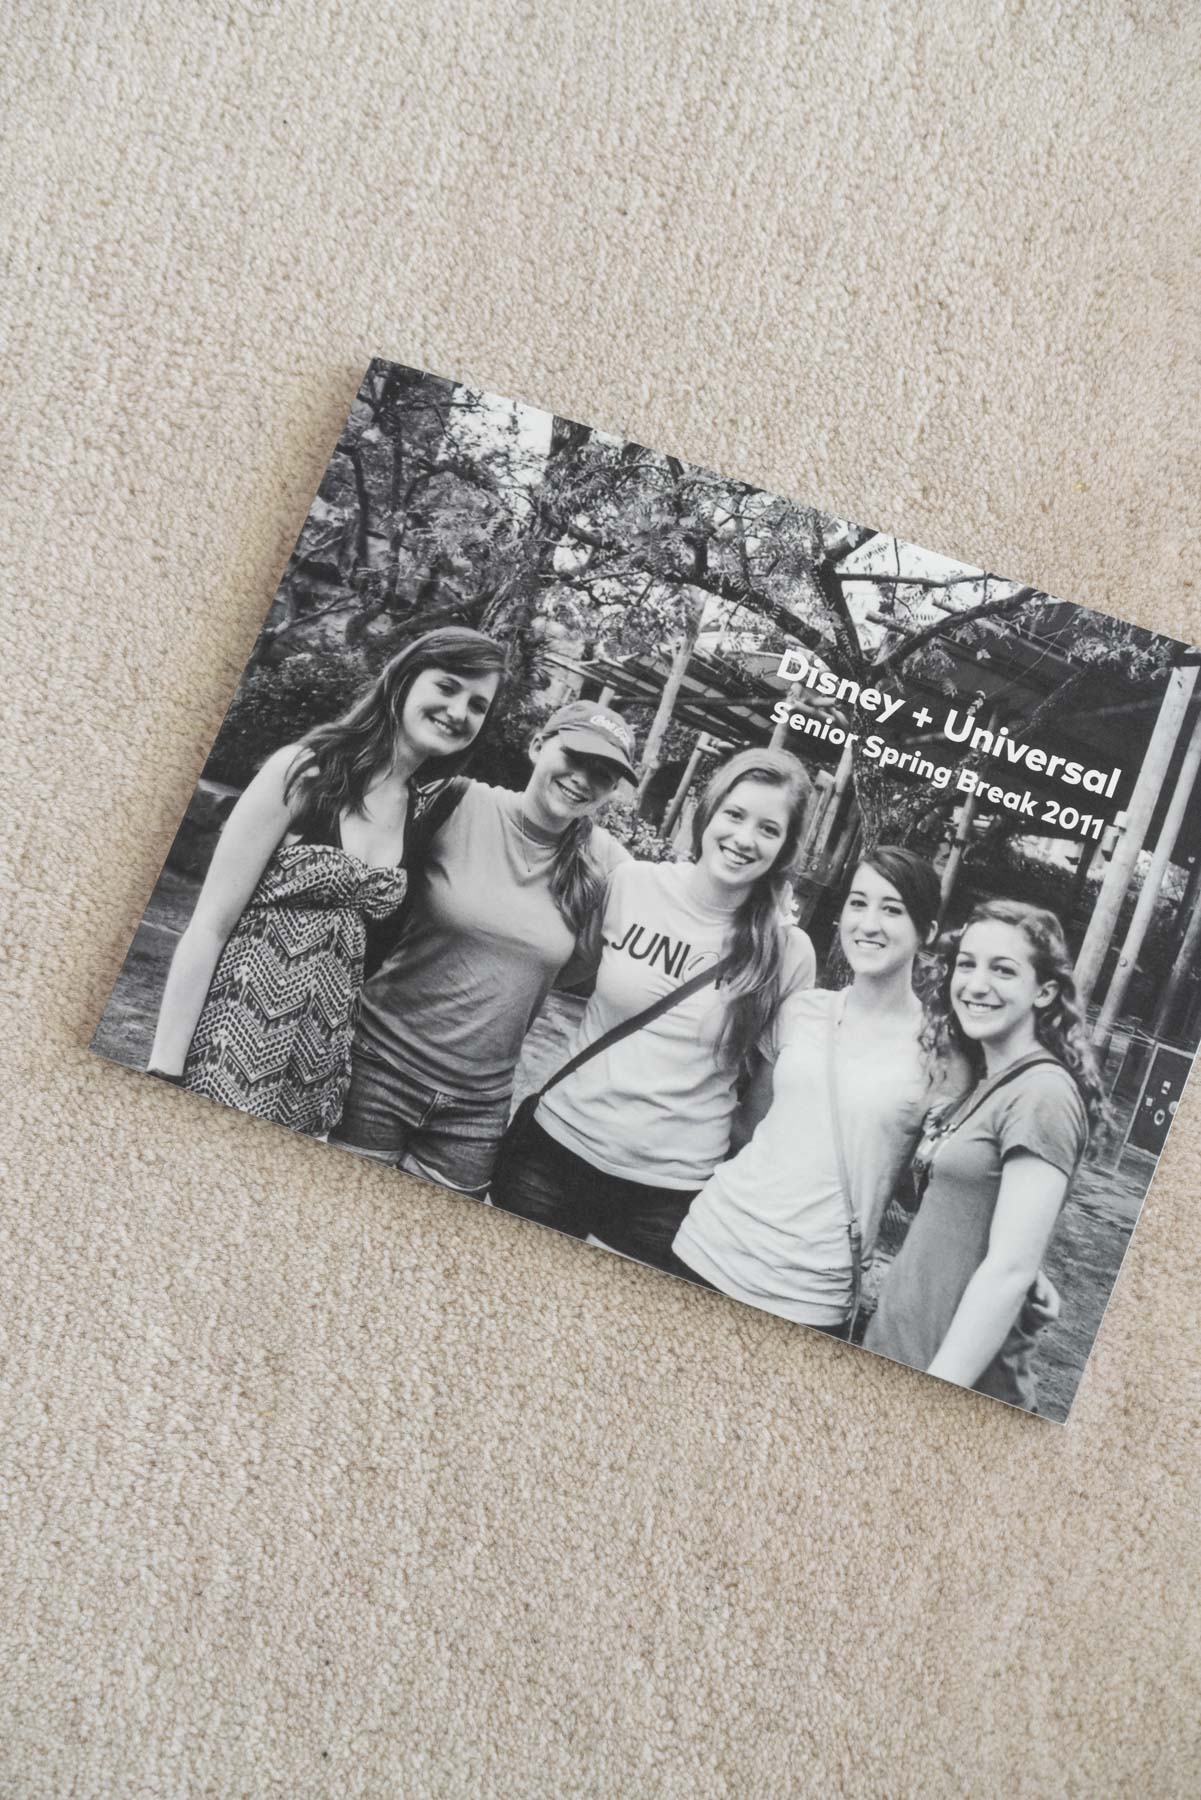
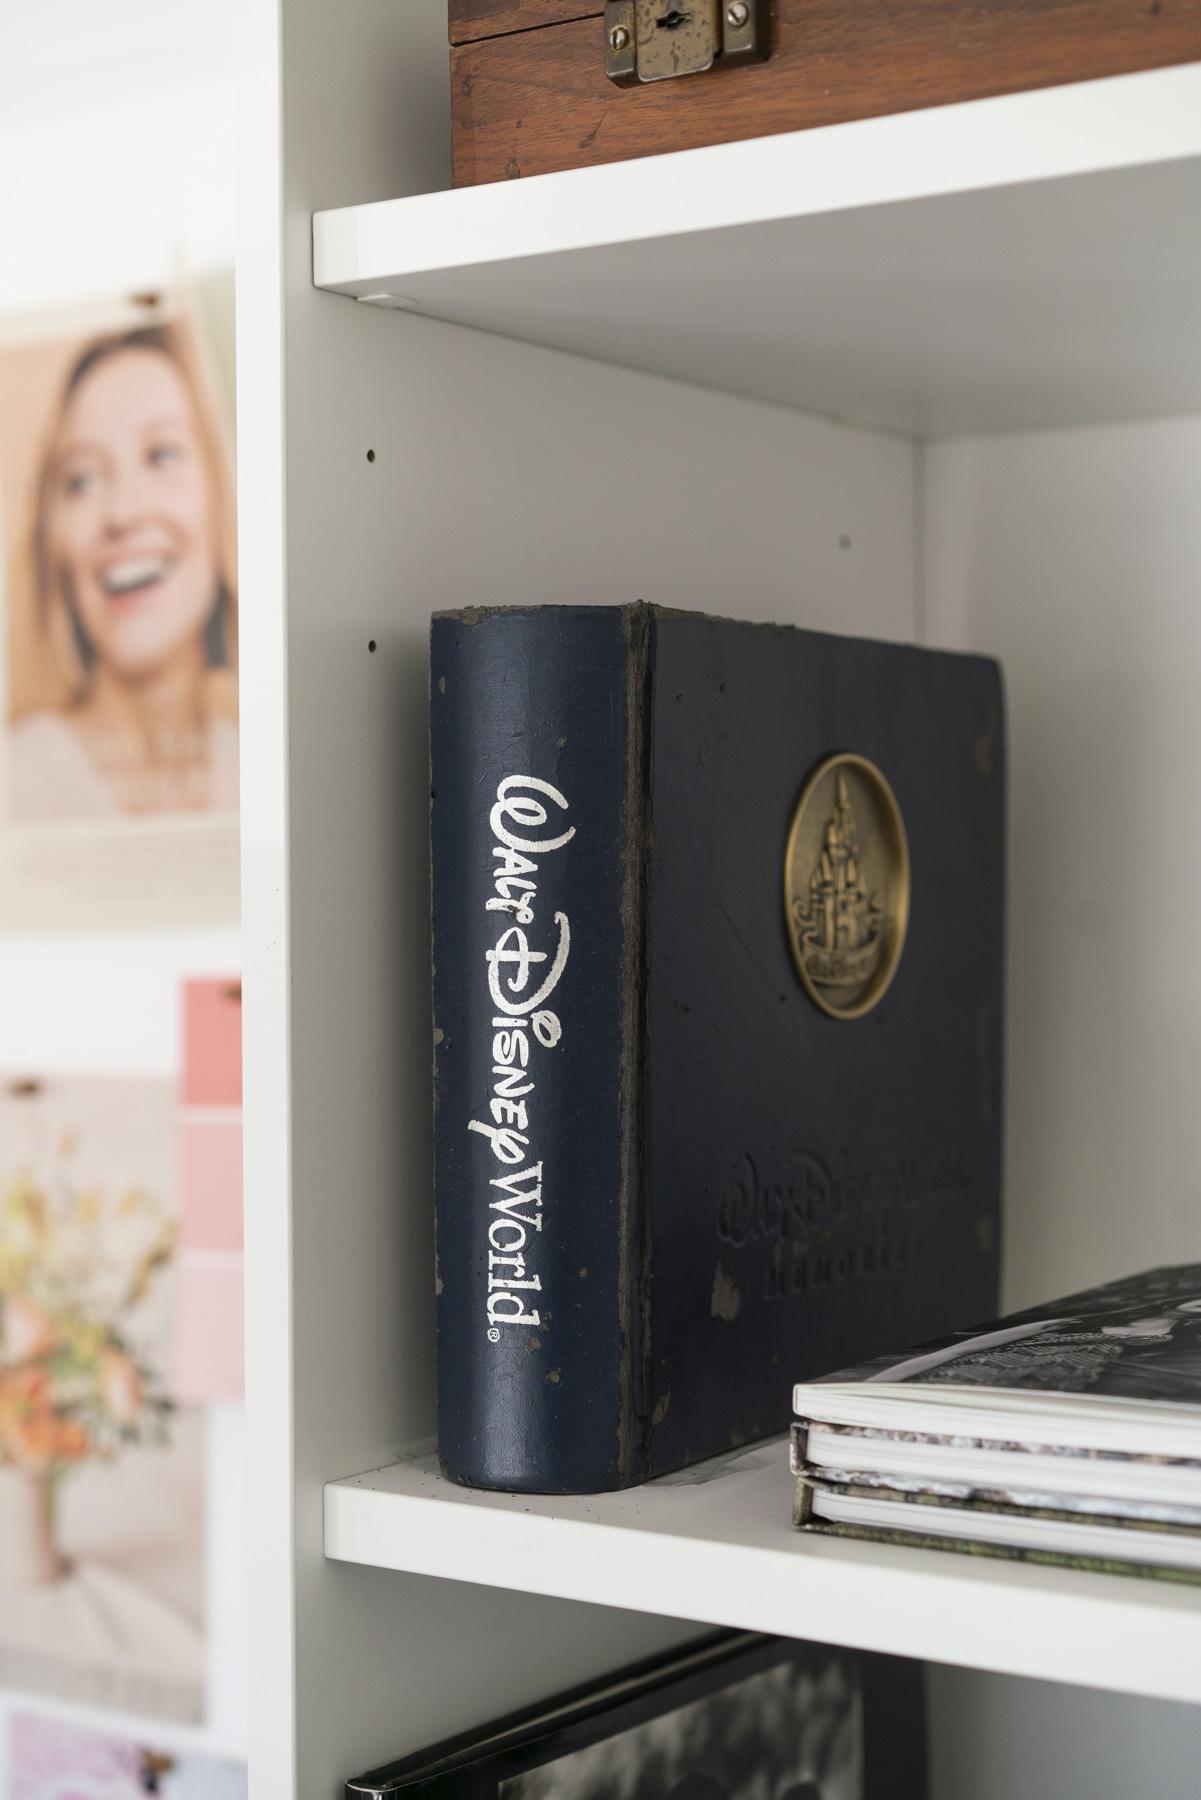
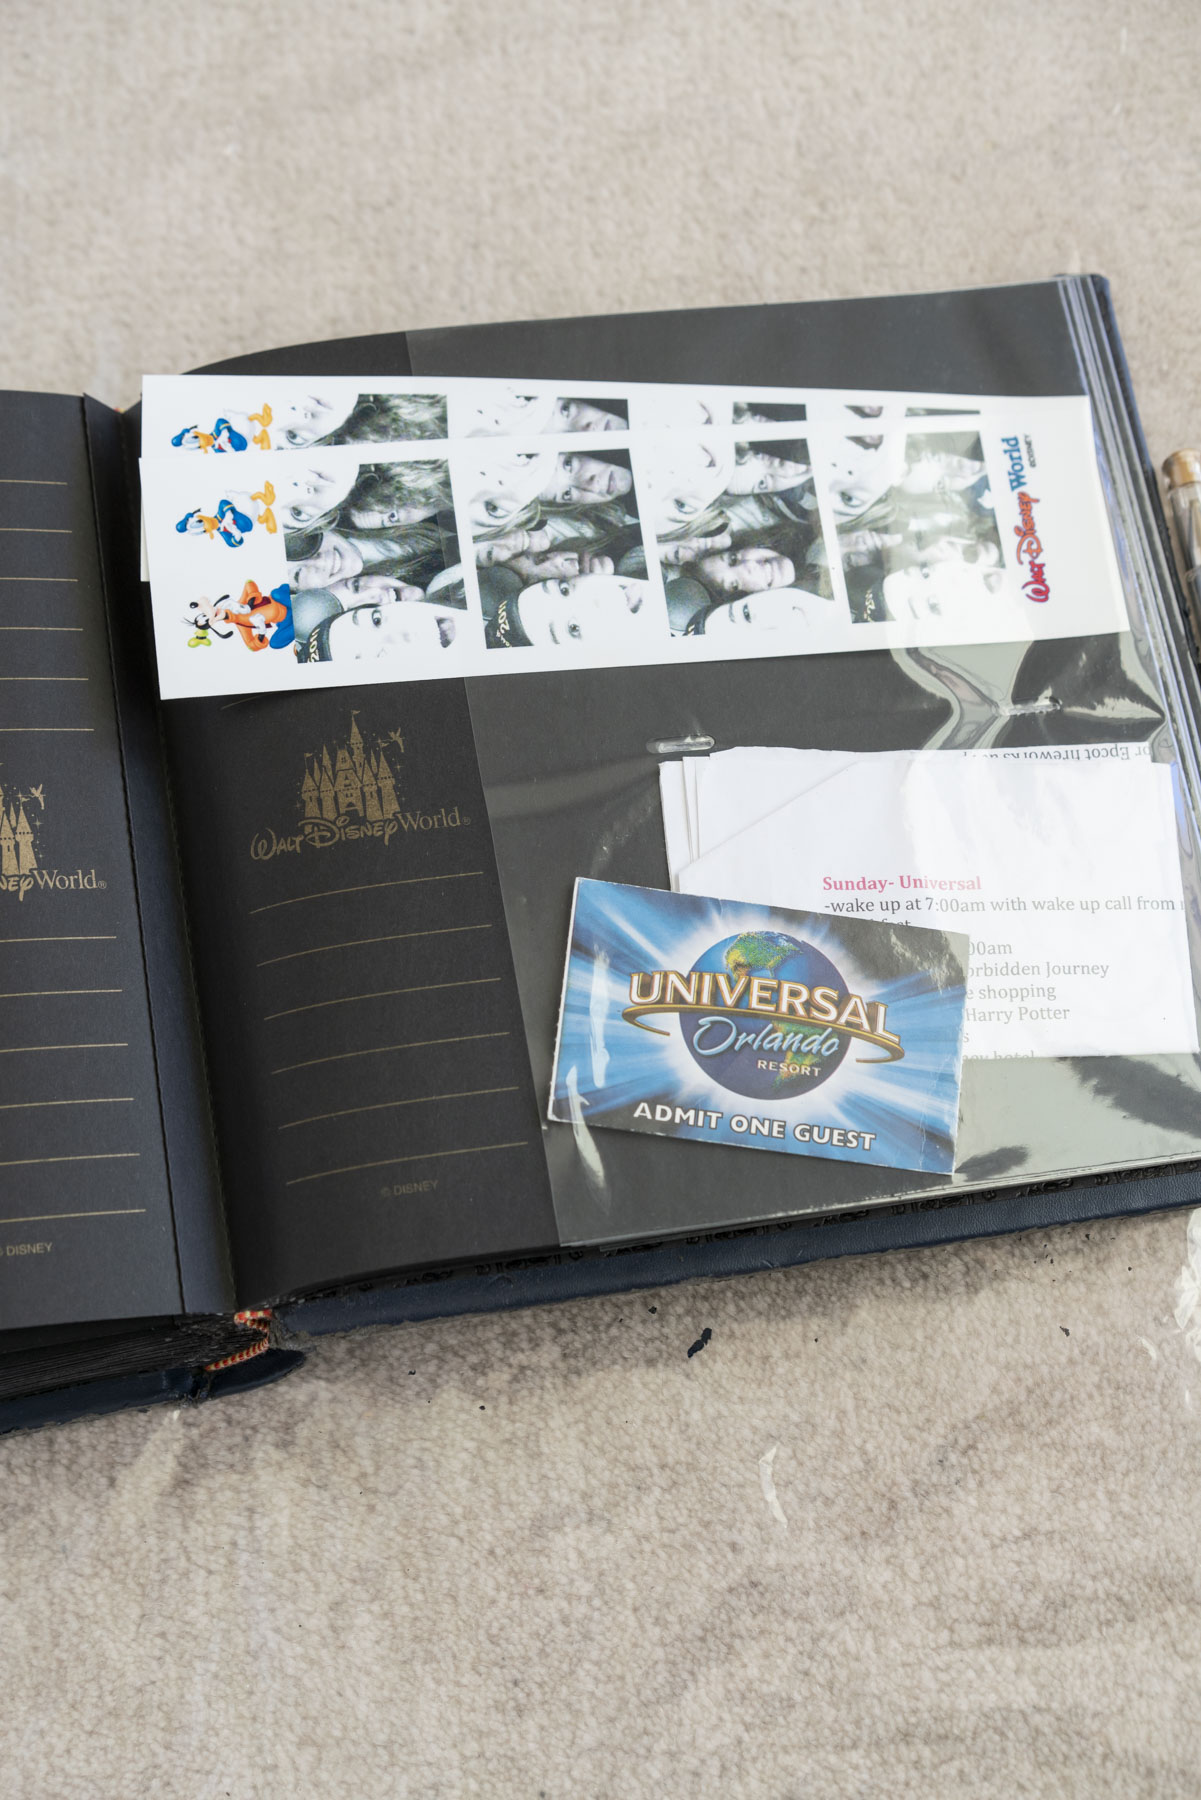
I started with a crumbling, sticky faux-leather album from a high school trip to Disney World with my best friends. Even if your album isn’t quite as decrepit as mine (peep the photos later in the post), if it’s worn, bulky, or outdated, it’s the perfect candidate for digitizing.
In this post, I’ll cover how to digitize photo albums, from scanning to creating modern photo books and storing prints. Here’s what I’m covering:
- Why You Might Want to Digitize Your Old Photo Albums
- The Best Way to Scan Old Photo Albums (Step-by-Step)
- How to Store Prints Safely After Digitizing
- Making a Modern Photo Book from Old Photos (Before + After)
My Go-To Tools for Organizing and Digitizing Photos
Why You Might Want to Digitize Your Old Photo Albums
Digitizing your photos keeps them safe, makes them easy to share, and reduces the clutter of bulky albums. You can enjoy your photos without giving up space or the originals.
It also gives you peace of mind. By scanning your albums and creating slimmer photo books, you’ll have digital copies in case your originals are ever lost in a move, fire, flood, or other disaster. If something does happen, you can easily re-order a new album.
I know some of you are thinking, “But there’s just something special about holding an album full of prints!” Honestly, I feel the same way. If you’re a fan of physical albums and prints like me, keep your favorites or the ones in the best shape. At the end of the day, it’s about finding the right balance between saving space, keeping your photos safe, and holding on to the nostalgia factor.

The Best Way to Scan Old Photo Albums (Step-by-Step)
There are two main options for scanning your album photos: you can scan them yourself at home or send them to a professional service. The amount of time or money you have to spend on the project, and how large your album is, will depend on the best option for you.

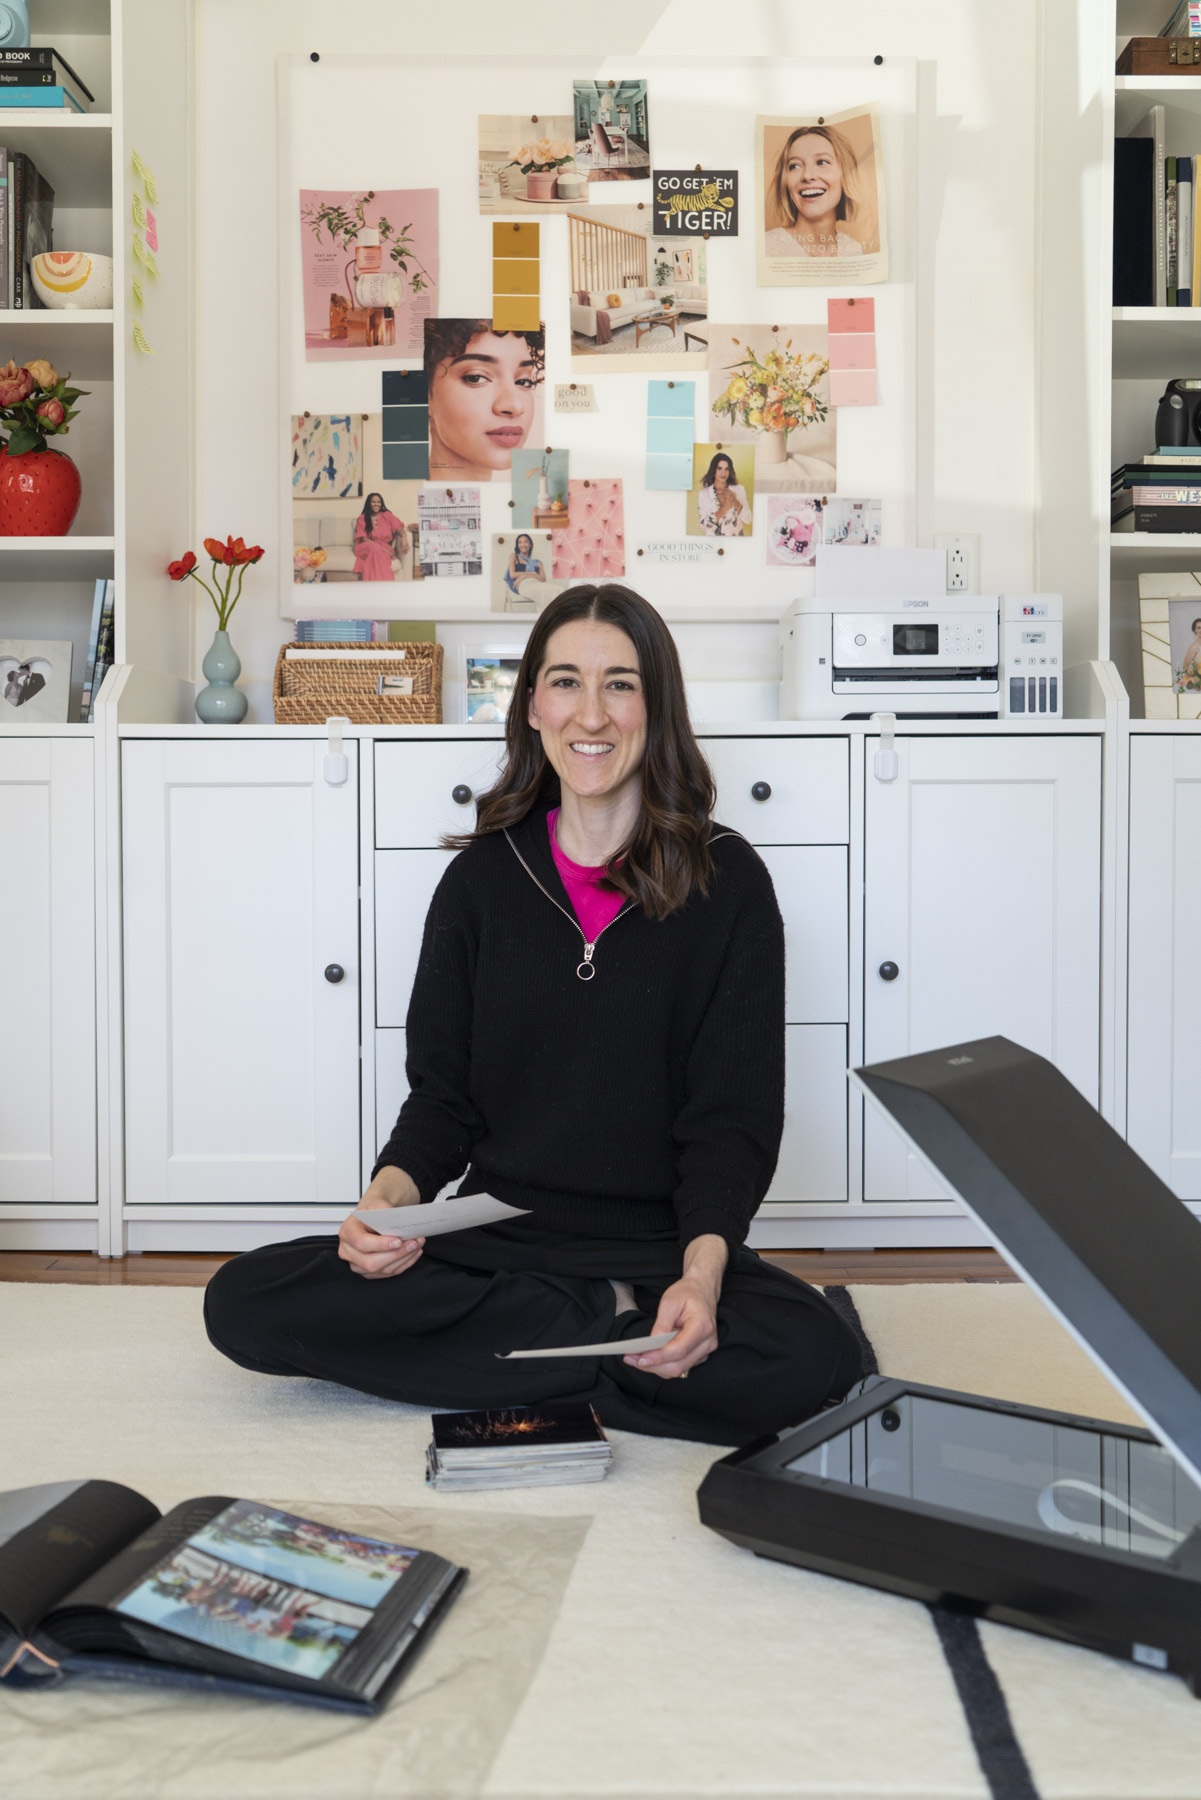
How to Scan Old Photo Albums at Home
Gather the tools you’ll need and follow these steps to scan your photos:
What You’ll Need:
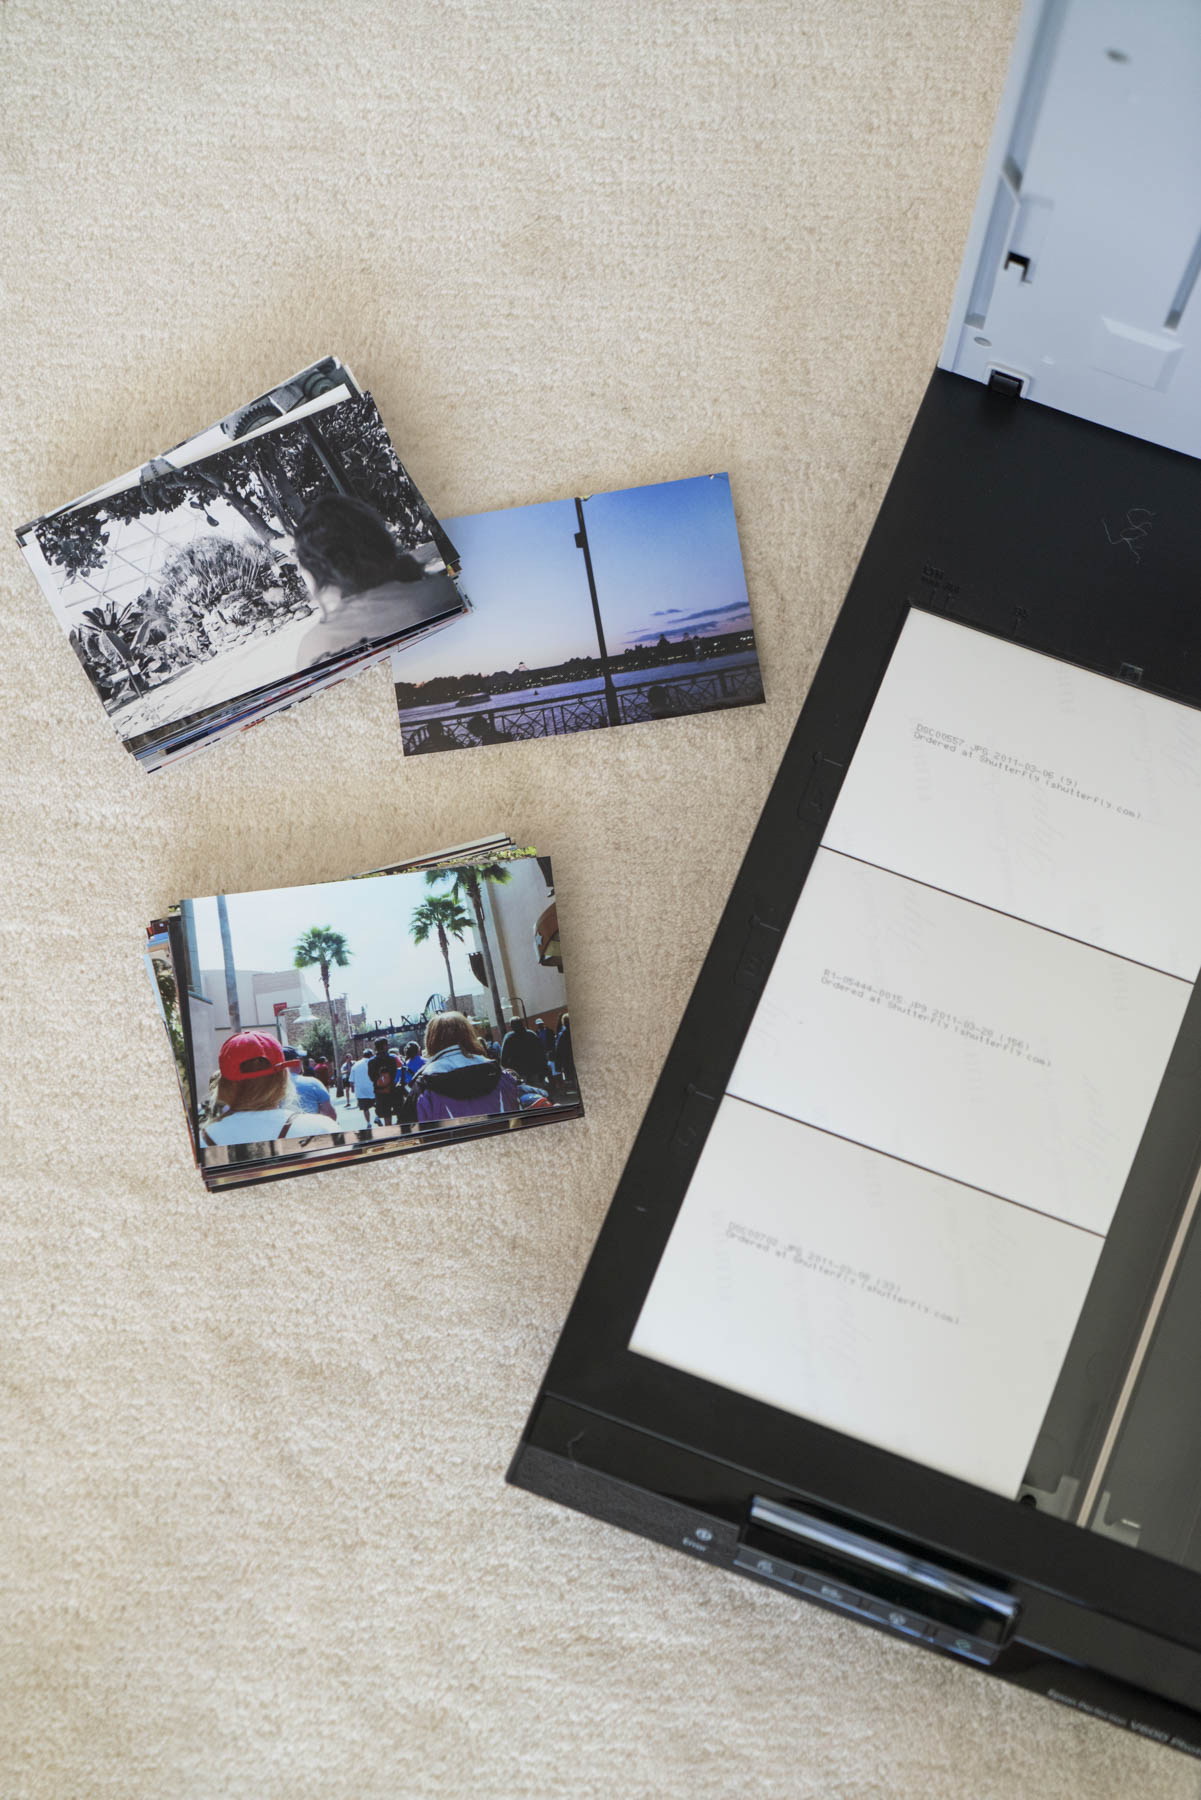
- Flatbed scanner or dedicated photo scanner
- I have an Epson V600 which is now discontinued, but you can currently get it for a great price refurbished at Staples! The updated Epson V850 is your best best for professional quality film and photo scanning, but it’s a bigger investment.
- Photo editing software (like the Photos app, Lightroom, or Photoshop)
- Gloves for protecting your prints from fingerprints
- Gently remove dust with a rocket blower
- Keep your files safe with an external hard drive + cloud storage
Steps:
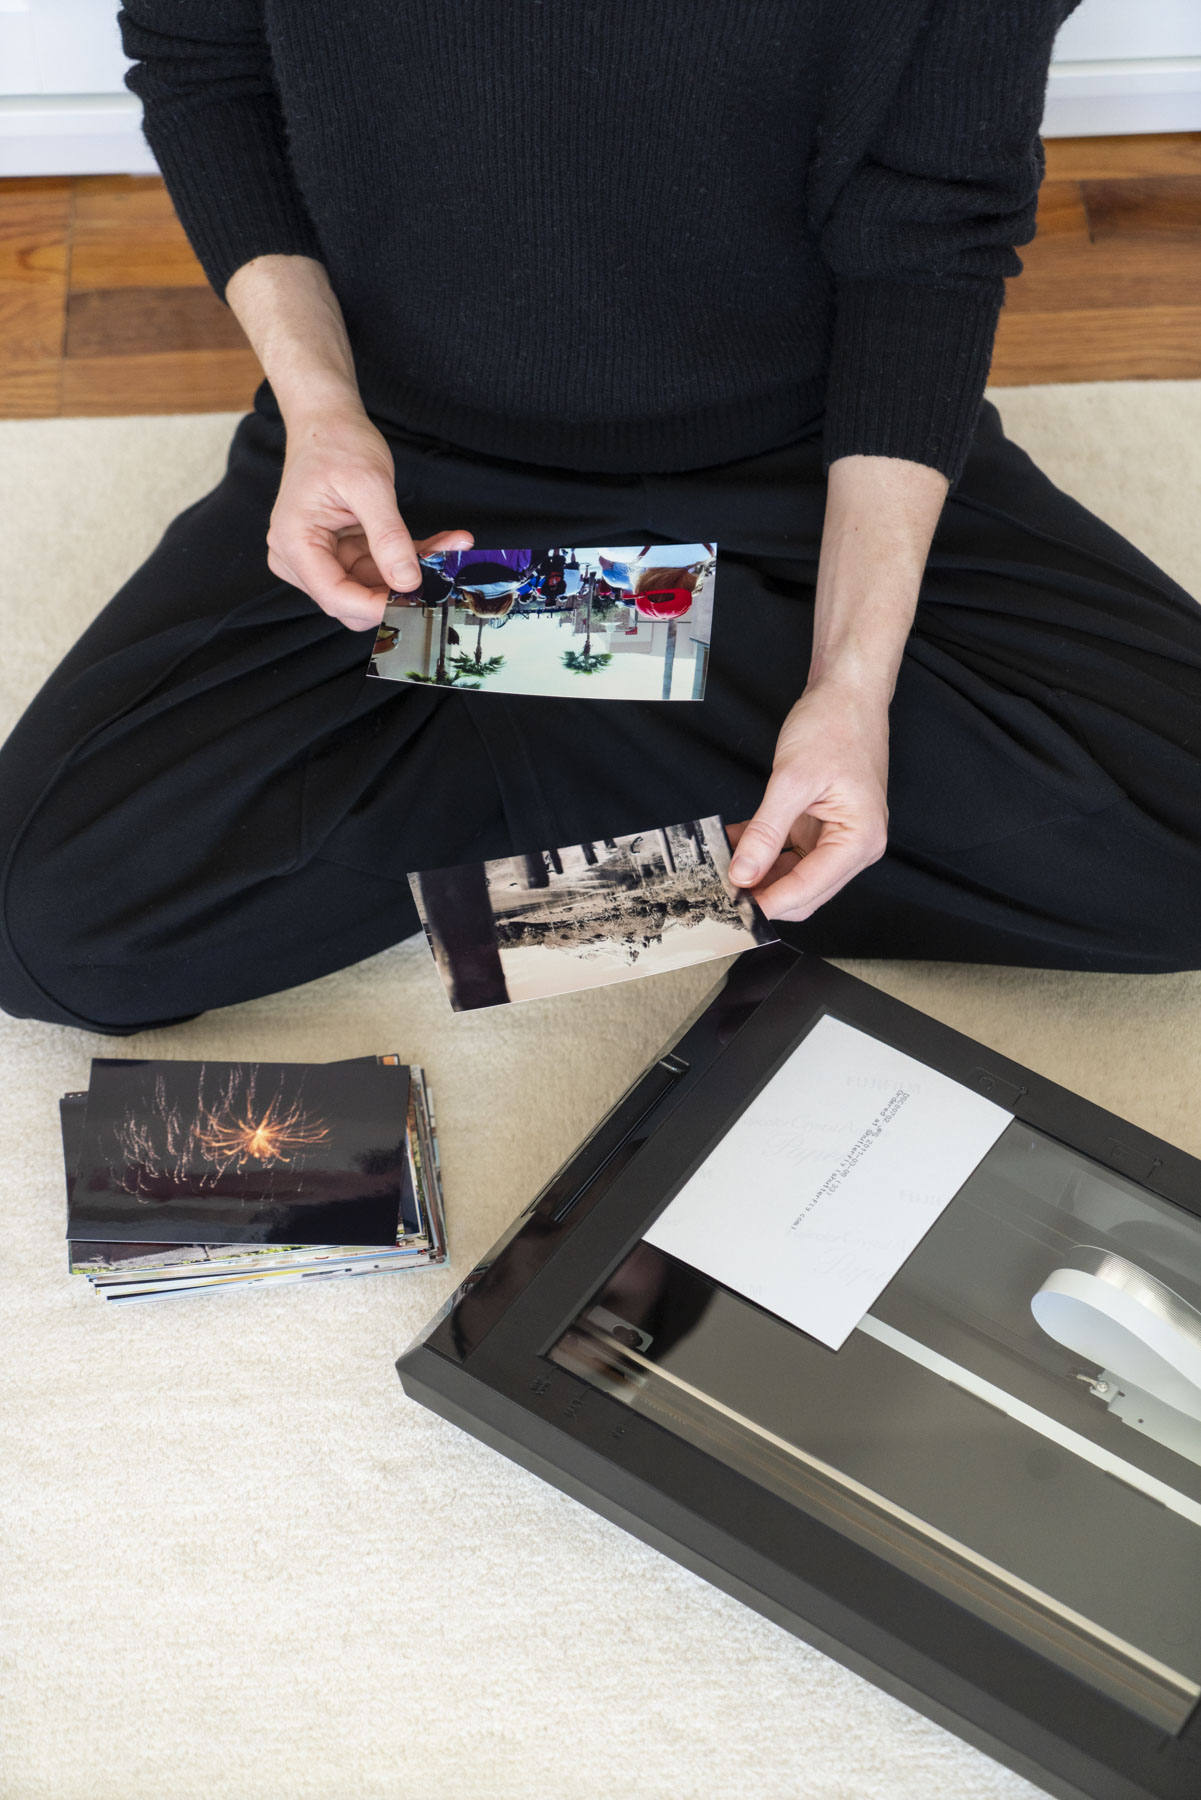
- Carefully remove the photos from your album
- Clean dust from each print as needed (or digitally in Photoshop for delicate prints)
- Scan each print (some scanning software allows for multiple prints at once- this can save you a ton of time!)
- Save the digital files in organized folders
- Adjust the color and exposure of your scans
- Back up to a hard drive and the cloud
DIYing can save money, but it’s time-consuming and can get tedious. This album had about 170 photos, and I spent 3-4 hours scanning and doing quick edits.
Using a Professional Service to Digitize Old Photo Albums
If scanning at home feels overwhelming (don’t blame you!), I recommend a service like ScanMyPhotos (my mom and I used them when we organized and digitized our family photo archive).
- Cost: starts at about 19c per image
- Recommended settings:
- Resolution: at least 300 DPI (this will keep your photos from looking blurry when you print them in a photo book)
- Scan in order: put your prints in the order you want them before sending and they’ll deliver them back scanned in order
- Rotate images: let the service do it to save you time
They also offer options like restoration, express scanning, delivery signature confirmation, and more. If you want to save your sanity and aren’t super tech-savvy, going with a professional scanning service is the way to go.
How to Store Prints Safely After Digitizing
After you finish scanning your album, you’ll also want to make sure your original prints are stored safely if you want to keep them.
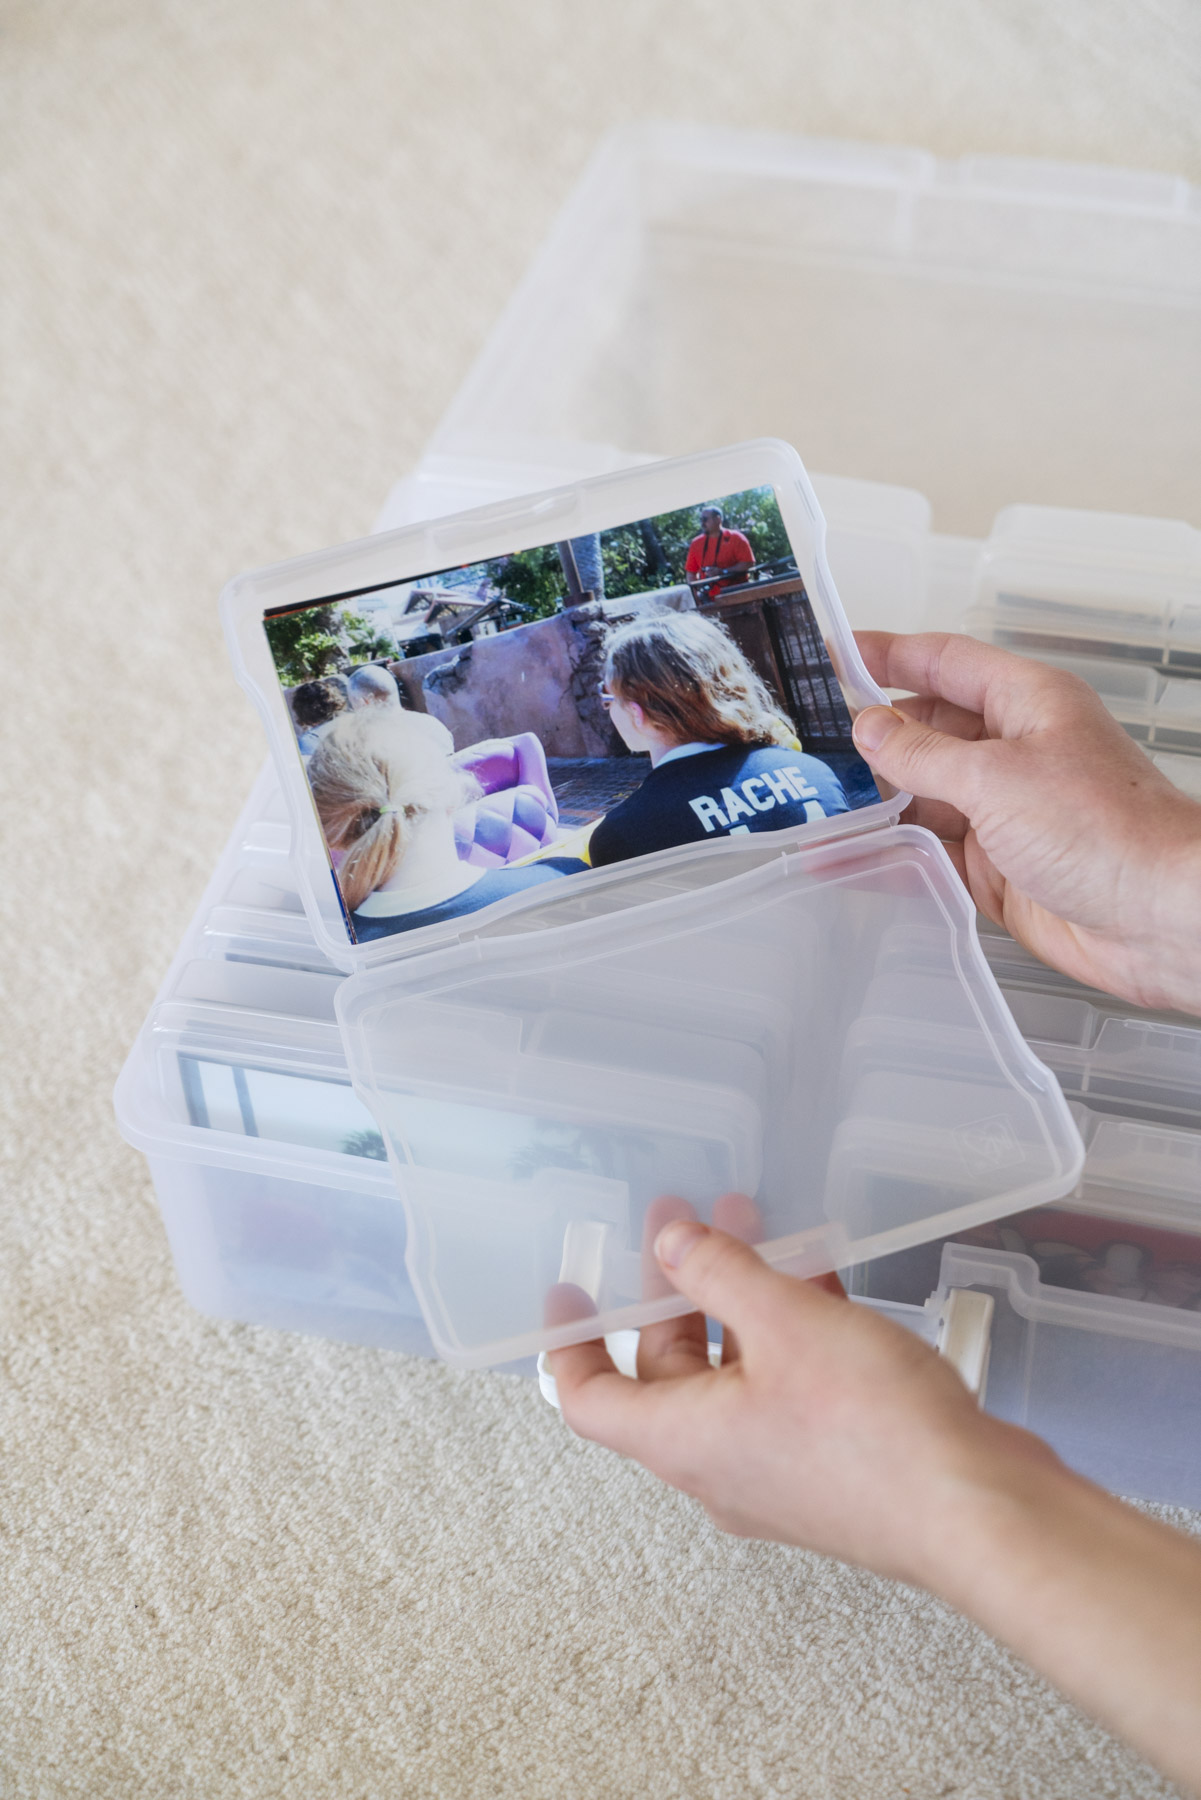
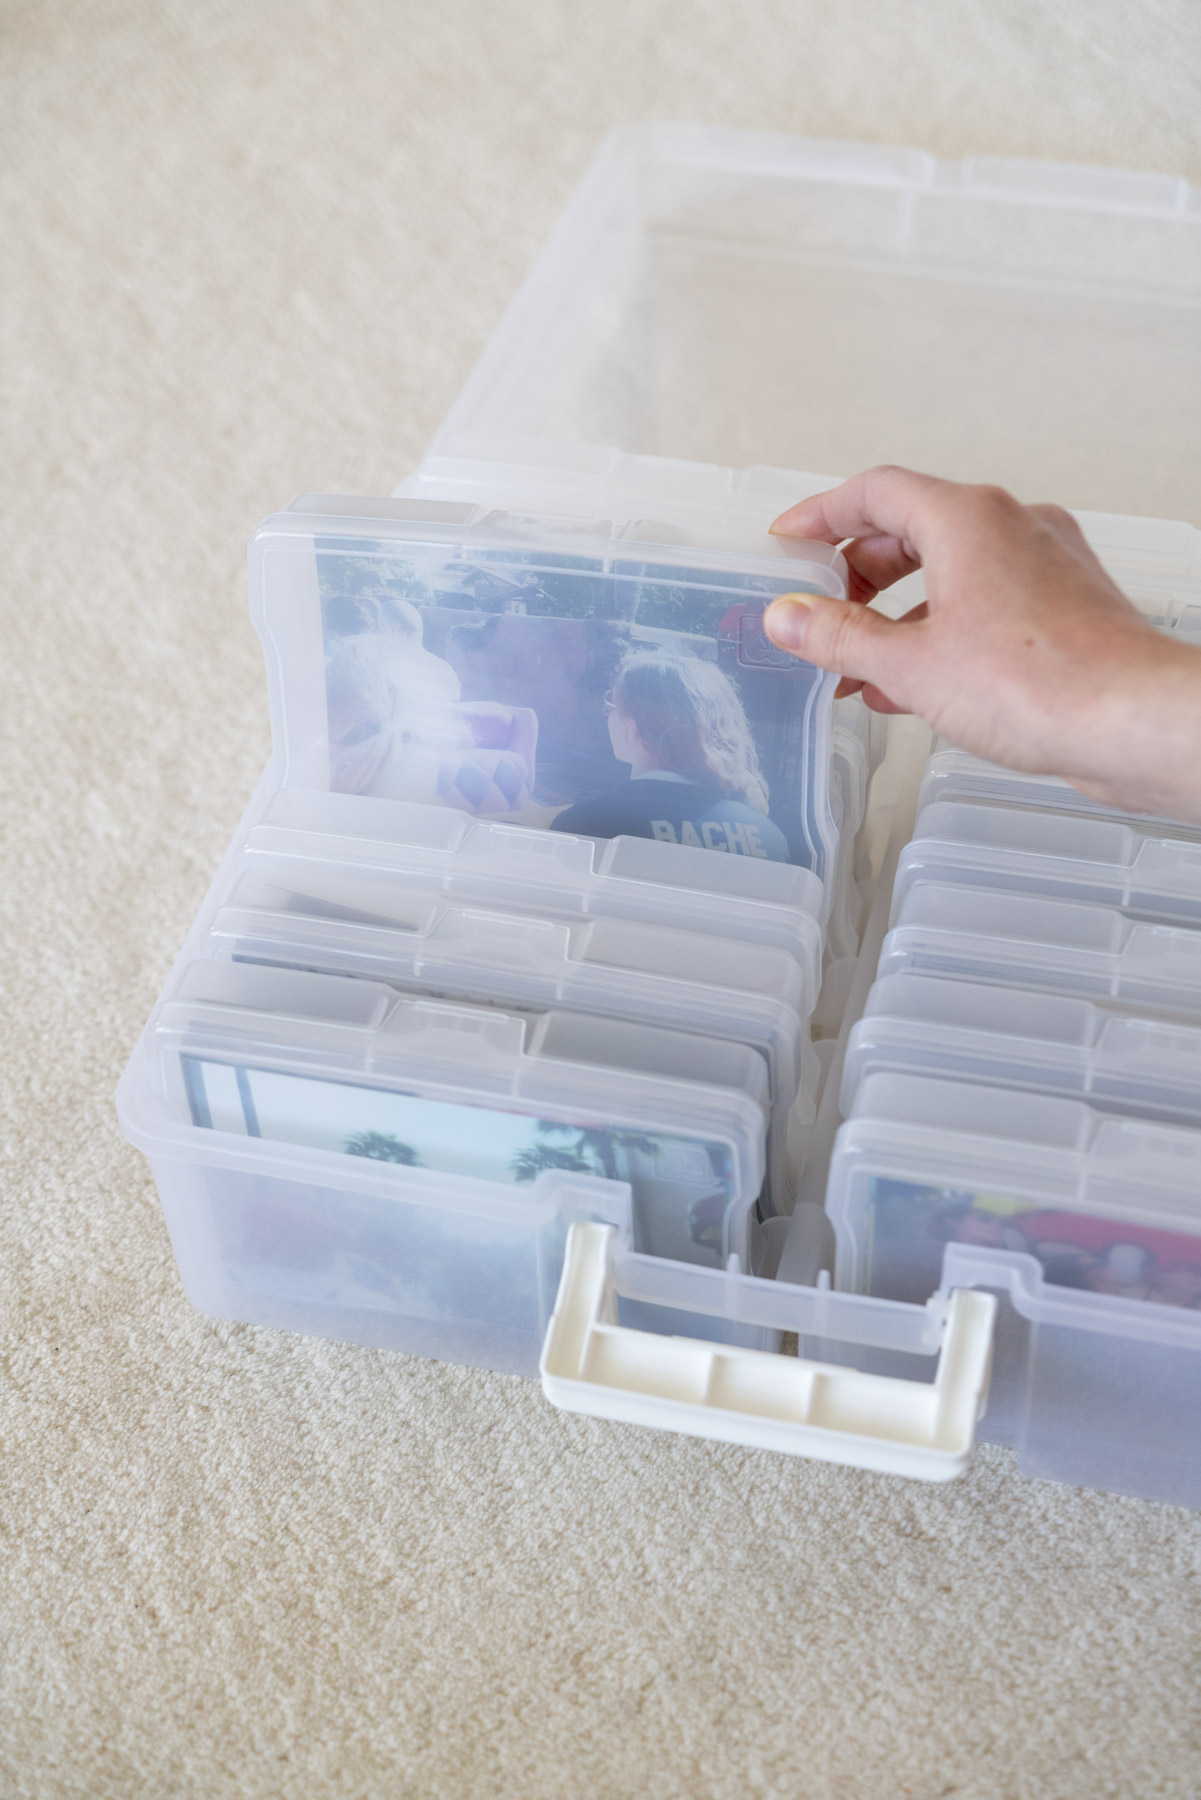
My personal favorite for print storage is the Iris Storage Carrier. Between all of the photo storage options out there, it offers the best mix of photo safety, capacity, and organization.
It’s an acid-free plastic storage box with individual cases inside that hold up to 100 prints each. Depending on the carrier size you choose (there’s a 12-case and 16-case version), you can store up to 1,000 photos. Inside, you can organize your prints in a compact, easy-to-organize system (by event, month, year, person, etc.), so you can still easily flip through them and find what you’re looking for.
Read my full review here!
Making a Modern Photo Book from Old Photos (Before + After)
Once you have your photos digitized, it’s time for the best part: turning them into a modern, beautiful (and slimmer!) photo book.
I always turn to Artifact Uprising because of their editorial-like design options and high-quality materials. I’ve made numerous albums with them (including our wedding albums!), and I love how they look on my shelves. The Softcover Photo Book is the exact style I used for this project!
In this post, I break down exactly how to order a photo book from Artifact Uprising, step by step. You’ll find guidance on choosing the right book, using the editor, and all my top tips to make the whole process straightforward.
If you’d rather take a hands-off approach, Artifact Uprising also offers Album Design Services to make things even easier.
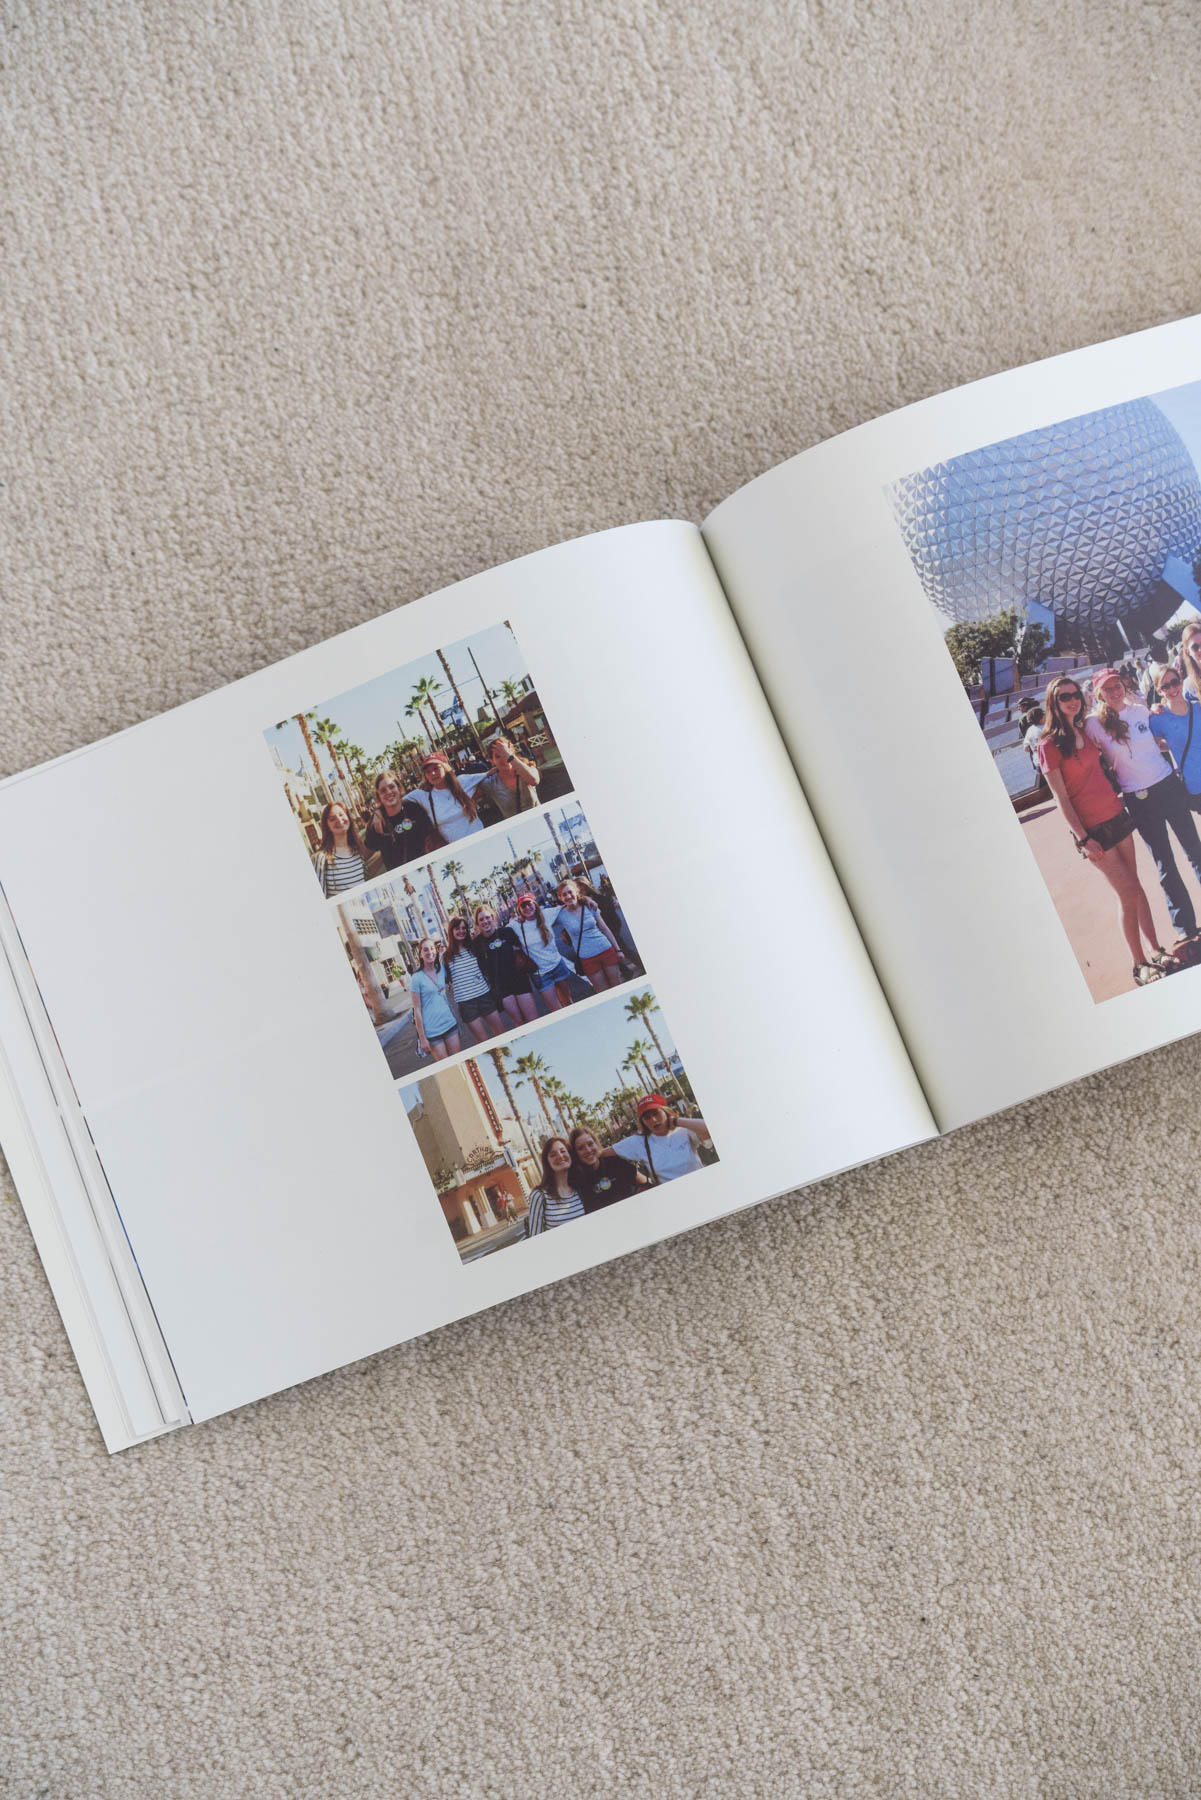
My old photo album was falling apart and desperately needed an update! Rather than buying another bulky album (space is precious with a toddler in the house), I’m so glad I opted for an Artifact Uprising book, which turned out to be just what I needed.

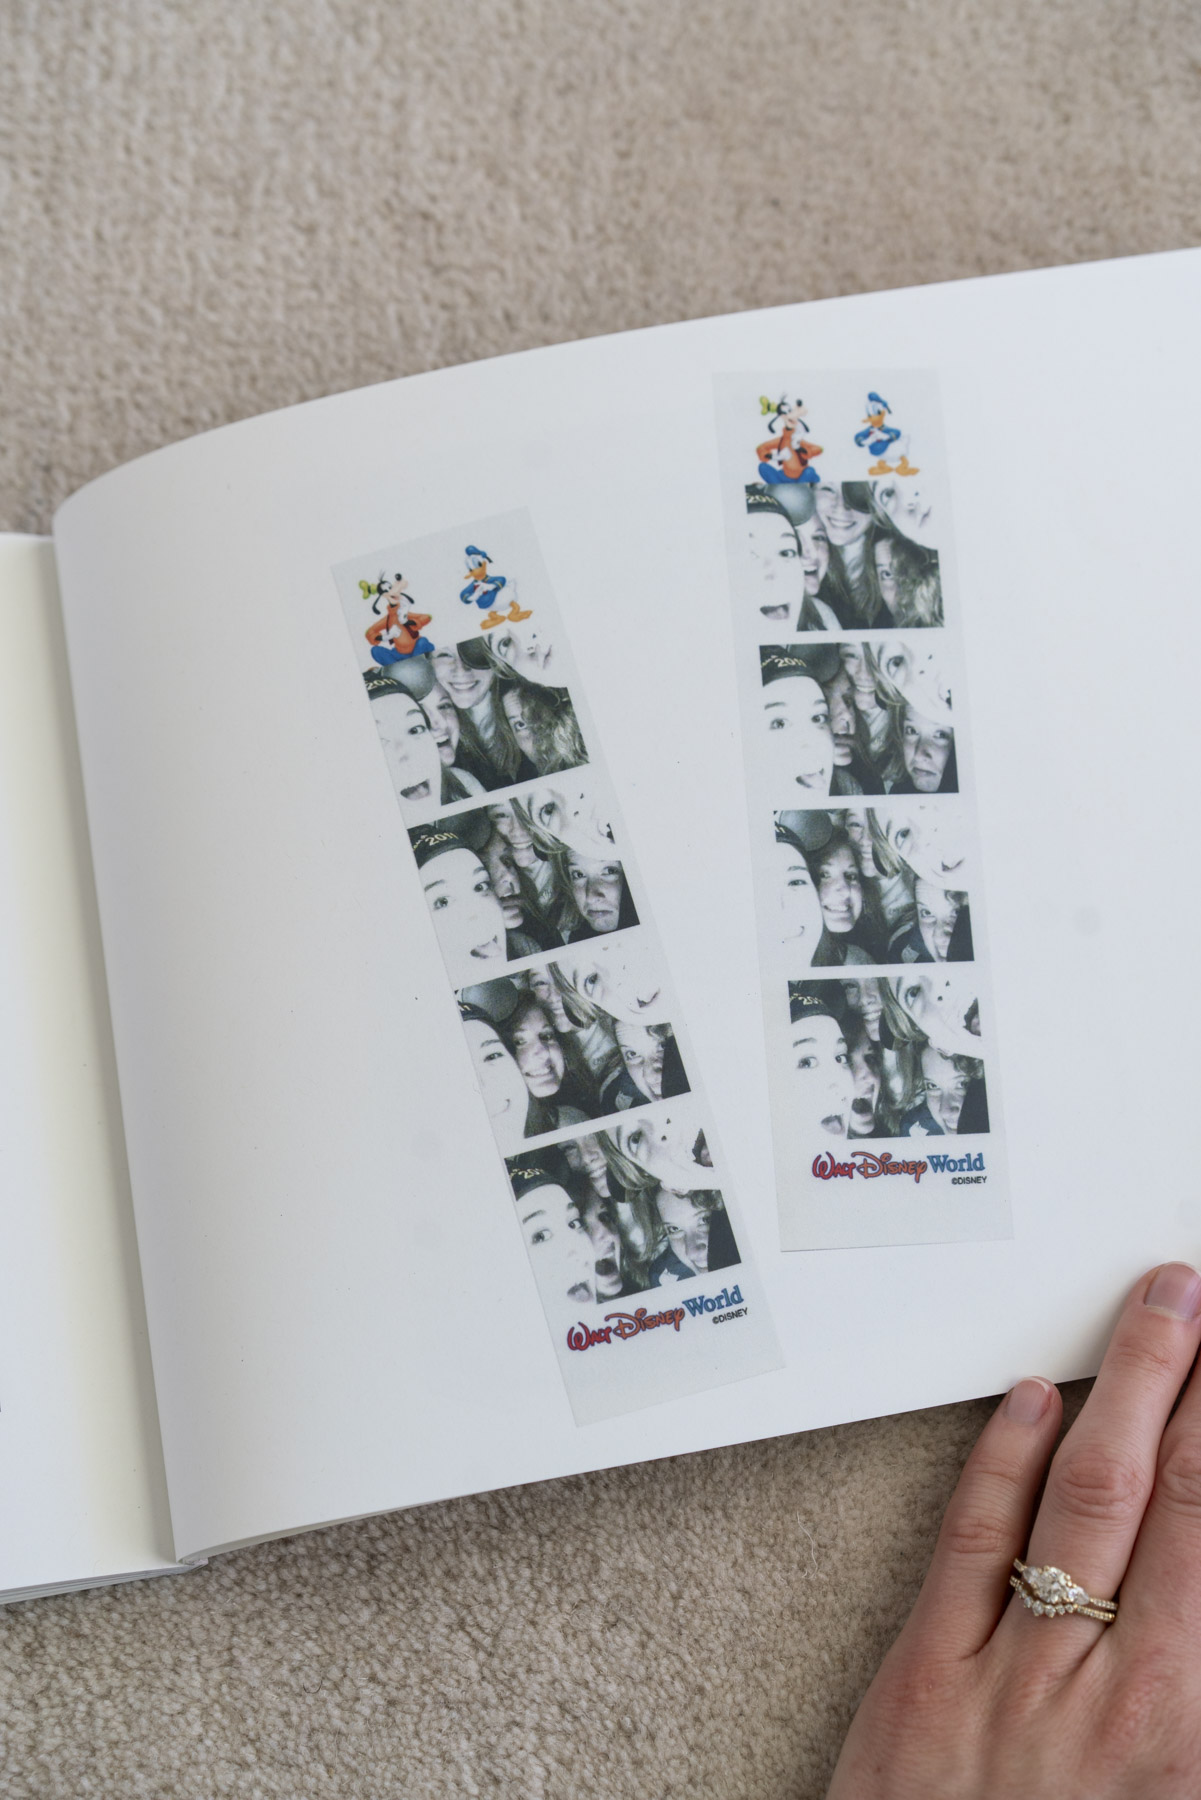
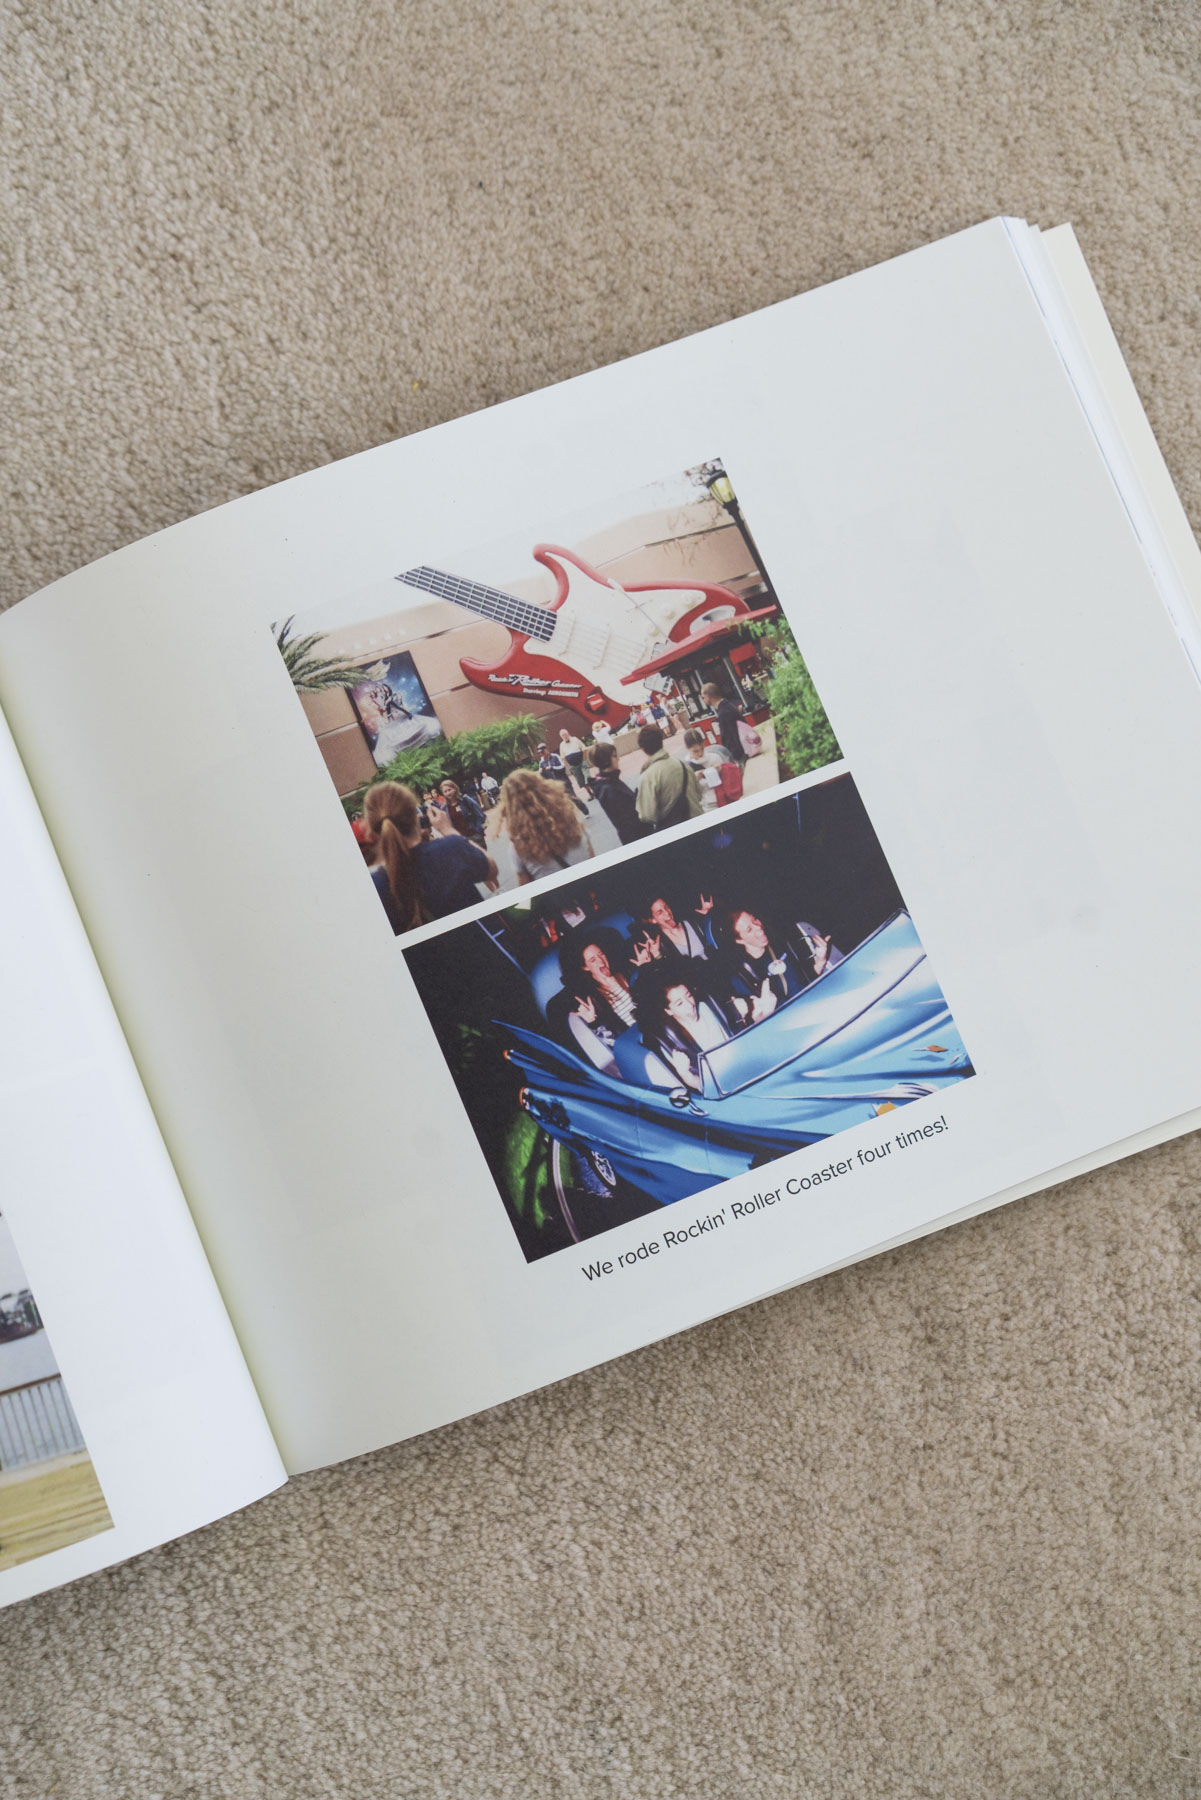
Beyond saving space and protecting my photos better than the old album did, I was also able to incorporate memorabilia, like photo booth prints that were sticking out from sleeves in the back. It was also easy to copy captions I’d written in the photo album (I was tempted to edit my high school-era voice, but I knew it was more fun to leave it as is!).
Plus, sharing it with my friends from the trip was simple, and they could even order their own copies!
Turning my old album into a new Artifact Uprising photo book was such a good move, and I’m excited to give my other albums a makeover next.
Modern photo books merge the best of both worlds. They save space, blend into your home decor, and still let you enjoy the experience of flipping through an album.
Which photo album will you upgrade first? Let me know in the comments!


+ SHOW comments
Add a comment