You’ve just purchased an unframed piece of art- now what!? There are seemingly endless options for displaying and hanging original art and vintage finds. Hello overwhelm! And since when did framing cost more than the art itself? I know from experience as a photographer that displaying art can break the bank and feel totally confusing. Since opening my Charleston photography shop, I’ve learned how to make displaying art both affordable and creative. Sometimes the simplest display solutions are the answer! In this post, I’m sharing my favorite five ways to display unframed art, such as matted prints, posters, canvases, and illustrations. It’s totally possible to display art in an eye-catching and affordable way!

How to Protect Your Unframed Art
Frames protect art against UV rays and deterioration over time, but it is possible to safely display unframed art, too. Remember to keep your unframed pieces out of direct sunlight and give them a light dusting every once in a while. Wash your hands or wear gloves before you handle your print as well. A careful artist will have printed their work on archival paper and created their pieces with care, so their art should last for years to come with the proper care.
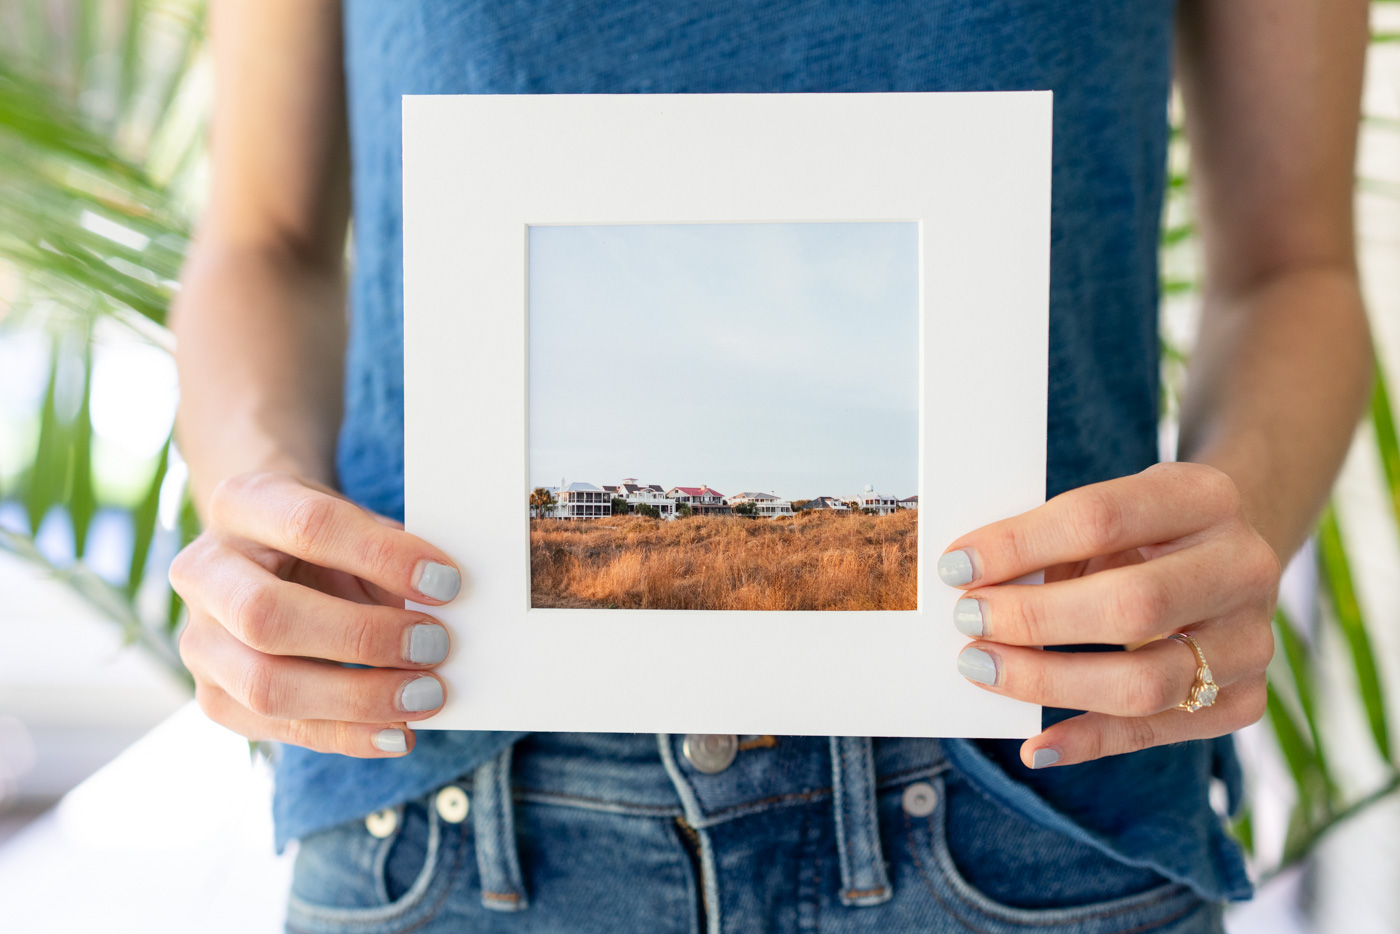
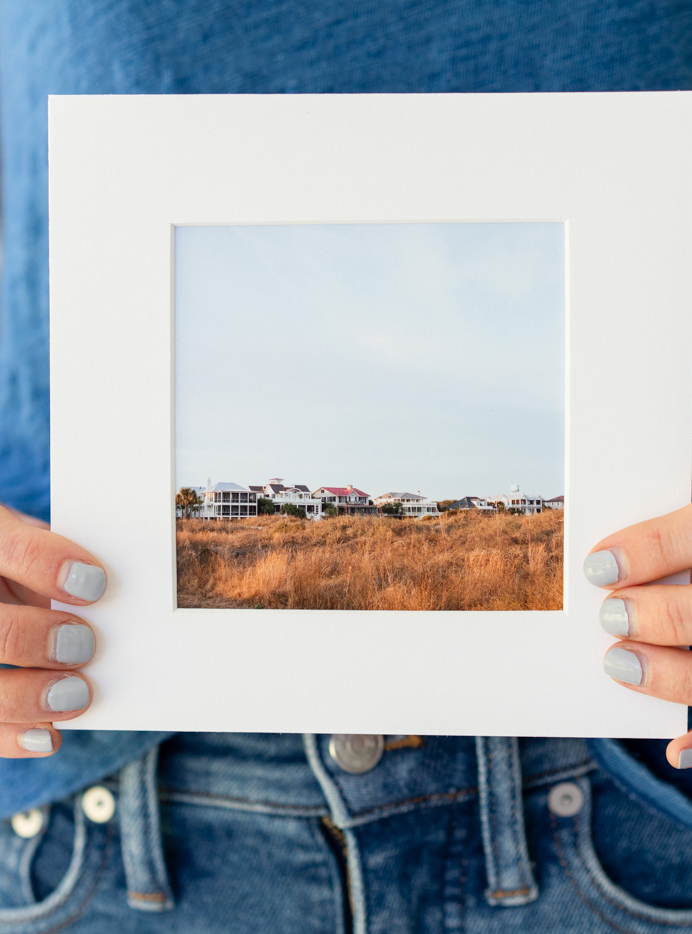
Depending on the artist’s choice, your unframed print may or may not be matted. I personally finish all of the prints in my shop, whether framed or unframed, with a mat. Mats protect your art from dust, scratches, and bending, and they act as a separation between the art and glass in a frame. They also give your art a nice border to accent and highlight the piece.
Over in my photography shop of film photographs of Charleston, I offer two display options: framed or unframed. Both print options come matted in white, but it totally depends on my customers’ preferences if they’d rather treat themselves to a ready-to-hang photograph, frame themselves, or display their print on its own.
Now that we have our art safety note out of the way, let’s get to displaying!
My 5 Favorite Ways to Display Unframed Art
1. Photo Ledge Shelf
Photo ledge shelves definitely work for framed prints, but they’re also perfect for unframed prints! These shelves are a great place to mix and match your framed and unframed pieces. Place your print right beside a frame or create a whole shelf of unframed prints in varying sizes. You can treat a photo ledge like a gallery wall, only I think it’s more fun since you can layer and create three dimensionality on your wall.
2. Print Hangers
I love the minimalistic look of print hangers. These hangers consist of two pieces of wood or metal about the width or a little longer than your piece of art. You slip your art in-between the two pieces on either end of the hanger, and it’ll secure with either magnets or screws. If you’re worried about the wood pieces indenting your art, you can stick felt dot bumpers on the back of the wood so the pressure will be on the bumper, not your art. Some of them come with bumpers on the inside already. Most print hangers allow you to adjust the tightness as well. They’re super simple and look pulled together on the cheap!
4. Wood Block
I love the simplicity of wood block displays. The print slot in the block protects your art from getting bumped or bent on a shelf by itself. Make sure when you order a print block that the slot is wide enough to fit your art. If your print is matted or you want to display a stack of photos, you might need a wider print slot.
5. Display Easel
An easel is also a perfect way to display unframed art. They come in so many different finishes that you’ll easily find one that coordinates with both your art and your home décor. Plus, I love how the easel is a little nod to the art world!
5. Hang from Binder Clips
Finally, binder clips make for quick and easy displays of unframed art. There are plenty of different styles out there to buy, or you can DIY your own. If your unframed piece of art is precious, I wouldn’t recommend this display method, but it works well for less expensive and vintage prints. Just like with a print hanger, you may want to protect your art with felt dot bumpers placed on the insides of your clips or place a small piece of foam core board cut to size in the clip so it doesn’t indent your art.


+ SHOW comments
Add a comment