


If you’ve ever wished someone would show you how they actually organize their photos (not a vague framework, but the step-by-step), I wrote this post for you! I talk about photo organizing and how to clean up your iPhone on my blog and in my newsletter, but I’ve never shown you the whole system at once.
If you’ve already downloaded my free guide, the Simple Photo Reset, this is the behind-the-scenes look at the actual system those 4 steps are built on. And if you haven’t, head here to read more about the guide and download it!
Here’s exactly how I manage it all: iPhone, backups, printed photos, and the monthly habit that keeps it from piling up.
How I Organize Photos on My iPhone
My goal with my iPhone library is pretty simple: delete the junk, favorite the best shots, organize by month, and transfer everything to my hard drive. I’m not trying to keep every photo. I’m trying to keep the ones I’ll actually come back to.
Right now, I have iCloud enabled while I work through transferring older photos to my hard drive (yes, even photographers get “behind” on this!). Once I’m caught up, I’ll decide whether to keep paying for iCloud storage or rely fully on my computer, hard drive, and cloud storage. If you want your full library accessible across all your devices at any time, iCloud is worth it, but it’s not the only option.
For more on getting iCloud set up and what it does (and doesn’t do), read this post. I’m not going to repeat all of that here, but it’s worth the read if you’re starting from scratch!
What Stays on My Phone
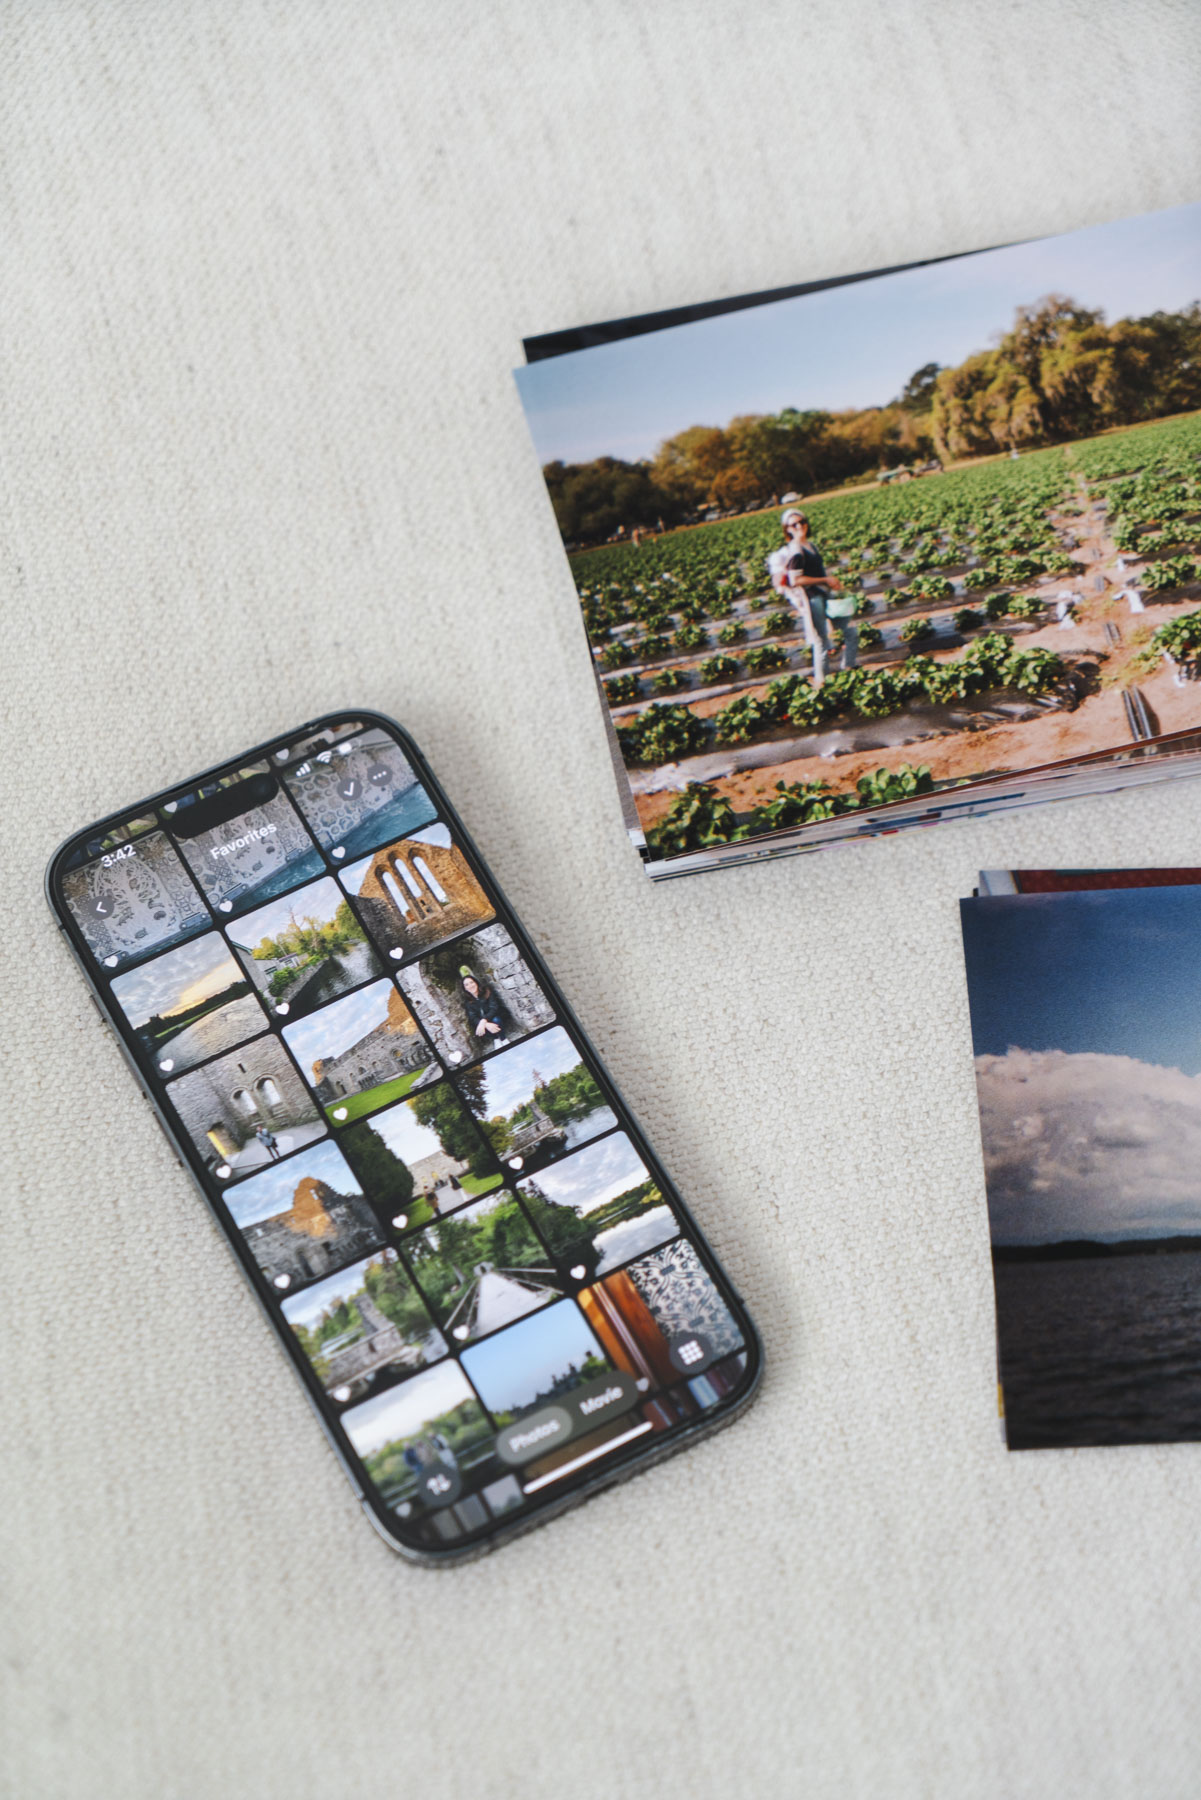
After I go through a month of photos, I favorite or “heart” my best shots. These are the ones I want to send to family, display, or just look back at easily. Those stay on my phone and get transferred to my computer and hard drive. Everything else either gets transferred off or deleted. I try not to keep photos on my phone that I don’t have a reason to reach for.
My Album Structure
I add these favorited shots into monthly albums, like “January 2026,” “February 2026,” and so on. It sounds simple, but it makes a huge difference. Instead of scrolling through thousands of photos in the camera roll, I can go straight to the month I’m looking for. I’m a folder person, so this just works for my brain.

How to Back Up Your Photos + My System
I don’t back up my photos because I’m organized. I do it because the photos of my daughter and my life are irreplaceable, and I never want to feel what it’s like to lose them.
This is my backup workflow (no one’s perfect here, but this is what I aim for!).
- Select a month’s worth of organized photos on my iPhone.
- Airdrop them to my computer into a labeled folder. I name my folders by year and month (01_January_2026_Photos) so they sort automatically and I can find any month instantly.
- If I have any big events within the month, like a trip, I’ll add a separate folder inside the monthly folder for it (01_January_2026_Trip to NYC).
- Transfer them to a hard drive. I’ve used these drives for years to back up photos.
- Use Backblaze cloud backup. Backblaze automatically backs up everything on my computer to the cloud. I can also plug in my hard drive monthly, and it will back up that as well.
I repeat these steps separately for videos. You could do them together, but I like keeping them separate so things are easier to find later!
Here’s how this all looks on my computer:

The 3-2-1 Backup Rule
The 3-2-1 system is standard practice in protecting data. The idea is to have 3 total copies of your photos and videos, stored on 2 different media types/devices, with 1 copy kept offsite (like the cloud or at an office outside your home).
Your iPhone can technically count as one of your three copies, but I wouldn’t lean on it as a main backup. Phones get lost, broken, or stolen, and if you’re using iCloud, anything you delete on your phone disappears everywhere. A reminder that iCloud is a syncing system, not a true backup. I cover exactly what that means here. Think of your iPhone as where your photos start, not where they’re protected.
My setup hits all 3:
- My computer
- My hard drive
- Backblaze
Knowing how to organize photos and back them up safely is a serious weight off my shoulders!
Keep Your Photos Sorted With a Monthly Reset
I aim to do a quick, 10-15 minute photo reset most months to stay on top of my camera roll. Inside the Simple Photo Reset guide, I cover the whole framework, but here’s what it actually looks like for me.
I go month by month, favorite my best shots, put them into monthly folders, delete the obvious junk, and Airdrop them to my computer when I’m ready to transfer. I plug in my hard drive, transfer the folder to it, let Backblaze run, and I’m done. It’s not always perfect, and sometimes a couple of months slip by, but I always come back to it.
If I’m short on time, the one thing I never skip is marking my favorites. Everything else can wait, but those are the photos I’ll reach for to share, display, or print. It’s easy to do during a commercial break, waiting in line, or anytime I have a few minutes.
How to Organize and Store Printed Photos
I’m still a sucker for printed photos. I want my daughter to have a collection of prints of her childhood photos to flip through like I had, and not have to plug a hard drive in to enjoy them.
I don’t print everything. Every few months, I go through my favorites folders, pick the worthiest shots, and order a batch from Nations Photo Lab. Some go into frames on the fridge, some rotate through frames around the house, and some go into Essie’s baby book. The rest go into my Iris photo carriers.
Before landing on the Iris carrier, I tried so many other storage options, like board photo boxes and albums. Board photo boxes look nice, but the photos slide around inside, and nothing stays organized. Albums are bulky and can deteriorate over time.
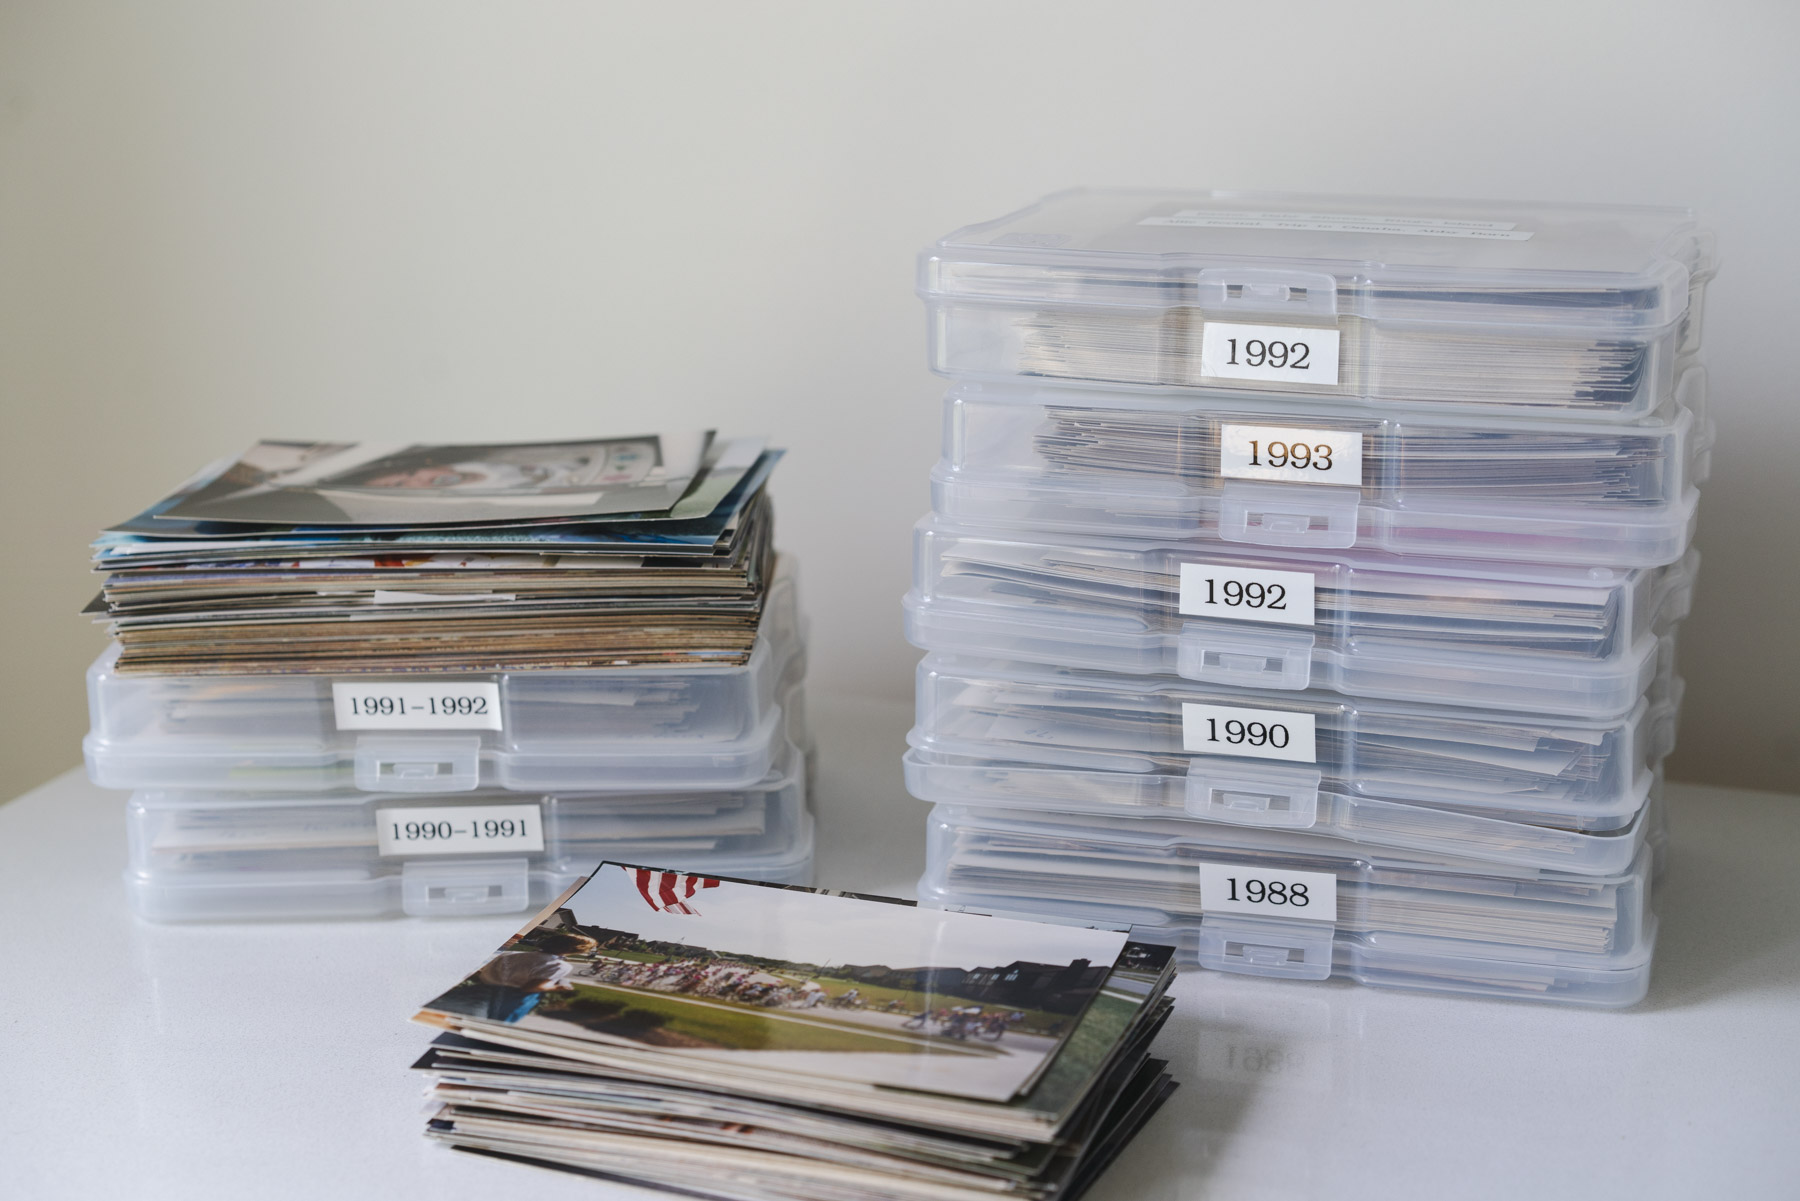
The Iris case can hold up to 1,000 4×6 prints and includes 12 or 16 individual cases inside, depending on size. Here are the 12-case and the 16-case options. They also have a version for 5×7 prints! That means everything has a home and I can easily find what I’m looking for.
It’s become the one place I know her prints are safe, organized, and easy to flip through. For the full review of sizing, how to organize photos inside it, and where to buy, read this post.
Wrap-Up
A photo system that works isn’t about perfection. It’s about knowing where things are and enjoying them. I hope seeing my full workflow for how to organize photos makes it feel a little more possible for you. You don’t have to figure it out from scratch the way I did!
If you haven’t yet, grab the Simple Photo Reset. It’s the exact framework I come back to every month to keep photo organizing manageable. And if you’re ready to get your printed photos sorted, start with my full review of the Iris photo carrier!


+ SHOW comments
Add a comment