







Whether you’ve inherited film negatives from an old family photo collection, or you’re a photographer who loves shooting on film, I wanted to share a simple system for film negative storage to help you keep your archive protected and organized.
If your film negatives are still in the paper envelopes from your photo lab or tightly rolled in their original canisters, this simple upgrade will keep them safe, cataloged, and easy to find when you need them.
I took film photography classes in high school and majored in photography in college, so I spent plenty of time working with film and learning how to store negatives. The system I’m sharing in this post is the same basic method I learned in school, and I still use it today!
Here’s what I’m covering in this post:
- What to Know About Film Negative Storage
- Supplies for Storing Negatives
- How to Organize and Label Your Negatives
- What to Do With Your Negatives Next
This post contains affiliate links, which means I may earn a small commission if you purchase through them (at no extra cost to you!). I only share products I truly love and recommend.
What to Know About Film Negative Storage
When it comes to storing your film, there are a few goals to keep in mind: preventing scratches and other damage, storing correctly, and making sure you can actually find the negatives you need later.
Prevent scratches and damage
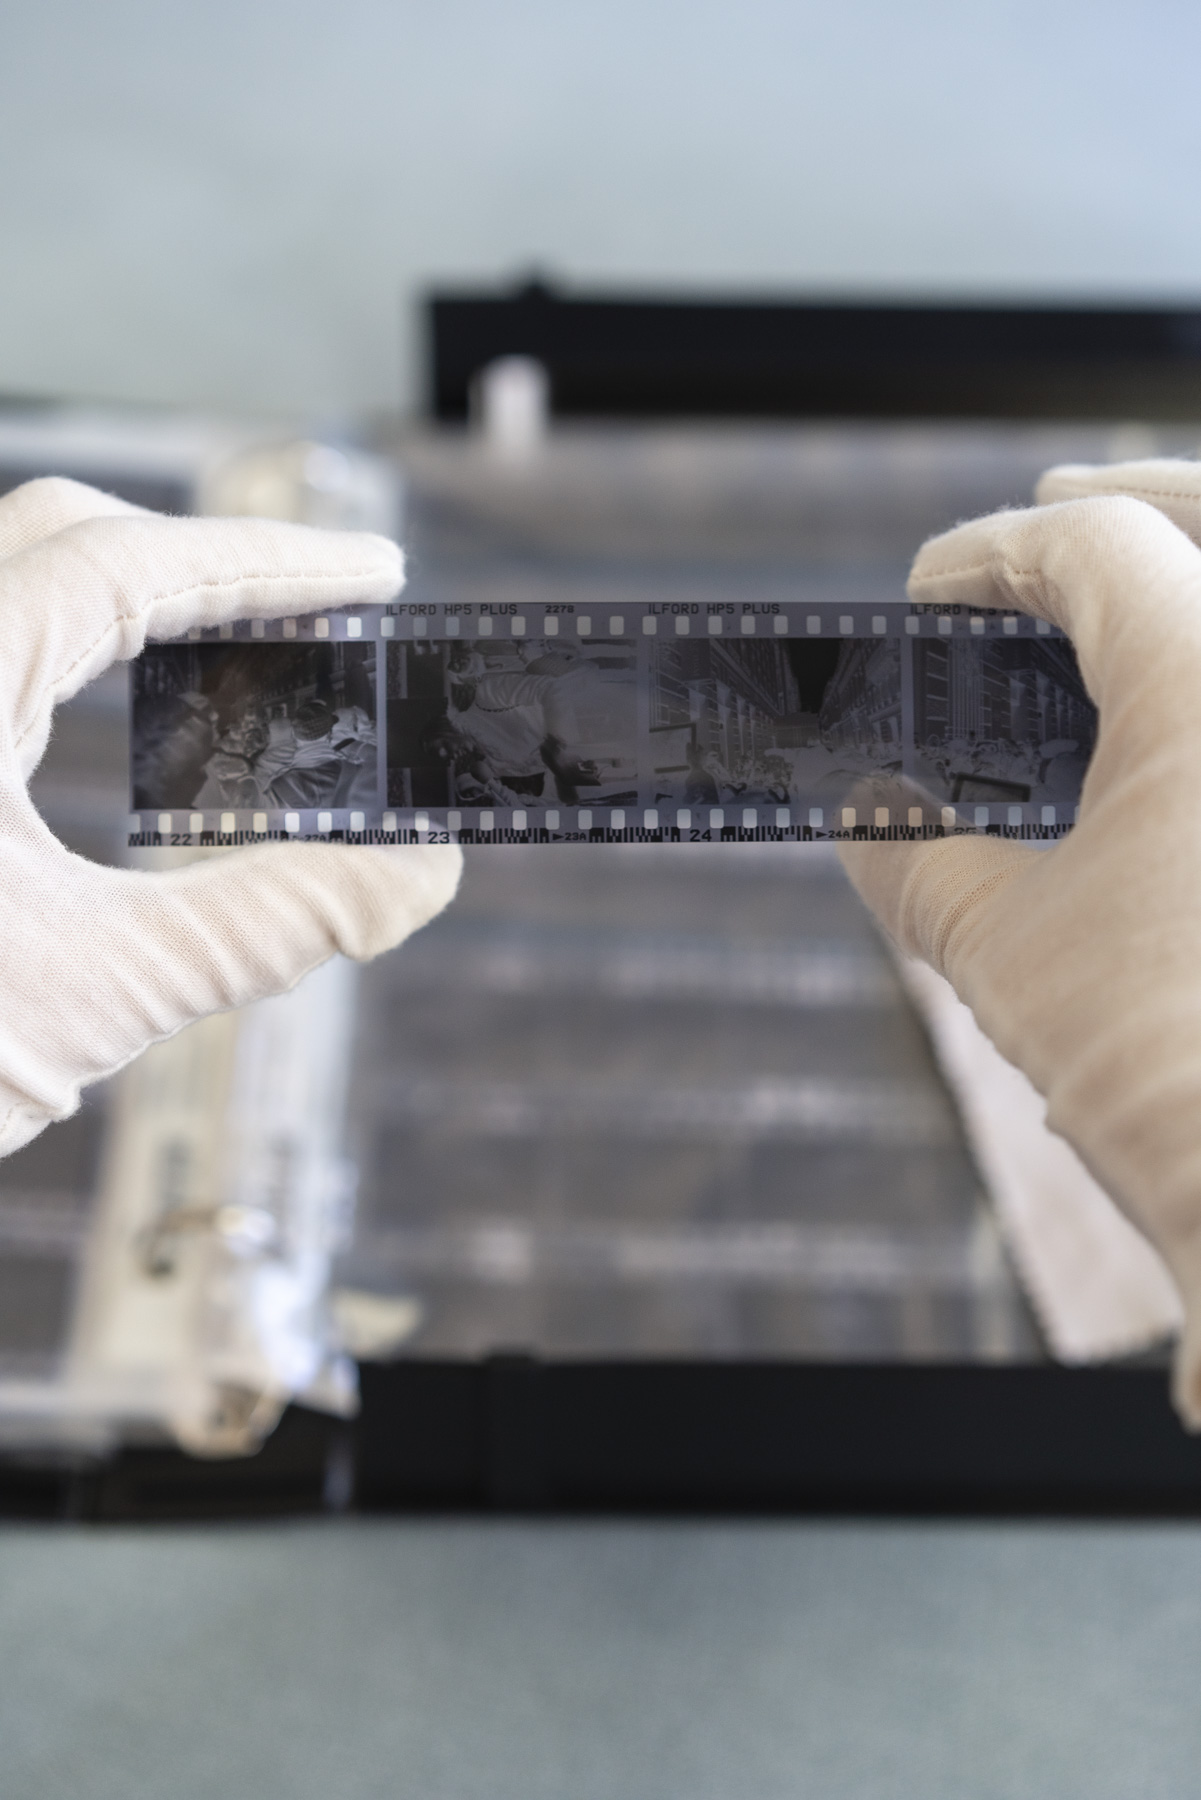
Negatives are delicate, and scratches on the film can show up when you scan or print your photos. Storing them in sleeves or envelopes helps prevent them from rubbing against one another. Handle them carefully to minimize fingerprints and scratches.
Protect them from the elements
Like photo prints, negatives need protection from heat, moisture, dust, and light. Never store film in an attic, basement, or garage. Choosing the right storage materials also goes a long way toward protecting your collection. In the Supplies section below, I suggest some products to store your negatives safely.
Keep everything organized
The right storage is only half the battle! If you want to scan an old roll, make a new print, or find the negative that matches a photo you already have, you need a way to identify what you have and where to find it.
The good news is that you don’t need an elaborate system to check all of these boxes! Here’s what I use to store my negatives, plus a simple workflow for keeping them organized.
Supplies for Storing Negatives
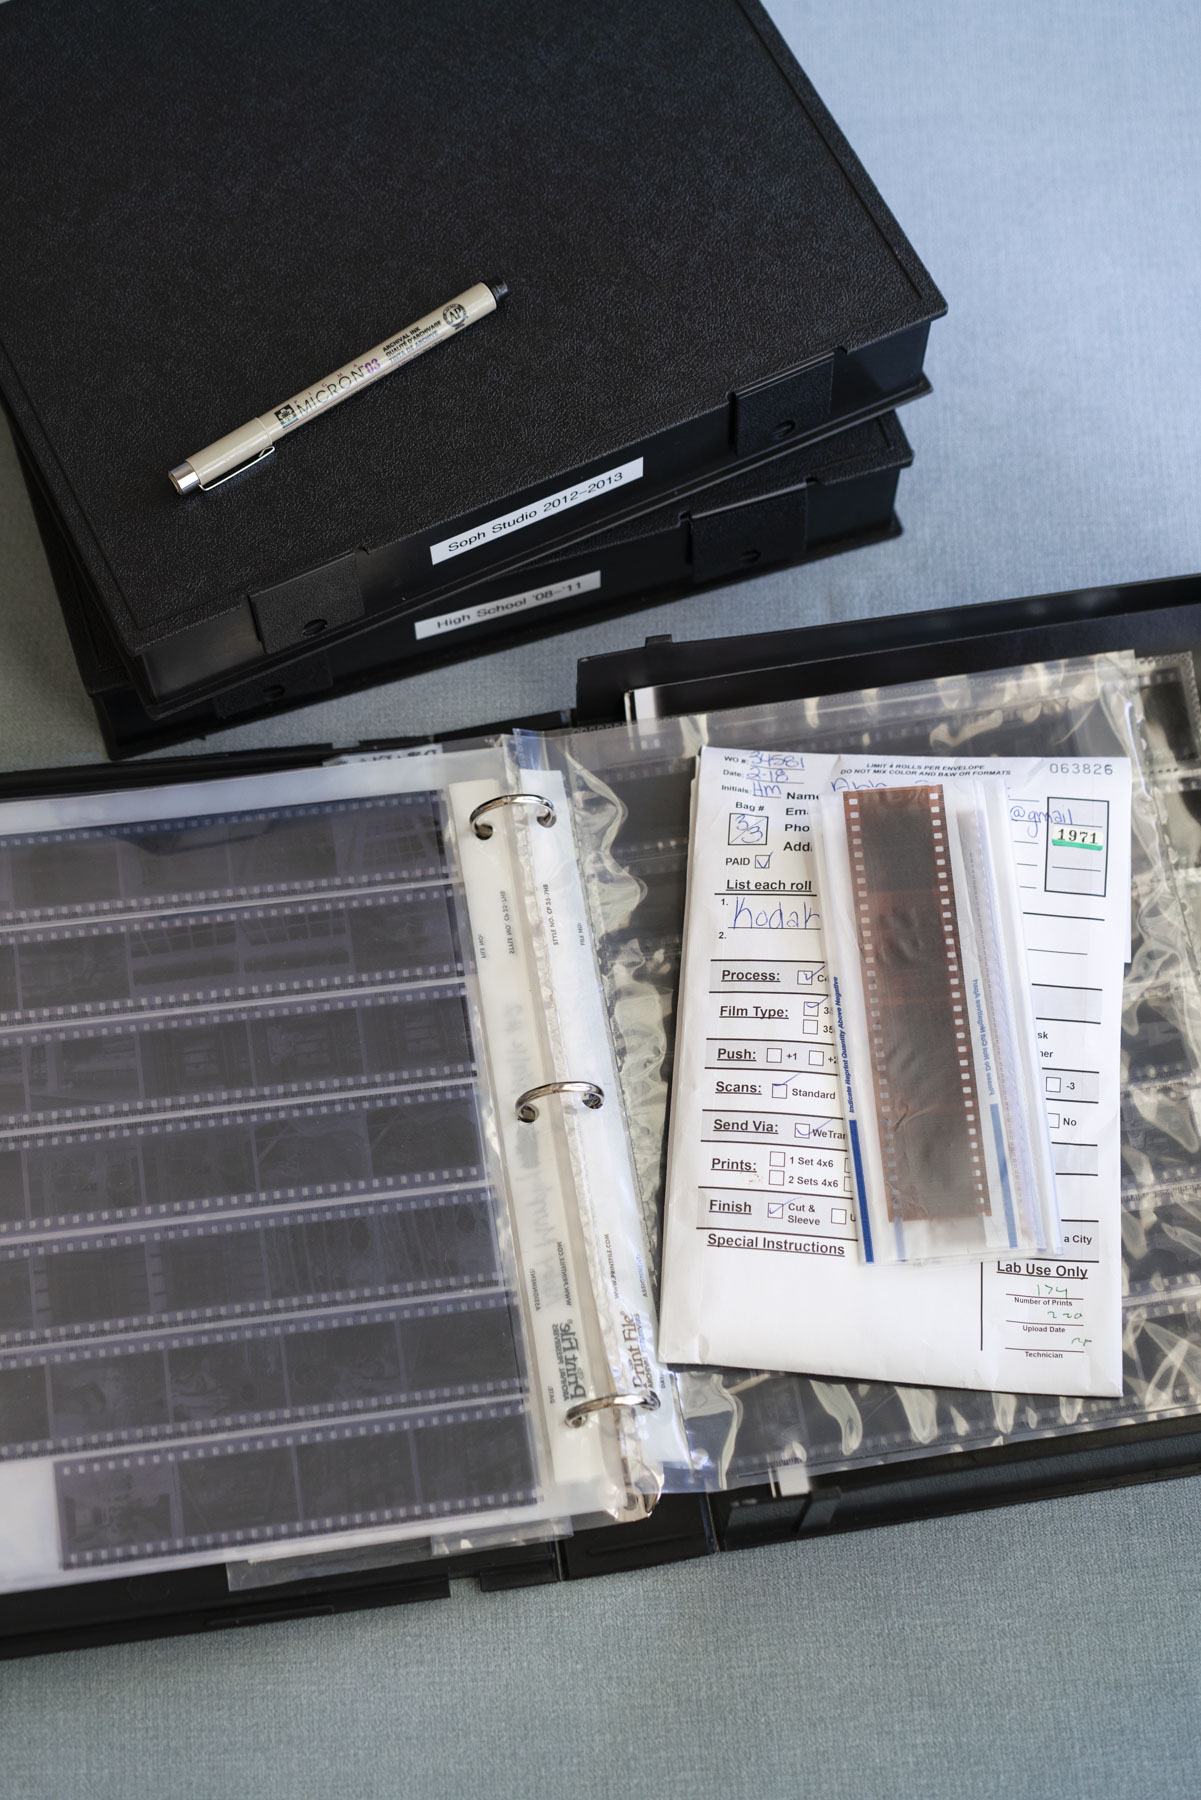
These are the products I use to store and organize my negatives, but there’s not a “best” way to store negatives for every film collection. The best storage materials for your film depend on the age and film type.
My negatives are from my time in school and later, so they are from the early 2000s on. For example, you’ll see that I use photo-safe plastic sleeves to store my film strips, but Archival Methods suggests using paper boxes and envelopes for negatives from before the 1960s. I’ve linked a few options so you can choose what’s best for your collection!
Cleaning Supplies
Negatives are susceptible to dust and fingerprints, so having a few cleaning supplies around is helpful to make sure they’re clean before storing.
To avoid more fingerprints, wear cotton or powder-free nitrile gloves when handling your negatives. Use a lens-cleaning cloth to gently clean the shiny surface of the negative (not the matte, emulsion side- that’s where the actual photo lives on the negative!).
If your negatives need a little extra help, you can use a solution called PEC-12. A rocket blower can also help remove dust.
Film Negative Storage Sheets
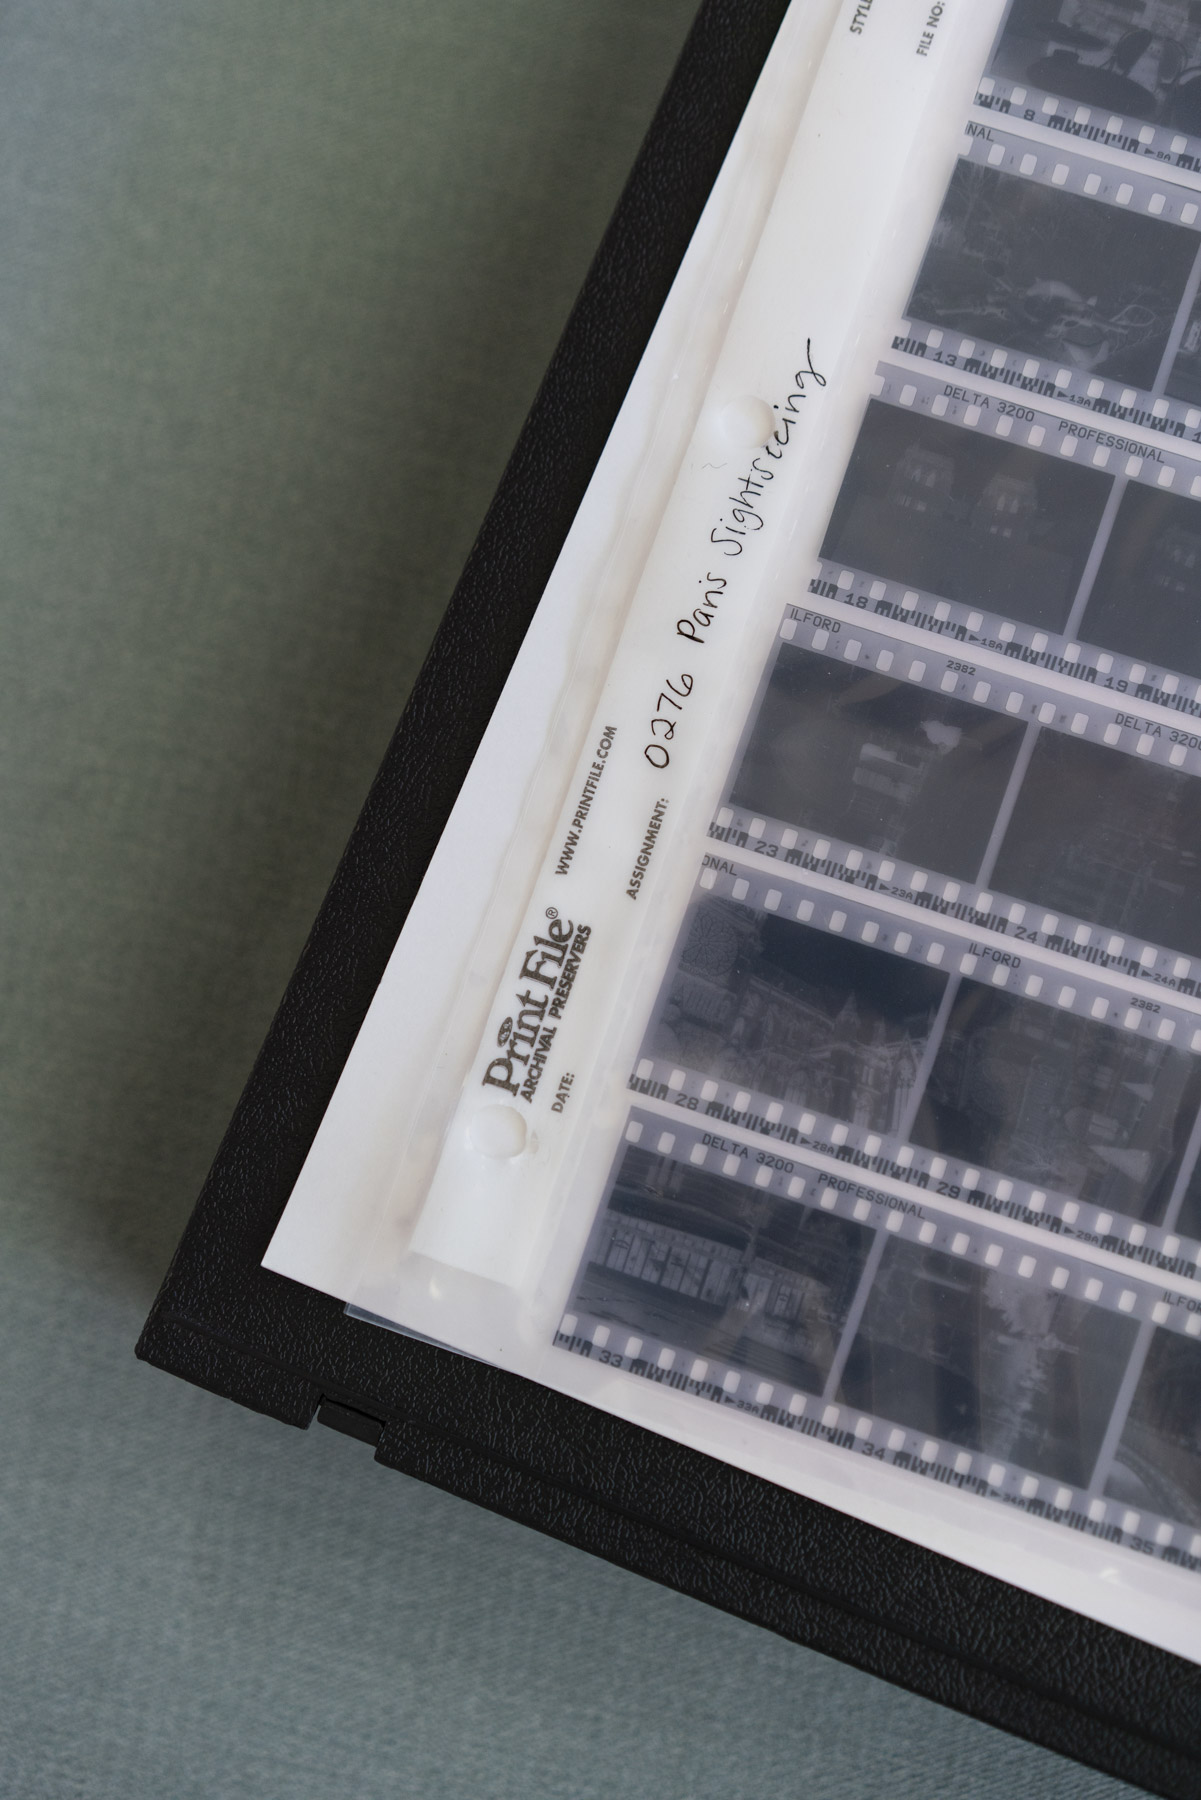
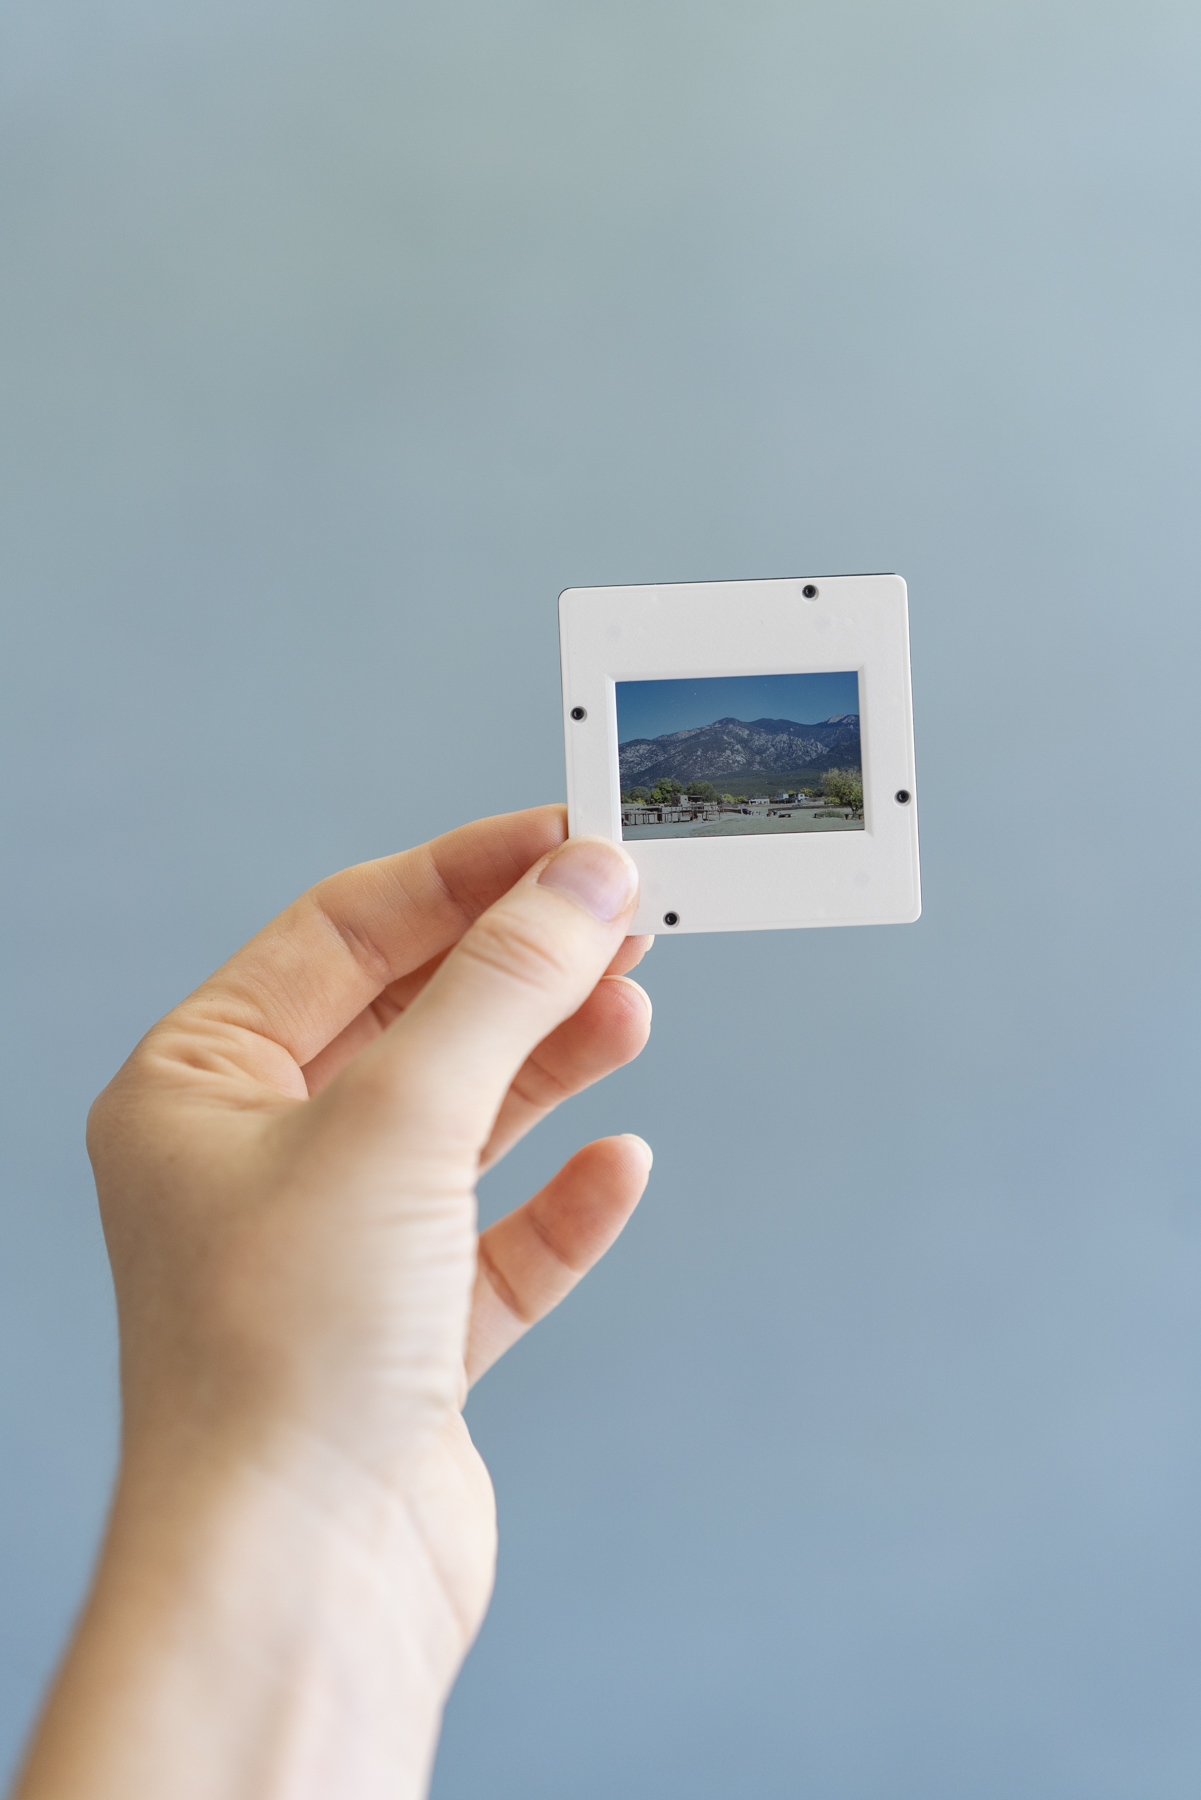
Next, you’ll need sleeves designed for your particular film format. You’ll find options for 35mm negatives, medium-format film, and slides, so make sure you’re buying the right size for your film. Look for photo-safe sleeves made of polyester, polyethylene, or polypropylene. These plastics do not release harmful chemicals or acids. Avoid cheap PVC or vinyl plastic sleeves.
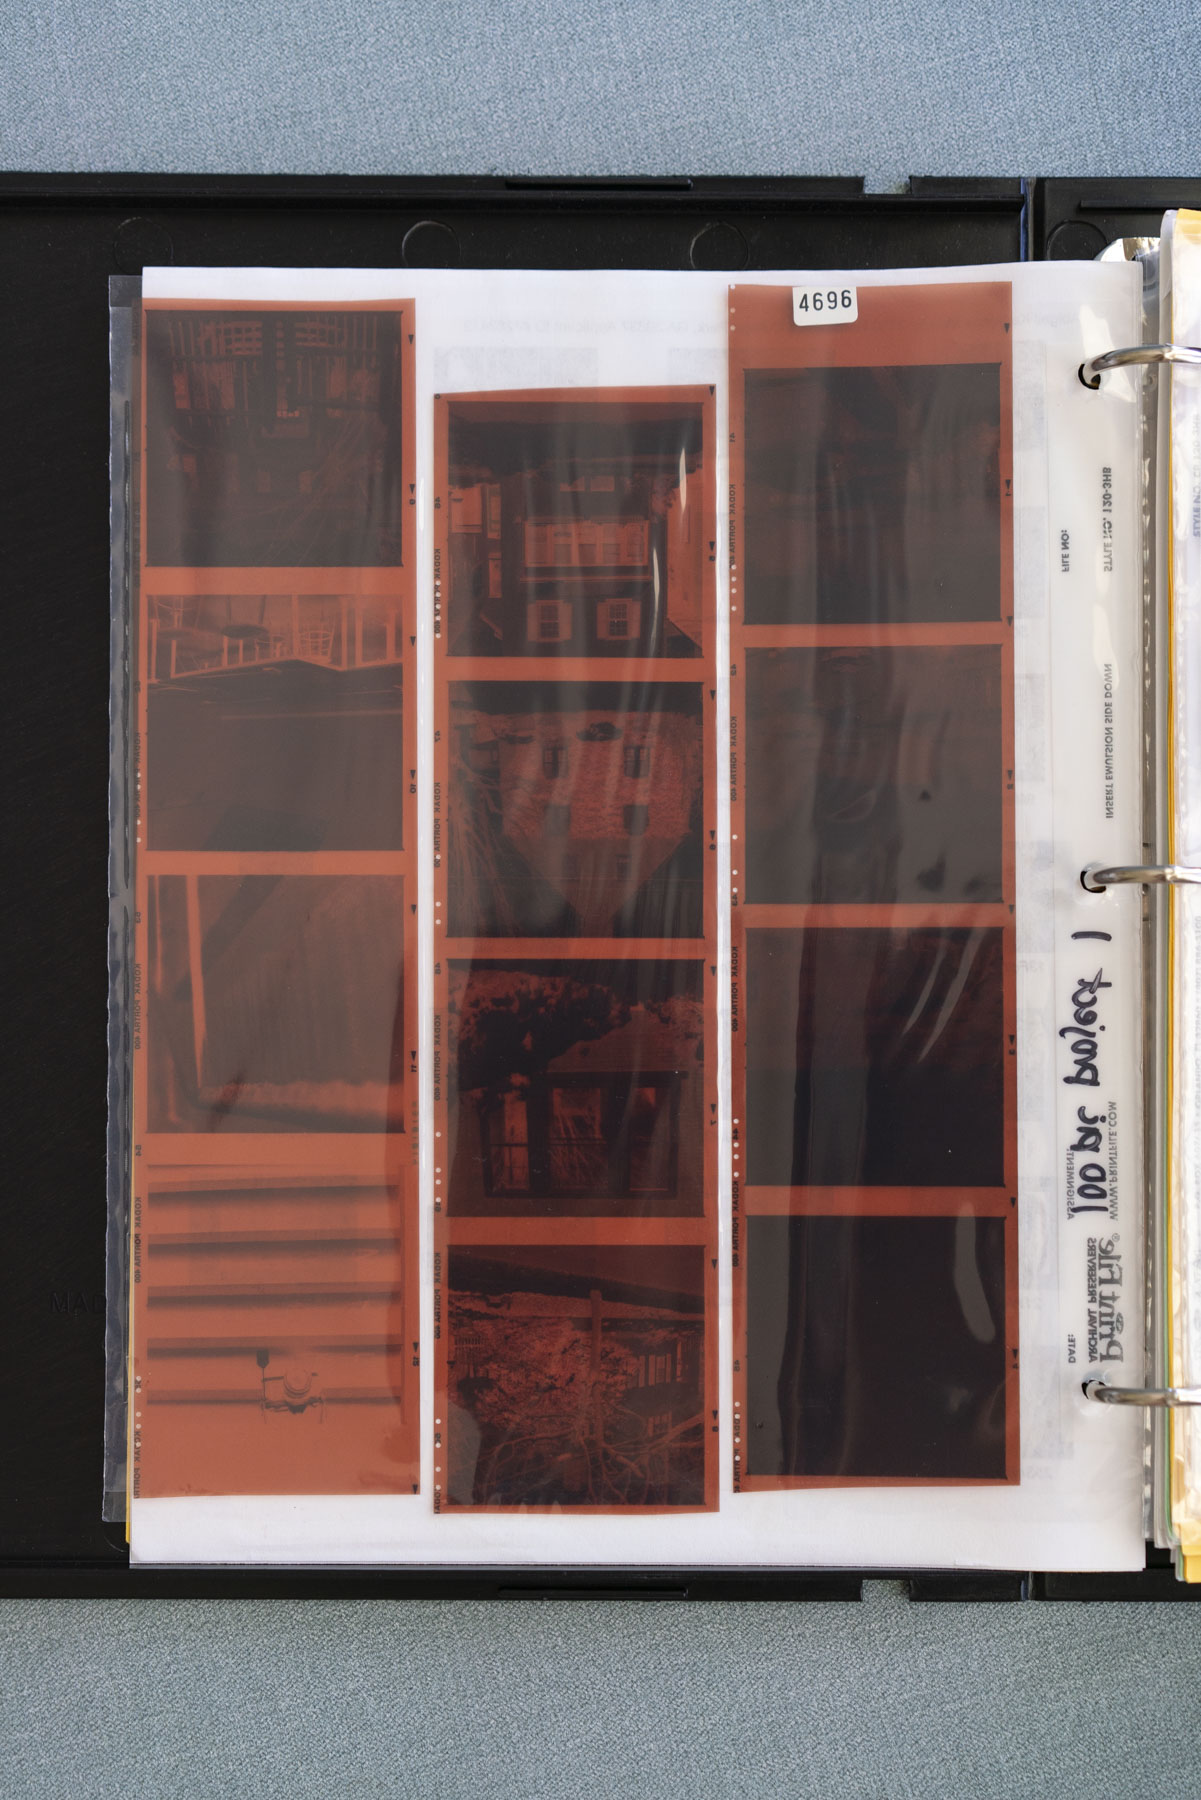
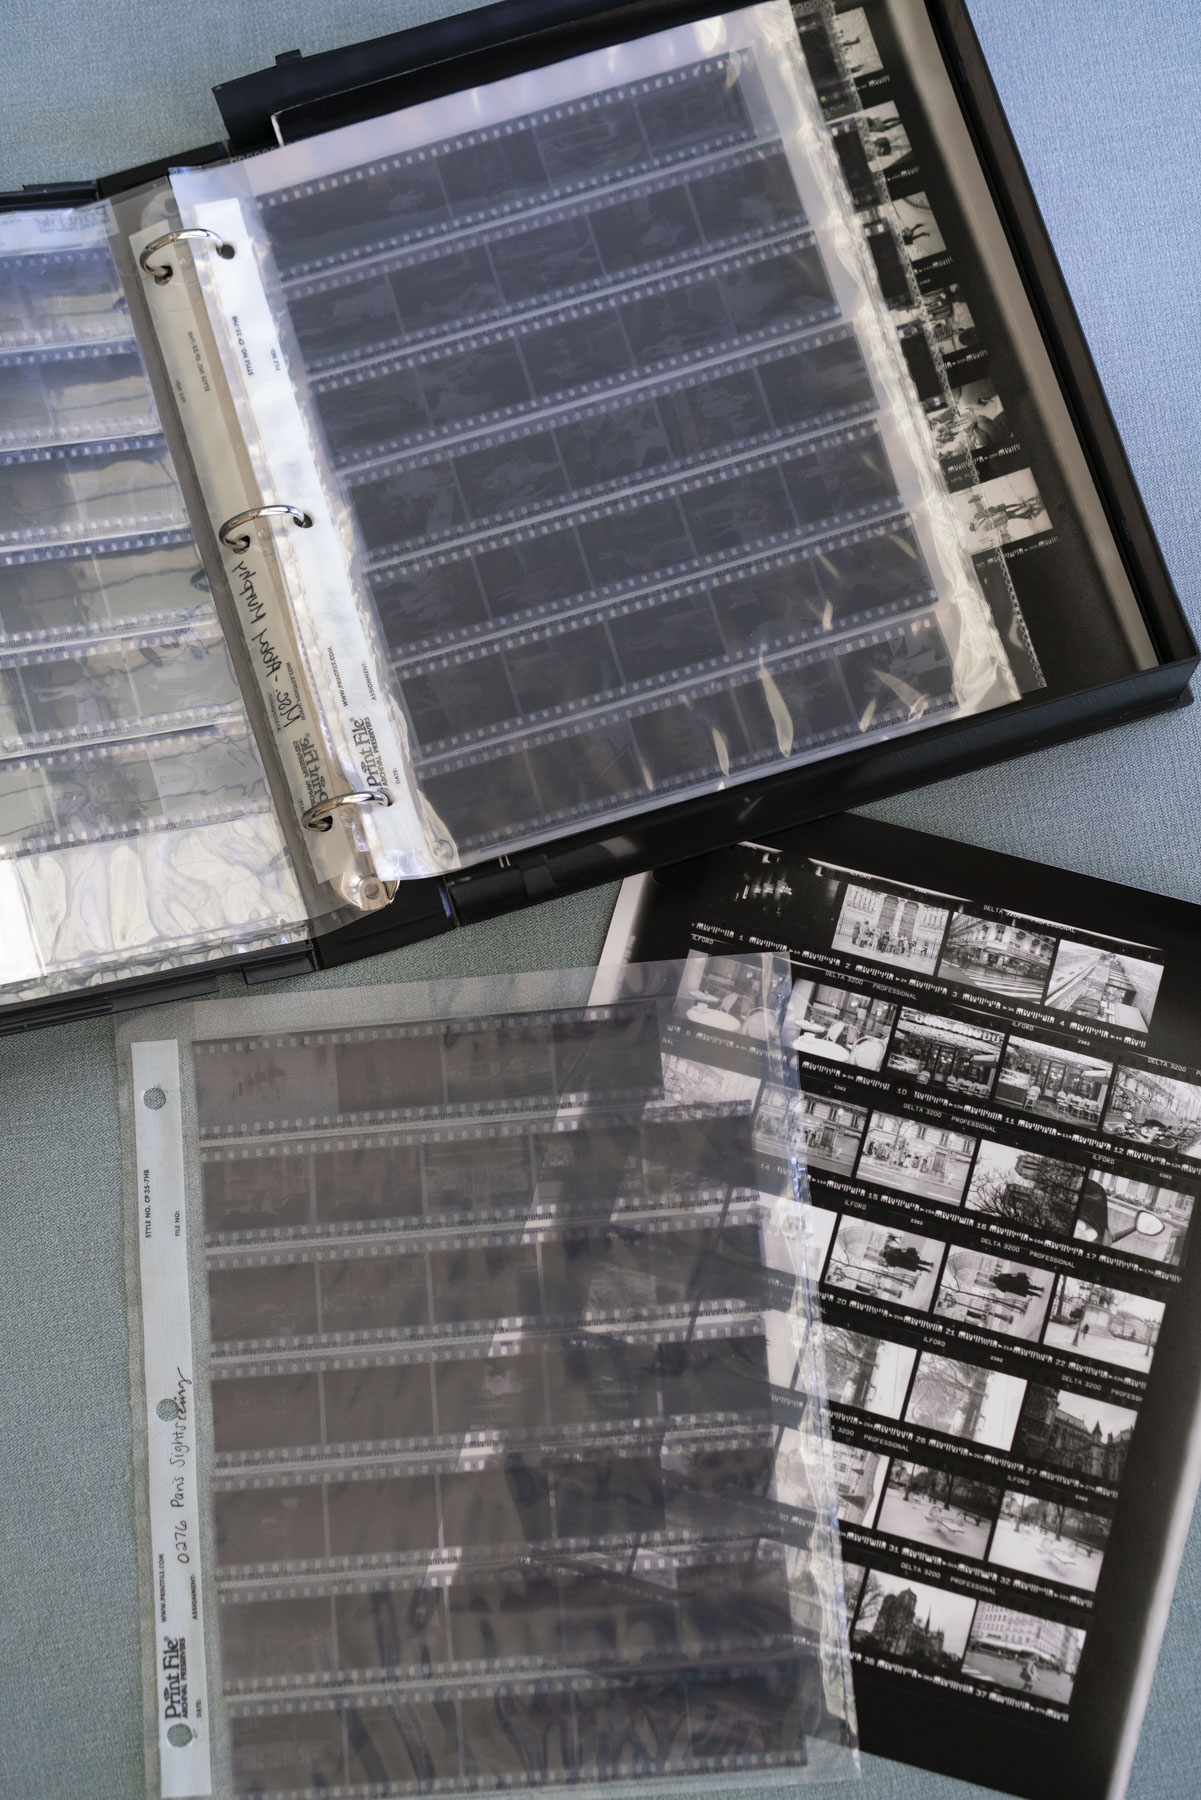
Paper or glassine sleeves are also an option, especially for older negatives. Some people prefer them to plastic because they breathe better. But they aren’t clear, so you have to pull out each film strip to view it, which can make your negatives more vulnerable. Ultimately, you can decide what you prefer and what’s best for the age of your film.
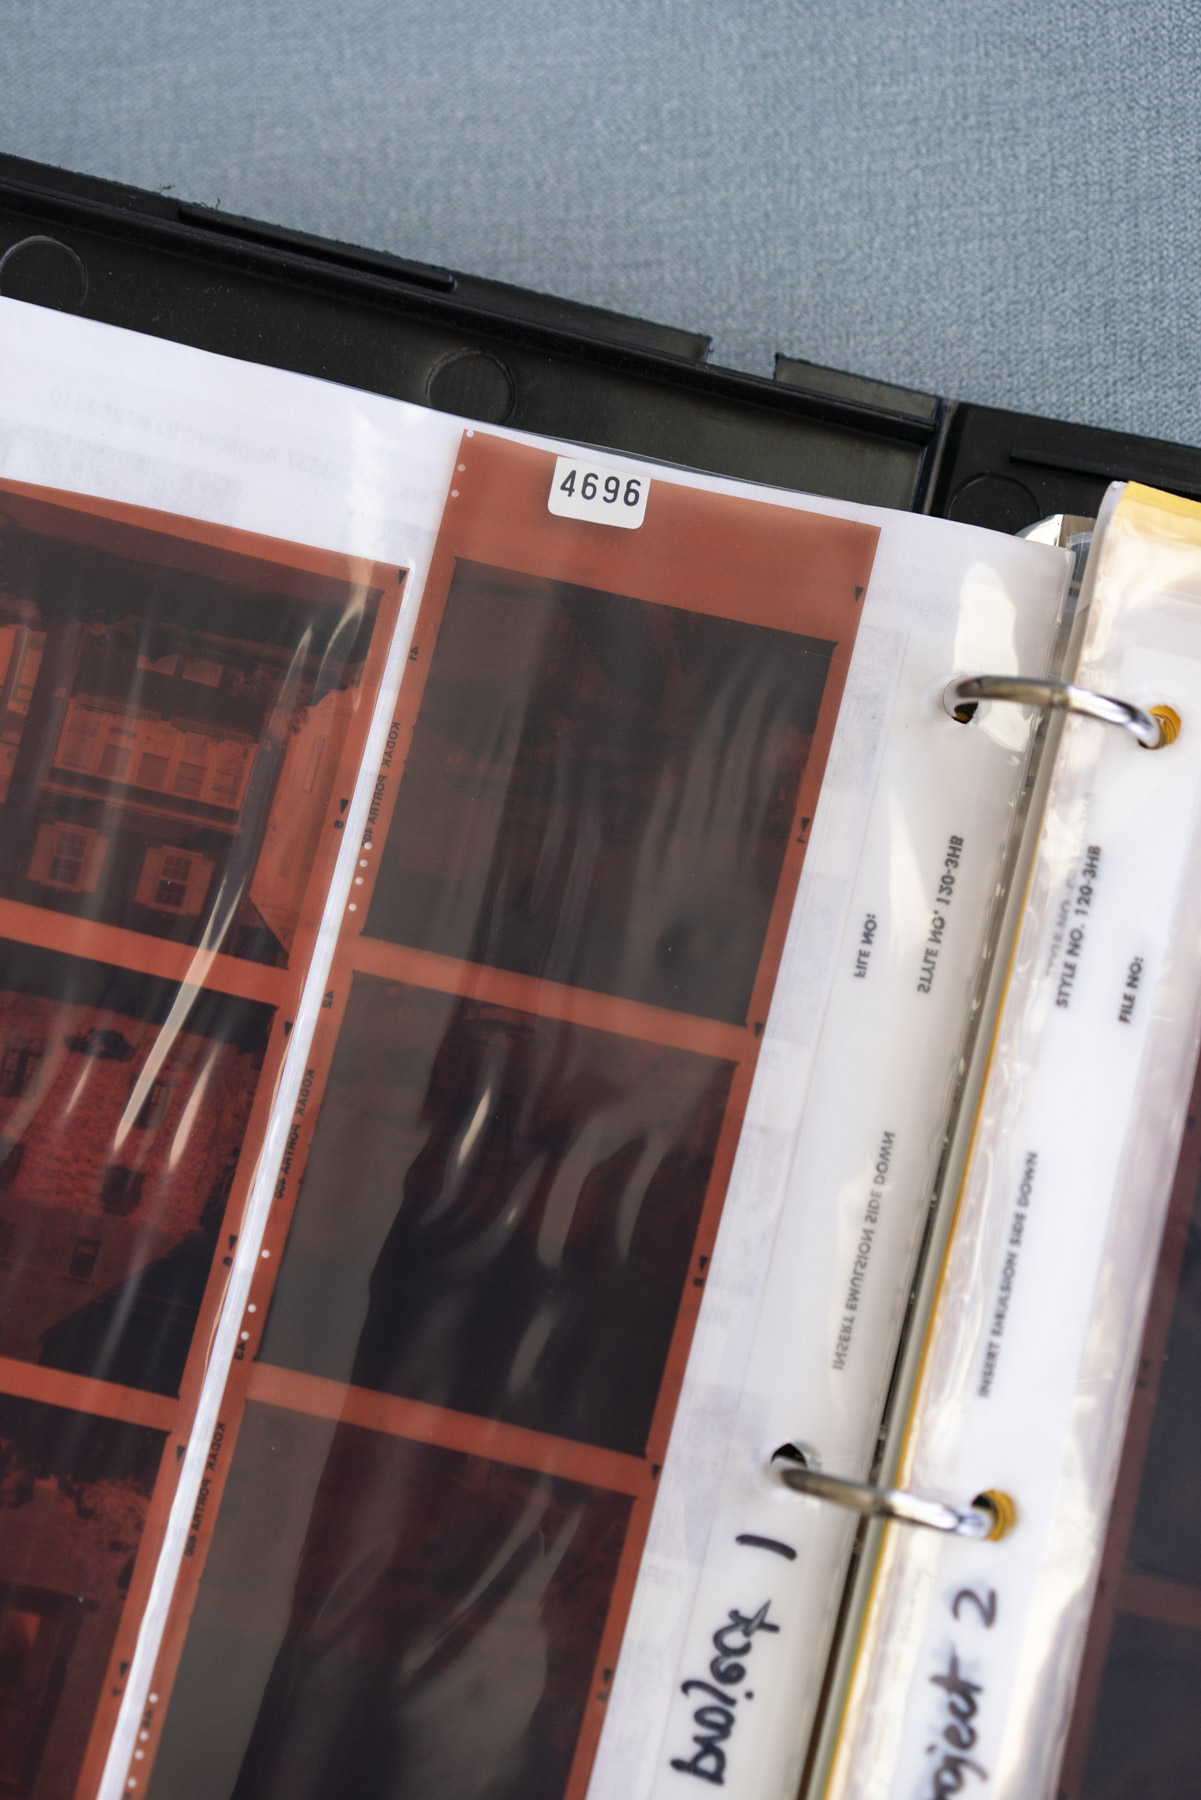
If your negatives haven’t been cut into strips yet, hold the film by its edges and carefully trim them to the width of your sleeve or envelope. Once your negatives are in your sleeves, you can flip through them without repeatedly handling the film itself.
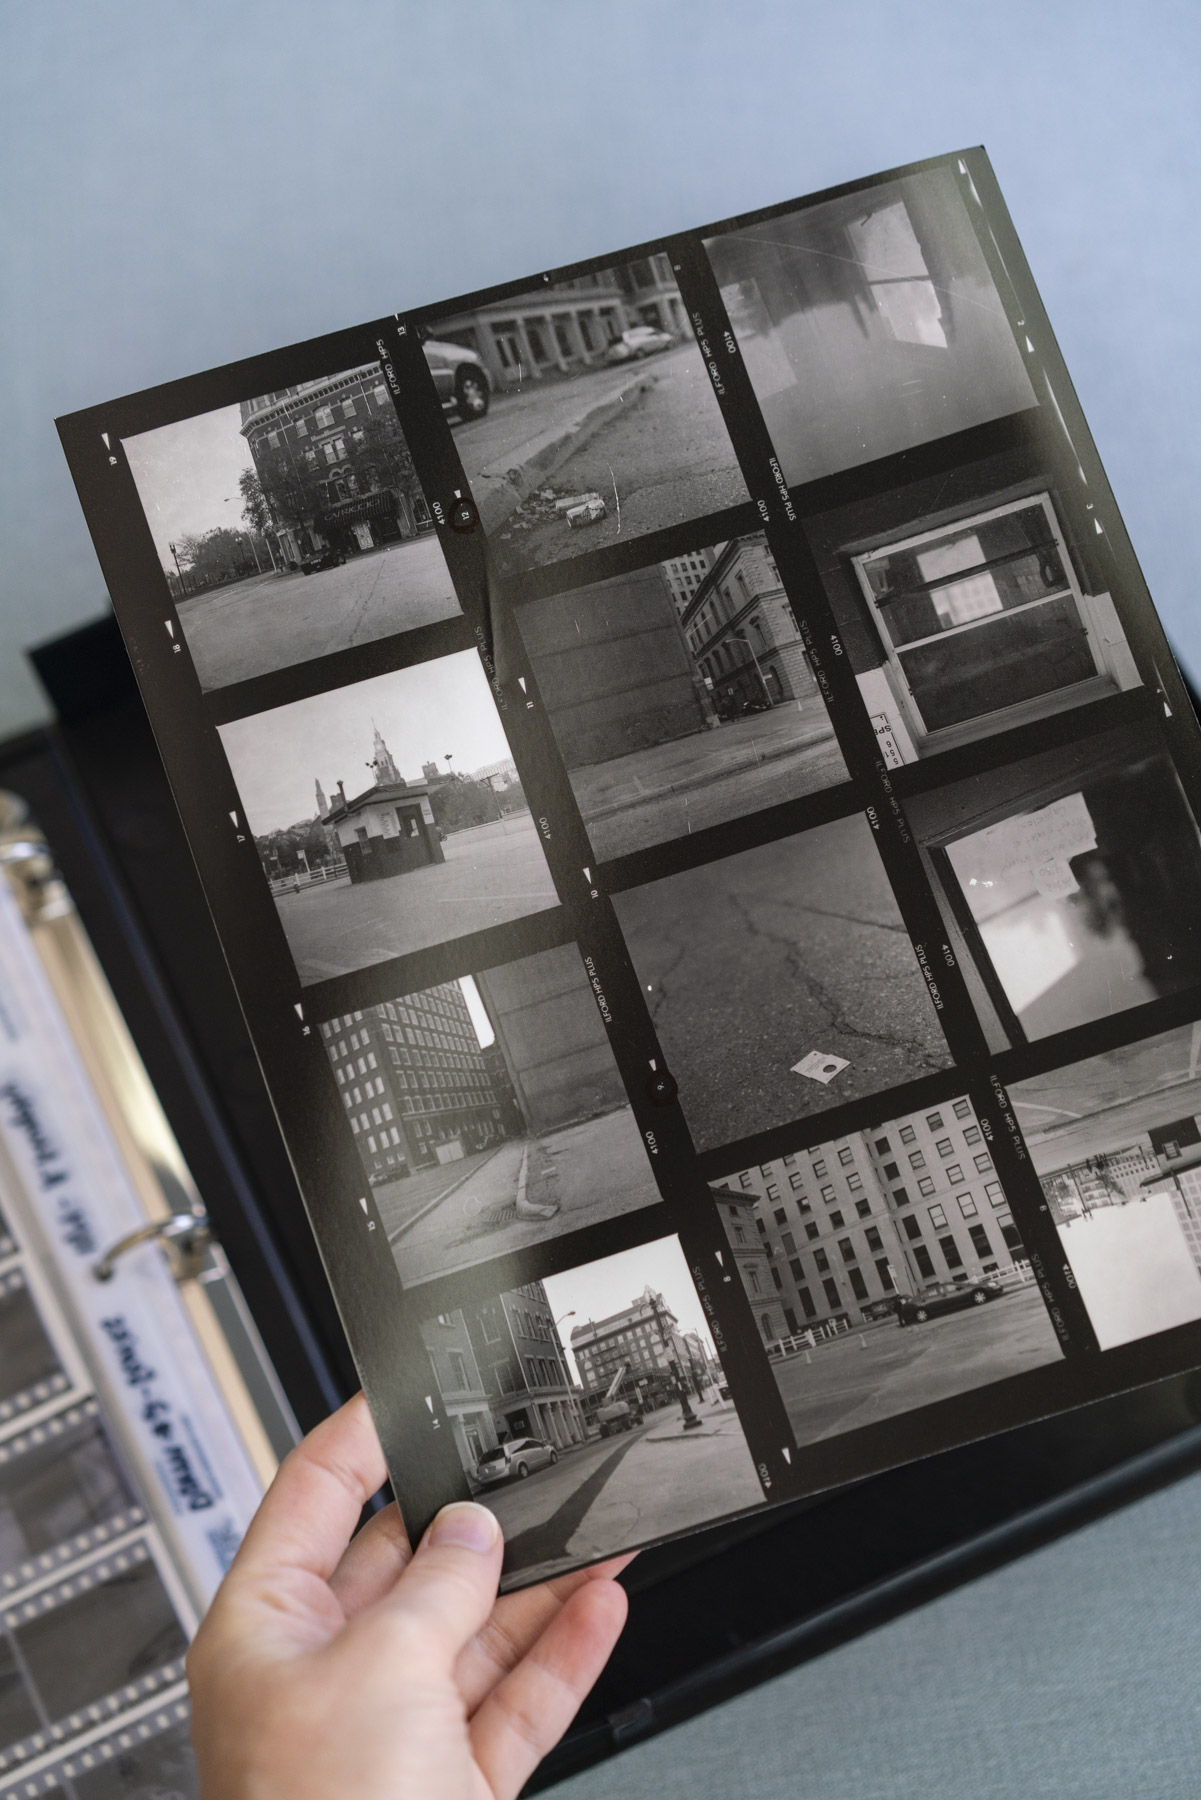
Some negative storage pages also include a pocket for a contact sheet, which is especially helpful if you have prints showing the images from each roll. My sleeves don’t have the pocket, so I tuck the contact sheets in between sleeves or in the back so I can easily spot frames.
Plastic sleeves are a little tricky to label because you should avoid using Sharpies or regular ballpoint pens. Either use an archival pen like a Micron (and give it plenty of time to dry), or use acid-free paper inserts with labels written in #2 pencil.
Enclosed 3-Ring Binder
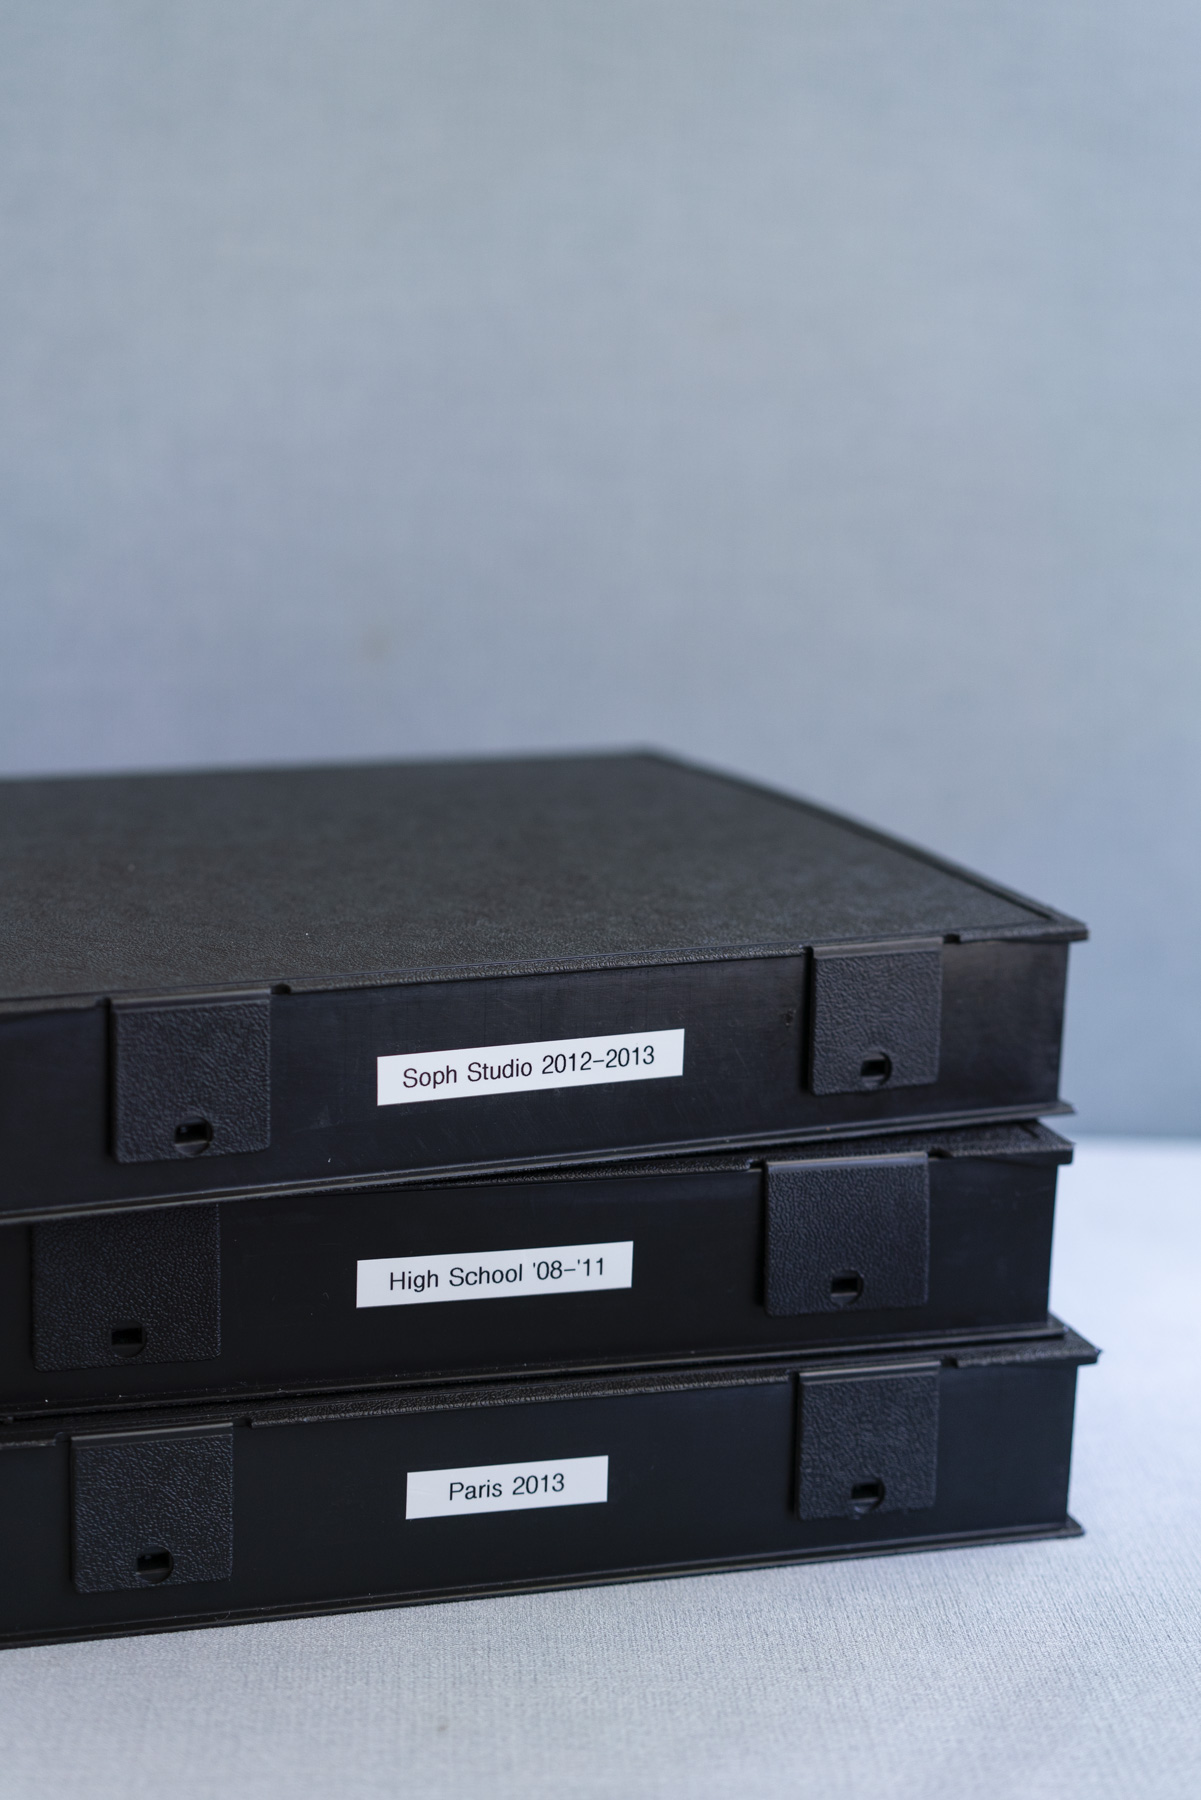
I use fully enclosed three-ring binders to hold my negative sleeves. The black exterior and outside latches help keep light and dust out. They’re also made of polypropylene, so they’re safe for newer negatives.
If you are going the paper route, choose an archival box that’s acid- and lignin-free.
How to Organize and Label Your Photo Negatives
Once your negatives are safely stored, the next step is making sure you can actually find what you’re looking for!
This can be tricky, especially with old family negatives. You might not know the exact dates, recognize everyone in the photos, or have prints that match every roll. If your film has any identifying information with it, like an envelope with notes or numbers from a lab, be sure to record all of it before getting rid of the original packaging.
That’s why I recommend creating a spreadsheet to track and link your negatives to prints. The goal is to record enough information that you can find a particular set of negatives again when you need it.
To make this really easy for you, I created a spreadsheet template you can download for free, customize, and use right away! Inside the spreadsheet, I define each column and give you more examples of how to adapt it to your collection. Download it here!
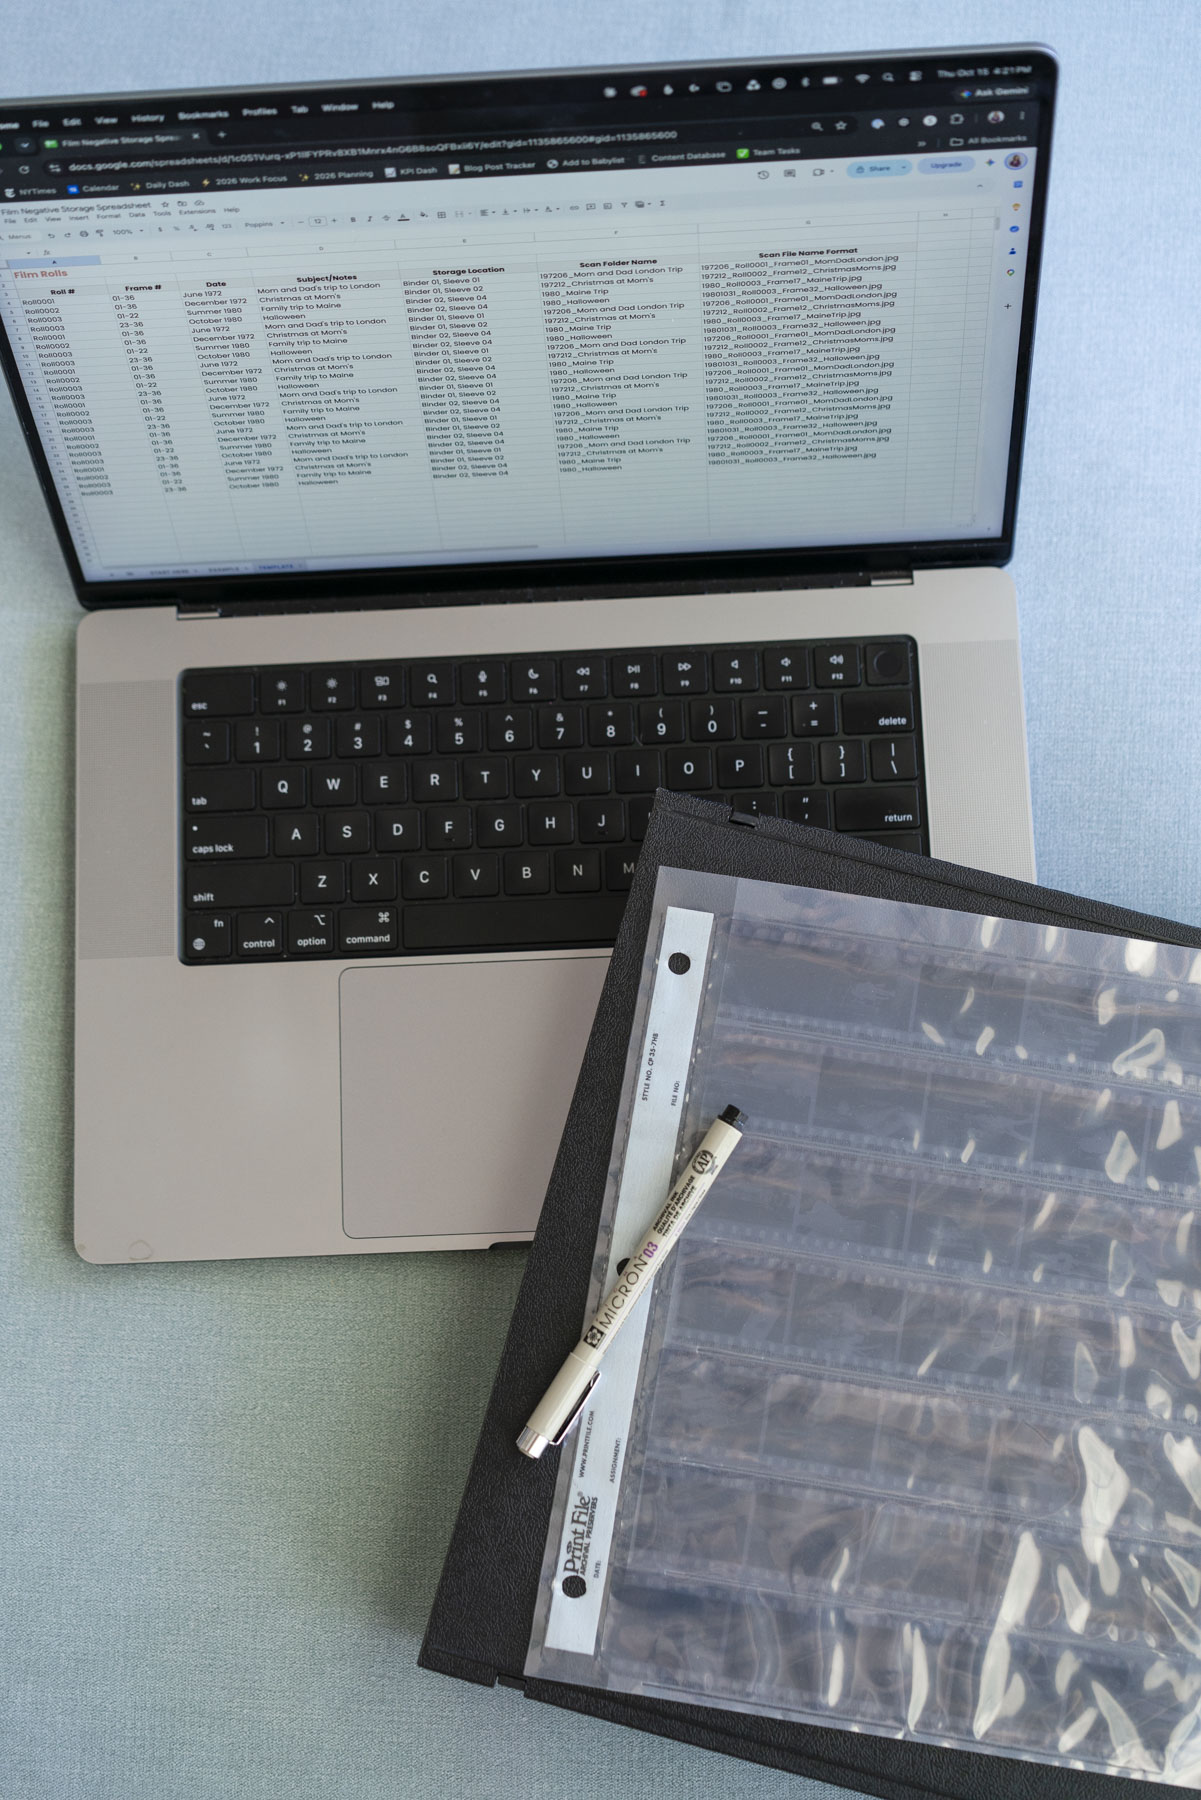
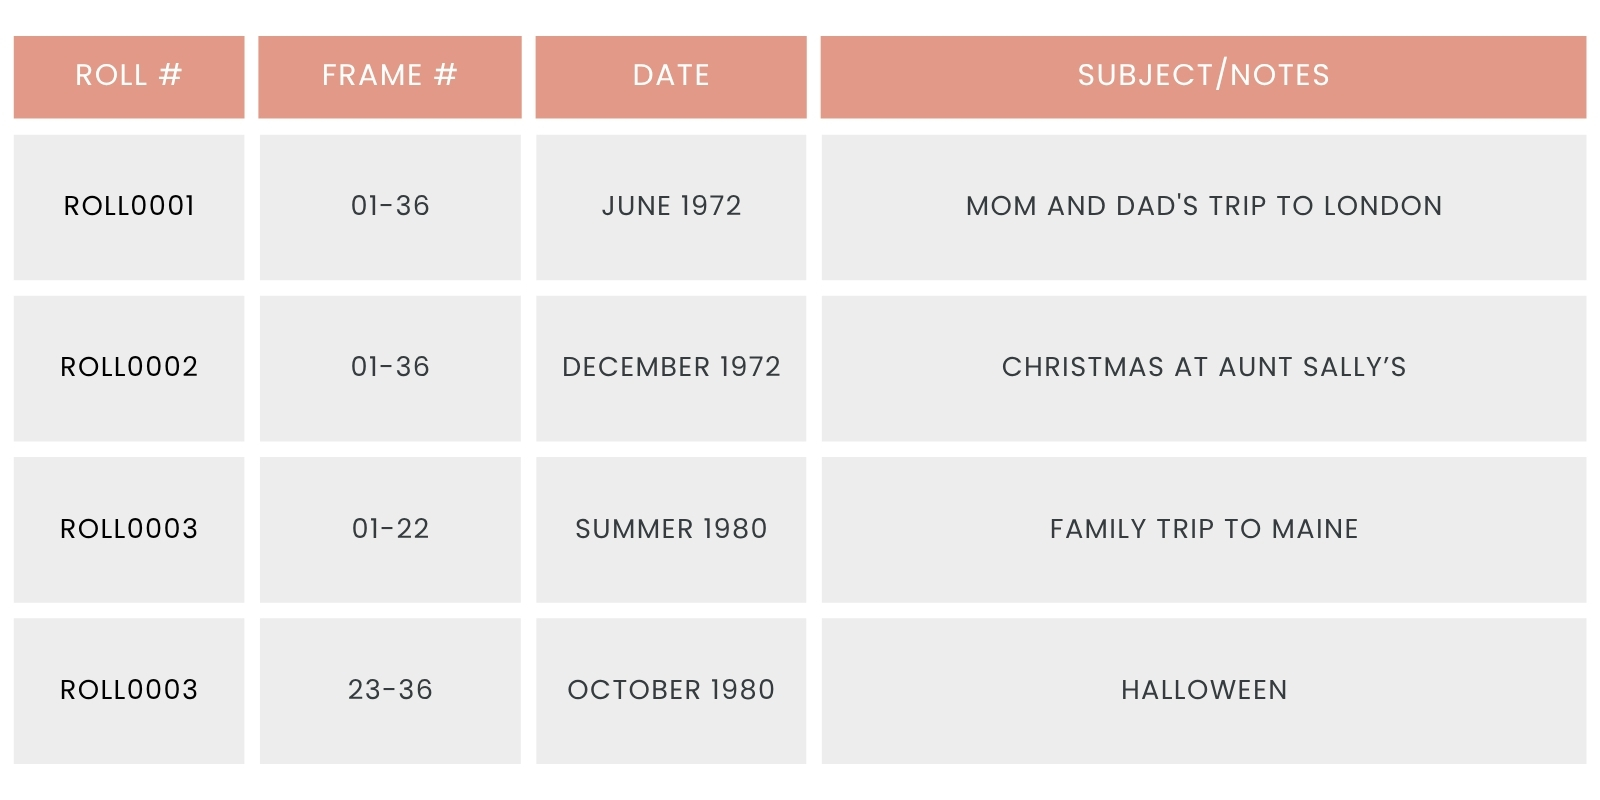
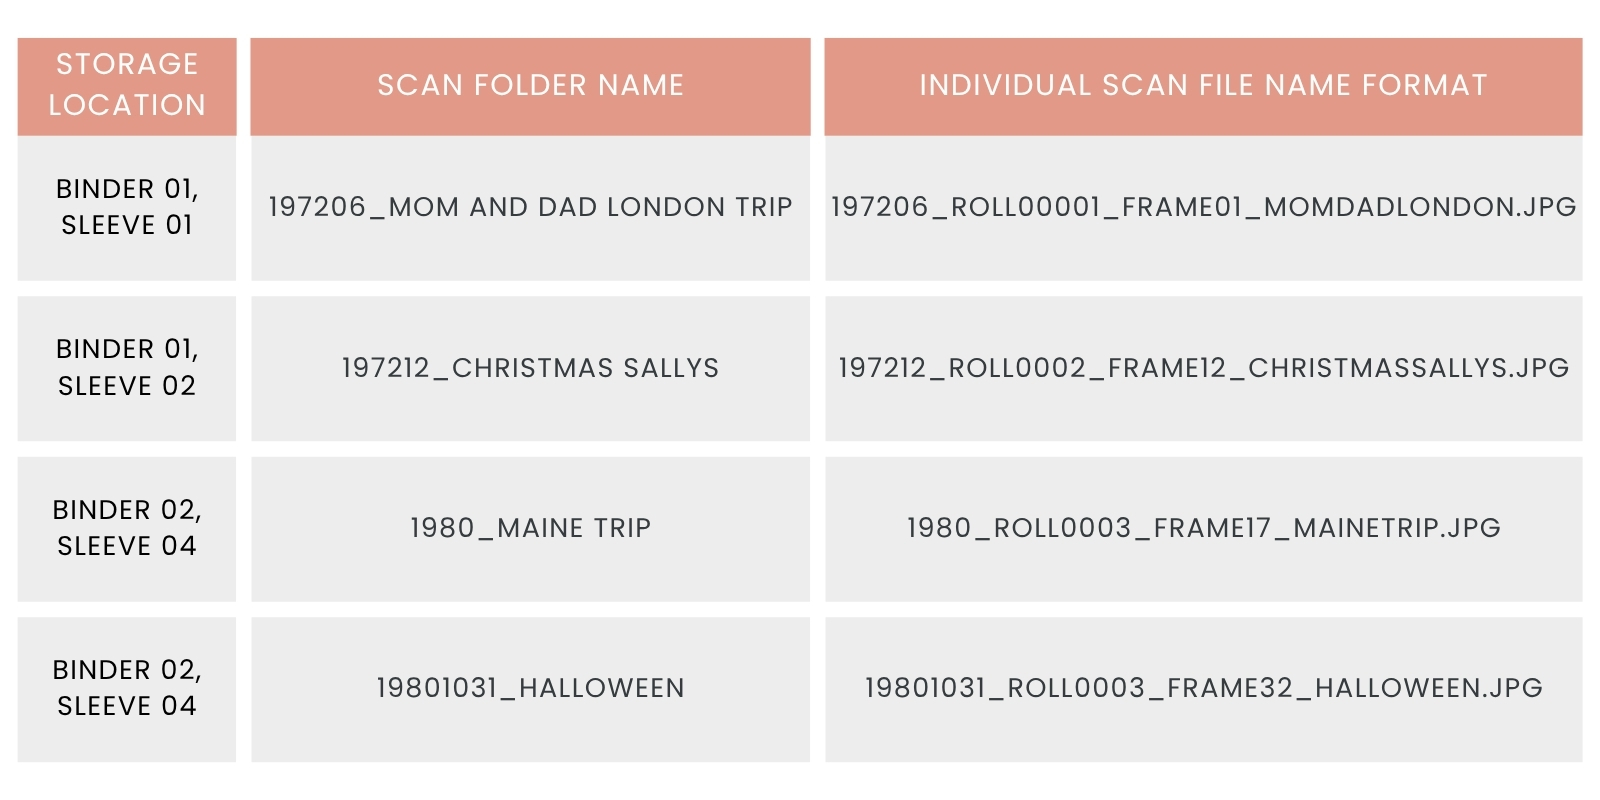
Open a new Excel or Google Sheets spreadsheet and create columns for the information you have available. For example:
What to Do With Your Negatives Next
- Store your binders and boxes in a main area of your home. Not an attic, garage, or basement!
- Start scanning. You don’t have to digitize your entire collection at once. Start with a favorite roll, an important family event, or negatives you know you’ll want to revisit. Either send them out for professional scanning or DIY. I cover these options in more detail in this post!
- Make a backup plan. Back up digital copies in more than one place, like the cloud (Google Photos, Amazon Photos, Dropbox, etc.), a hard drive, and a second hard drive kept at a family member’s house or an office.
- Print and enjoy your favorites. Use your scans to make prints, design a photo book, or create a family picture collection to share with relatives.
To take your archiving even further, I recommend checking out articles on Archival Methods’ blog or the National Archives. Especially with older negatives, you may find film formats and sizes you’re not sure what to do with. These resources can help you customize your storage methods to your particular collection of film negatives.



+ SHOW comments
Add a comment