








Right before my daughter Essie was born, it was time for a phone upgrade. Blank slate, better lenses, more storage. But between operating in survival mode and zero time for anything but keeping a tiny human alive, my camera roll ballooned to 15,000+ photos and videos within her first couple of years. Whoops!
When I finally had some breathing room, I got serious about creating a system to keep these photos safe, organized, and actually shareable with her someday (as if she doesn’t already love watching videos of herself!).
I have a few posts about my full organizing system, but this post is just 5 quick ways I manage iPhone photos as a busy mom. Whether you’re a parent or shutter-happy, these are easy places to start. They’ll make a huge difference in how your camera roll feels. Let’s get into them!
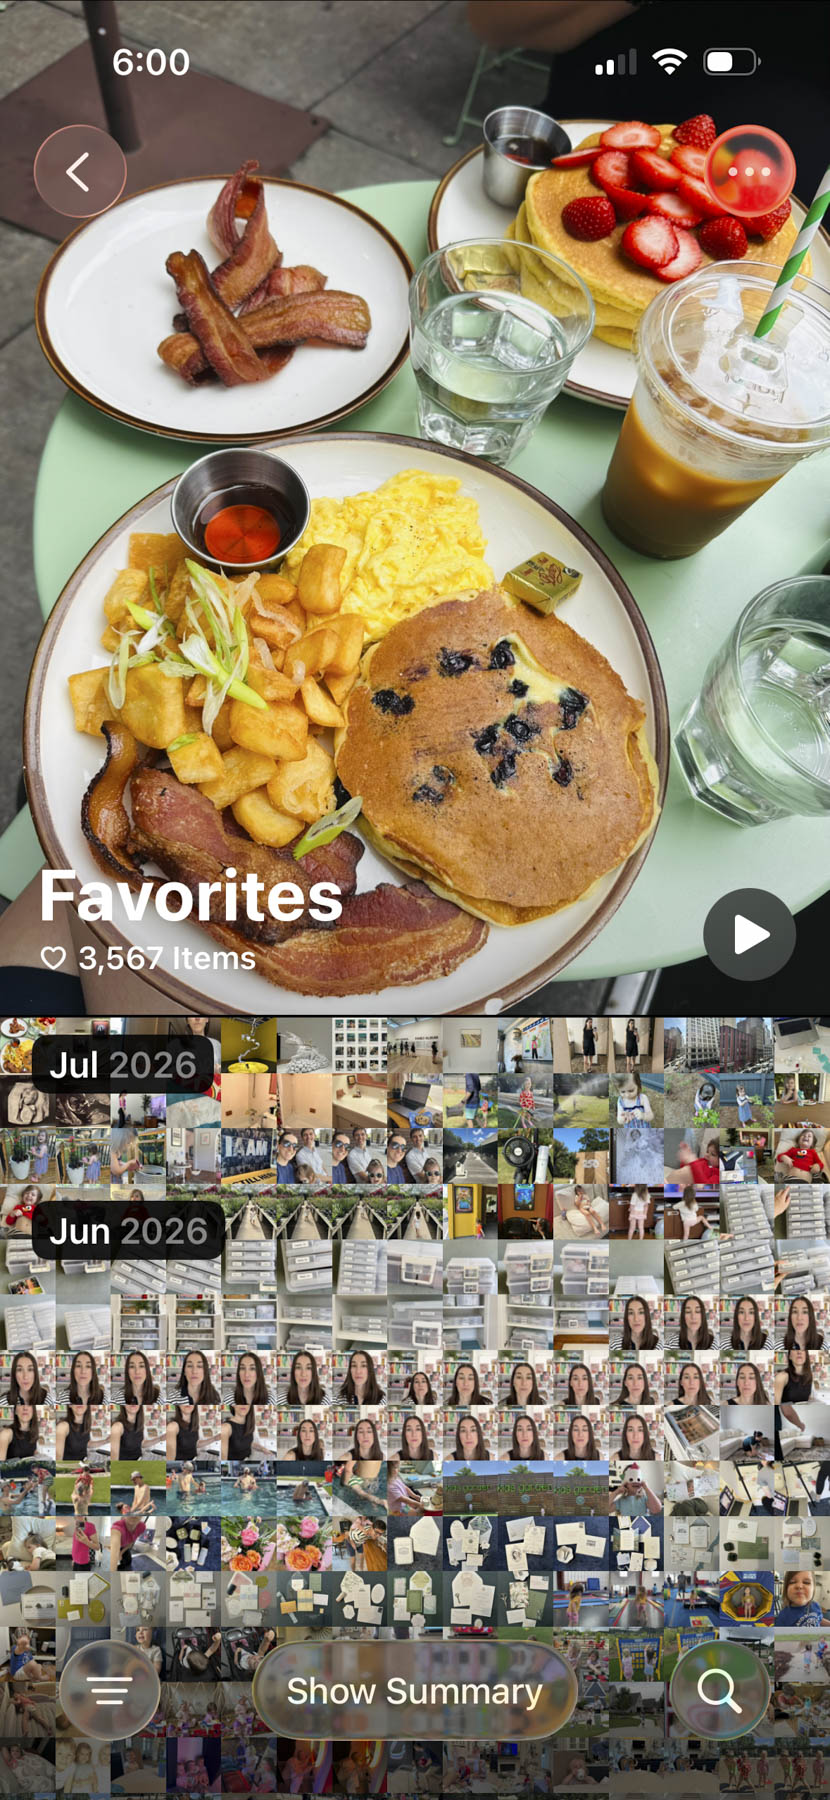
1. Favorite Your Best iPhone Photos
Favoriting photos every day is something I rarely miss. If a full organization sesh of your iPhone isn’t in the cards right now, don’t skip “hearting” your favorite shots as you go. This saves so much time later when building albums, deciding what to print, or sharing. It also helps when you’re ready to delete the junk. You already have your favorites picked, so the rest can probably go.
Quick Tip: The Favorites Album (under Utilities) automatically creates a slideshow to relive your best shots.
2. Use Recent Days to Sort
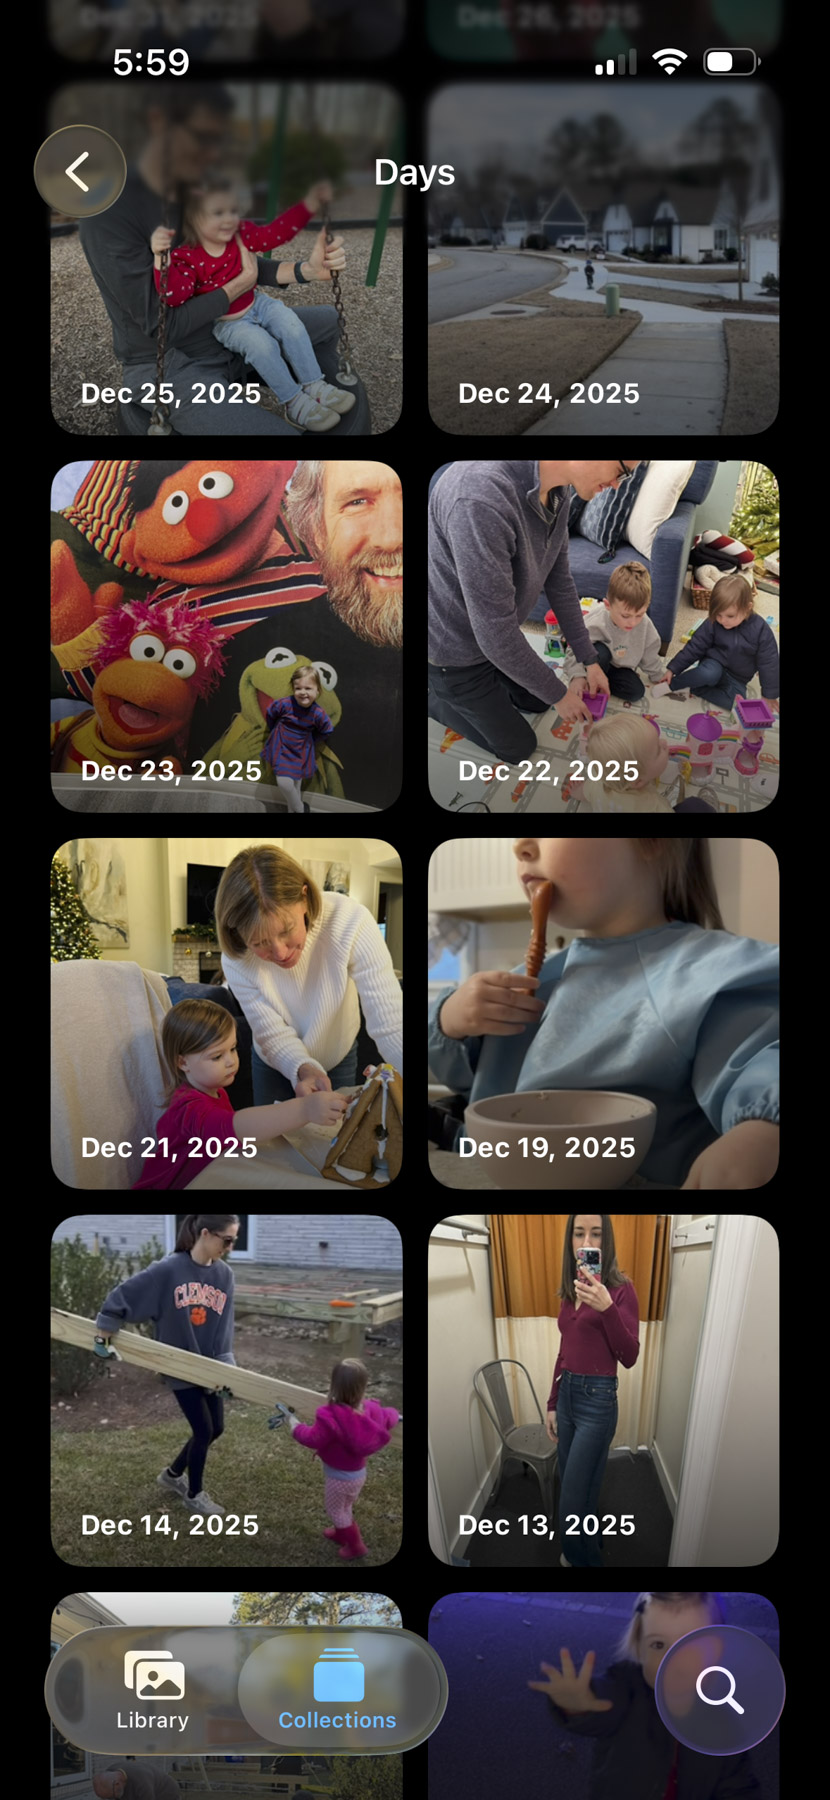
If you’re feeling overwhelmed looking at your entire library grid all at once, try going to Collections > Recent Days. It groups your photos into specific days so sorting feels a lot less overwhelming. It’s a great way to do a quick daily or weekly glance before things get buried.
Quick Tip: If you only have two minutes, just scroll through today’s Recent Day and favorite anything worth keeping.
3. Delete Duplicates
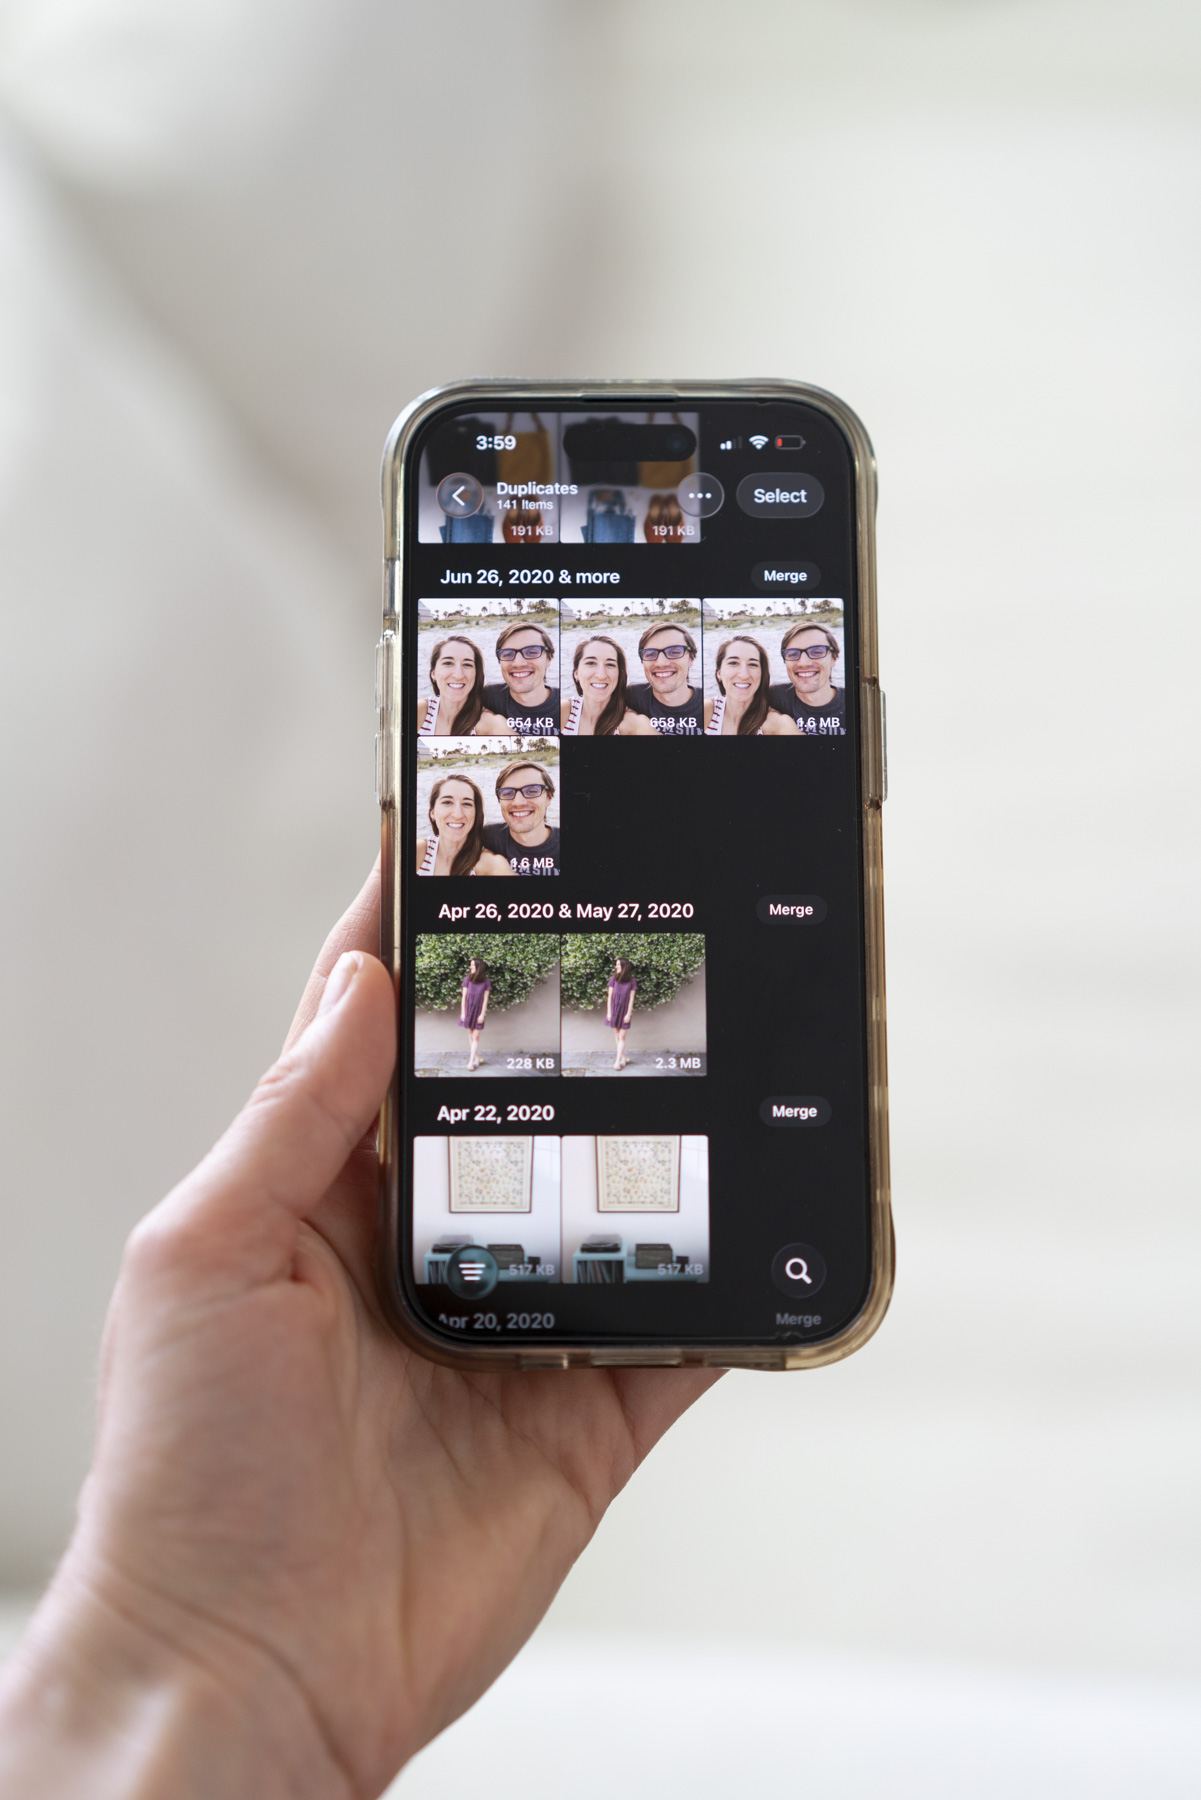
There’s a Duplicates folder in Utilities that automatically identifies duplicate files in your library, so you can delete the extras and save space. Duplicates usually don’t pile up too much on my iPhone, so I sort through them every month or so.
You can also think of duplicates as the multiple shots you take of a moment while trying to get the best one. This is where favoriting really helps. Once you’ve favorited your pick, you can delete the rest.
Quick Tip: If you take burst shots (swiping left on the shutter button), your iPhone automatically stacks them and lets you choose the best shot to keep. It’s worth checking out if you haven’t used this feature before!
4. Share iPhone Photos with Shared Albums
Shared Albums are, in my opinion, the best way to share iPhone photos with loved ones. We use one to share photos of Essie with her grandparents, and I’m added to one for my niece and nephew, too. My family also loves creating them for trips, whether we’re traveling together or separately, so we can see all the fun everyone is having. I add to our Shared Albums daily or weekly, and it helps us all stay connected and in the loop without a group text photo dump.
Quick Tip: Shared Albums don’t have to be just for trips and kid photos. I think it’d be fun to start one with friends for everyday life pics instead of texting them back and forth (going to text my friend group chat about this ASAP!).
5. Organize into Monthly Albums
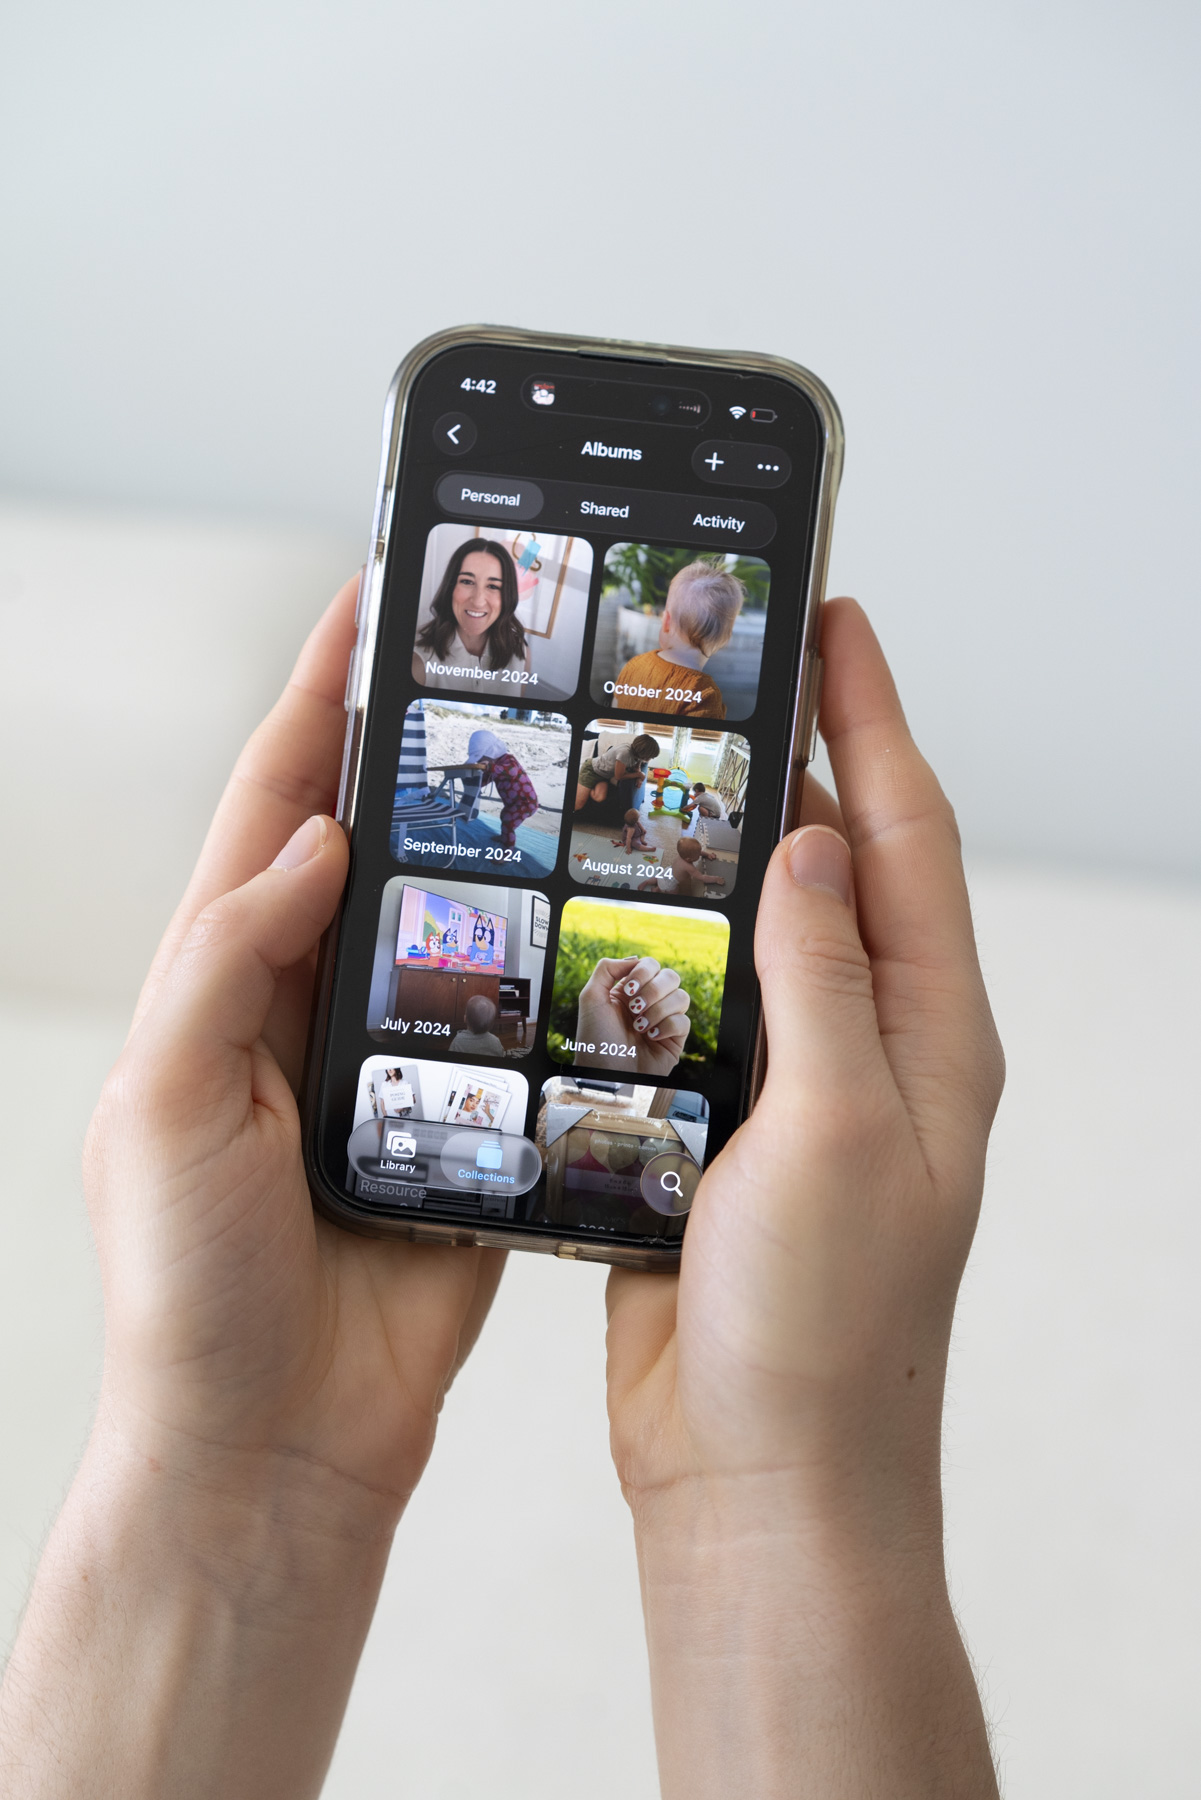
I cover how I structure my iPhone photo albums in here, but it’s also something I tap into weekly or monthly rather than in one big organizing session. After favoriting my best shots from the week or month, I’ll add them to that month’s folder. This makes it so much easier later when I go to back them up to a hard drive, or want to find a pic quickly.
Quick Tip: Learn how to back up your photos in this post!
Keep Your iPhone Photos Manageable
These 5 ways I manage photos on my iPhone aren’t a perfect system. They’re just small habits that keep photos from feeling totally unmanageable. They’re easy to fit in when you’re waiting in line, or instead of scrolling for 15 minutes on the couch. Photo organizing doesn’t have to be another dreaded task. You can keep it easy and doable!



+ SHOW comments
Add a comment