


I’m excited to share our garage makeover before and after! Hunter and I overhauled the garage in our 1960’s ranch from top to bottom. Renovating the garage may not be the most exciting house project, but I have to admit that a clean, organized garage feels just as good as a refreshed bedroom!
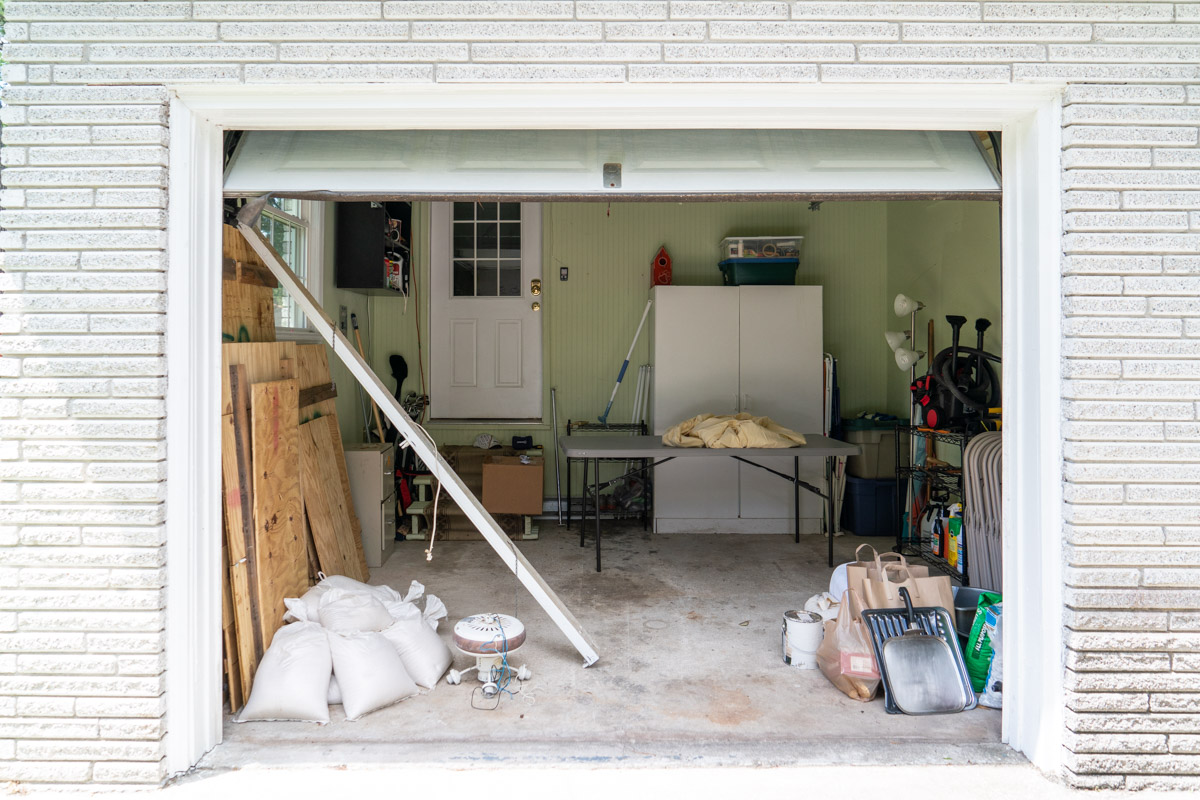
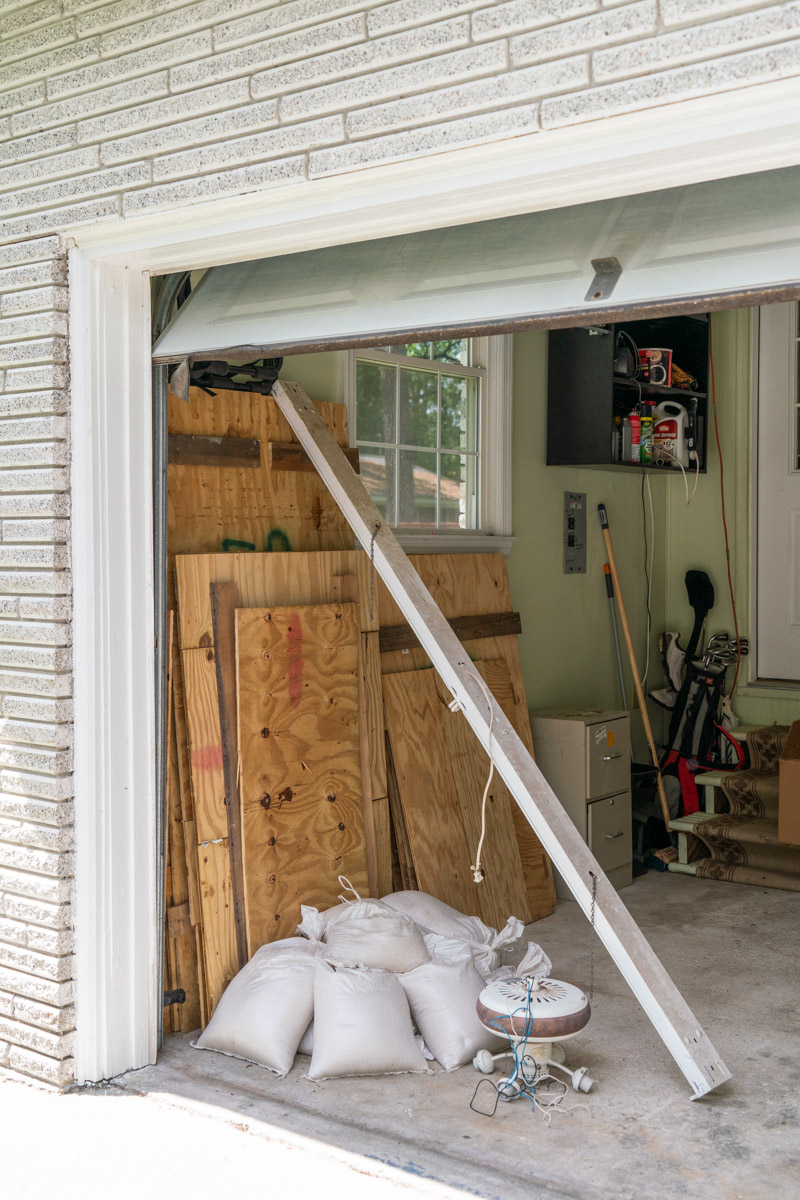
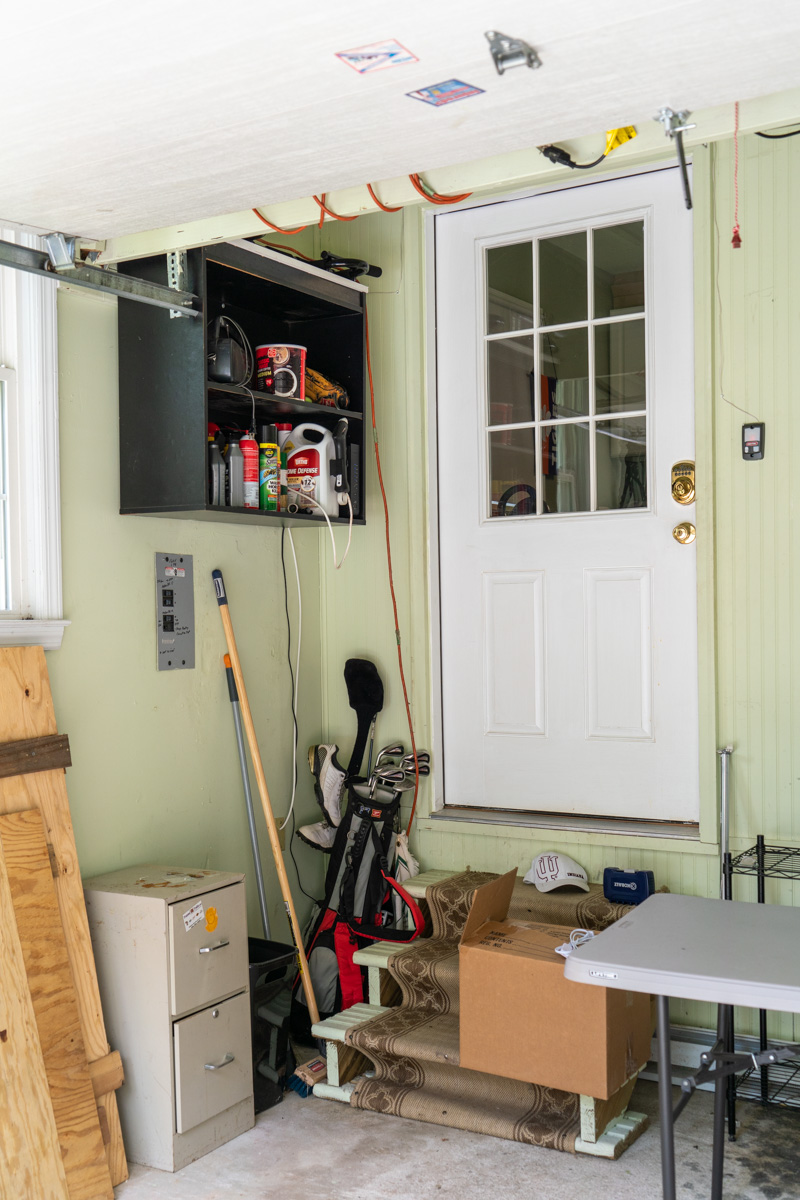
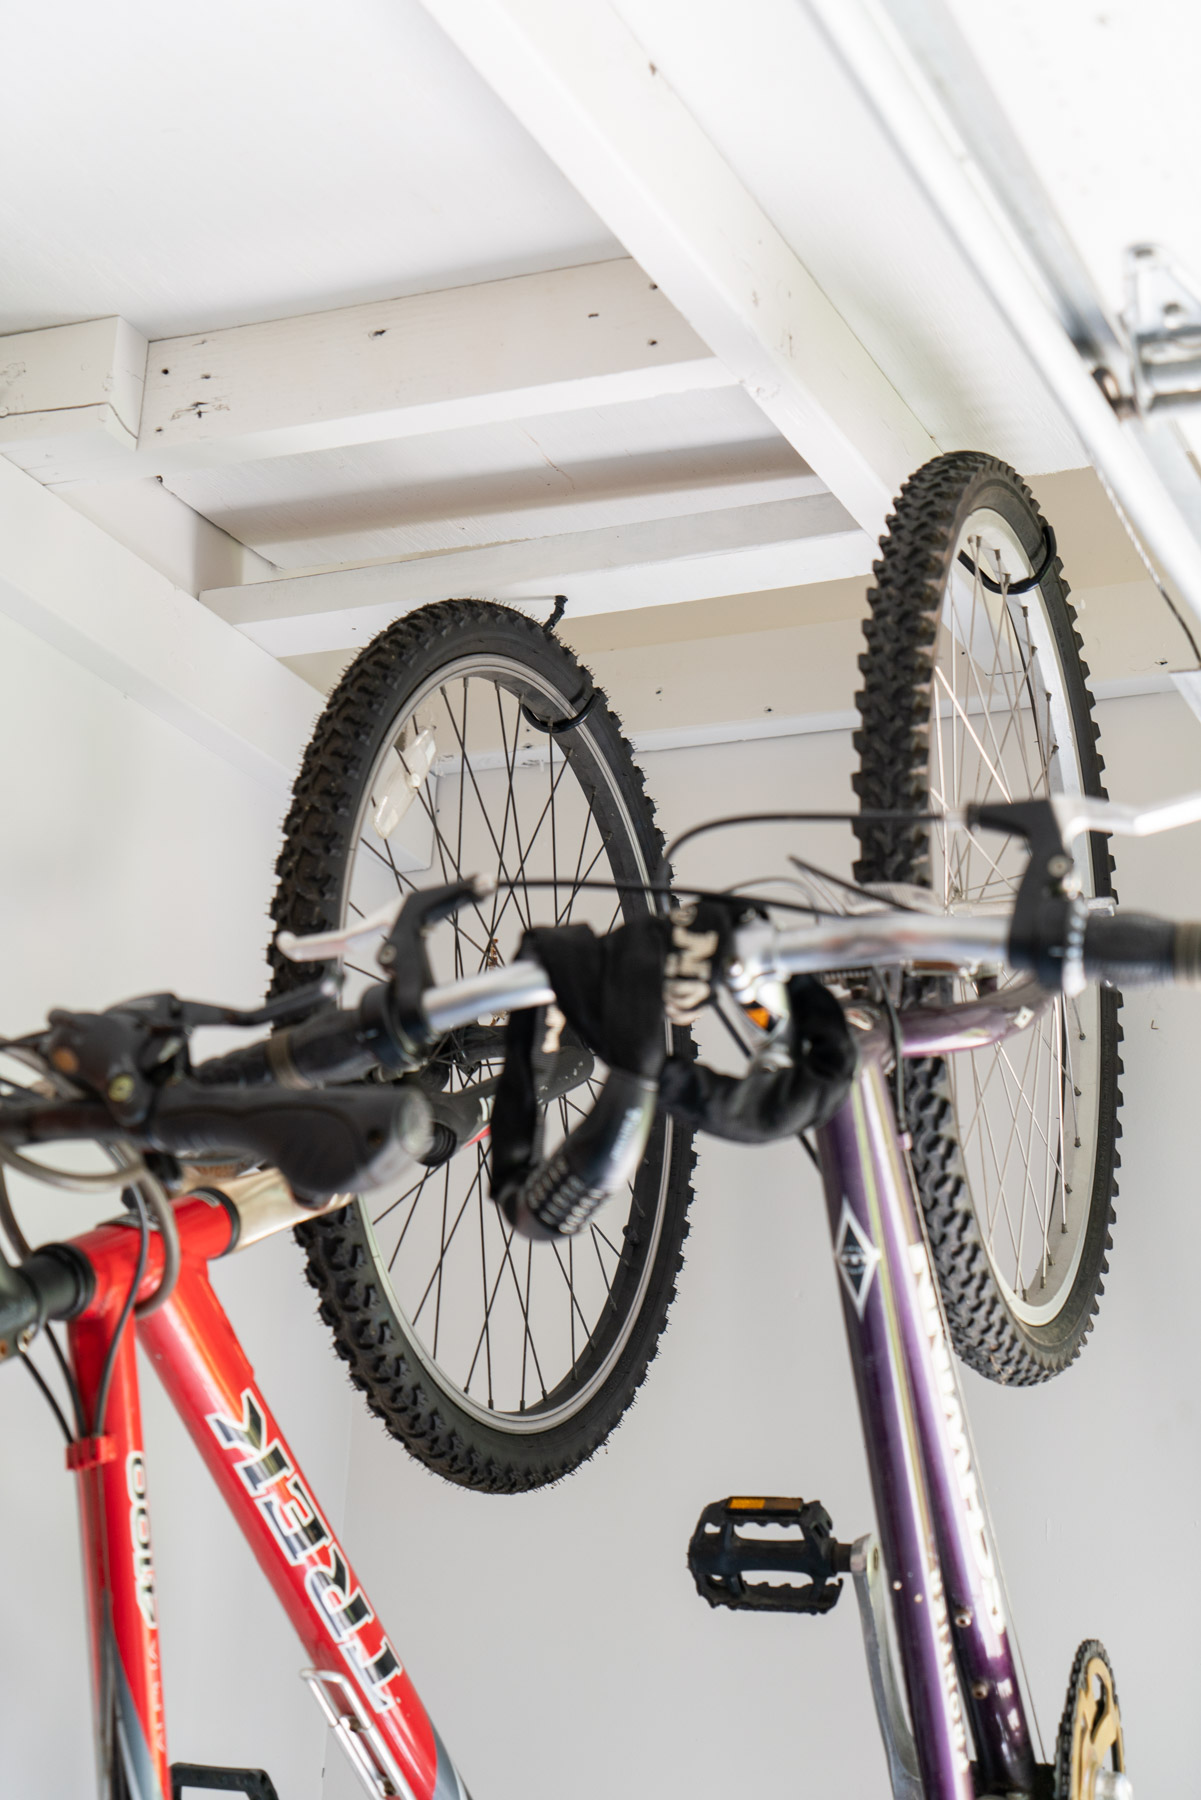
Many ranch-style homes in our area have converted garages into liveable spaces like living rooms and bonus rooms. The previous owners of our home converted half of our garage into a mudroom. They added raised data flooring, installed cabinets, and built stairs up from the garage into the house. Before we moved in, they used the half-garage space as an office, with carpeting and all! I’m not sure how the owner endured the humidity out there! Hunter and I wanted to convert it back into useable garage storage space.We can’t fit a car in the garage, but it does give us plenty of space for storing yard equipment, beach chairs, bikes, and tools.
Before

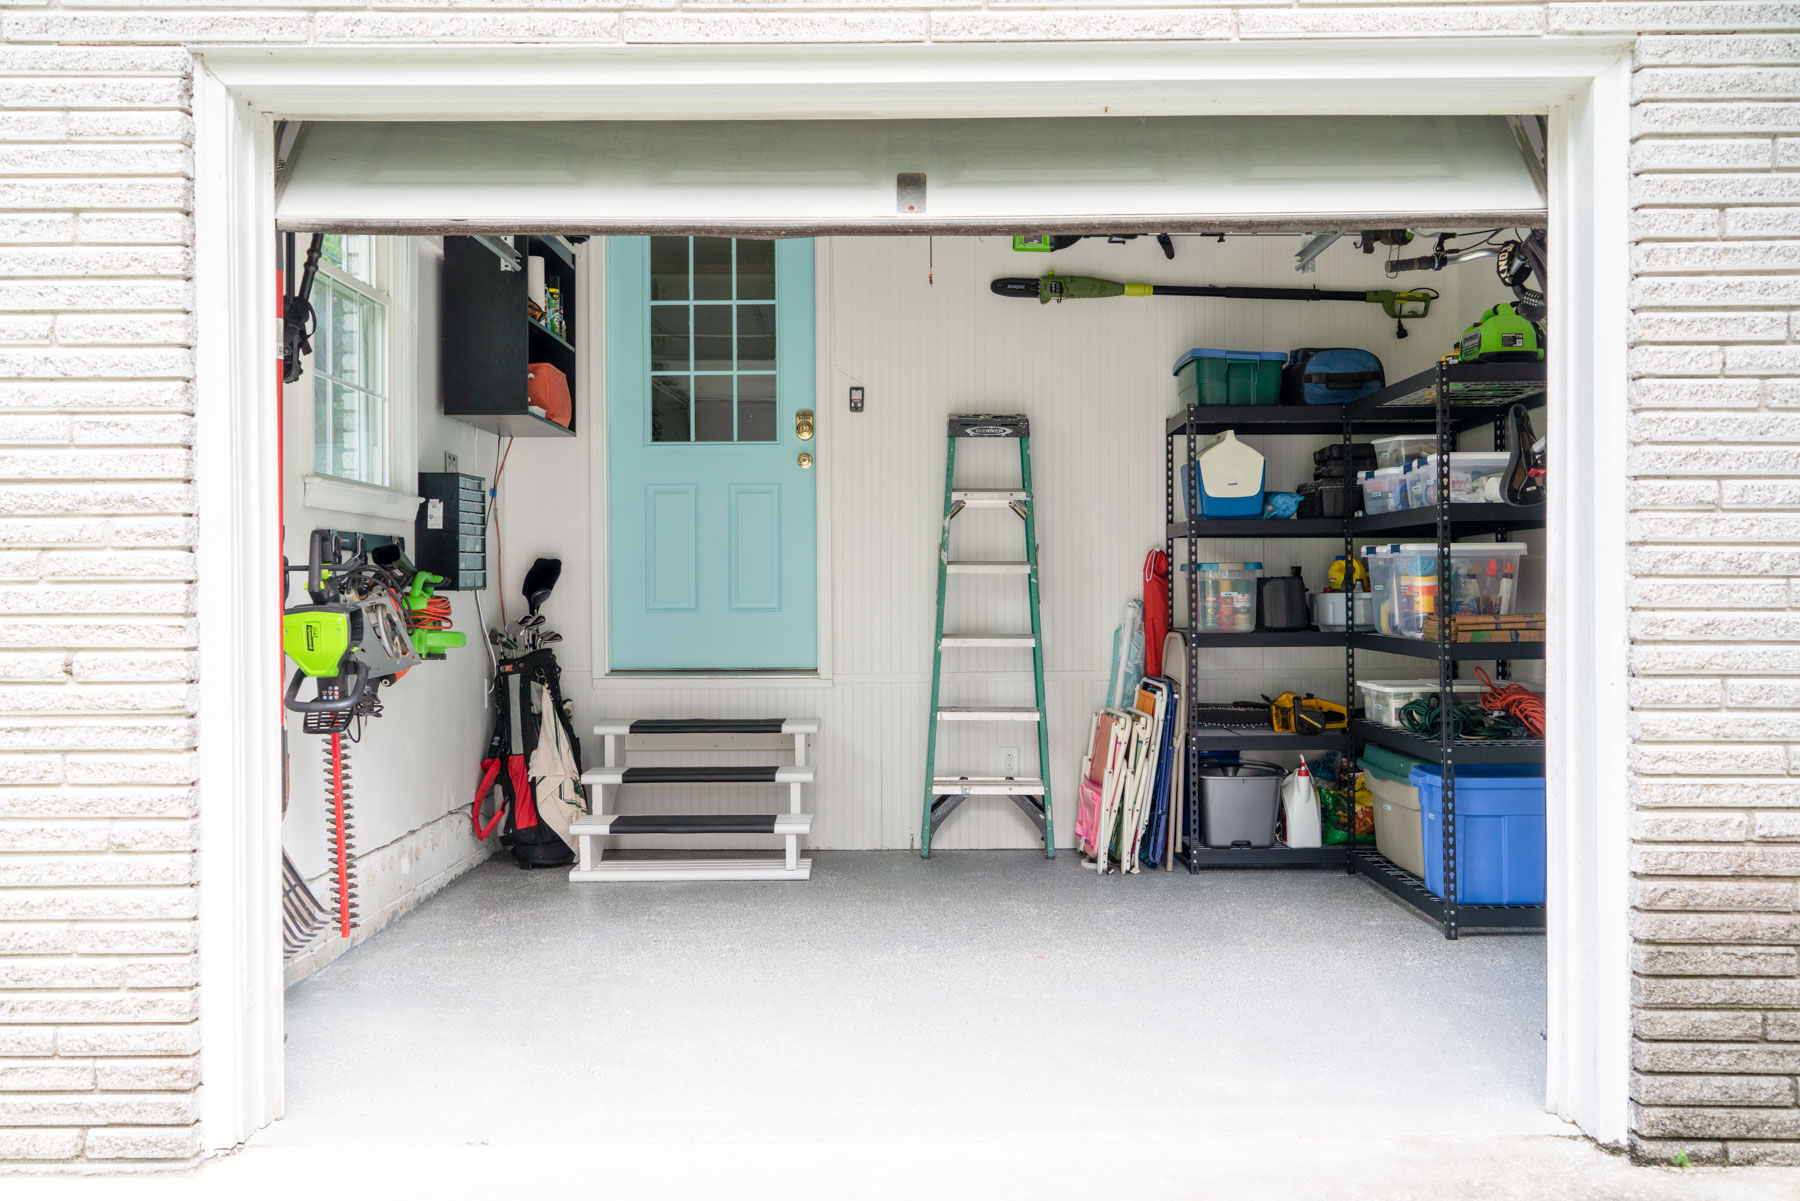
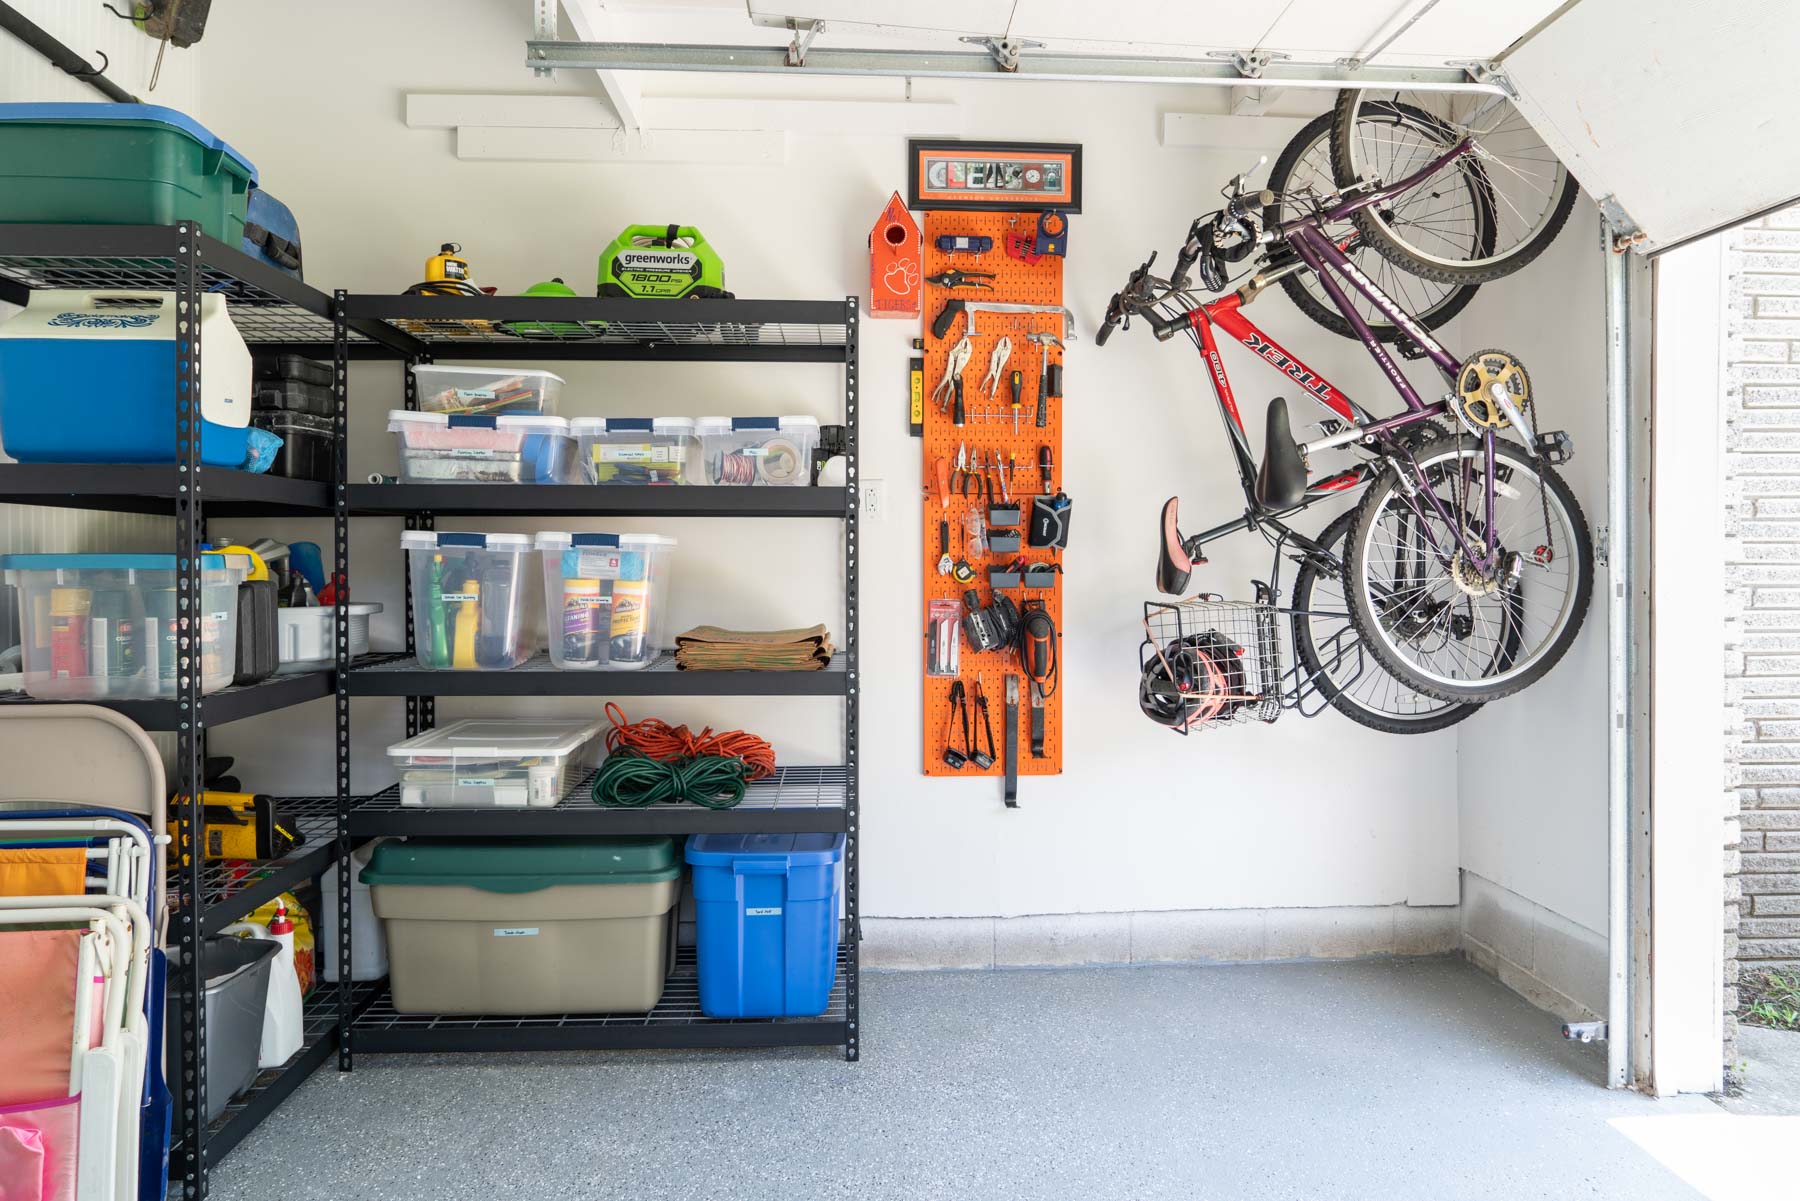
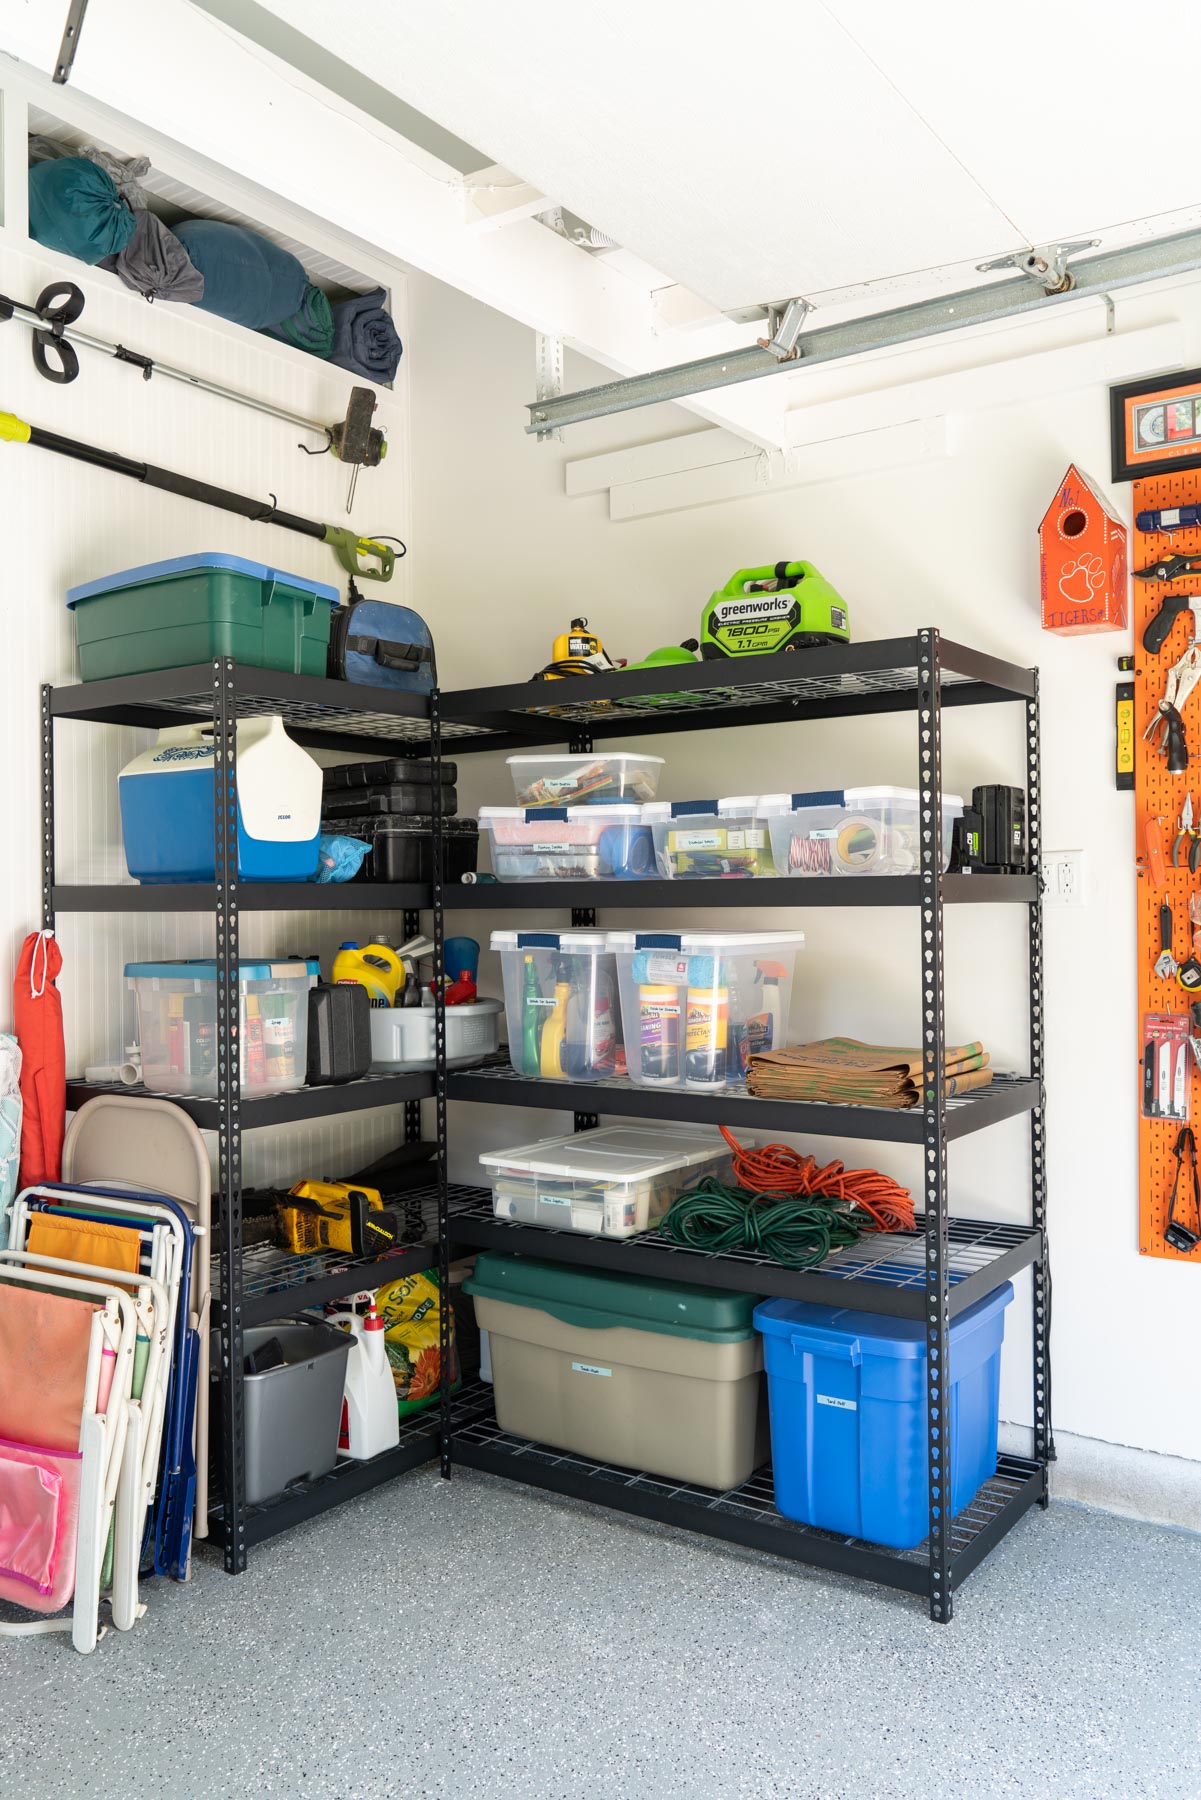
After


This post contains affiliate links. If you purchase something on this page I may receive a commission at no cost to you. I only share products and brands that I truly love and use in my everyday life and want to recommend to you!
How Our Garage Makeover Went Down
All in all, this project took Hunter and me about 8 full weekends to complete. Luckily, we worked in the spring when the weather was beautiful! We started out by cleaning everything out and getting rid of anything we no longer needed. We have two sheds in our backyard that we were able to use as storage while we cleaned out the garage. The sheds look cute from the outside but they are riddled with foundation and moisture issues. But, they ended up being a great temporary storage solution for our garage items for a few of weekends. That’s a project for another day!

Painting
Next, Hunter patched up the walls and sanded the floor down to prep for painting. Sherwin Williams Snowbound was our color of choice (it’s also what we used for our dining room and my office!). We bought a paint sprayer because we thought it’d be easier to paint the rafters above the garage door. Ultimately though, the paint sprayer was more of a pain. It clogged easily and used double the amount of paint we needed. We’ll probably use it for painting furniture in the future, but we did not have the best experience using it for walls!
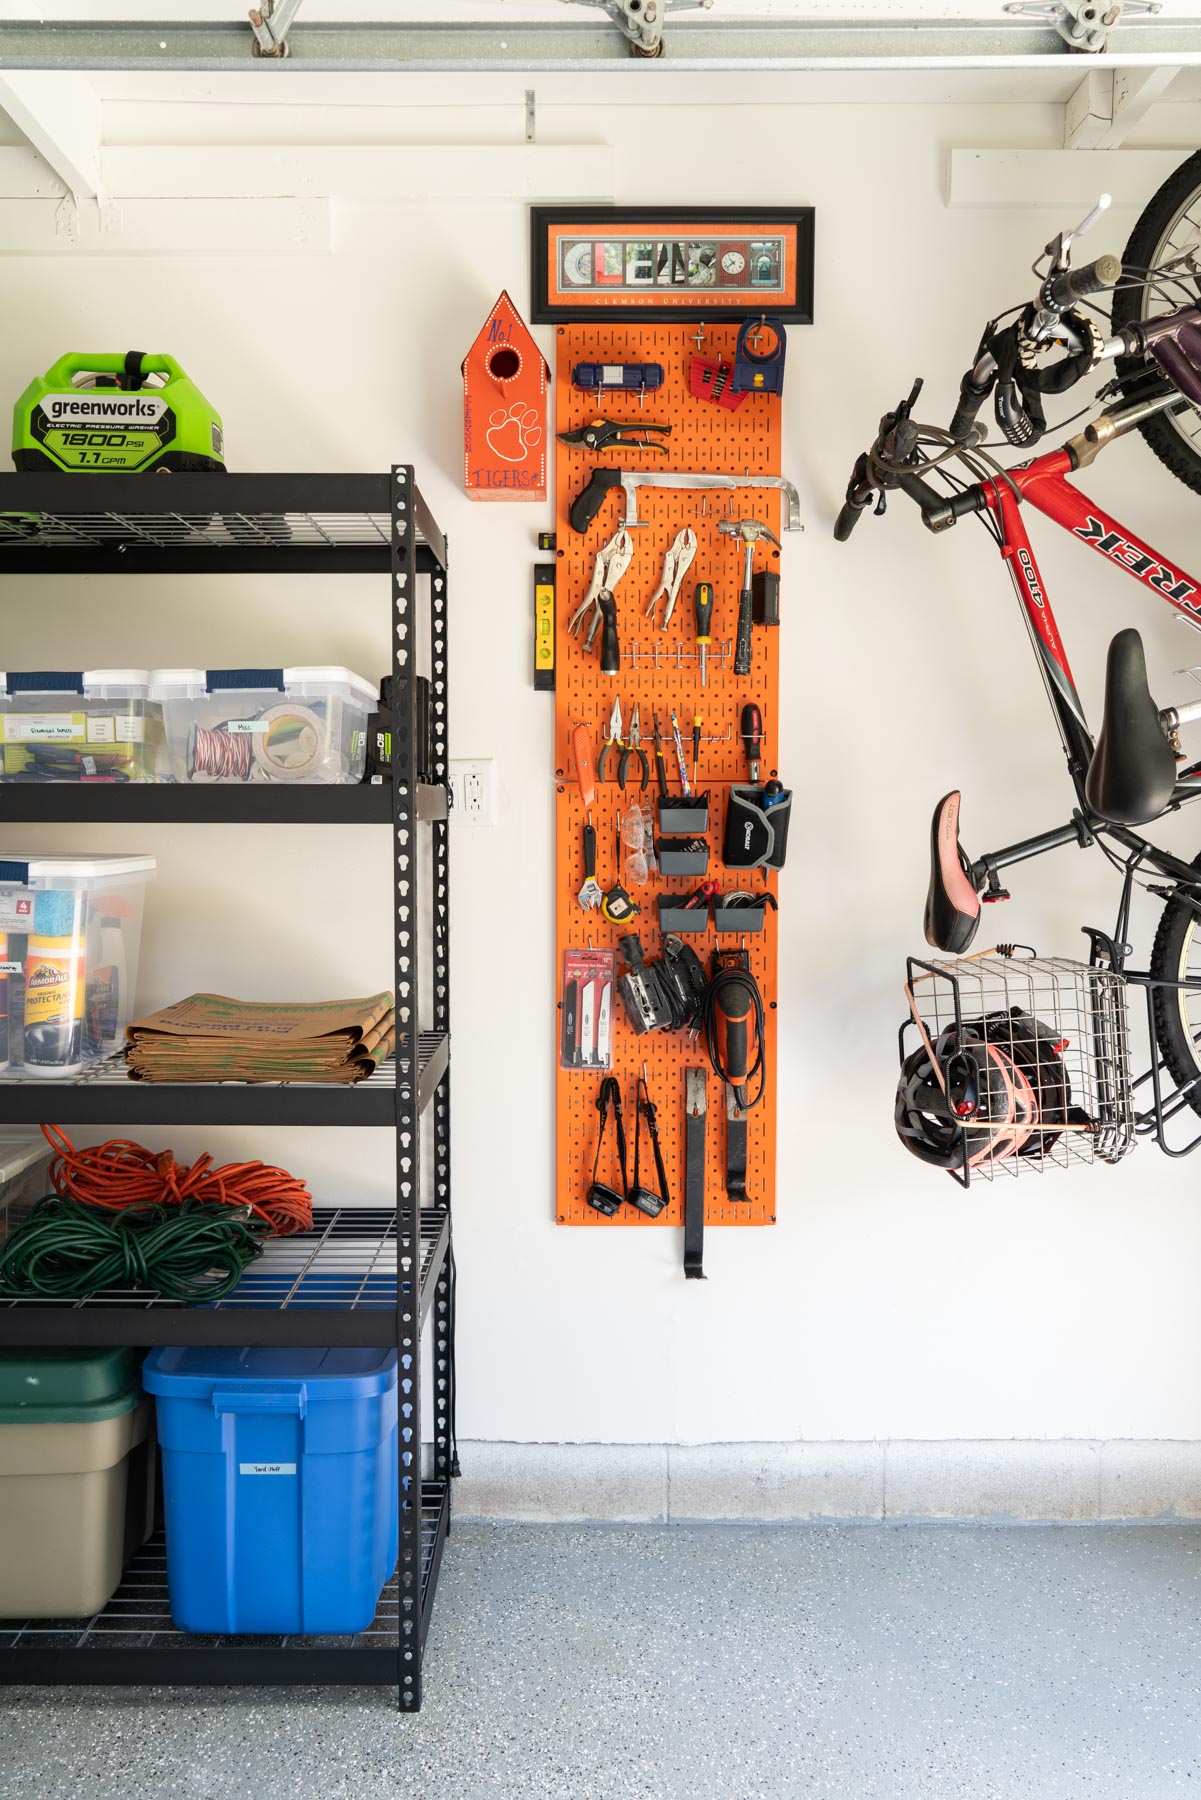
Since our coral front door was such a hit, we decided to have some fun with bright paint in the garage too! I had leftover HGTV by Sherwin Williams Blue Iris from painting my record player table, so I used that for a fun pop of color.

After Hunter and I painted the walls, we coated the floor with epoxy and decorative flakes. We used this system for the floor coating, flakes, and clear coat. Painting with epoxy had a learning curve but once we got started it went smoothly! This was definitely the most impactful change of the whole garage. The floor had not been treated in at least 20 years and was covered in oil stains. The epoxy and flakes covered all of the imperfections and made it look like new!
Organizing
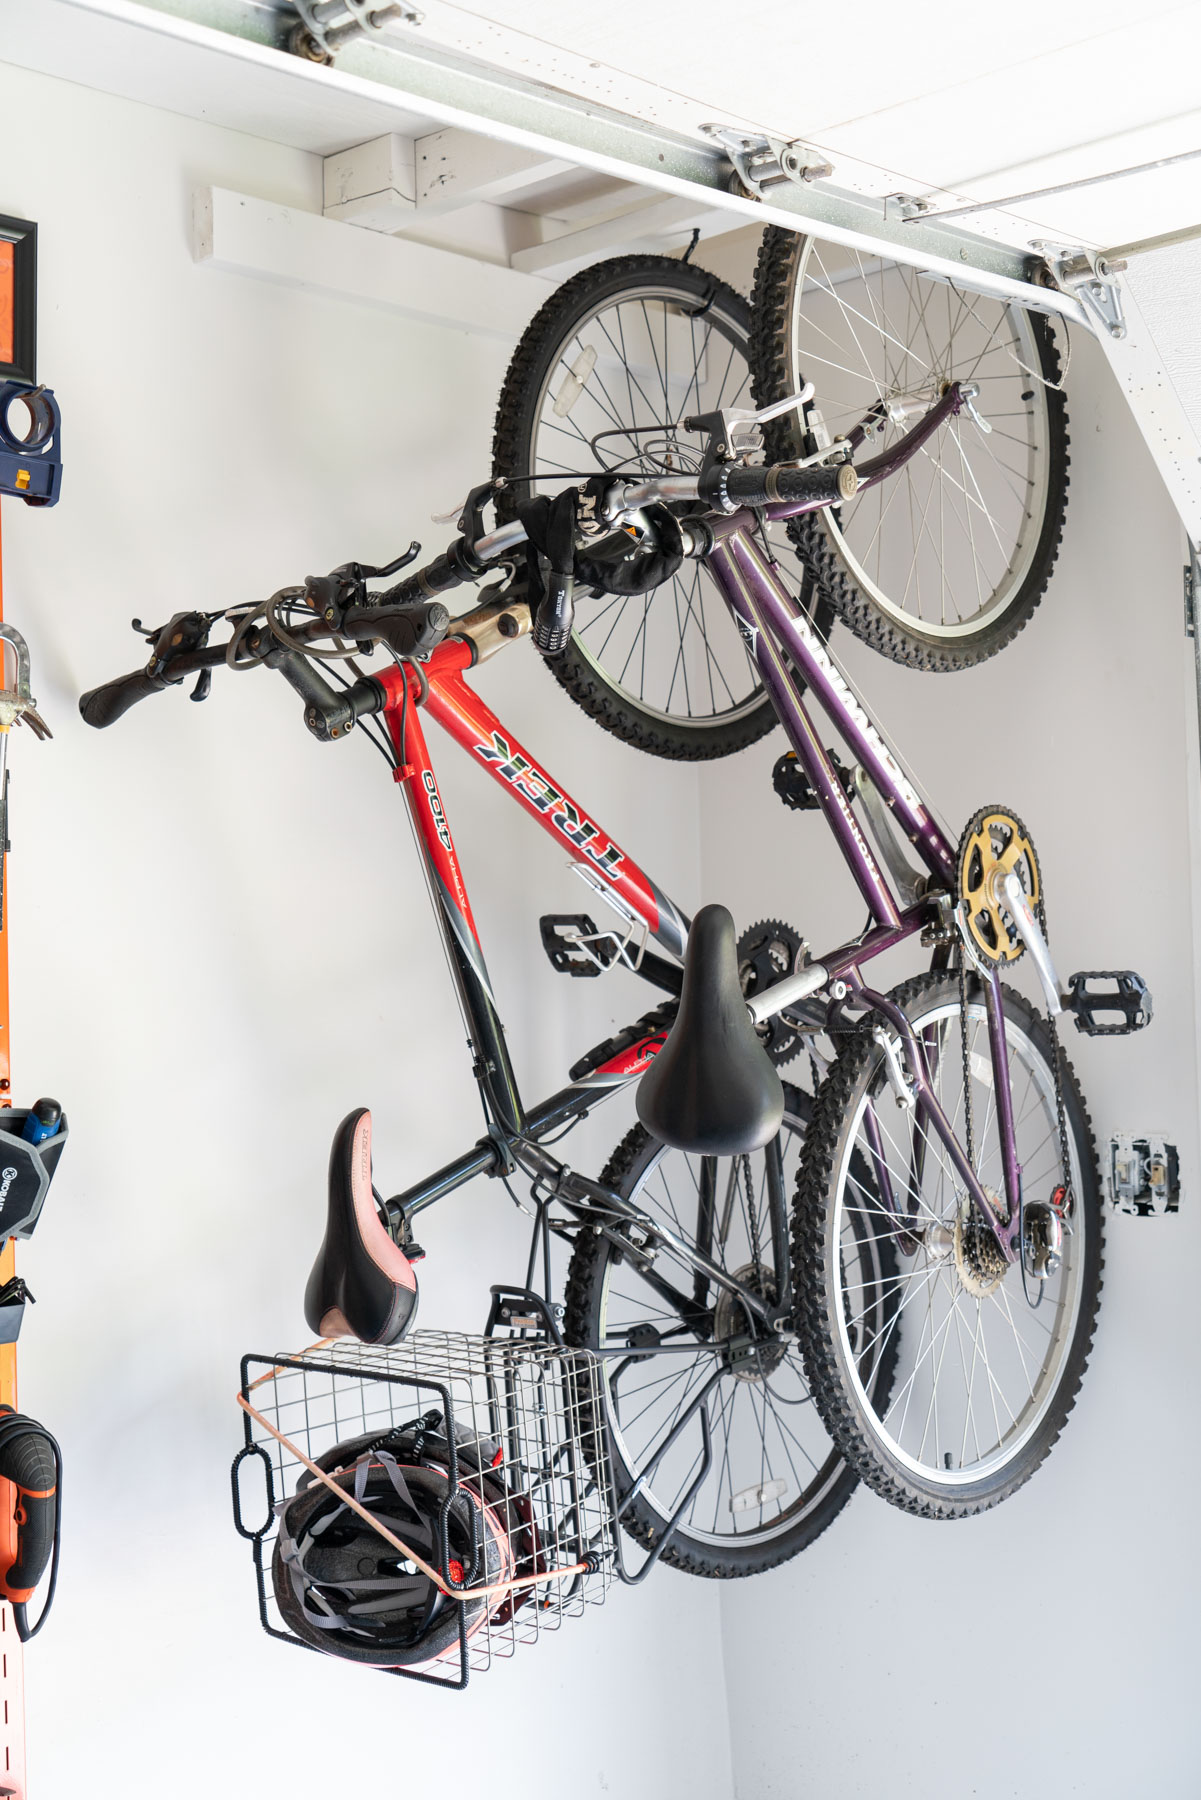
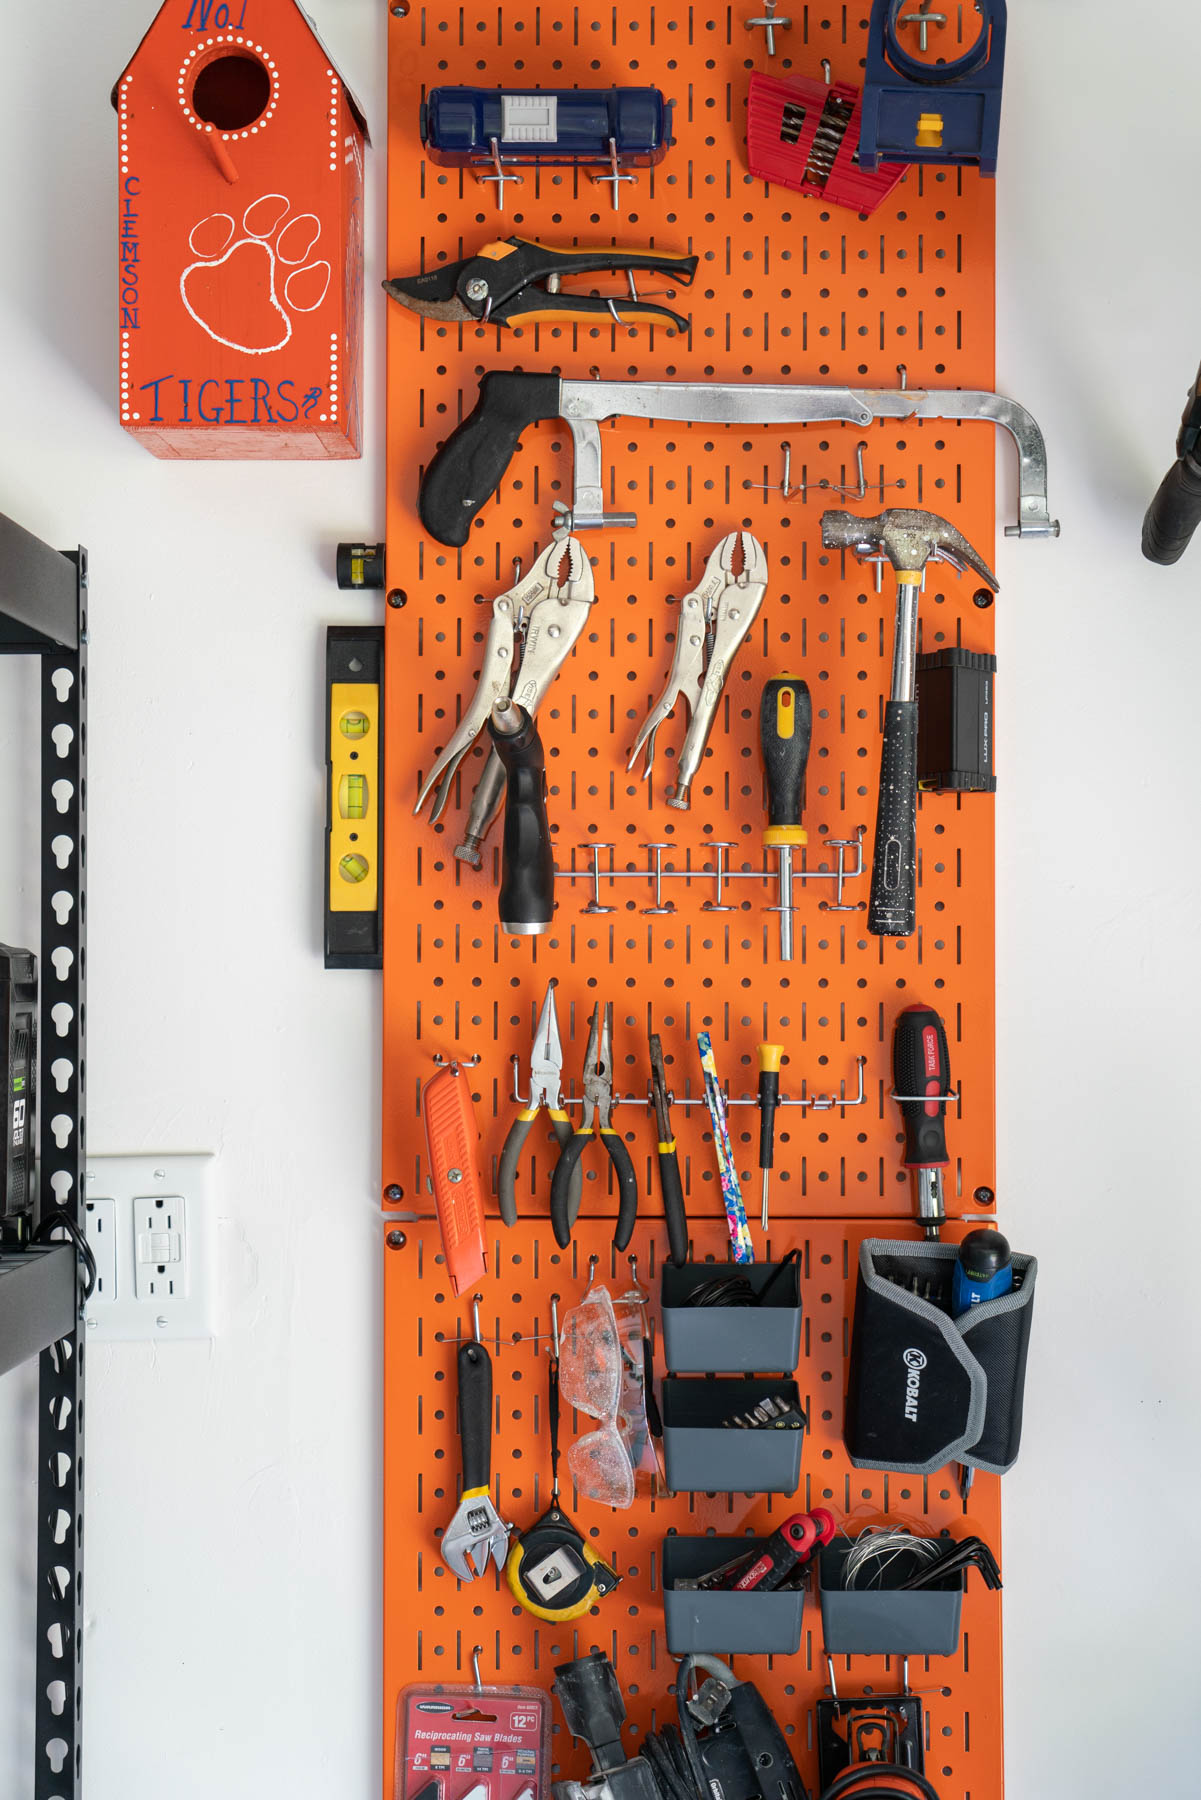
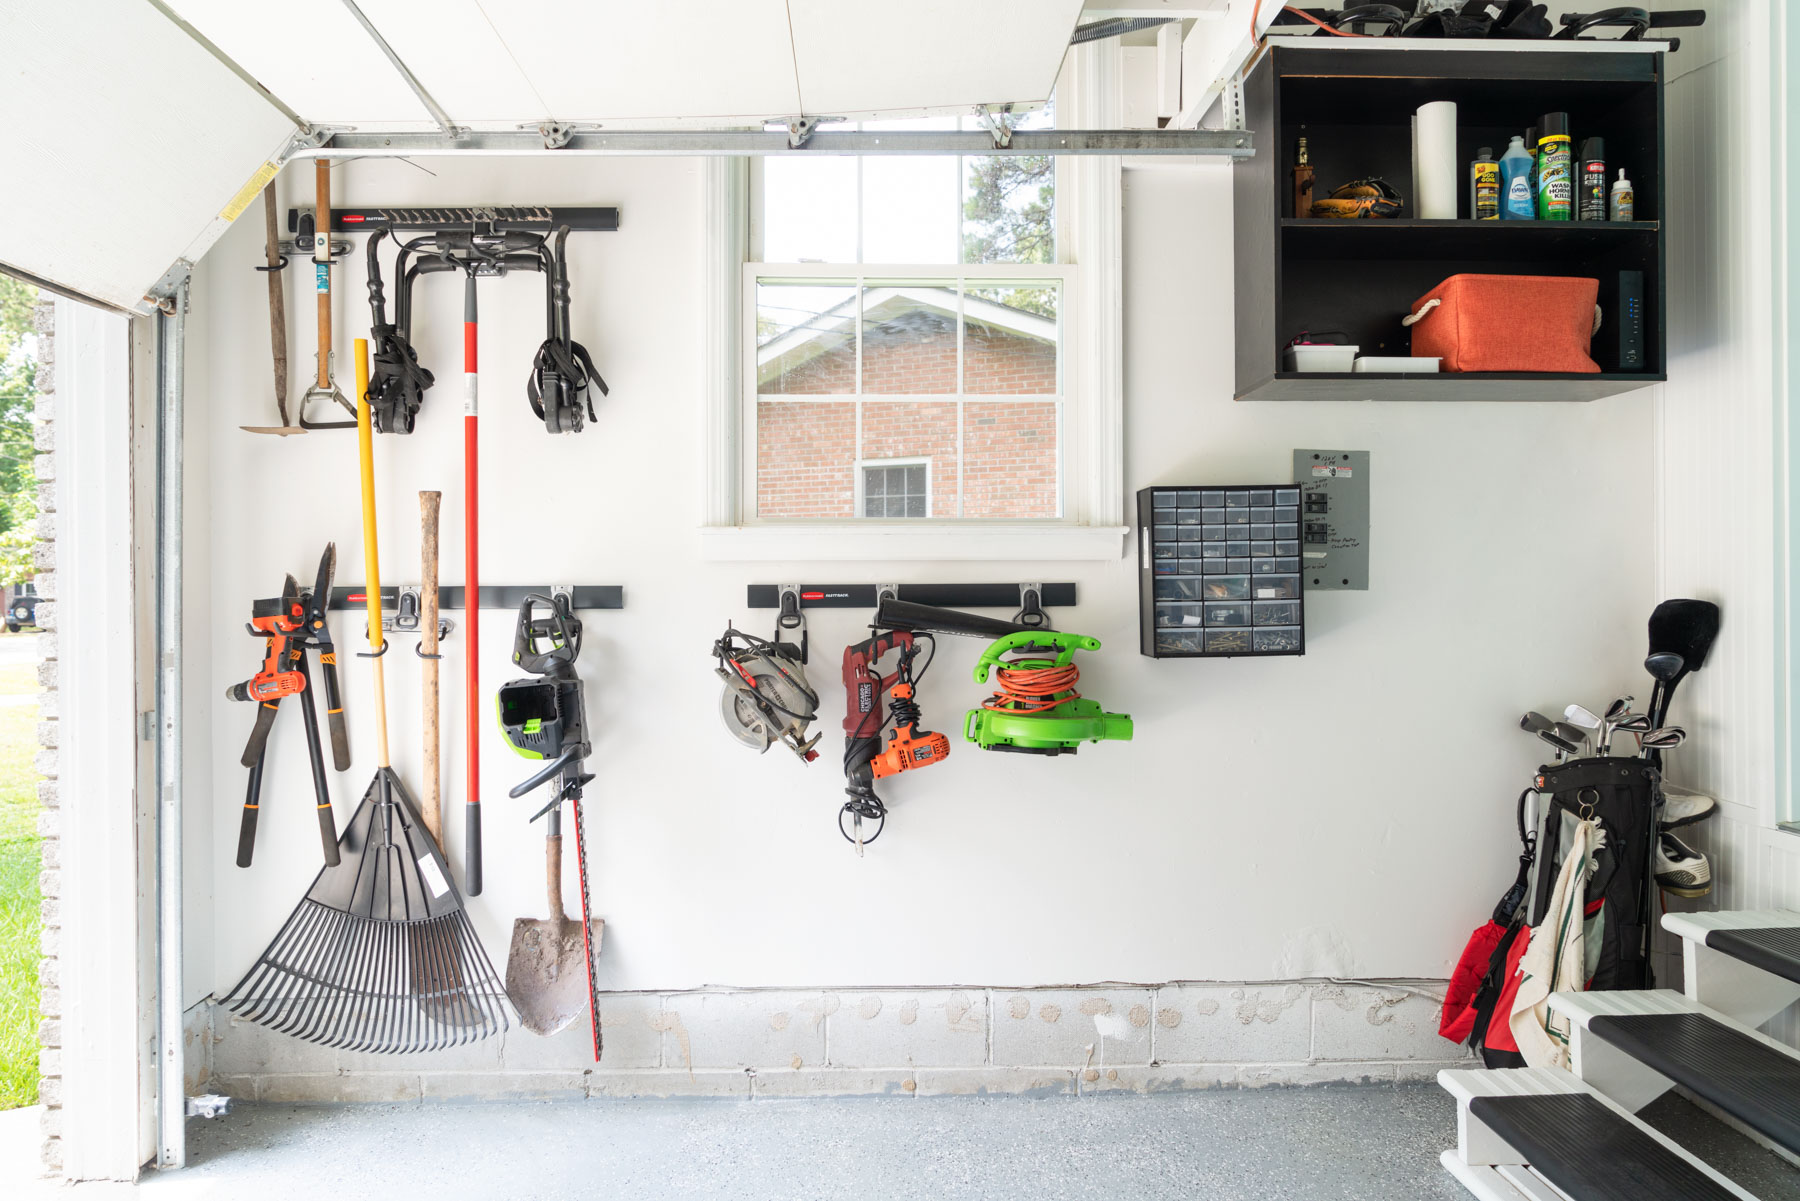
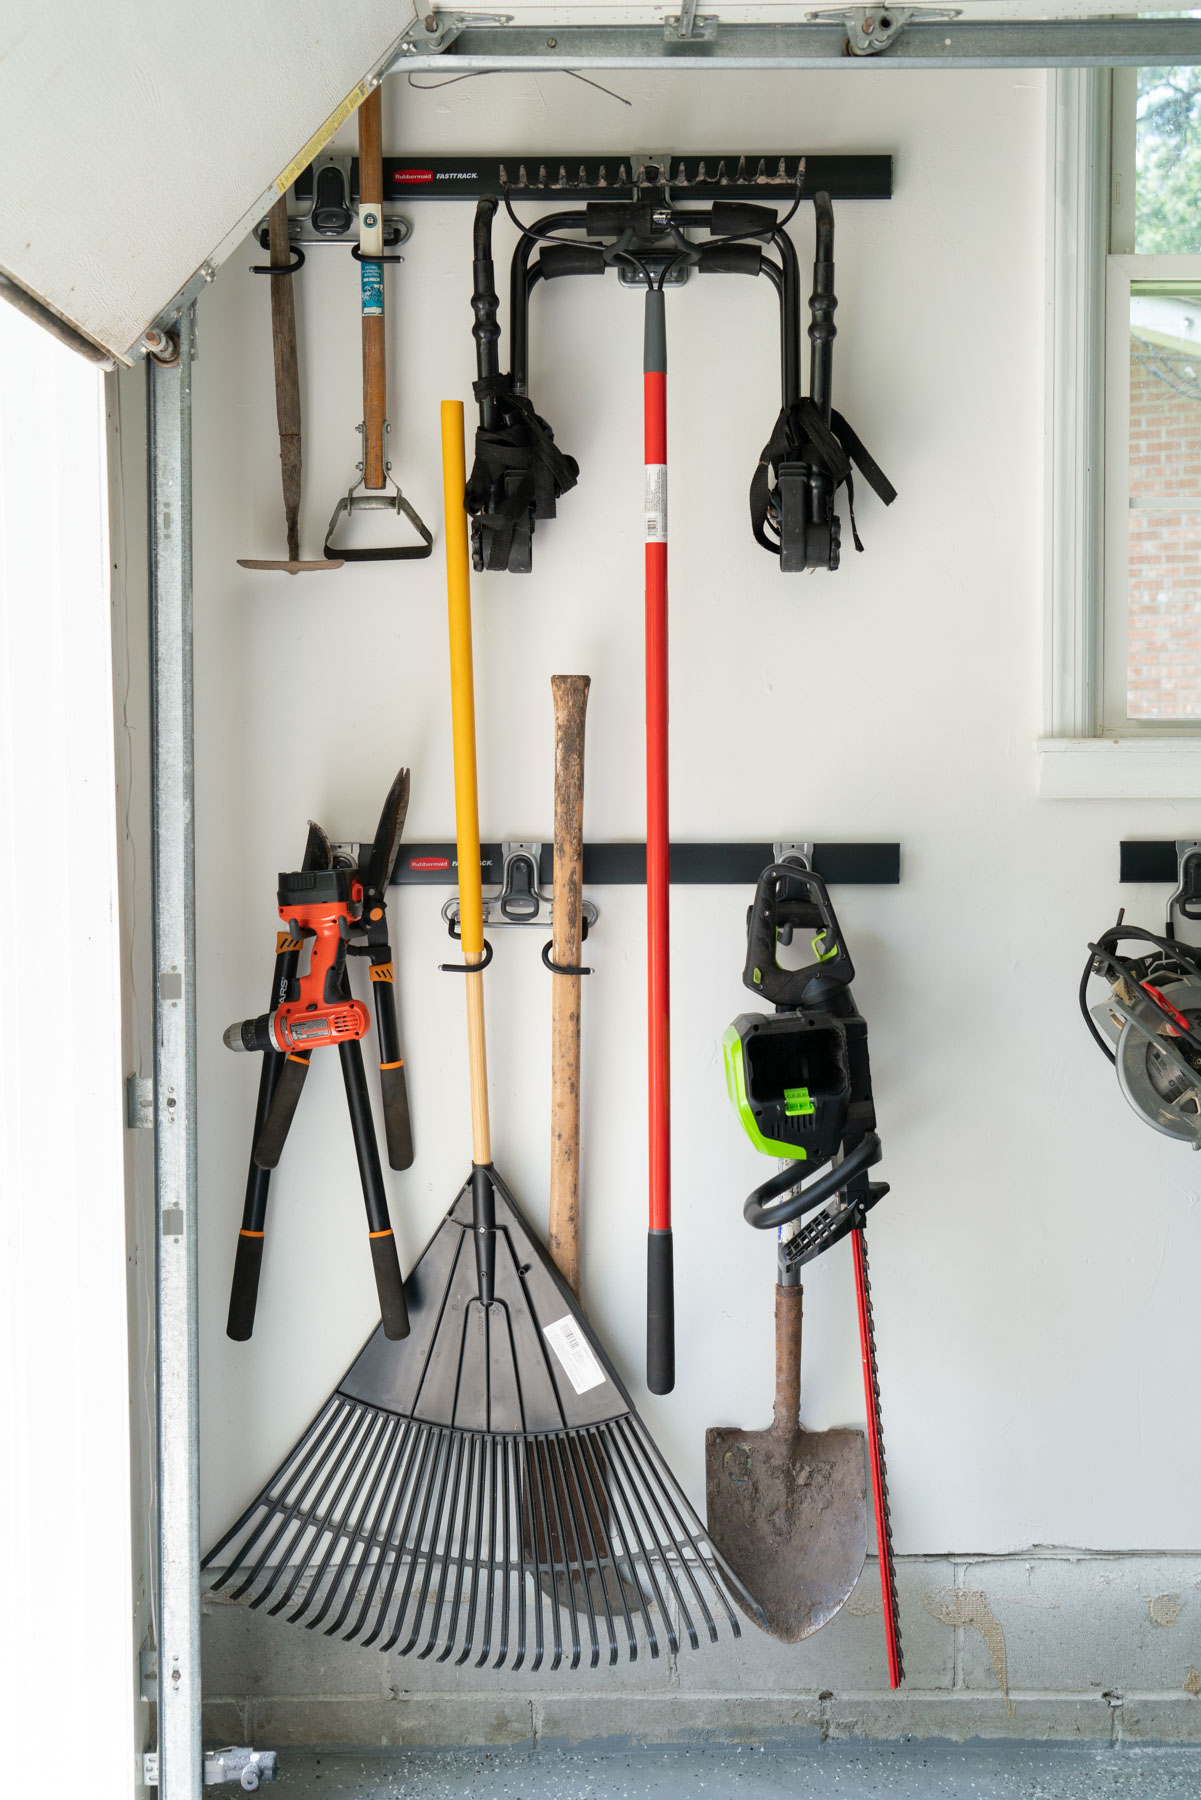
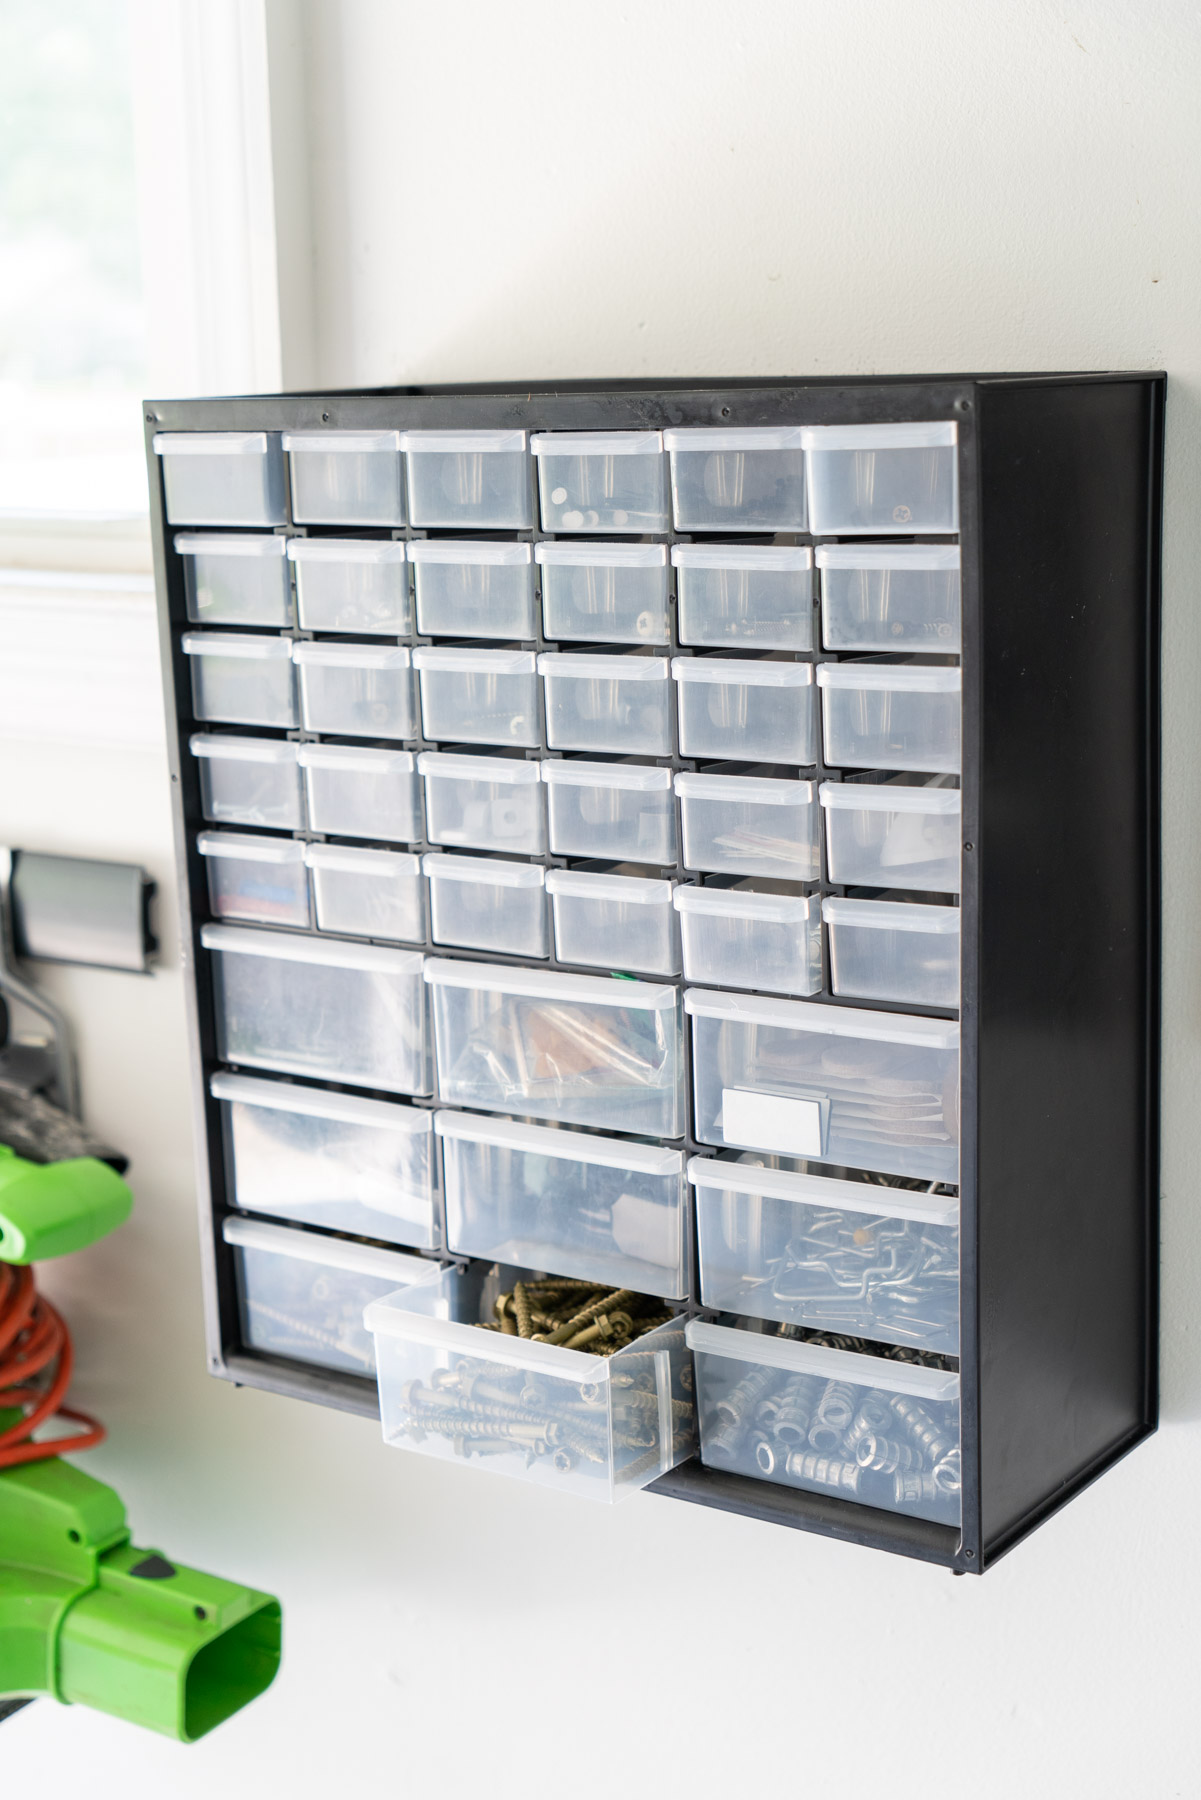
Once the painting and epoxy floor were completed, we moved onto my favorite part, organizing! Before we purchased any shelving or storage bins, we made sure to measure out our space and take stock of what we needed to store. We came up with a plan that would best fit our space and storage needs, and it ended up fitting so well! We bought 2 wire shelves, 2 track hook systems, a few super inexpensive hooks for bikes and long yard tools, and a pegboard. It didn’t take much to fill up half a garage!
Shop our garage


There’s something so refreshing about overhauling a space that’s usually full of cobwebs and unorganized tools. Now I feel like we can go out there and actually find what we’re looking for! I’ll still be leaving most of the projects out of the garage to Hunter, but I think I’ll be in there more often now!
Did our garage makeover before and after inspire your own DIY makeover? Post it in the comments or email me at abbymurphyphoto@gmail.com. I would love to see it!


+ SHOW comments
Add a comment