


Updated in August 2025 with fresh product links and tips!
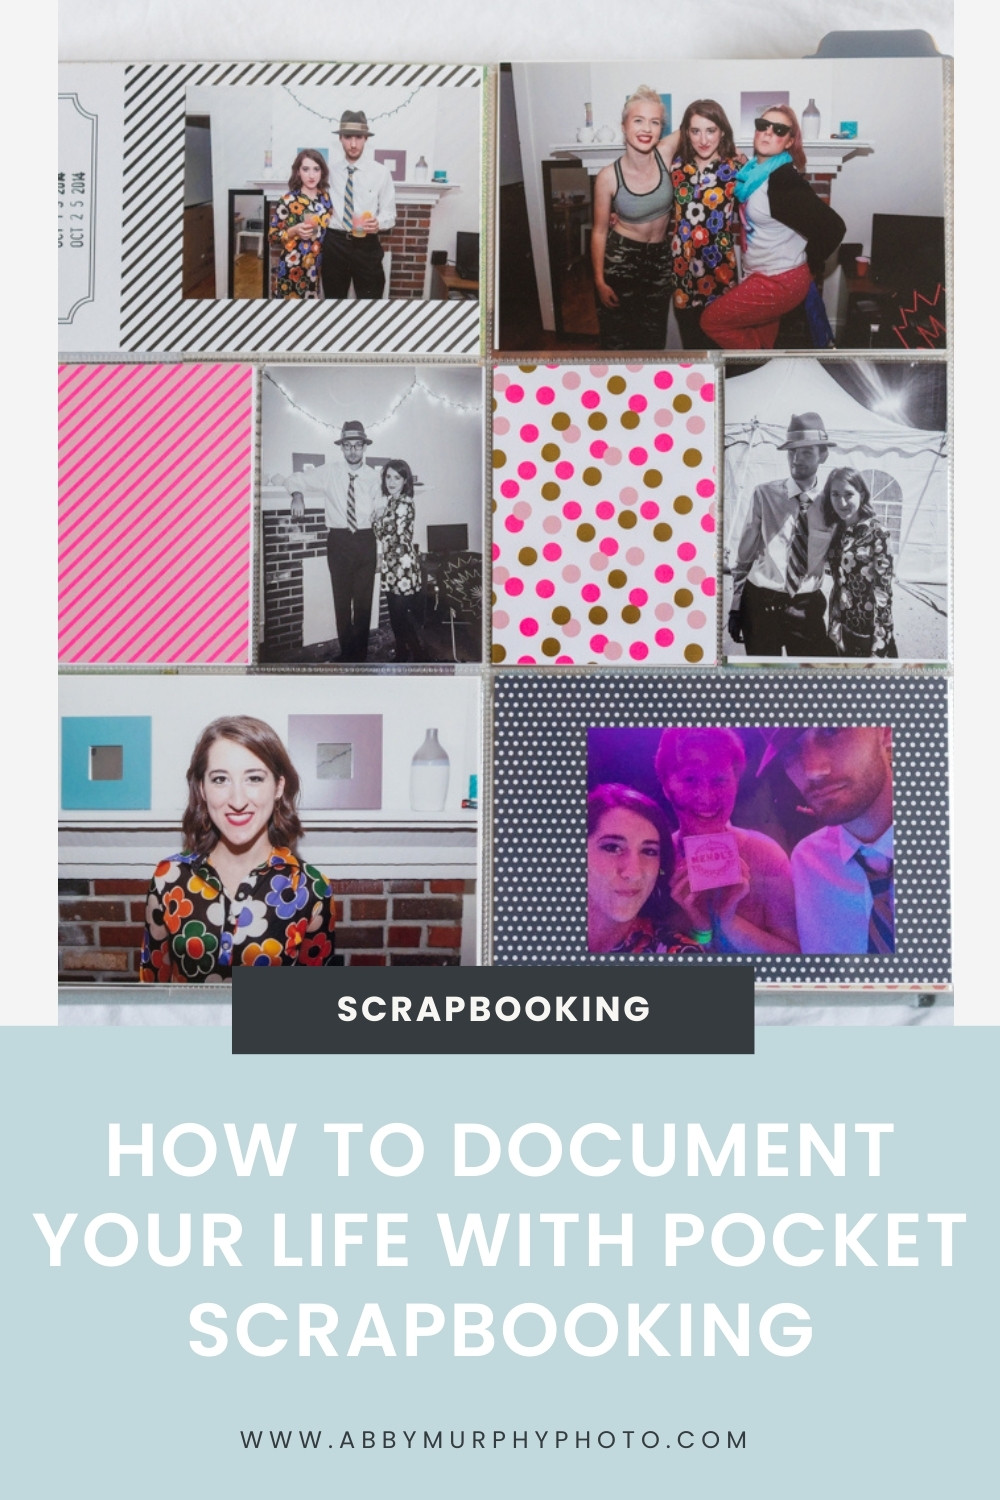
Looking for a simple way to document your life? Pocket scrapbooking is one of my favorite methods! After years of buying fancy scrapbook papers and embellishments, I wanted to find something more affordable, streamlined, and easy to keep up with. Enter: pocket scrapbooking!
Pocket scrapbooking is a simple, beginner-friendly style of memory keeping that uses clear pocket pages, photo prints, and decorative cards.
I started with the popular Project Life system years ago, and I’ve stuck with this minimal scrapbooking style ever since.
In this post, I’m sharing my exact step-by-step process for pocket scrapbooking, from choosing supplies, organizing photos, printing photos, and laying out your pages. Whether you’re brand new to scrapbooking or just looking for a new approach, I’m taking you through exactly how I document my life in a way that’s simple, creative, and actually sustainable! Here’s what we’ll get into:
- How I Approach Pocket Scrapbooking
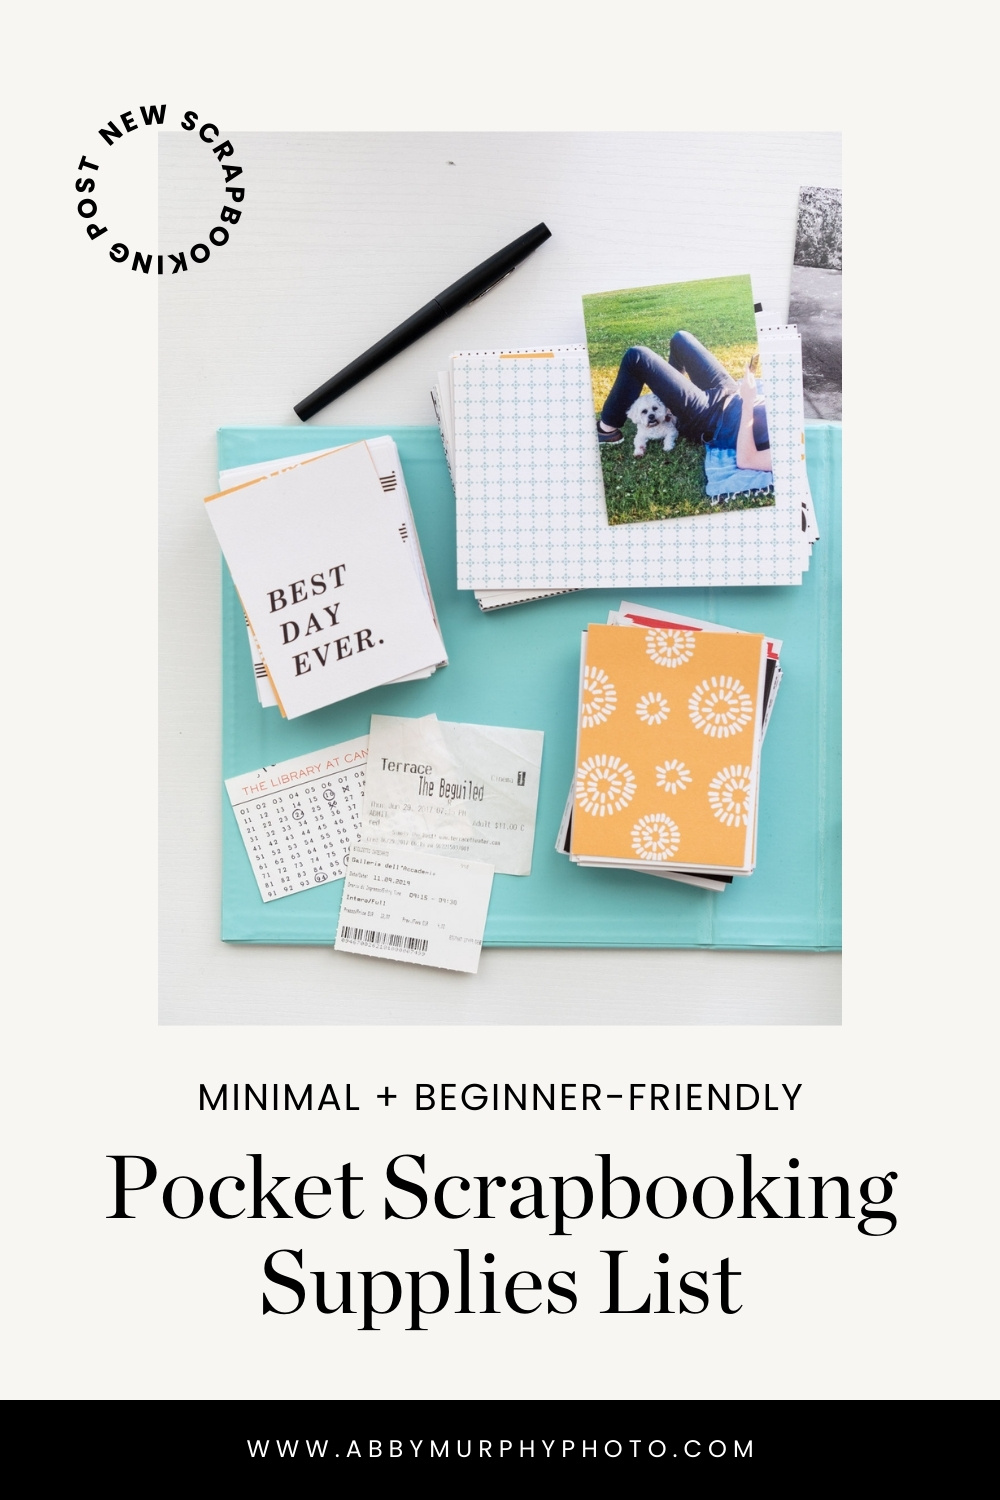
- Pocket Scrapbook Supplies List
- Decorative + Journaling Cards for Pocket Scrapbooking
- Organizing Photos for Pocket Scrapbooking
- Editing & How to Print Photos for Your Pocket Scrapbooks
- Creating Simple Pocket Scrapbooking Layouts
- Wrapping Up: Pocket Scrapbooking Made Simple
This post contains affiliate links, which means I may earn a small commission if you purchase through them (at no extra cost to you!). I only share products I truly love and recommend.
How I Approach Pocket Scrapbooking
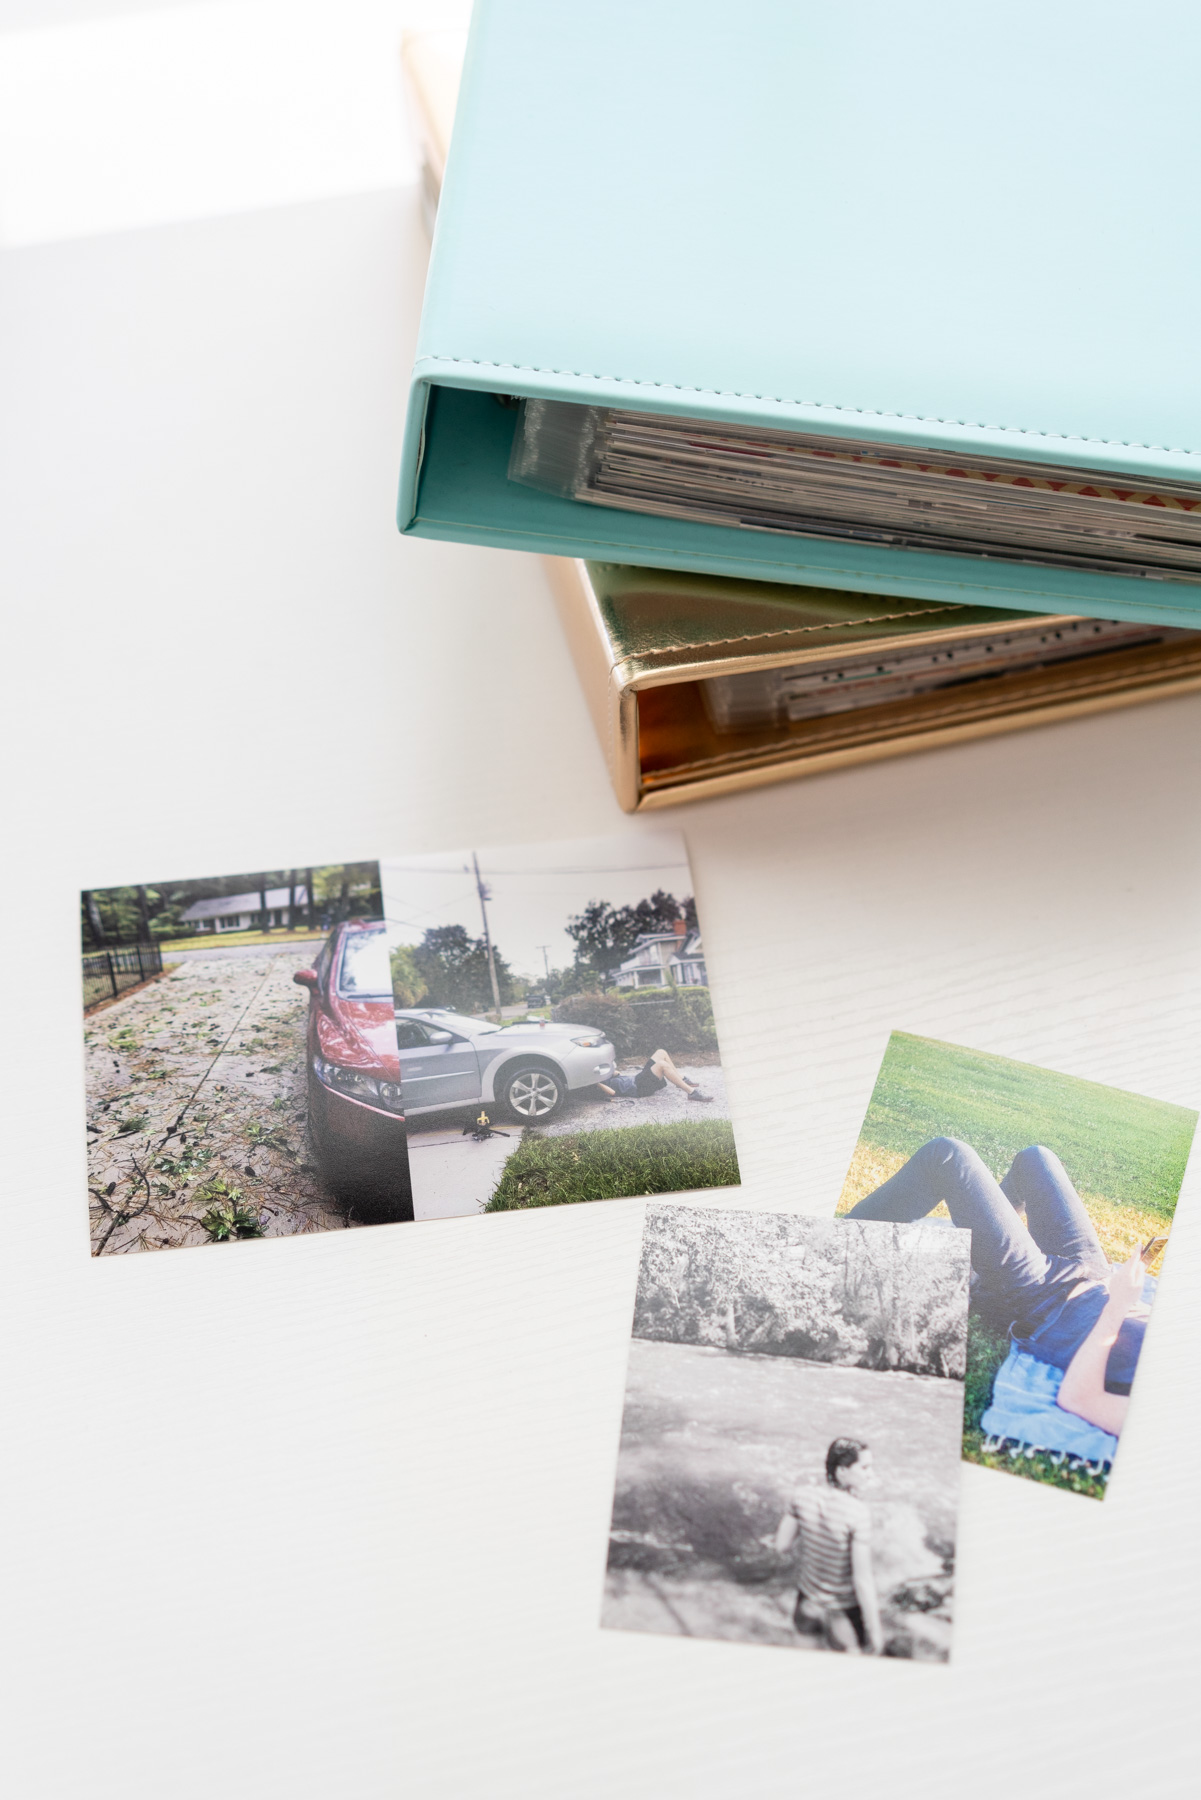
Every year, I create a life scrapbook that highlights the things I want to remember about that year. I use a mix of printed photos from my professional cameras and my iPhone. Most of my photos are iPhone shots, so you definitely don’t need a fancy camera to scrapbook!
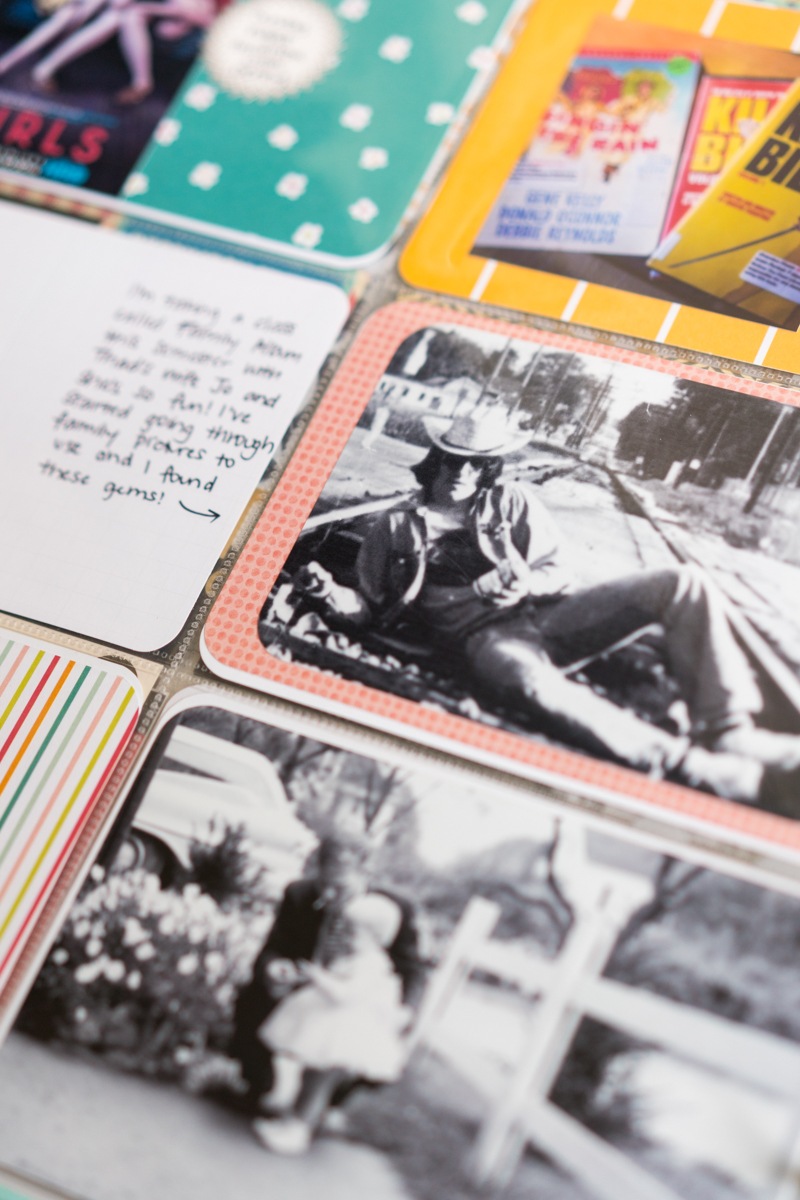
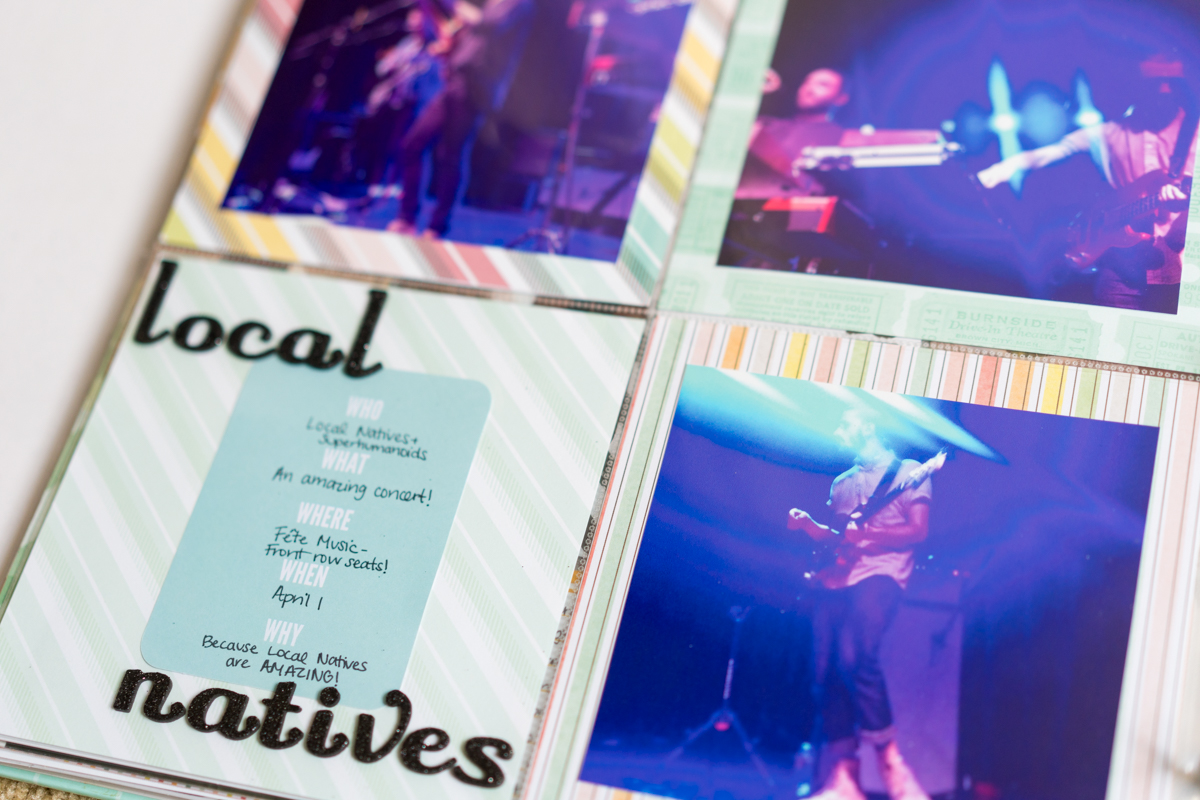
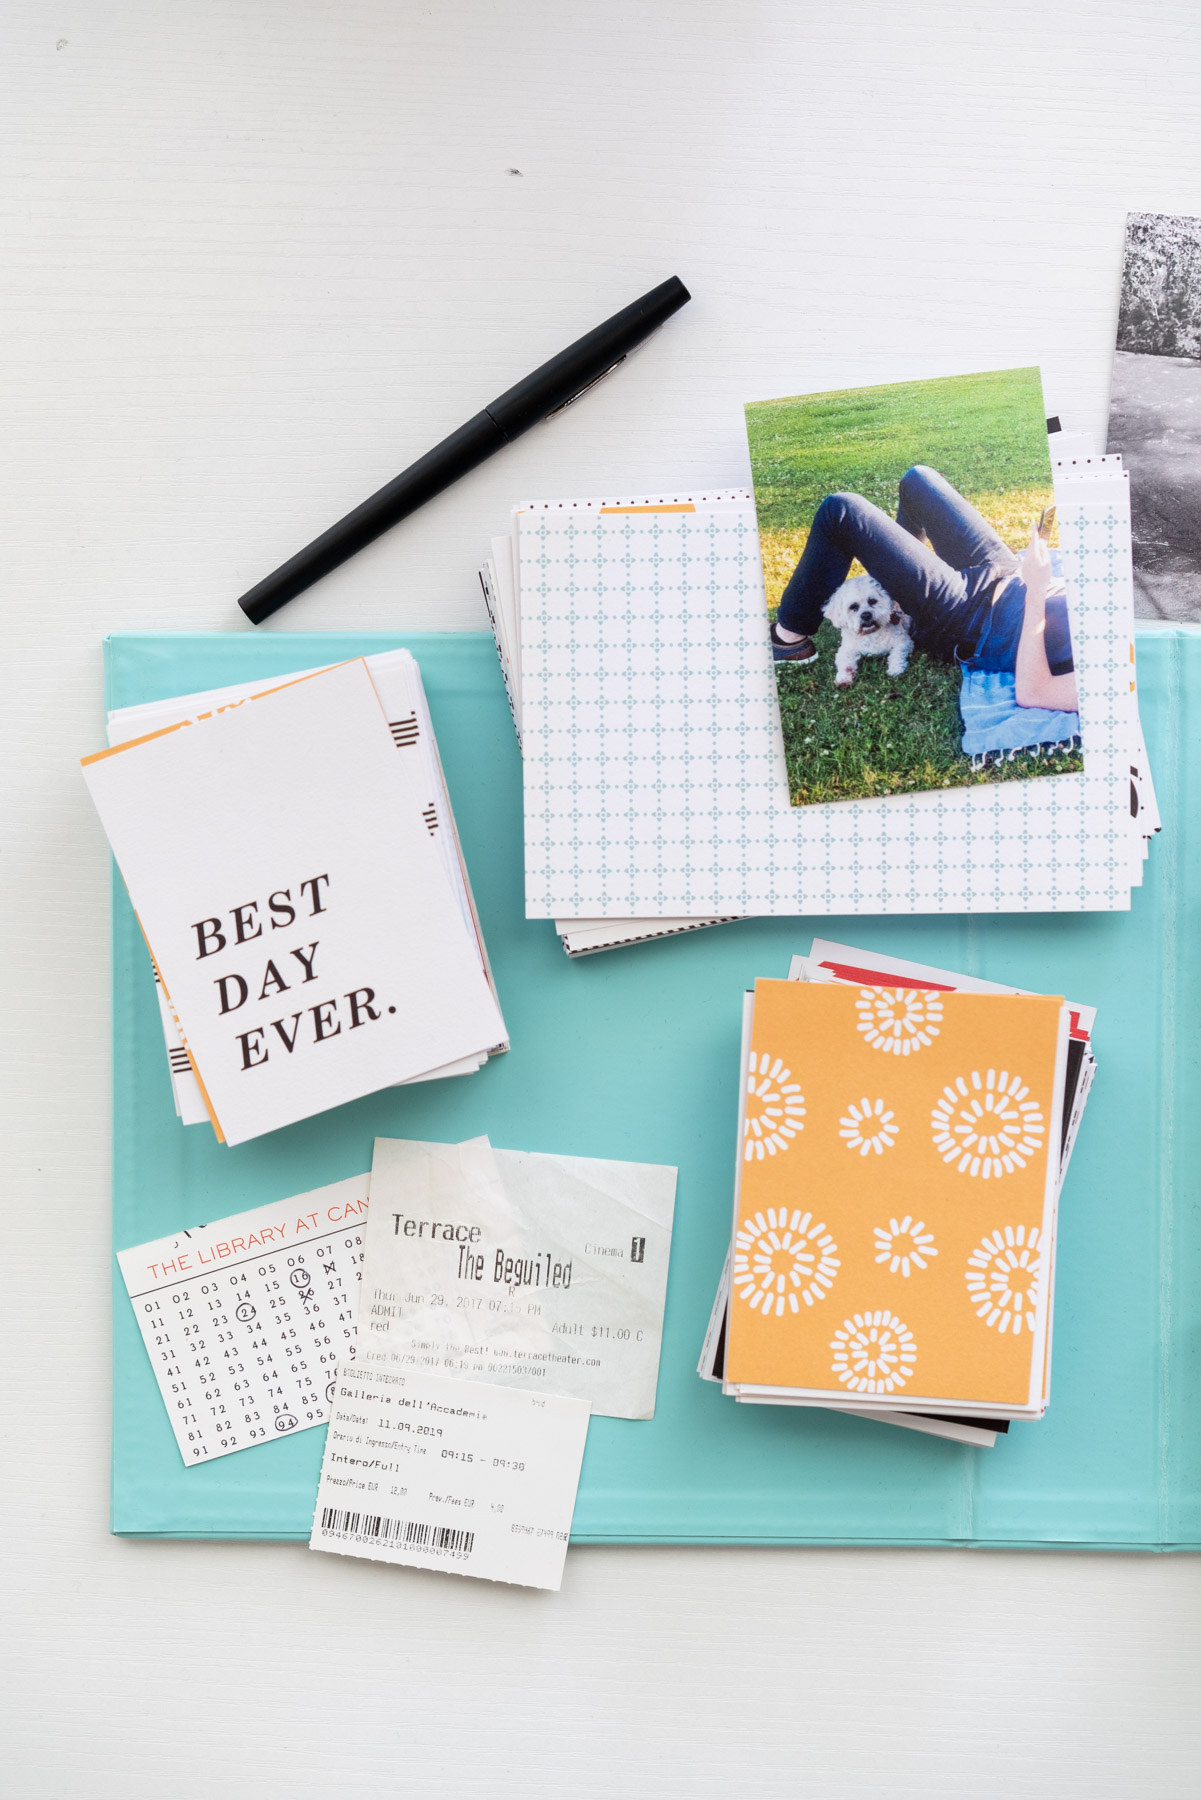
I’m not a huge journaler, but I like to pair my photos with caption cards. Most pocket scrapbooking kits come with simple journaling cards, which let you write a small blurb about the photos on your page. I also love including memorabilia like ticket stubs and postcards. They add so much texture and visual interest to the layouts, making my albums feel more personal.
The great thing about pocket scrapbooking is that you can do it in whatever way works for you! One method popularized by Project Life is the 52 Weeks Project, where you create a spread for every week of the year. I did this throughout college, and it’s such a helpful approach because it reminds you to document more often. These days, I’m much more flexible since my schedule is busier after having my daughter.
Some people stick to a weekly or monthly system, while others create albums for trips, milestones, hobbies, or even just a single favorite photo per pocket. Pocket scrapbooking is totally flexible. You can make it work for your life and your style!
Pocket Scrapbook Supplies List
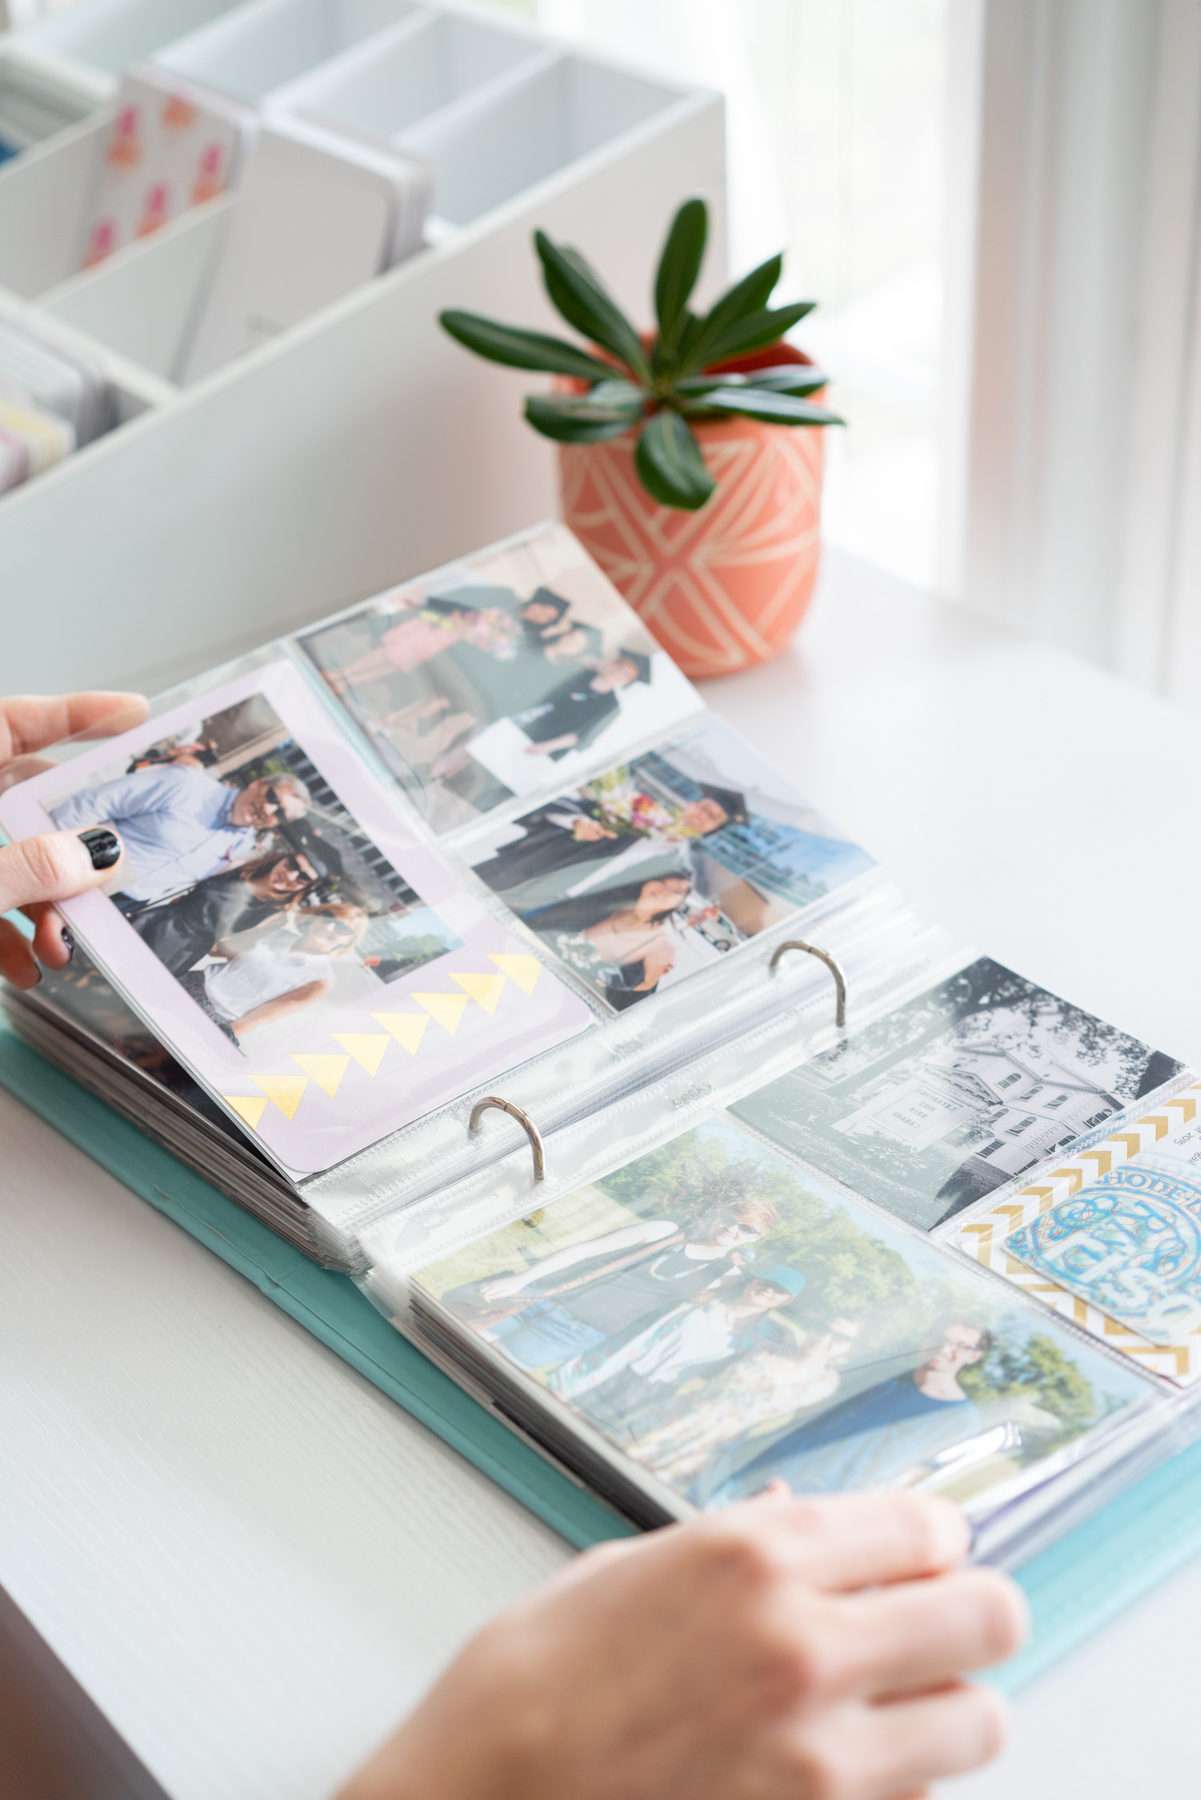
I keep my pocket scrapbooking supplies super simple! You really only need 3 main tools to get started:
- A binder-style album. This holds your pocket pages and makes it easy to rearrange layouts. The most common album sizes are 12×12 and 6×8.
- Clear pocket pages. These come in a variety of layouts with slots for photos, typically 3×4, 4×6, or square formats.
- Pre-cut decorative filler cards. These take all the guesswork out of designing a cohesive layout. Most kits include journaling cards, too.
Quick Tip: Before you buy, decide on your album size first. This will determine what pocket pages and filler cards will work.
The Best 12×12 Albums + Pocket Pages
12×12 albums are great for bigger layouts and lots of photos, though they can get heavy when full, so keep that in mind if that matters to you. Here are some top picks:
- We R Makers – Albums + pocket pages (Amazon, Michael’s)
- Recollections – Albums
- Project Life – Discontinued, but the 12×12 variety pack of pocket pages is still floating around on Amazon + Michael’s!)
- Echo Park Paper Co. – Pocket pages
- Scrapbook.com – Albums + pocket pages
- Arcoalbum – Premium, handmade albums on Etsy

The Best 6×8 Albums + Pocket Pages
6×8 albums are perfect for more compact layouts and take up less storage space. If you want smaller albums that are still versatile, here are some great options:
- Simple Stories – Albums + pocket pages (Amazon, Michael’s)
- Echo Park Paper Co. – Pocket pages
- Scrapbook.com – Albums + pocket pages
- Ali Edwards – Pocket pages
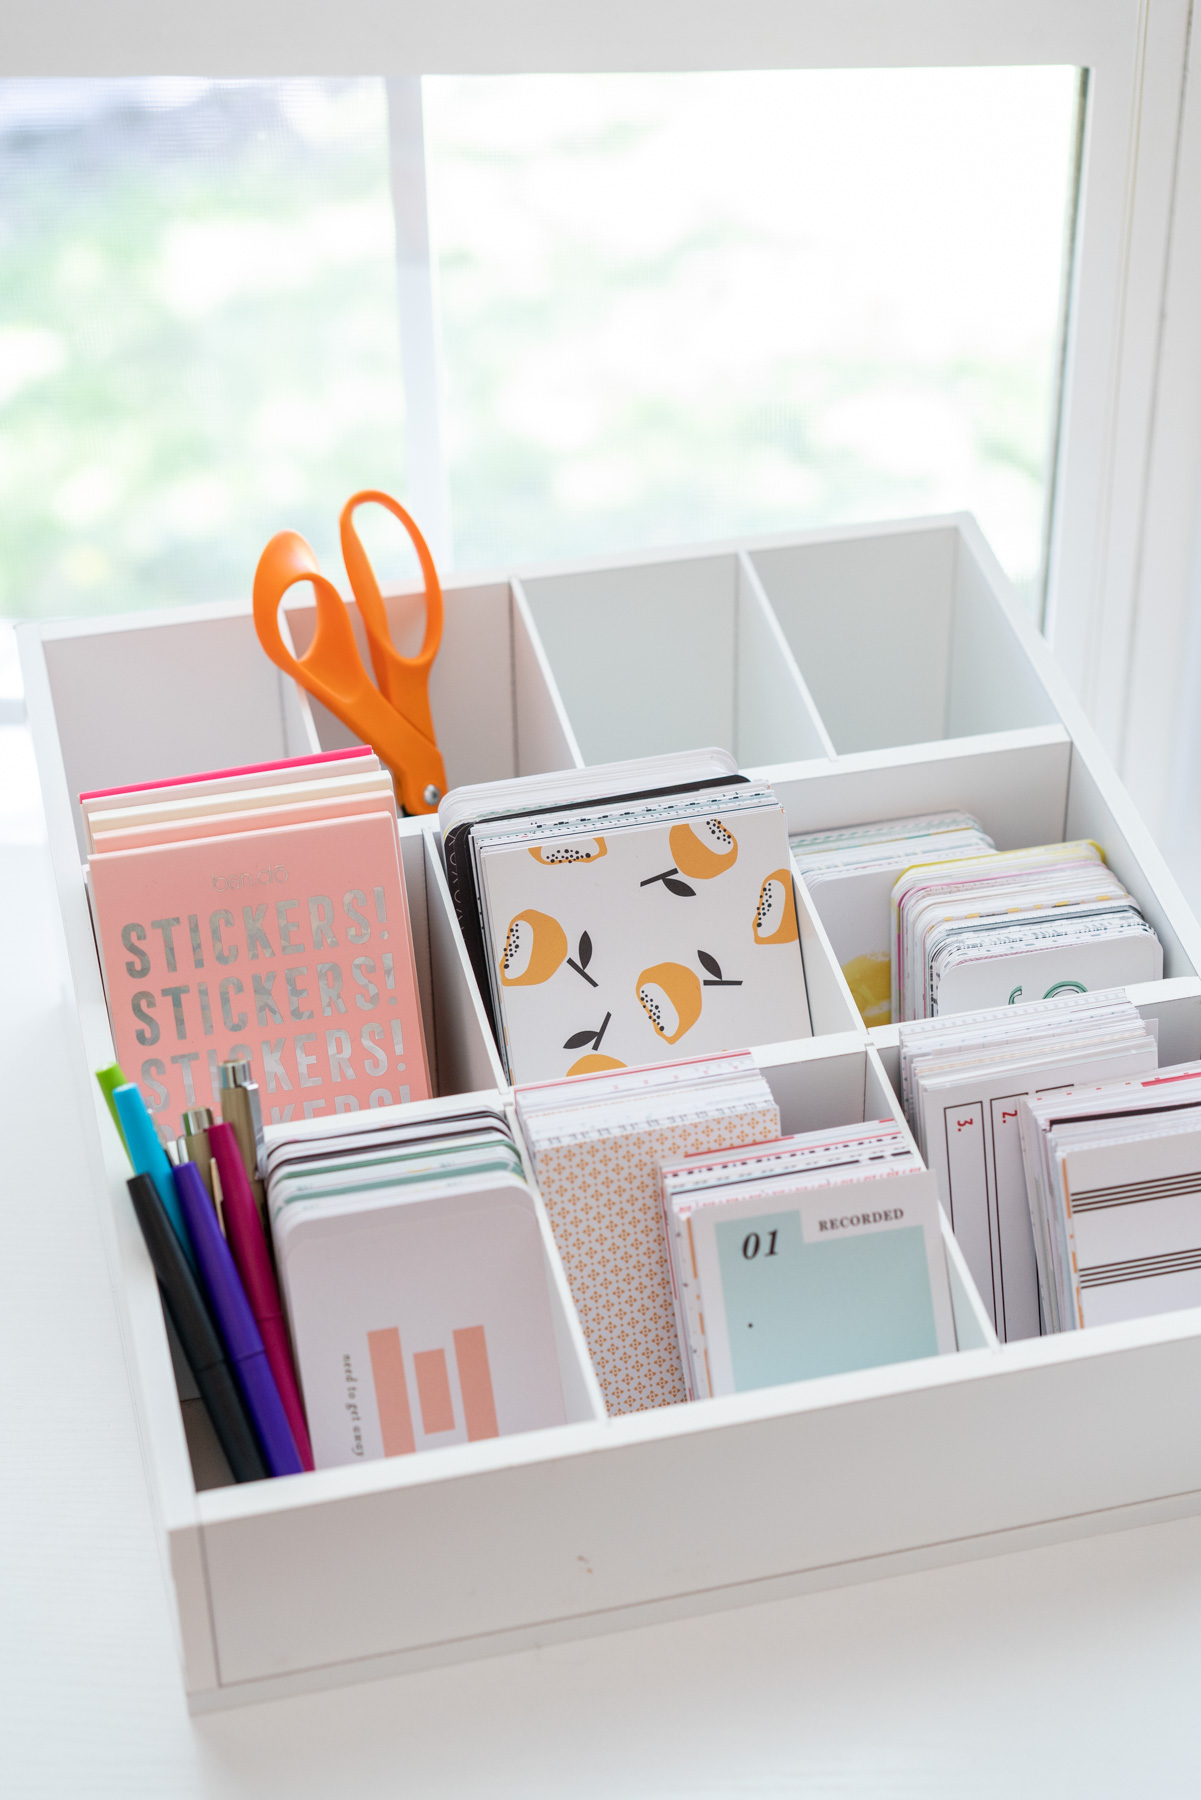
Decorative + Journaling Cards for Pocket Scrapbooking
Coordinated card kits are a bit harder to find these days, but there are still some out there. You can also grab your own 12×12 patterned papers and cut them to 4×6 or 3×4 sizes. Or, you can just mix journaling cards with photos for a super simple look.
- Project Life – Discontinued, but some options are still available at Amazon and Michael’s. I love these simple journaling cards.
- Scrapbook.com
- The Lilypad
Organizing Photos for Pocket Scrapbooking
Organizing photos for scrapbooking can feel like the most overwhelming part of the process, but it doesn’t have to be. Here’s my simple system for keeping things manageable all year long.
When I first started pocket scrapbooking, I ordered prints every 2-3 months so I could keep up with my album as the year went on. These days, life is busier, so I usually order prints at the end of the year and then create that year’s scrapbook in the first few months of the following year.
Even though I only order prints about once a year, I still organize my digital photos monthly so it never becomes too overwhelming. Here’s how I do it:
- Download photos from devices. I plug my phone into my computer and use the Image Capture app (or the Photos app) to transfer the photos into a folder. I also pull in any personal photos I’ve taken on my professional cameras.
- Sort by date. I organize everything into dated folders. Check out this post for my full system for organizing digital files.
- Select favorites. I open the folders in Adobe Bridge (Photos app works great, too) and mark the photos I want to print for my album.
- Declutter as I go. I delete duplicates and images I don’t want to save, which keeps my library lighter and easier to manage.
The best way to organize your photos for pocket scrapbooking is the way that fits your life. If a big batch of photos stresses you out (same!), try tackling them more often, even if you’re not printing yet. Your future self will thank you!
Editing & How to Print Photos for Your Pocket Scrapbooks
Prepping Files for Ordering
I keep my photo editing super simple. Most of the time, I adjust the brightness, contrast, and color temperature on my iPhone. I’ll do a quick crop or straighten, too, but usually that’s about it!
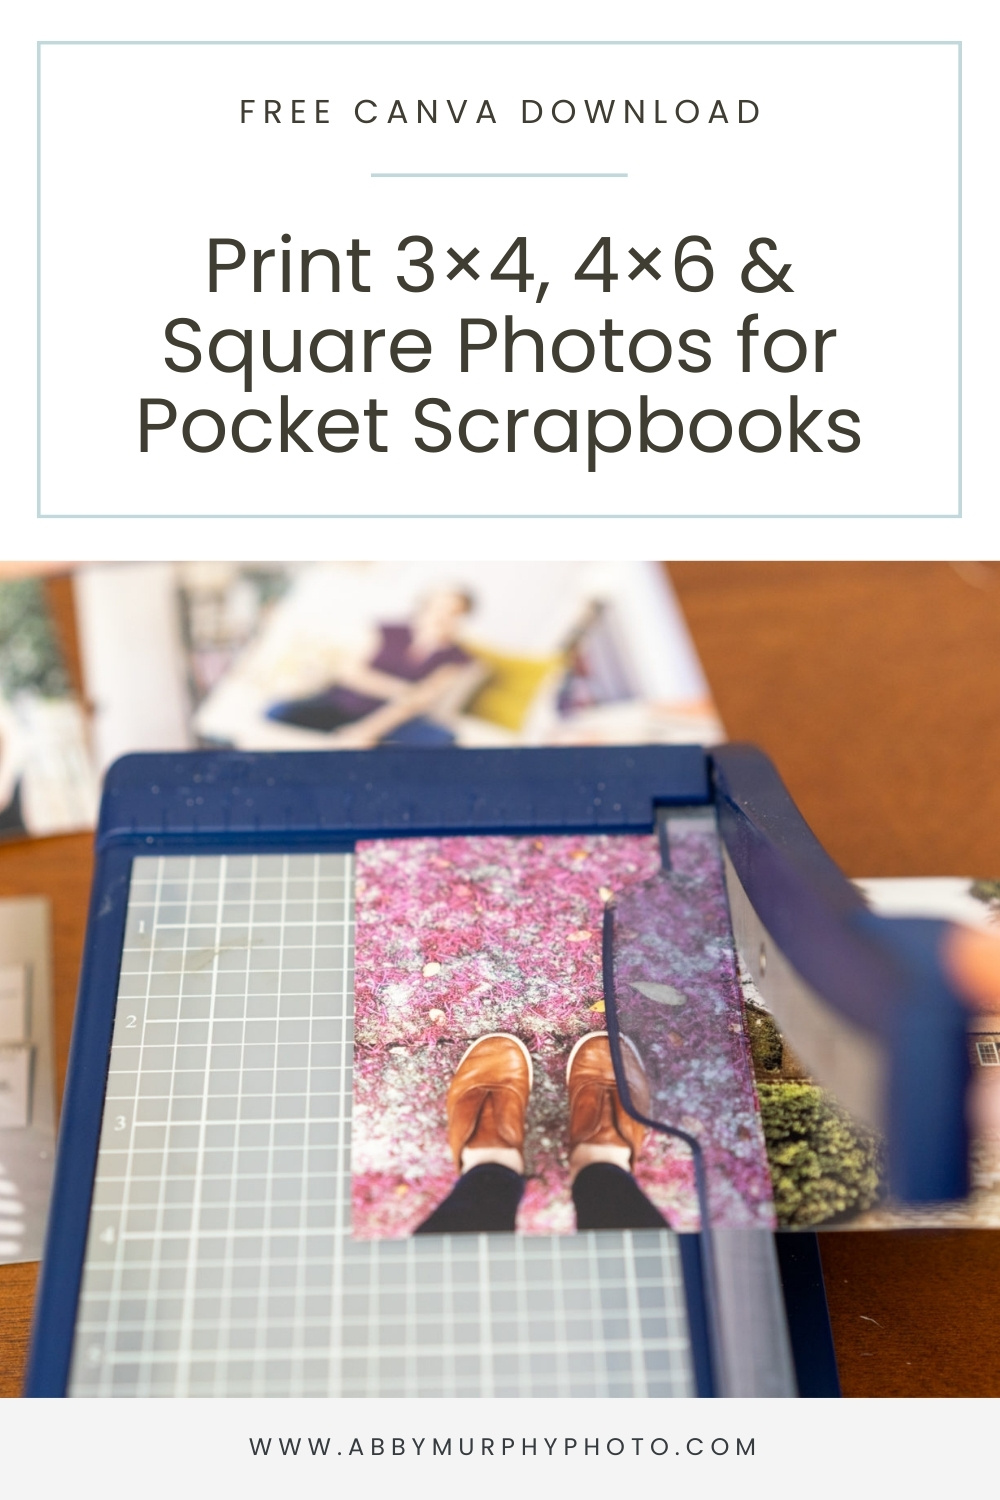
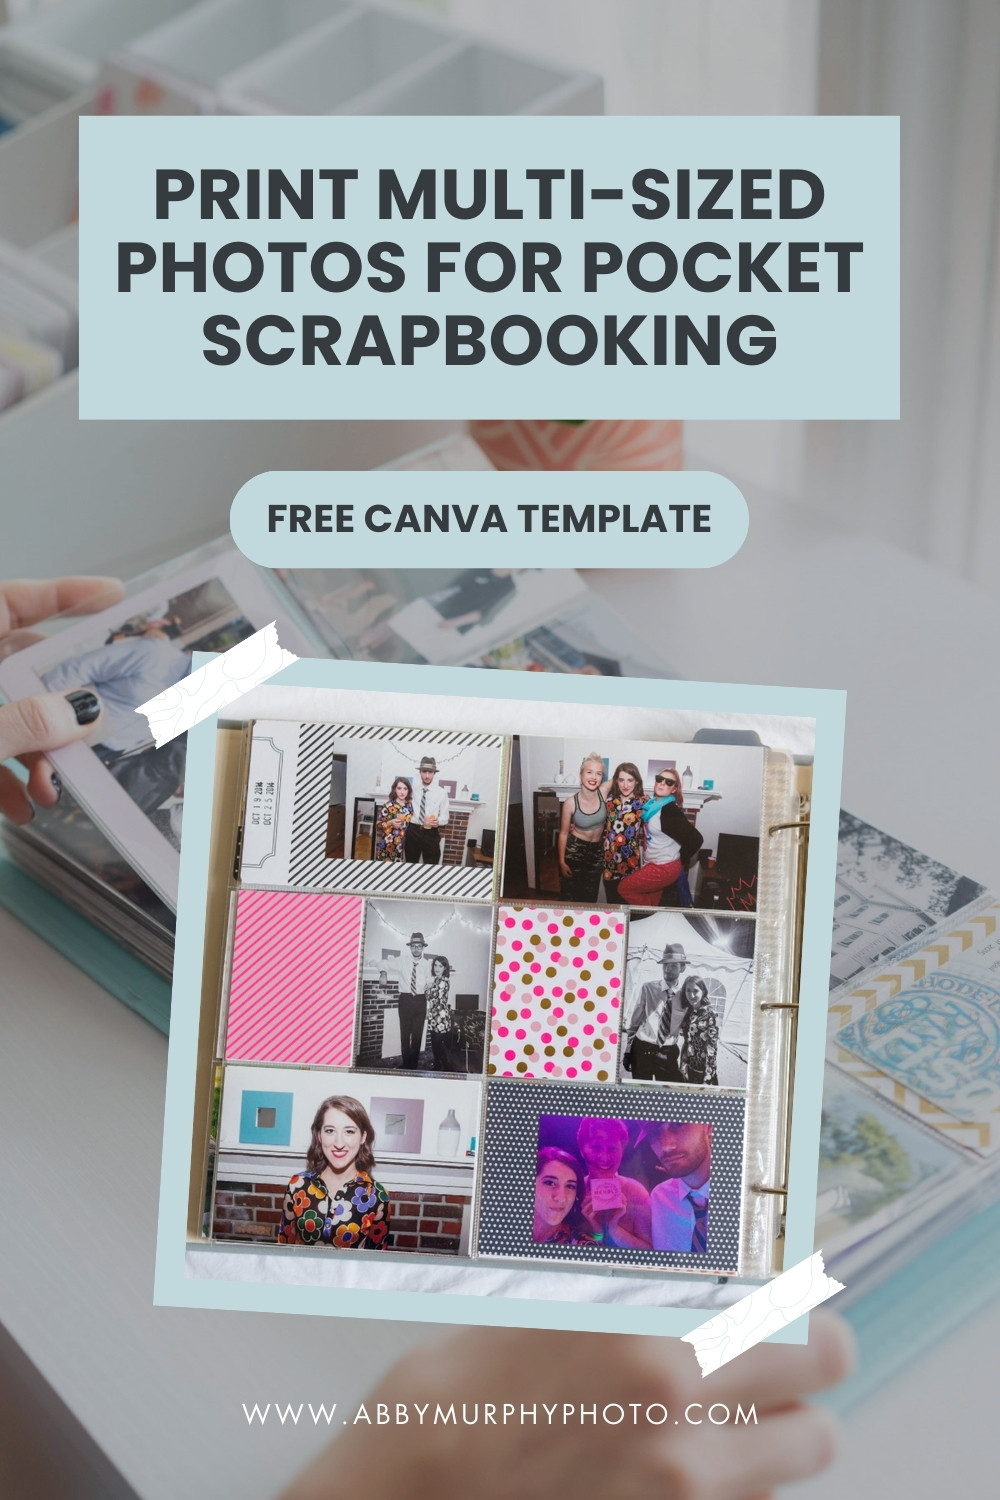
Most pocket pages have 4×6, 3×4, and square slots for photos. For 3x4s, 2x3s, or square images, I place them onto a 4×6 document and trim them once the prints arrive. I created free templates to make sure your prints always fit perfectly before ordering. Download them here!
Before ordering prints, make sure your files are set up correctly (check with your printer for any specific requirements, too!):
- At least 1,800 x 1,200 pixels (4×6 inches)
- 300 dpi
- 100% quality
- Color Space: sRGB
- Save as JPG or PNG
I don’t usually plan my page layouts ahead of time, so I just save my favorite or most important photos at 4×6 and the rest as 3×4 or square. If you want to plan your layouts ahead of time, go for it! It all depends on what feels easiest to you.
How I Print Photos for Scrapbooking
I order prints through Nations Photo Lab, but I’ve also had good results with Shutterfly. Lustre prints are my personal favorite. They have a little bit of sheen and feel like the perfect mix between matte and glossy.
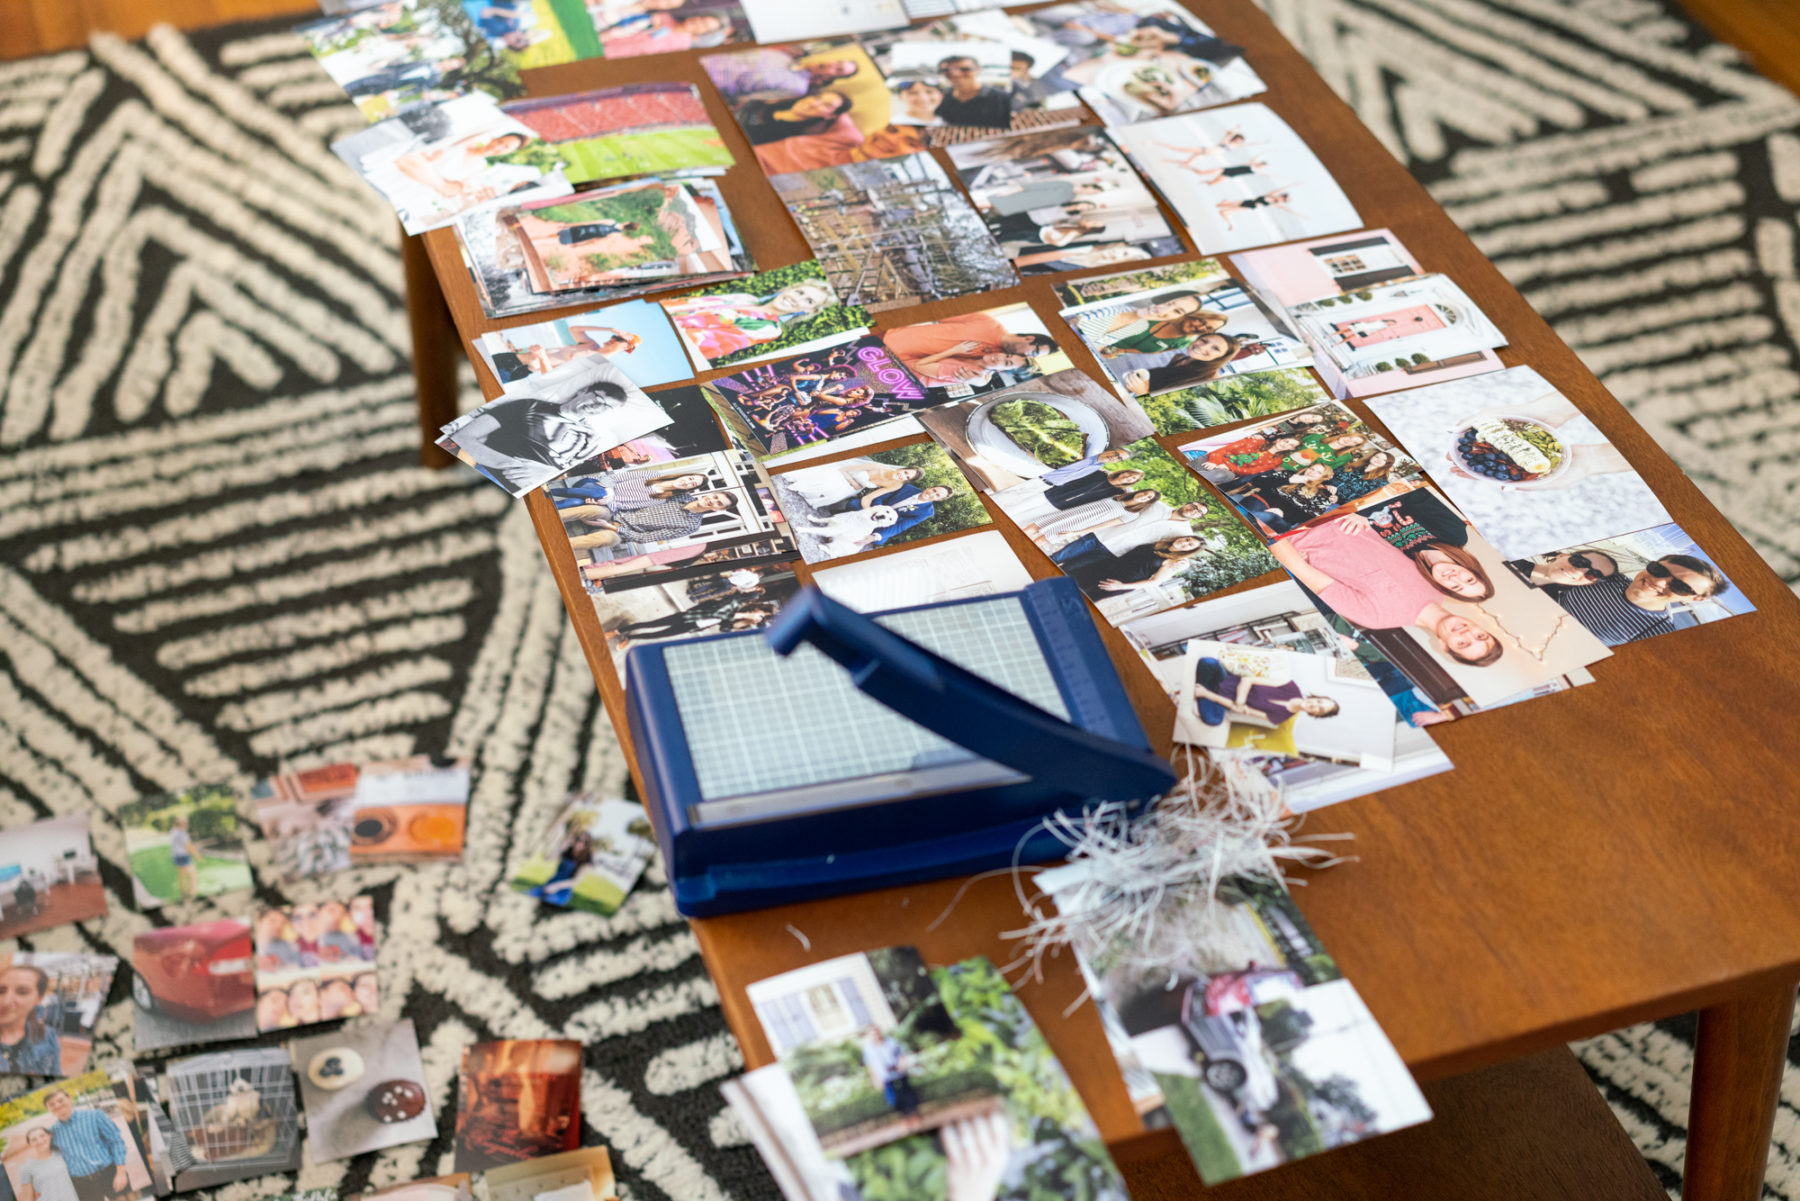
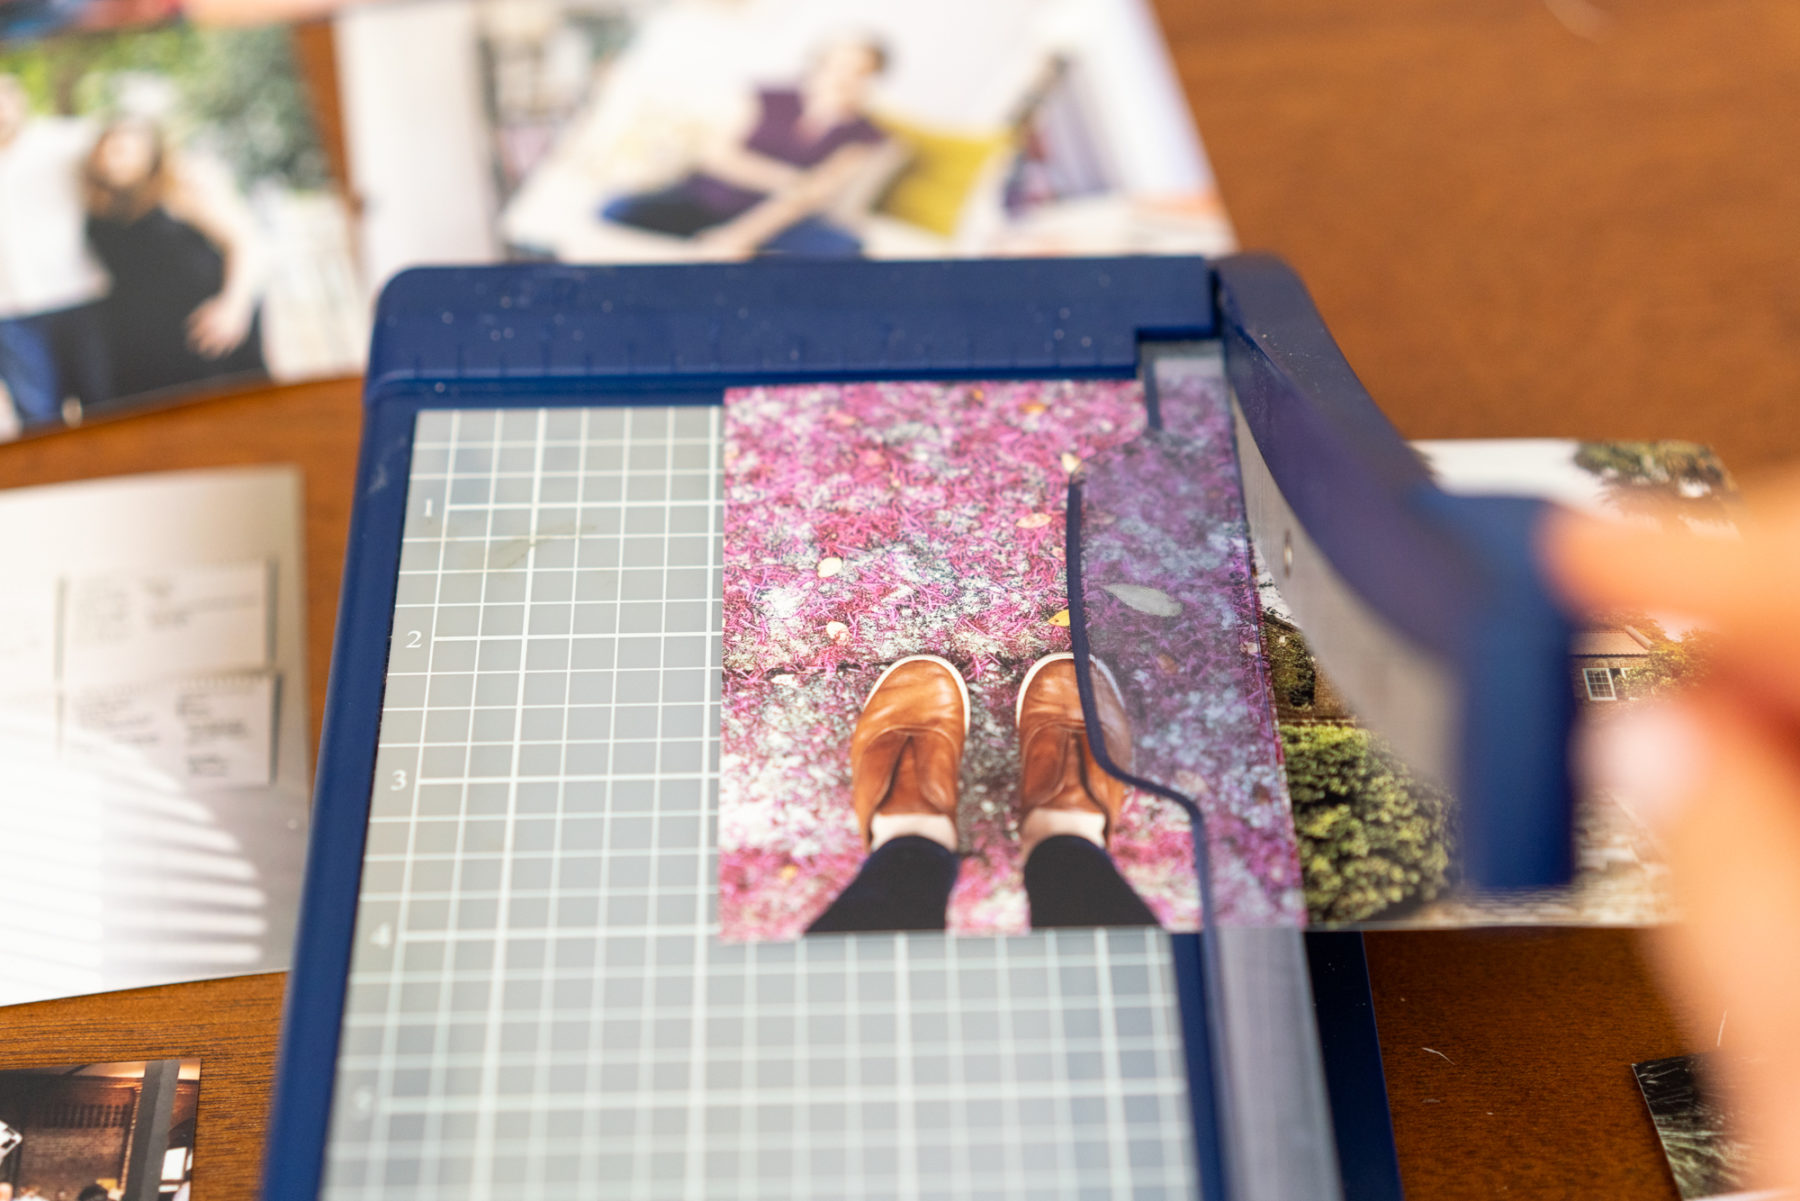
When my prints arrive, I organize them chronologically. Sometimes they arrive in order, but most of the time they’re mixed up. For the 3x4s, I use a small paper cutter to trim them down the middle. If you need a place to store your prints as you scrapbook, these are my absolute favorite photo storage cases.
Prepping your photos can be a barrier to the fun part: actually scrapbooking! But once you set up a system and keep it consistent, it really does get easier. Honestly, I sometimes dread this part, but opening that package of fresh prints and knowing I’m about to start scrapbooking makes it so worth it!
Creating Simple Pocket Scrapbooking Layouts
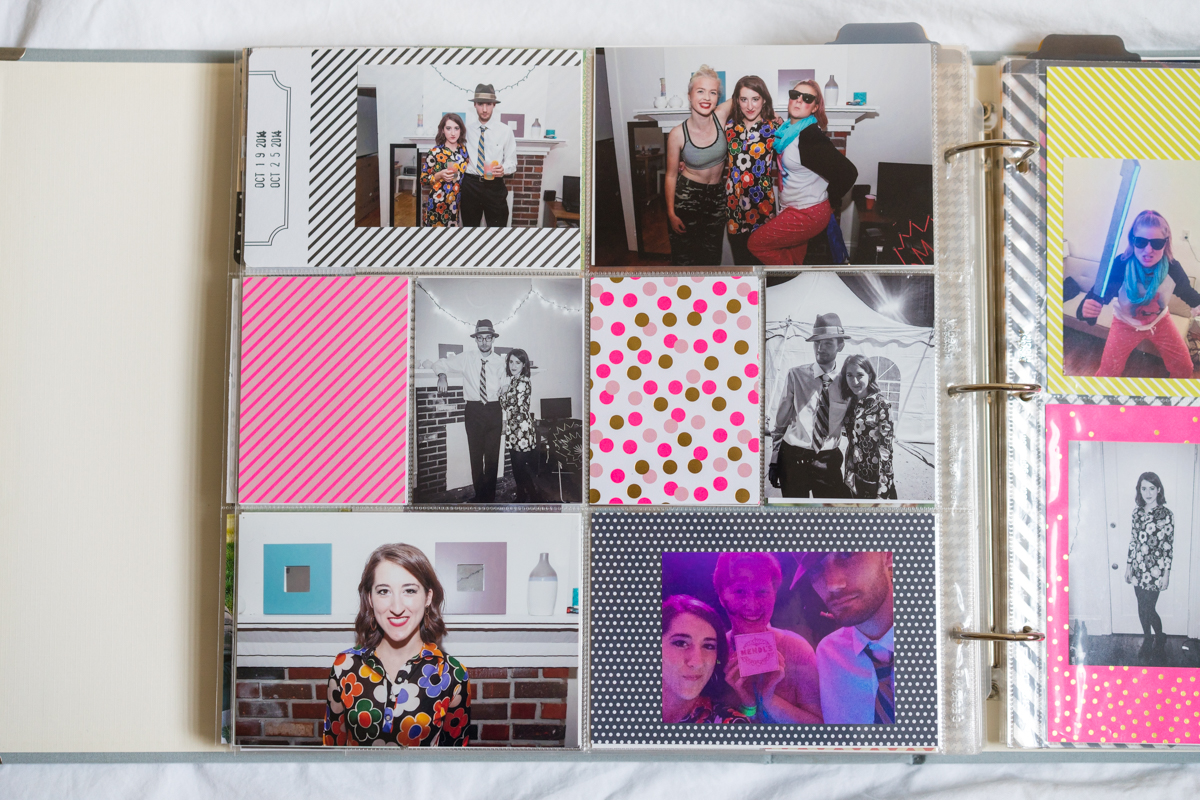
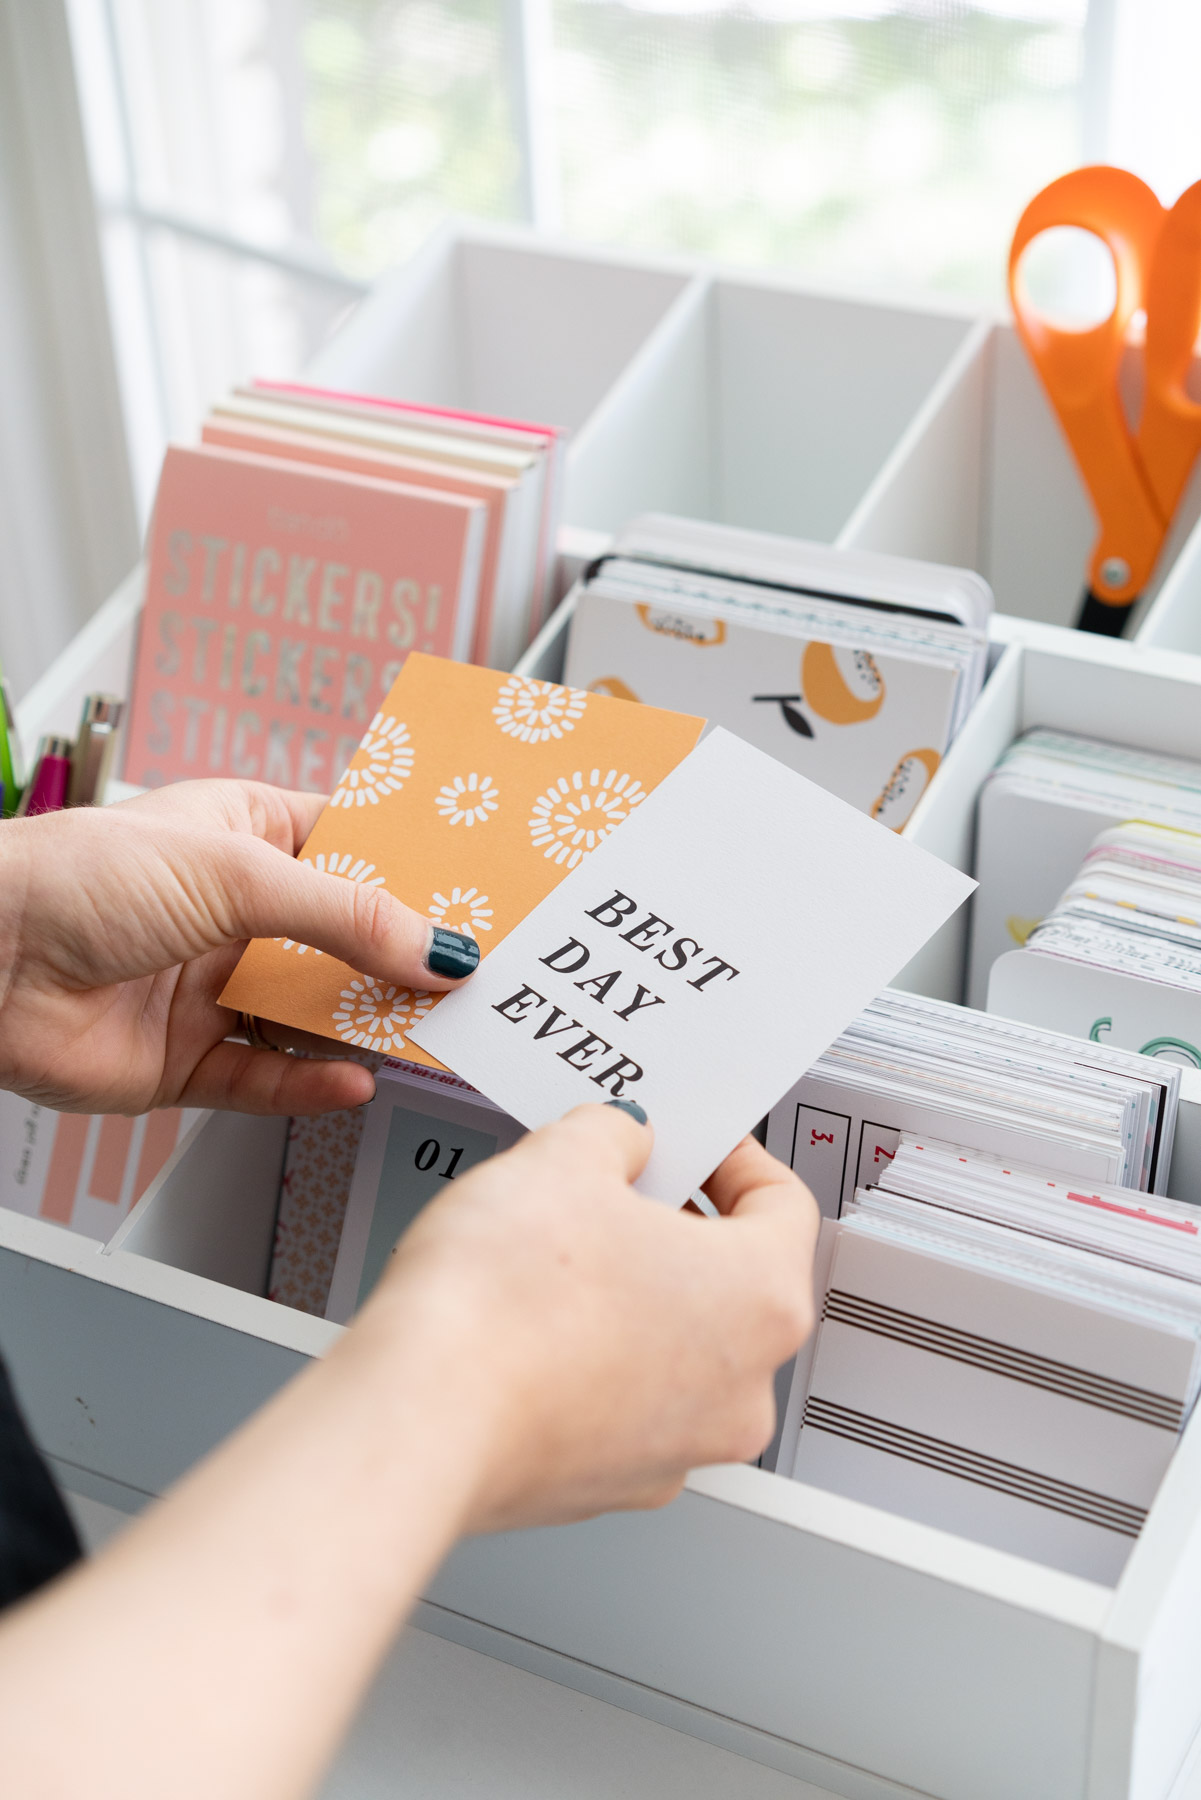
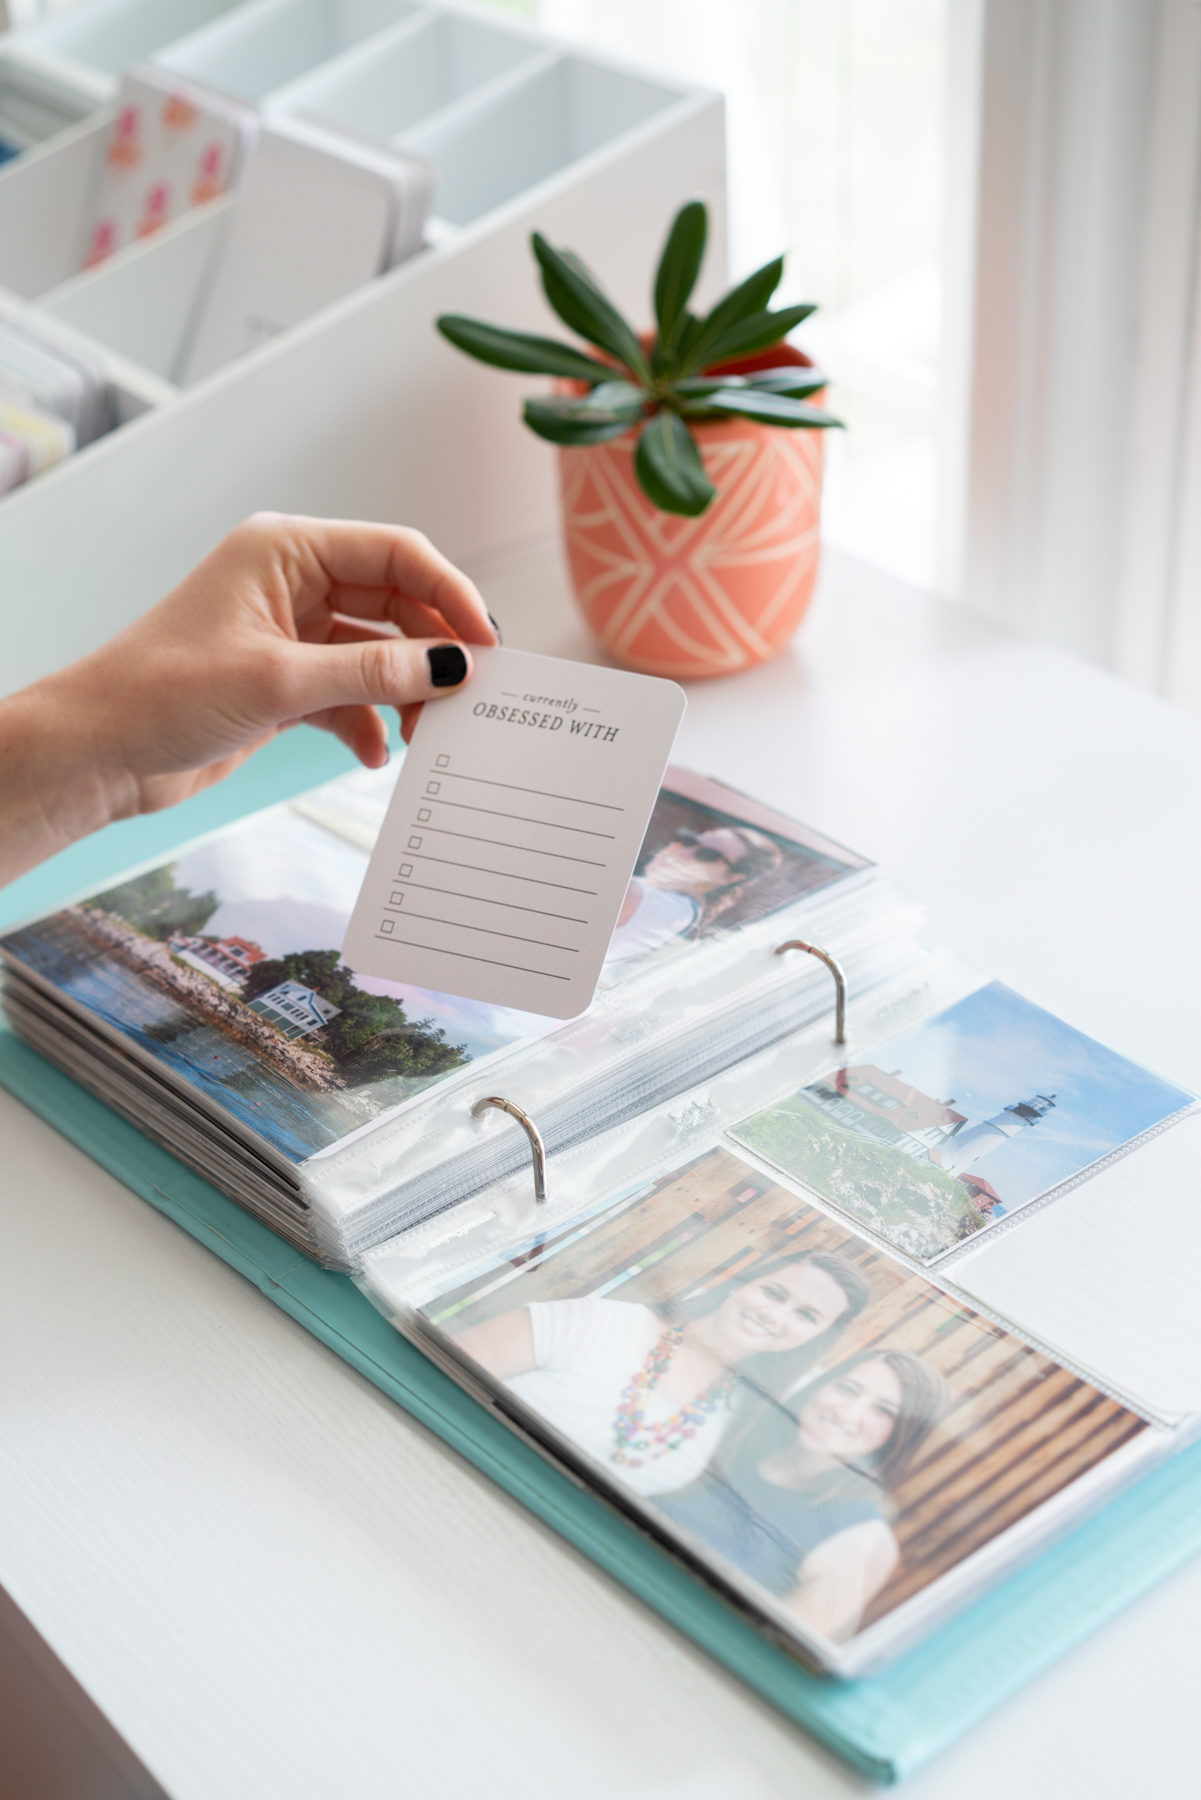
Now for the fun part! Placing photos and filler cards is the most creative part of the process for me. Since I organize my photos chronologically, it’s super easy to start at the beginning of the year and work my way forward. I like to play around with different cards, decide whether a layout needs space for journaling or just a short caption, and see if any mementos can be layered in.
Here are a few tips for putting together your layouts:
- Start simple. Gather a few photos that go together and lay them on top of your chosen pocket page. Then add filler cards around the photos to get a feel for the layout.
- Work in sections. Rather than tackling your entire album at once, focus on a few pages at a time.
- Keep color schemes consistent. Using coordinating filler card kits or papers automatically makes your layouts look cohesive.
- Mix journaling styles. Some layouts might call for more journaling, others for a short caption.
- Let go of permanence. Pocket scrapbooking is forgiving. You can always swap cards and photos later!
What always surprises me is how quickly a layout comes together with pocket scrapbooking. No matter how you set up your album, you’ll be amazed at how easy it feels to put together a cohesive album. There’s nothing better than flipping through and seeing all your memories documented in one put-together, special place!
Wrapping Up: Pocket Scrapbooking Made Simple
Pocket scrapbooking has been one of my favorite ways to document my life for years because it’s creative, fun, tangible, and simple all at once. You don’t need a full craft room (though I’d secretly love one!) or be a paper expert to get started. Pocket scrapbooking is the perfect balance between creativity and simplicity when it comes to scrapbooking!
I hope sharing my supplies, workflow, and process for organizing, editing, ordering, and laying out pages has given you a solid starting point. I can’t wait to see what you create!
For more inspiration, check out my post 15 Unique Things to Put in a Scrapbook for more ideas on what to include, or 6 Reasons to Start Scrapbooking if you need an extra push to dive in.


[…] photo sourced from abbymurphyphoto.com […]