Planning a brand photoshoot can feel totally overwhelming. You know you need photos for your business (sooner than later!), but you might not know where to start. Maybe you’ve already found and hired your branding photographer, but you feel lost when it comes to choosing an on-brand location, picking the right outfits, and knowing what you even need photos of. I get it!
While an experienced brand photographer will invest time in understanding your business and goals for your photo shoot, you must also prepare. Your branding photographer will be so impressed with you (and you’ll save yourself some serious stress)!
In this blog post, we’ll explore the essential steps for how to plan a brand photoshoot with confidence!
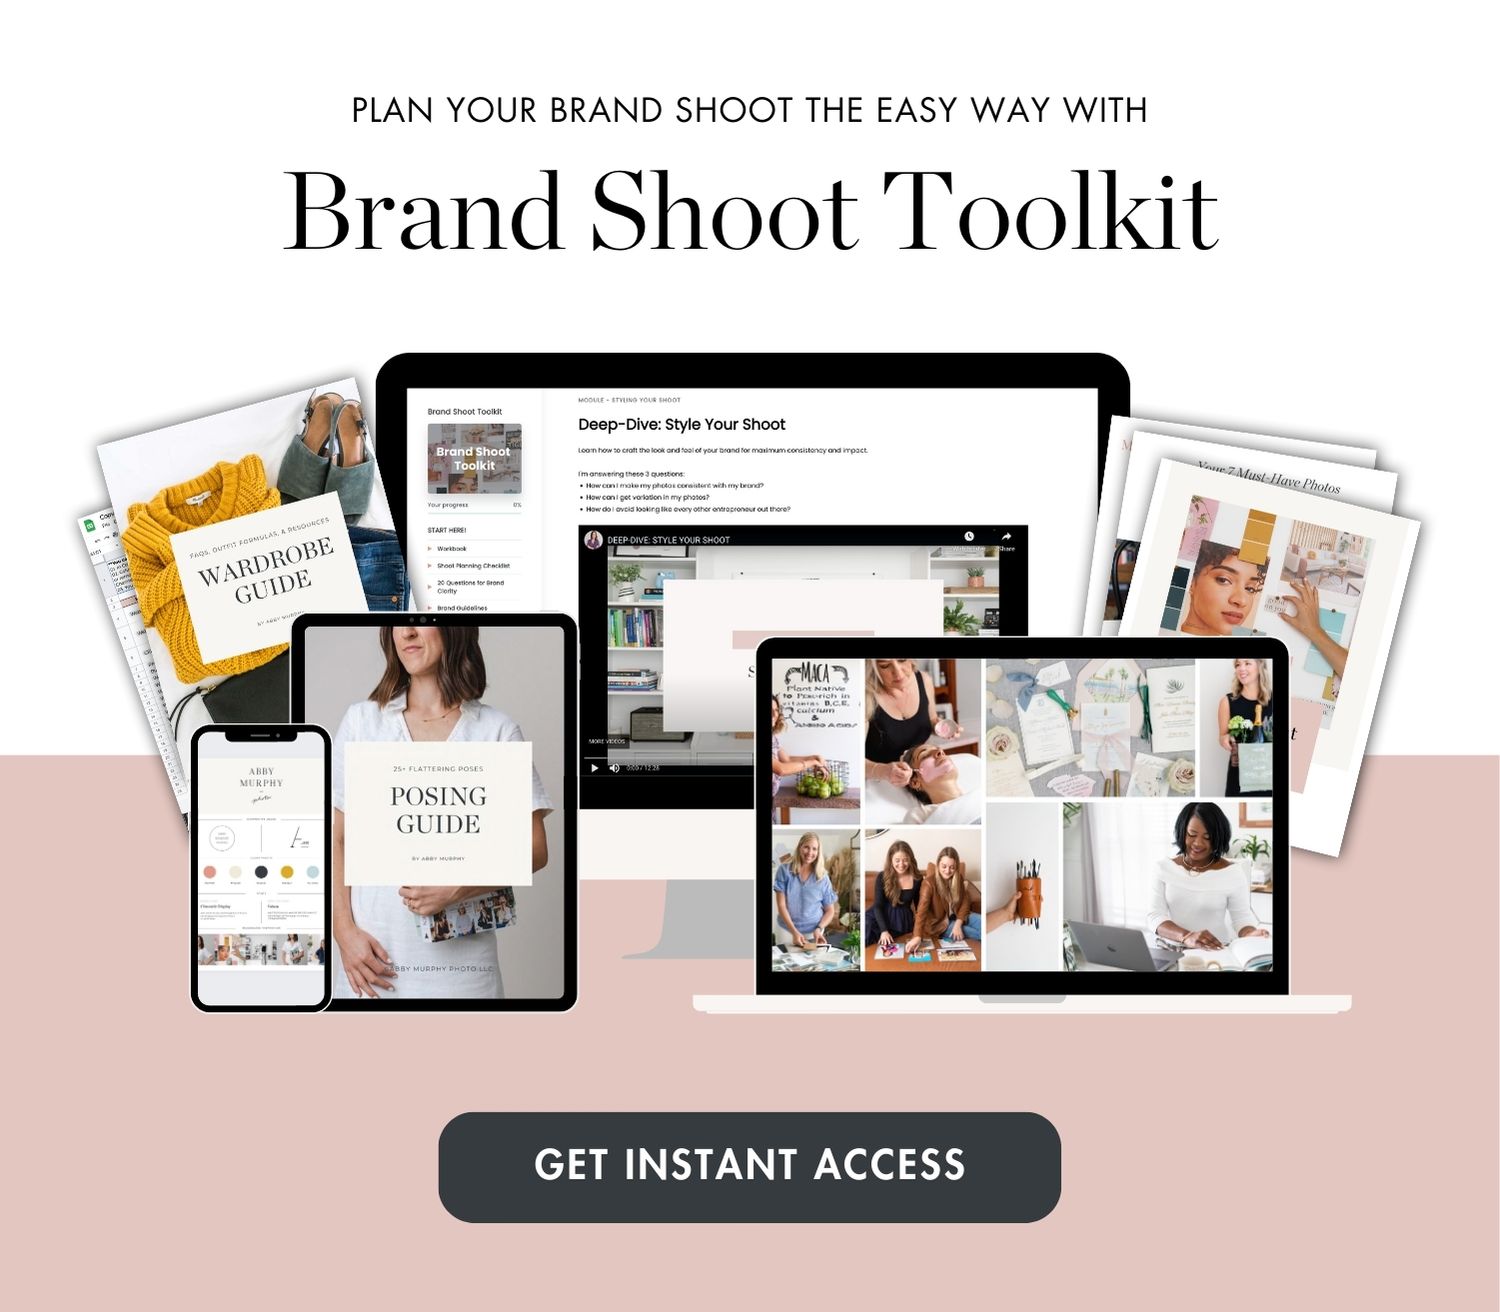
And if you want to go straight to the resources I use to plan my brand shoots for clients, you can grab Brand Shoot Toolkit! BST is a complete library of resources, tools, and lessons to plan your brand shoot the easy way.
In the meantime, let’s dive in and uncover the simple steps for planning your brand photoshoot!
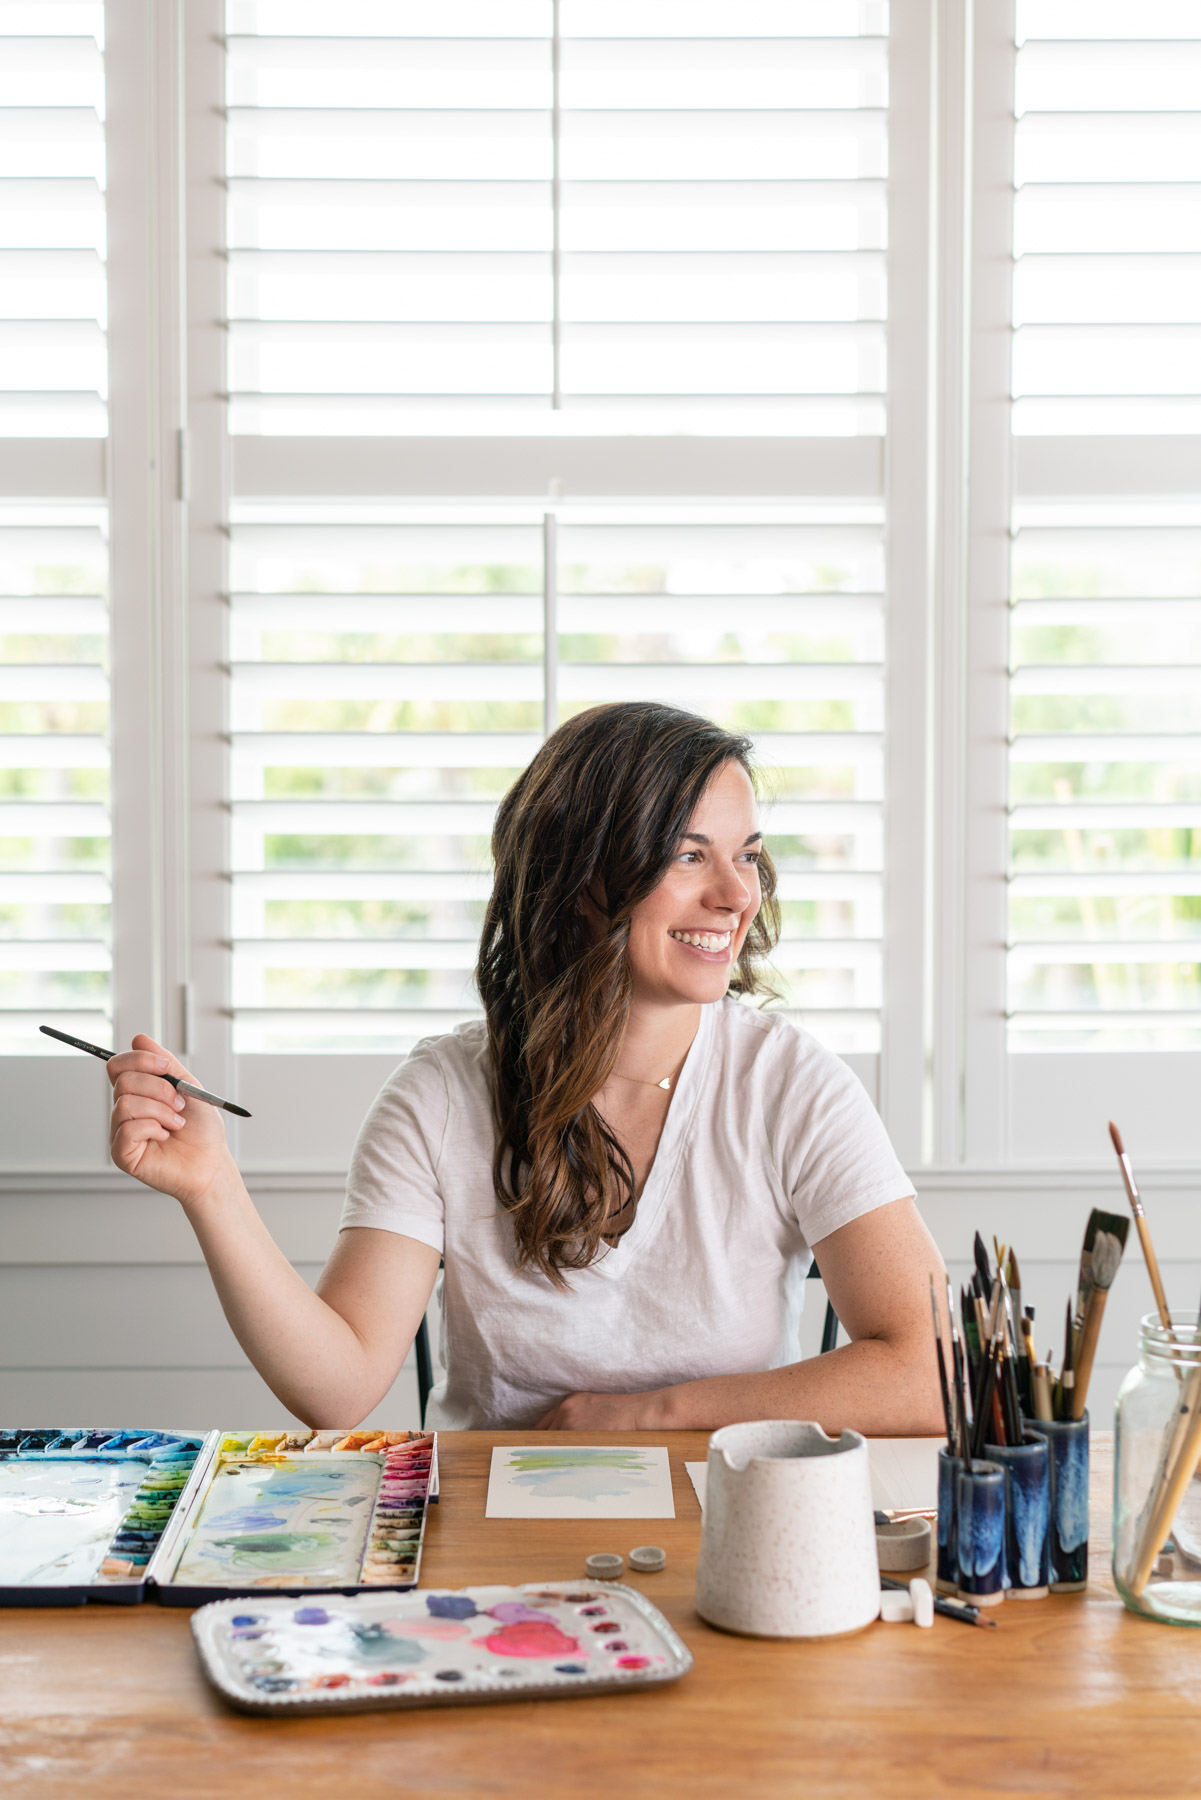
1. Step One: Set Your Goals
Before you start researching photographers or raiding your closet for photoshoot looks, take the time to consider what you want out of your brand photoshoot. Here is the most critical question to ask yourself:
Why are you getting brand photos done?
Don’t just stop at “I need photos for social media.” Take it further by asking yourself what your new brand photos can help you achieve. How can your photos contribute to the growth of your business? What message do you want to convey through your visuals? Will professional photos elevate you in the eyes of your ideal customers? Hint: heck yes they will!
Another helpful way to think about goals here is to consider what will happen if you don’t get new photos made. Will you continue to feel overwhelmed by the social media hampster wheel? Maybe that “blah” feeling about your brand will persist, keeping you stuck. Your brand needs new photos to take your business to the next level. What does that next level look like for you, and how are your current photos (or lack thereof) holding you back?
To get the most out of your brand photoshoot, don’t skip this step! Going into the experience with a sense of the result will keep you on track and motivated.
2. Step Two: Hire Your Brand Photographer
Now that you’ve outlined your goals, it’s time to hire a brand photographer (if you haven’t already!). Take a look at my blog post 4 Essential Traits to Look for in a Brand Photographer for this step. This post covers everything you need to ensure you hire the best photographer for you and your brand. It’s not just about who can take the best photos. You want to hire someone that you jive with, both in style and personality. Your brand photographer should be a creative collaborator and help you feel confident on camera. Some photographers will be very active in the planning process, while others may be more hands-off and expect you to come to them with a photoshoot plan (if you haven’t already guessed, I’m the former!).
Other professionals to consider hiring are a hair and makeup artist, wardrobe stylist (more on that below!), or a videographer.
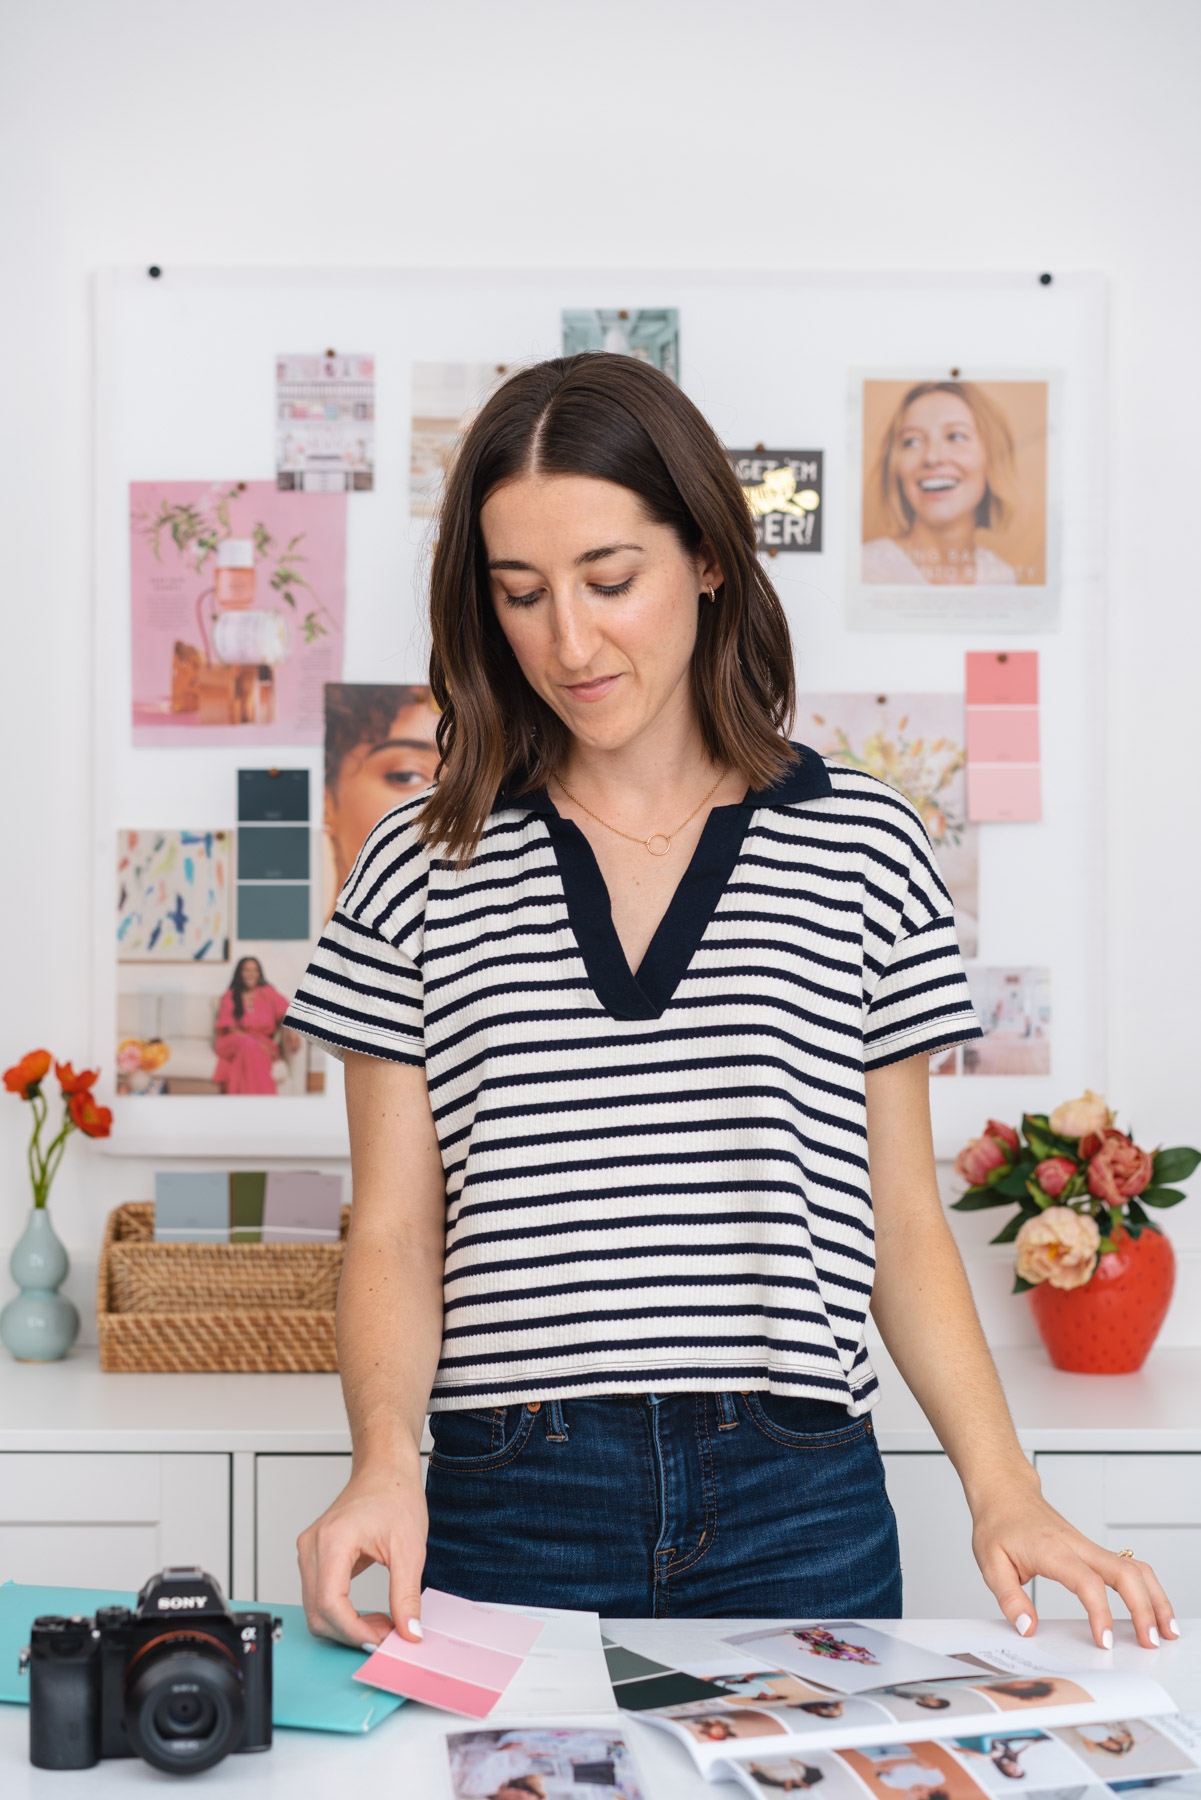
3. Step Three: Craft Your Branding Photoshoot Shot List
Once you’ve hired your brand photographer, the planning fun really begins! Before you think about locations, wardrobe, or props, you’ll want to start thinking about your shot list. Your photographer will likely have plenty of shot ideas once they get to know you and your brand, but creating your own list as well ensures you don’t miss any essential photos.
Before going to Pinterest for inspiration, open a fresh page in your notebook and ask yourself these three questions.
- What words describe your brand?
- How do you want your ideal audience to feel when they see your photos?
- What does your audience need to know about you and your business?
Next, take a look at your answers and underline similar words or themes. Then, ask yourself how you can visually explain your answers to these questions. For example, say you’re a wedding stationery designer. If one thing you want your audience to know is that you offer custom crests for invitations, shots could include:
- Meeting with a “client” for a consultation (which could be a model, a friend, or an actual client)
- Sketching a design from scratch
- Selecting colors from a paint swatch
- Painting the design
- Scanning the design into the computer
- A shot of the finished product styled with the rest of the invitation suite, ribbon, and
To fully flesh out your shot list, download my guide Brand Photoshoot Shot List: Your 7 Must-Have Shots, and grab Brand Shoot Toolkit to get access to a worksheet to turn your brand stories into shot ideas.
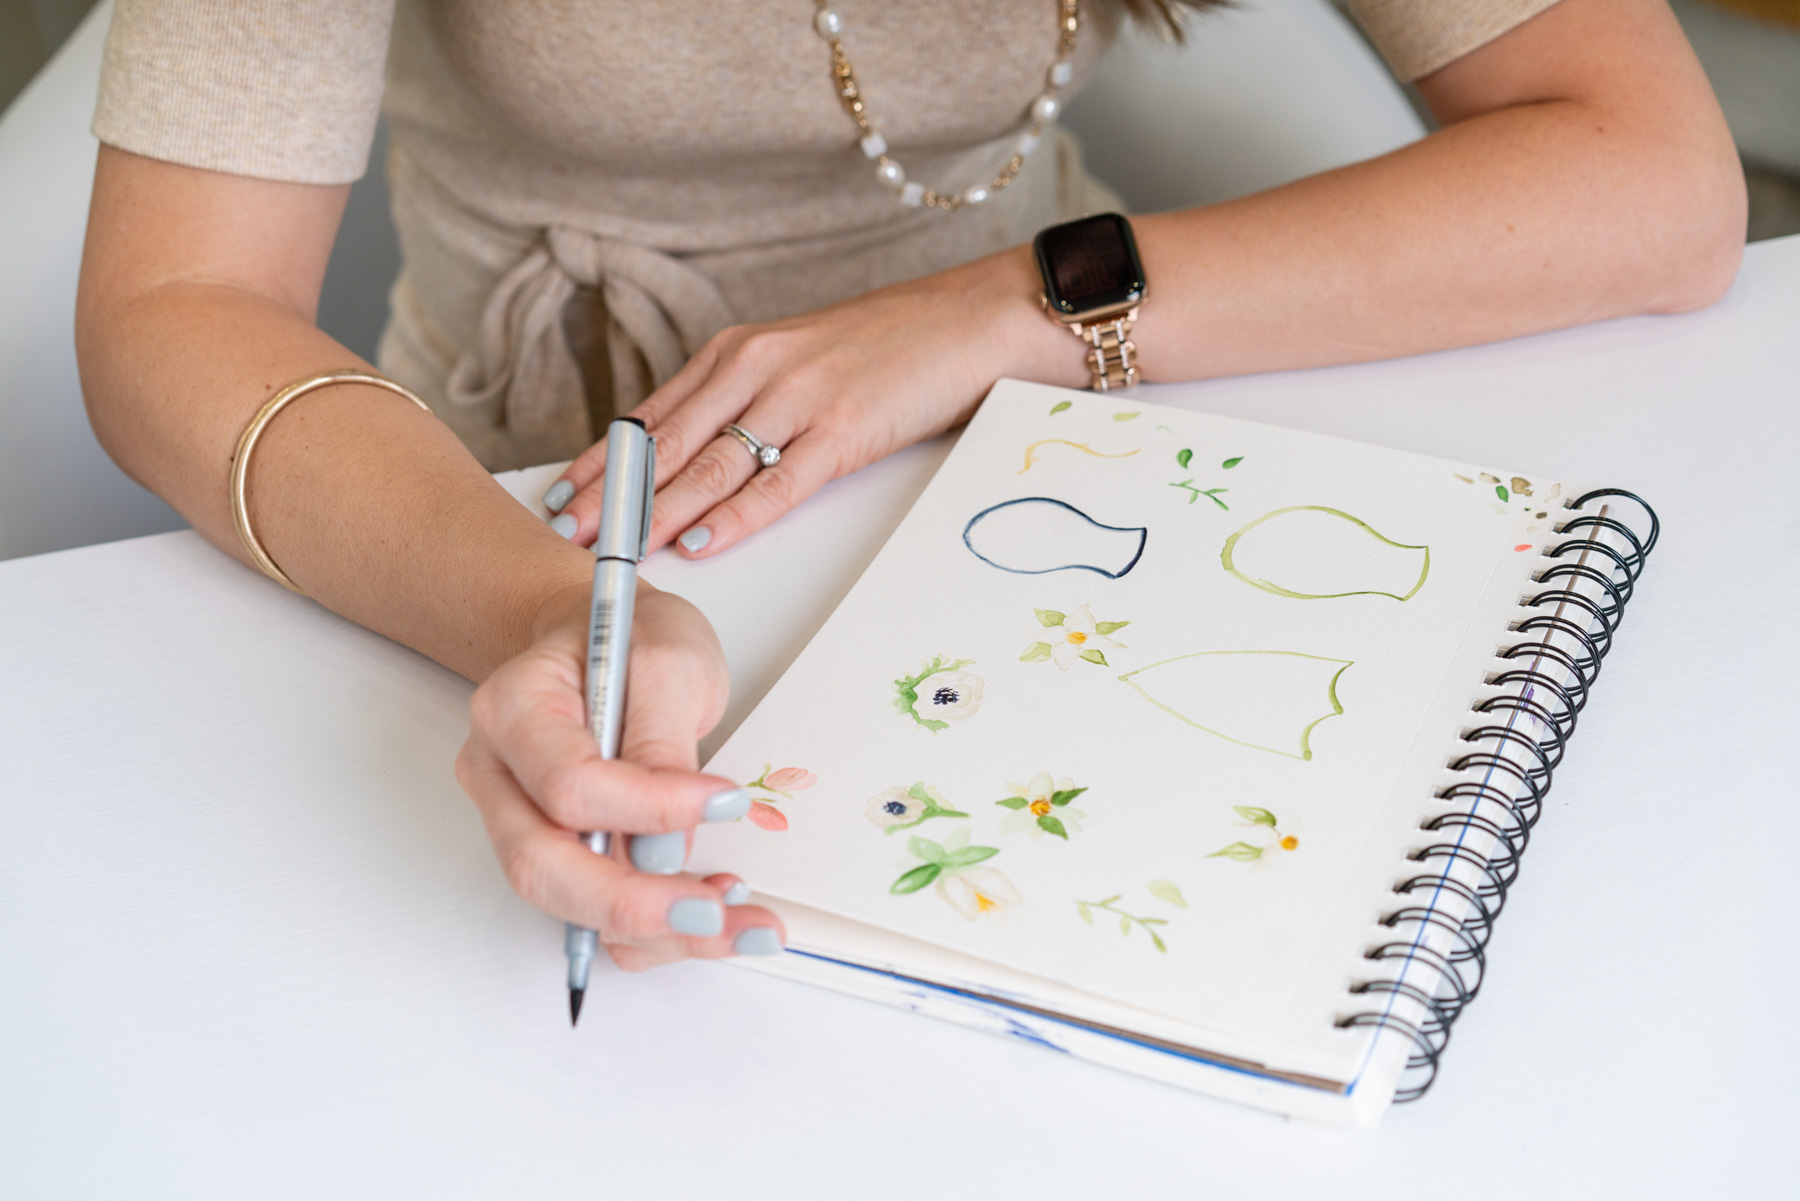
4. Step Four: Select Your Brand Photoshoot Location(s)
Where do you do your best work? Do you create art in a studio, coach clients from your home office, or teach fitness outdoors? That’s where your photos need to take place!
If your work location is less concrete, first consider whether your brand photos would be better suited indoors or outdoors (or both!). For indoor locations, check out Airbnb, Peerspace, and co-working spaces in your area. Just be sure to check that they permit professional photography in their spaces. You can even borrow space from a friend or client! Brainstorm a list of local parks, streets with interesting architecture, or coffee shops with cute patios for outdoor locations.
Whether your brand calls for indoor or outdoor locations, be sure that the space enhances and complements your brand. That means your location should have hints of your brand colors, or have a neutral palette you can add to. Everything down to the furniture, decor, or color of the buildings should mesh with your brand’s style. Your location acts as the “base” for all of your shots, so consider this step carefully when you plan your brand photoshoot.
5. Step Five: What to Wear for Your Brand Photoshoot
Deciding what to wear for brand photos is a huge source of planning stress that I see in my first-time clients! My #1 suggestion is to hire a wardrobe stylist to help you curate your looks. It may seem extravagant, but a stylist can select flattering pieces for your body type and the camera. Hiring a stylist eliminates the “I have nothing to wear!” frustration, which is worth every penny.
If you’d rather take on this task yourself, keep it as simple as possible. The number of outfits you can wear will depend on the shoot schedule you create with your photographer, but I always suggest bringing at least two outfit options. For instance, one casual look and one more formal look. Think jeans and a simple top for a casual look, and a skirt or dress for your more formal look. The key here is to keep it simple. Too many outfit changes are a surefire way to quickly exhaust you on shoot day.
At the same time, consider your brand style and colors. Pull a few items from your closet that feel like your brand. If nothing stands out, do a little shopping or borrow from a friend. The most important thing is that you are comfortable and confident in what you’re wearing.
If you need more help, Brand Shoot Toolkit includes a Wardrobe Guide with photoshoot outfit formulas, answers to fashion FAQ’s, the best styling resources for photoshoots, and a lesson on achieving variety with your outfits.
6. Step Six: Prep Your Props
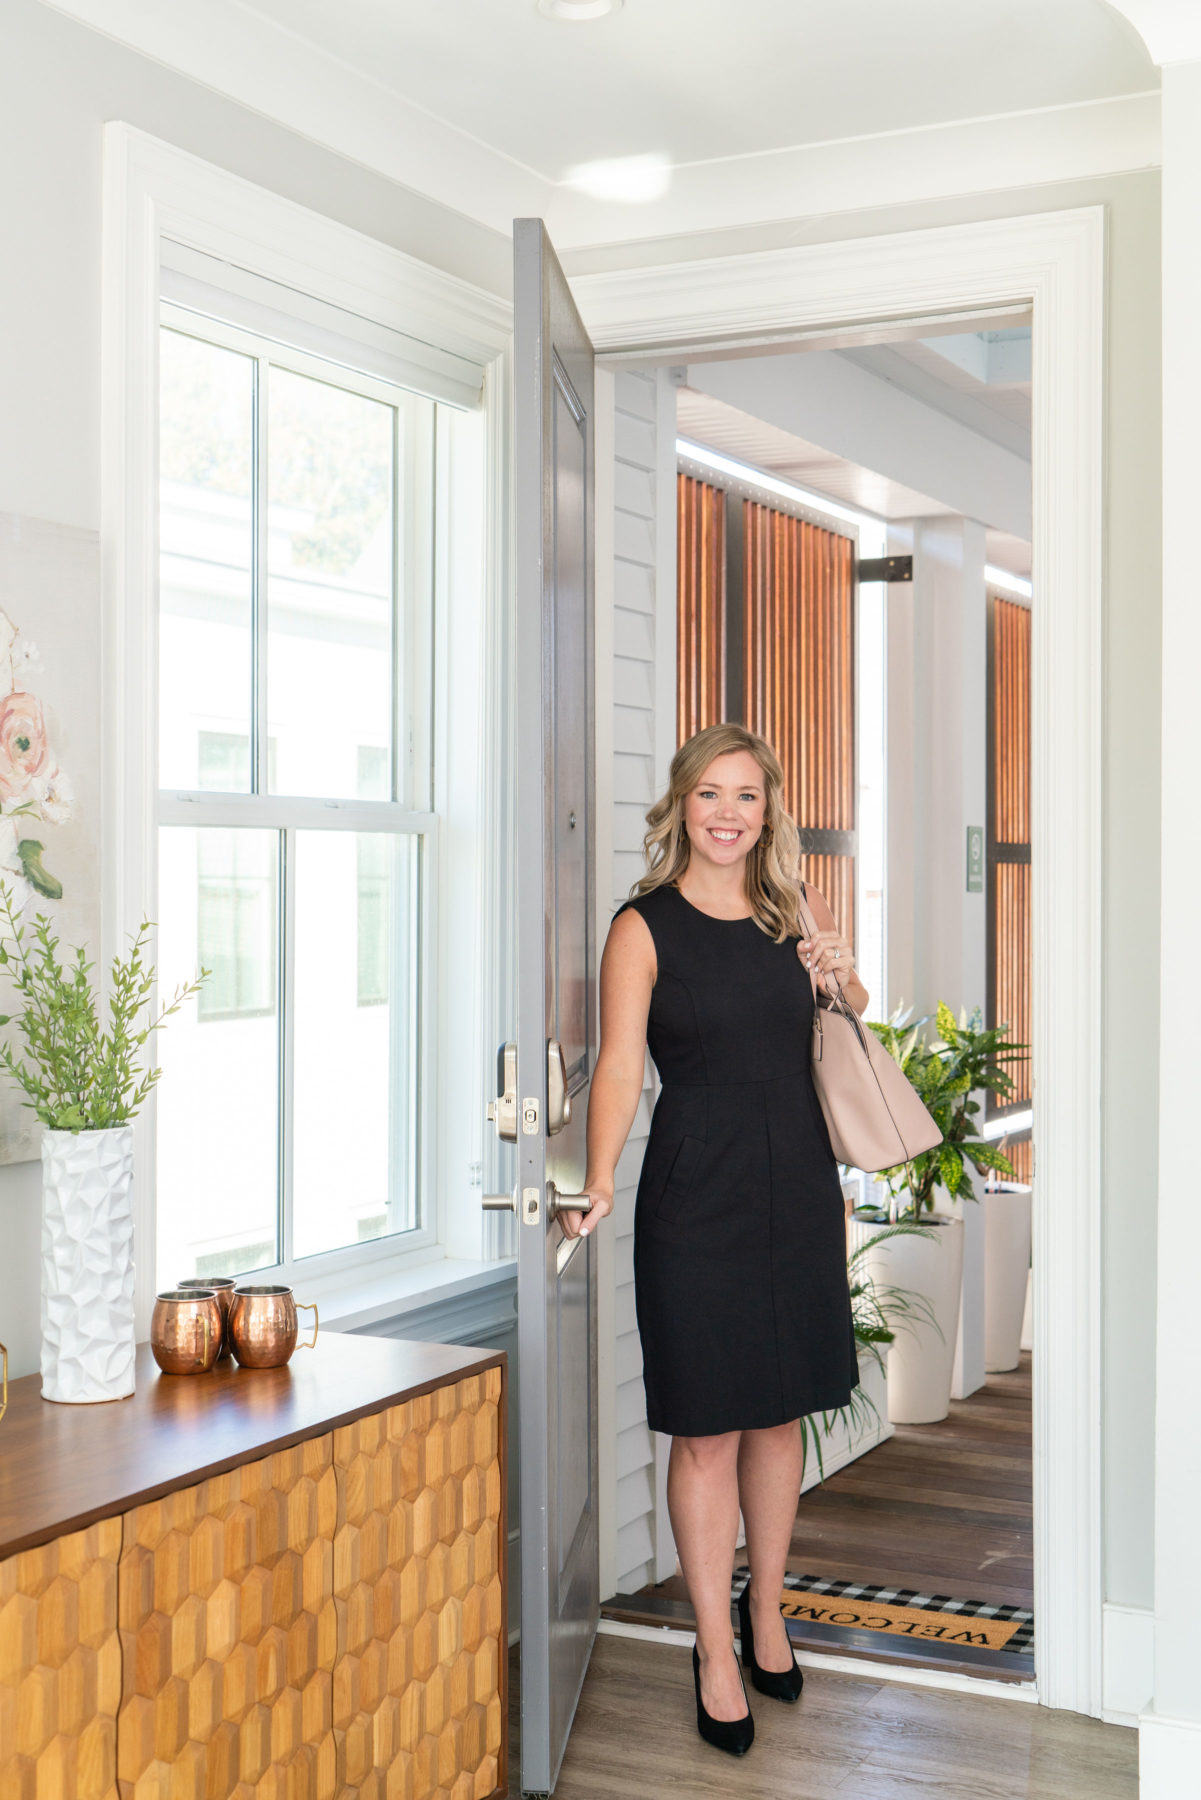
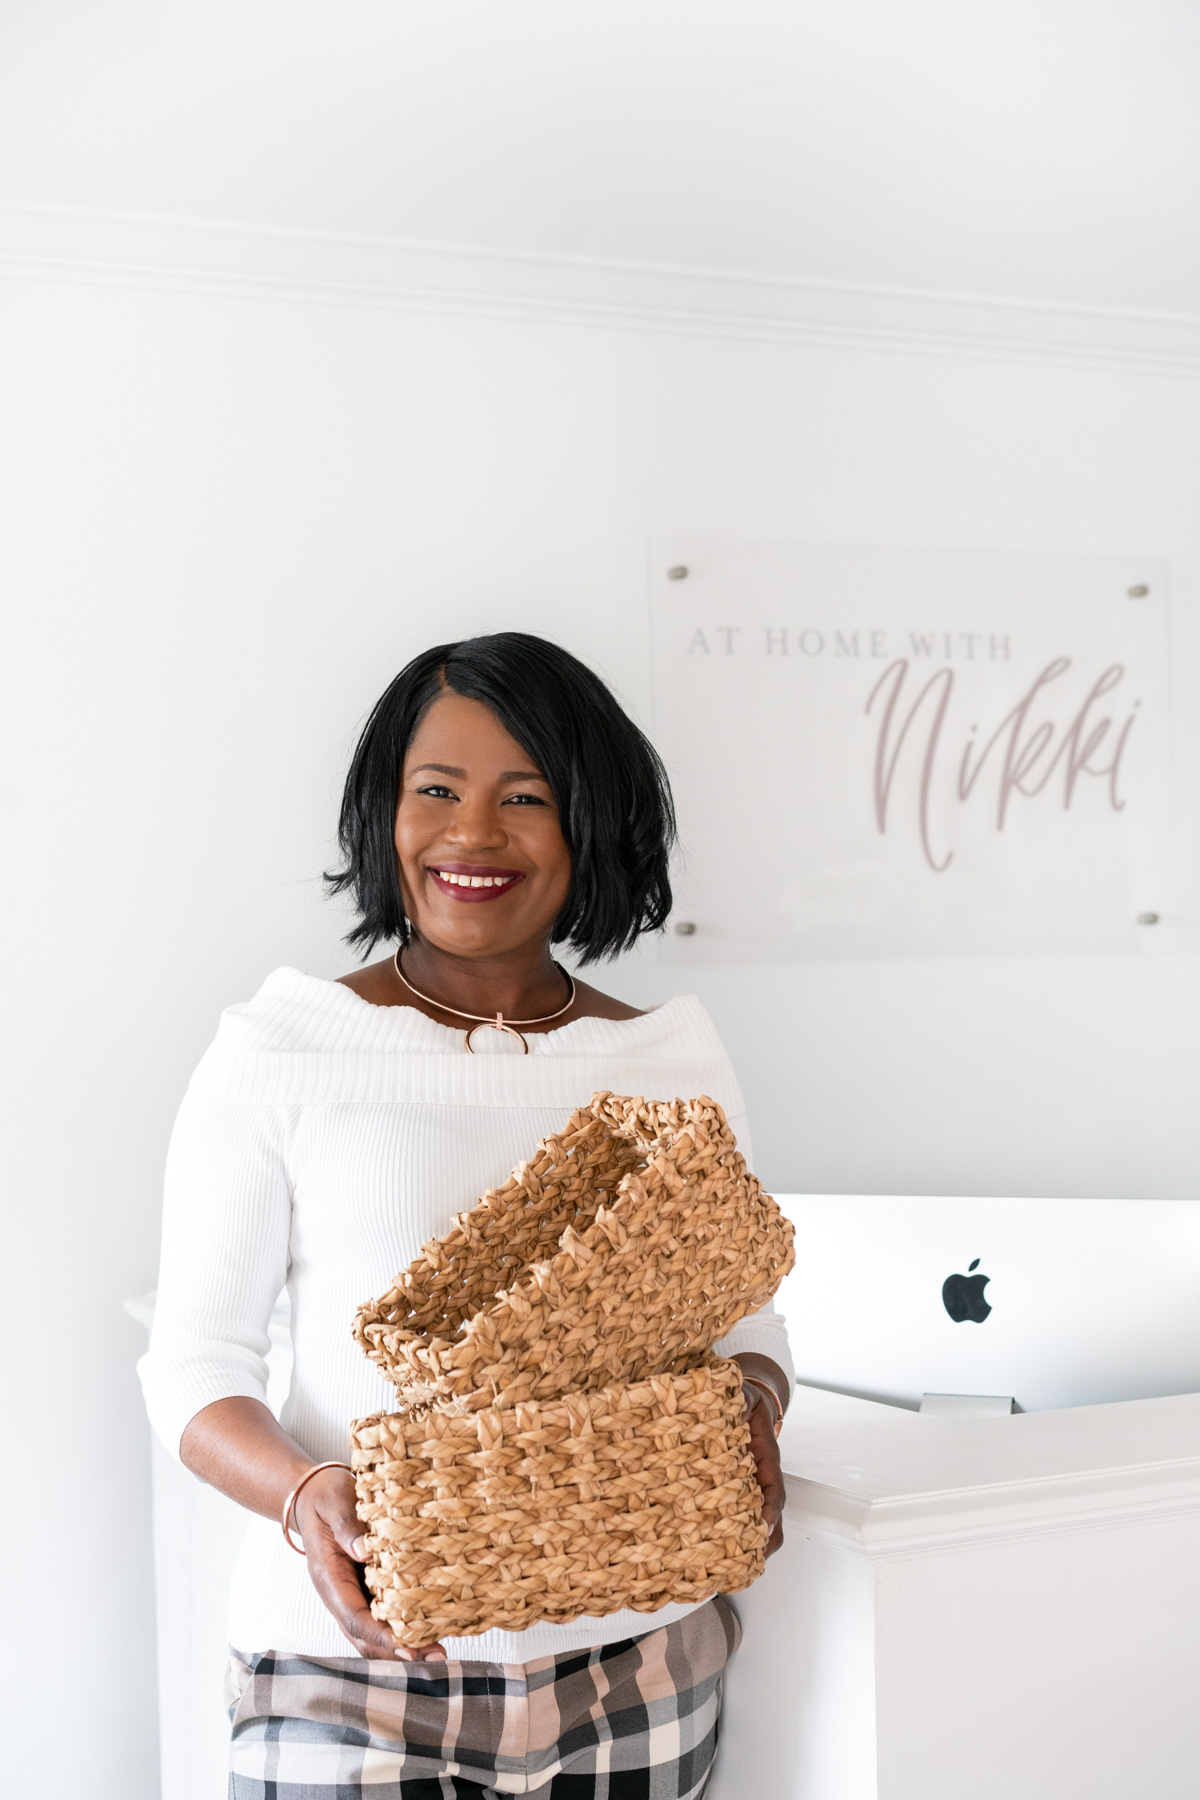
After you’ve chosen your locations and wardrobe, you can pull together props. What tools, materials, and accessories do you use to do your job? What do you surround yourself with in your studio or office? These are the details that help the visual story come to life. Here are a few of my favorite prop ideas:
- Laptop or tablet
- Favorite notebook & pen
- iPhone
- Your glasses or sunglasses
- A furry friend
- Glass of wine or champagne
- Project sketches
- Inspiration (coffee table books, mood boards, etc.)
- Fresh flowers or succulents
- Your signature handbag
Inside Brand Shoot Toolkit, you’ll get a complete list of 100+ prop ideas that work with any industry!
7. Step Seven: Practice Posing
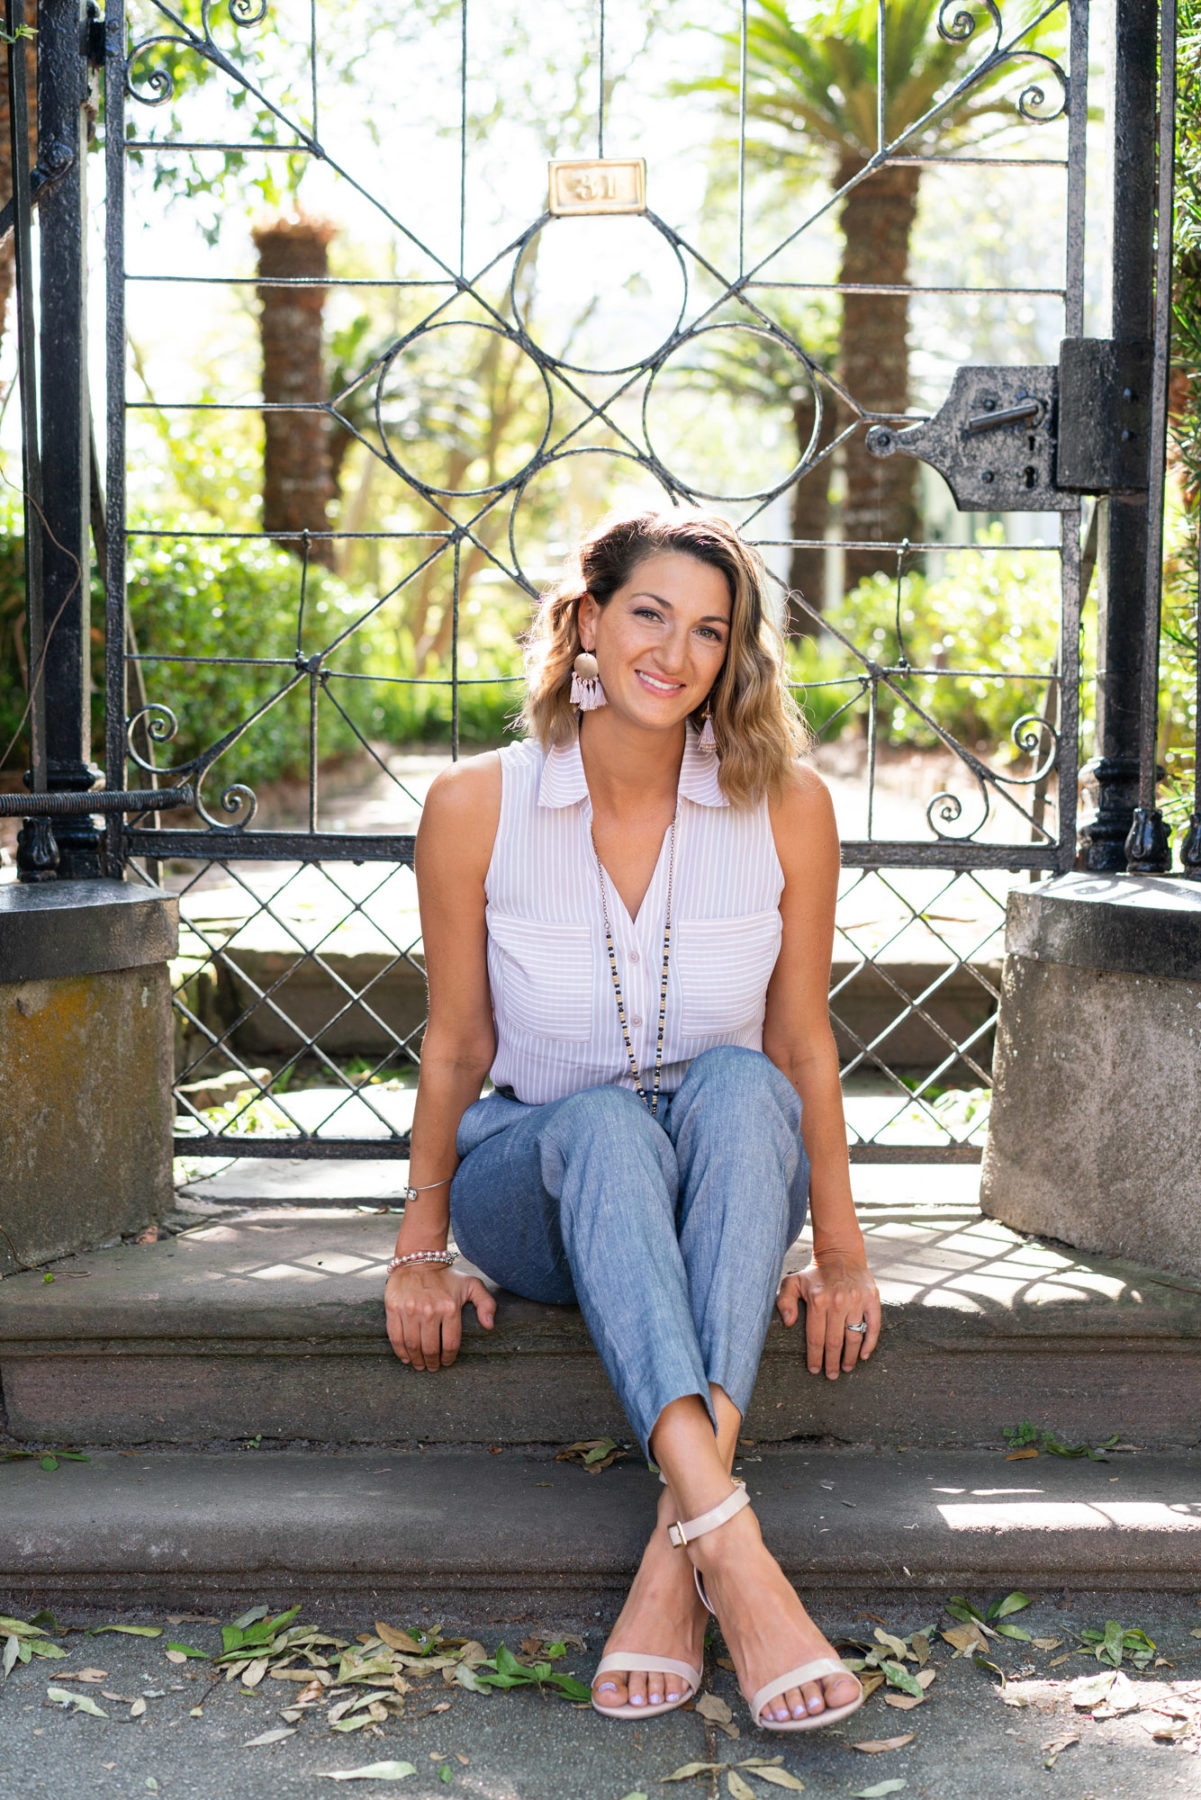
It may feel silly, but familiarizing yourself with poses before your shoot will remove so much unnecessary stress on shoot day. Try some poses out in front of a mirror, or have a trusted friend (that can make you laugh!) take some iPhone shots of you. Practicing will help you shake out the nerves and get a little more comfortable stepping in front of the camera. Check out my Pinterest board How to Pose for Photos and this blog post for tons of ideas and tips on how to do your best posing. And inside Brand Shoot Toolkit, you’ll get exclusive access to my Posing Guide with 30+ of the most flattering poses with how-to’s and tips for nailing each pose.
8. Step Eight: Relax and Enjoy the Experience
Last but not least, try not to stress too much as you plan your brand photoshoot. Planning a shoot can be overwhelming, especially if you’re going about it for the first time. Take one step at a time, and have fun bringing your brand to life through your new brand photos. These simple steps to plan your first brand photoshoot will set you up for success!
If you want to dig deeper into how to plan a brand photoshoot and create an effective visual marketing strategy, enroll in my online course Brand Shoot Toolkit. You’ll learn how to create visually compelling and strategic content that will resonate deeply with your ideal audience. Translation: more booked clients, increased sales, and less stress! Grab the toolkit here! You’ll unlock my full suite of planning tools (Posing Guide, 100+ Prop Ideas Guide, Wardrobe Guide, the shoot planning template that I use with every single client, and so much more).
Go forth and conquer your brand photoshoot!
READ MORE

+ SHOW comments
Add a comment