Which words best describes your bedroom closet situation: messy and dysfunctional or organized and dreamy? If you begrudgingly answered messy and dysfunctional, I know how you feel! When my husband Hunter and I moved into our current home, our master closet was simply fine. The existing wire shelving gave us some organization, but we knew our closet was not living up to its potential! After a few years of living with our current closet, we decided to install an IKEA PAX wardrobe system. Finally our master closet is organized, functional, and pretty to look at! If you’re in need of a closet makeover, read on for my IKEA PAX Wardrobe ideas and tips on designing your dream closet without breaking the bank.
How We Designed Our IKEA PAX Closet
I get it: designing your dream closet from scratch seems not only daunting, but incredibly expensive! Custom closets can require a professional designer and cost thousands. When Hunter and I decided to finally makeover our closet, I knew right away we’d use IKEA’s PAX system. My parents had them in their previous house, so I already knew I liked how they looked and functioned. Most importantly, the quality is truly great (even though it’s IKEA!).
Our Master Closet Before
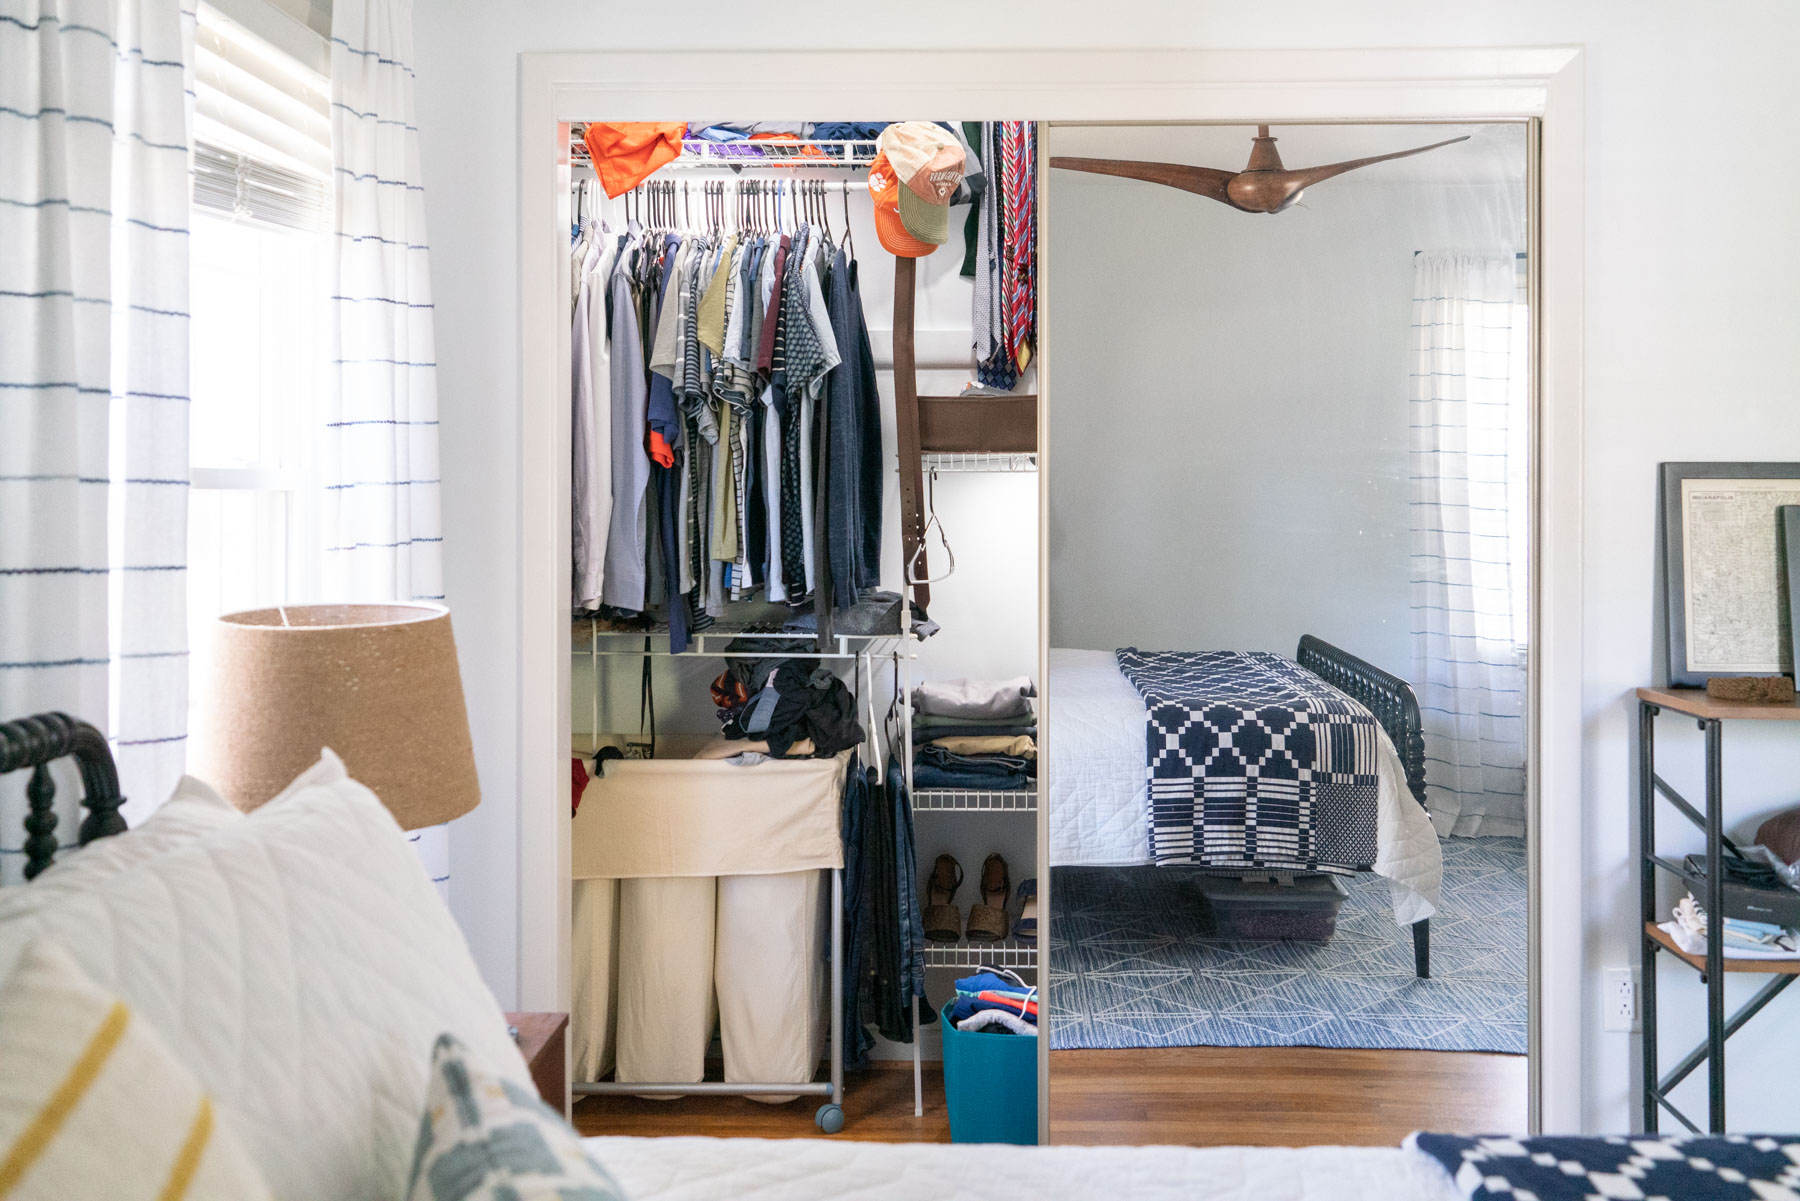
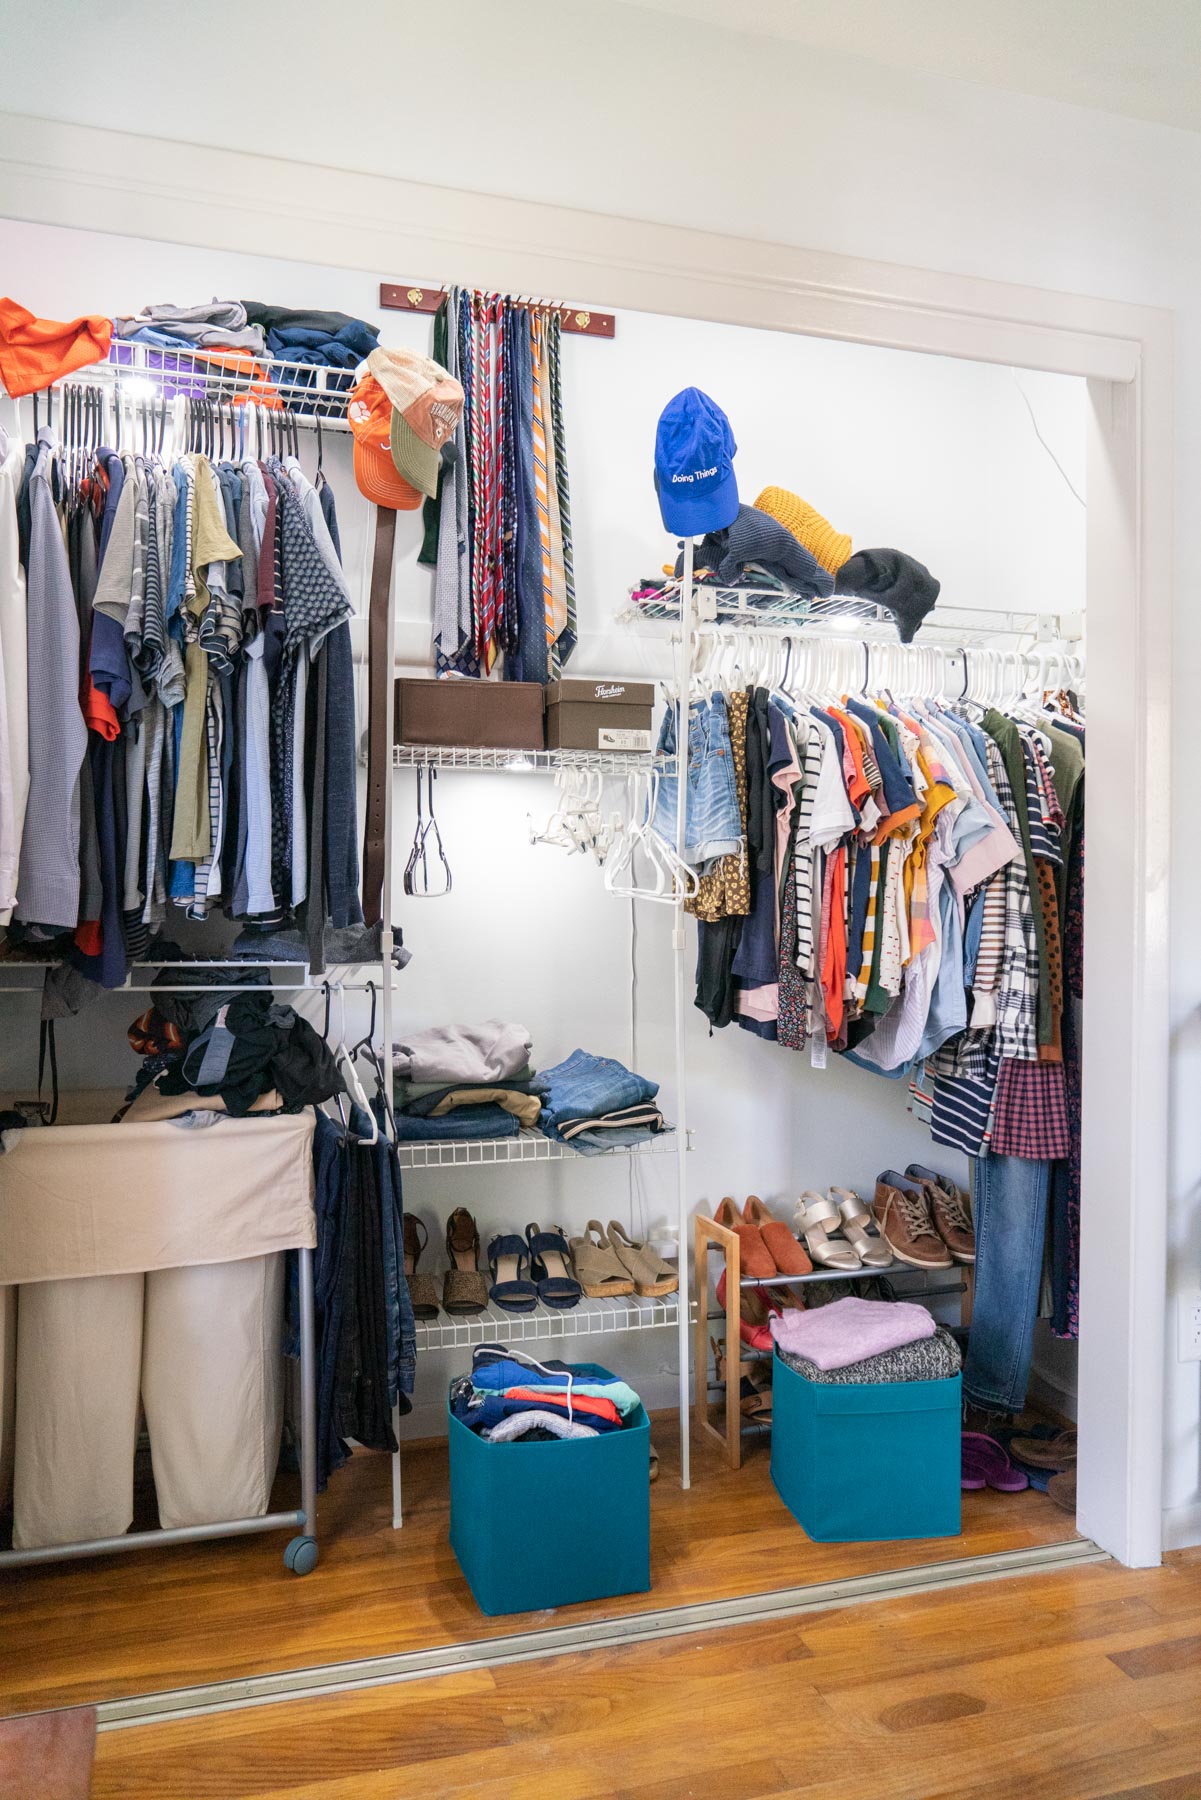
Our Master Closet After
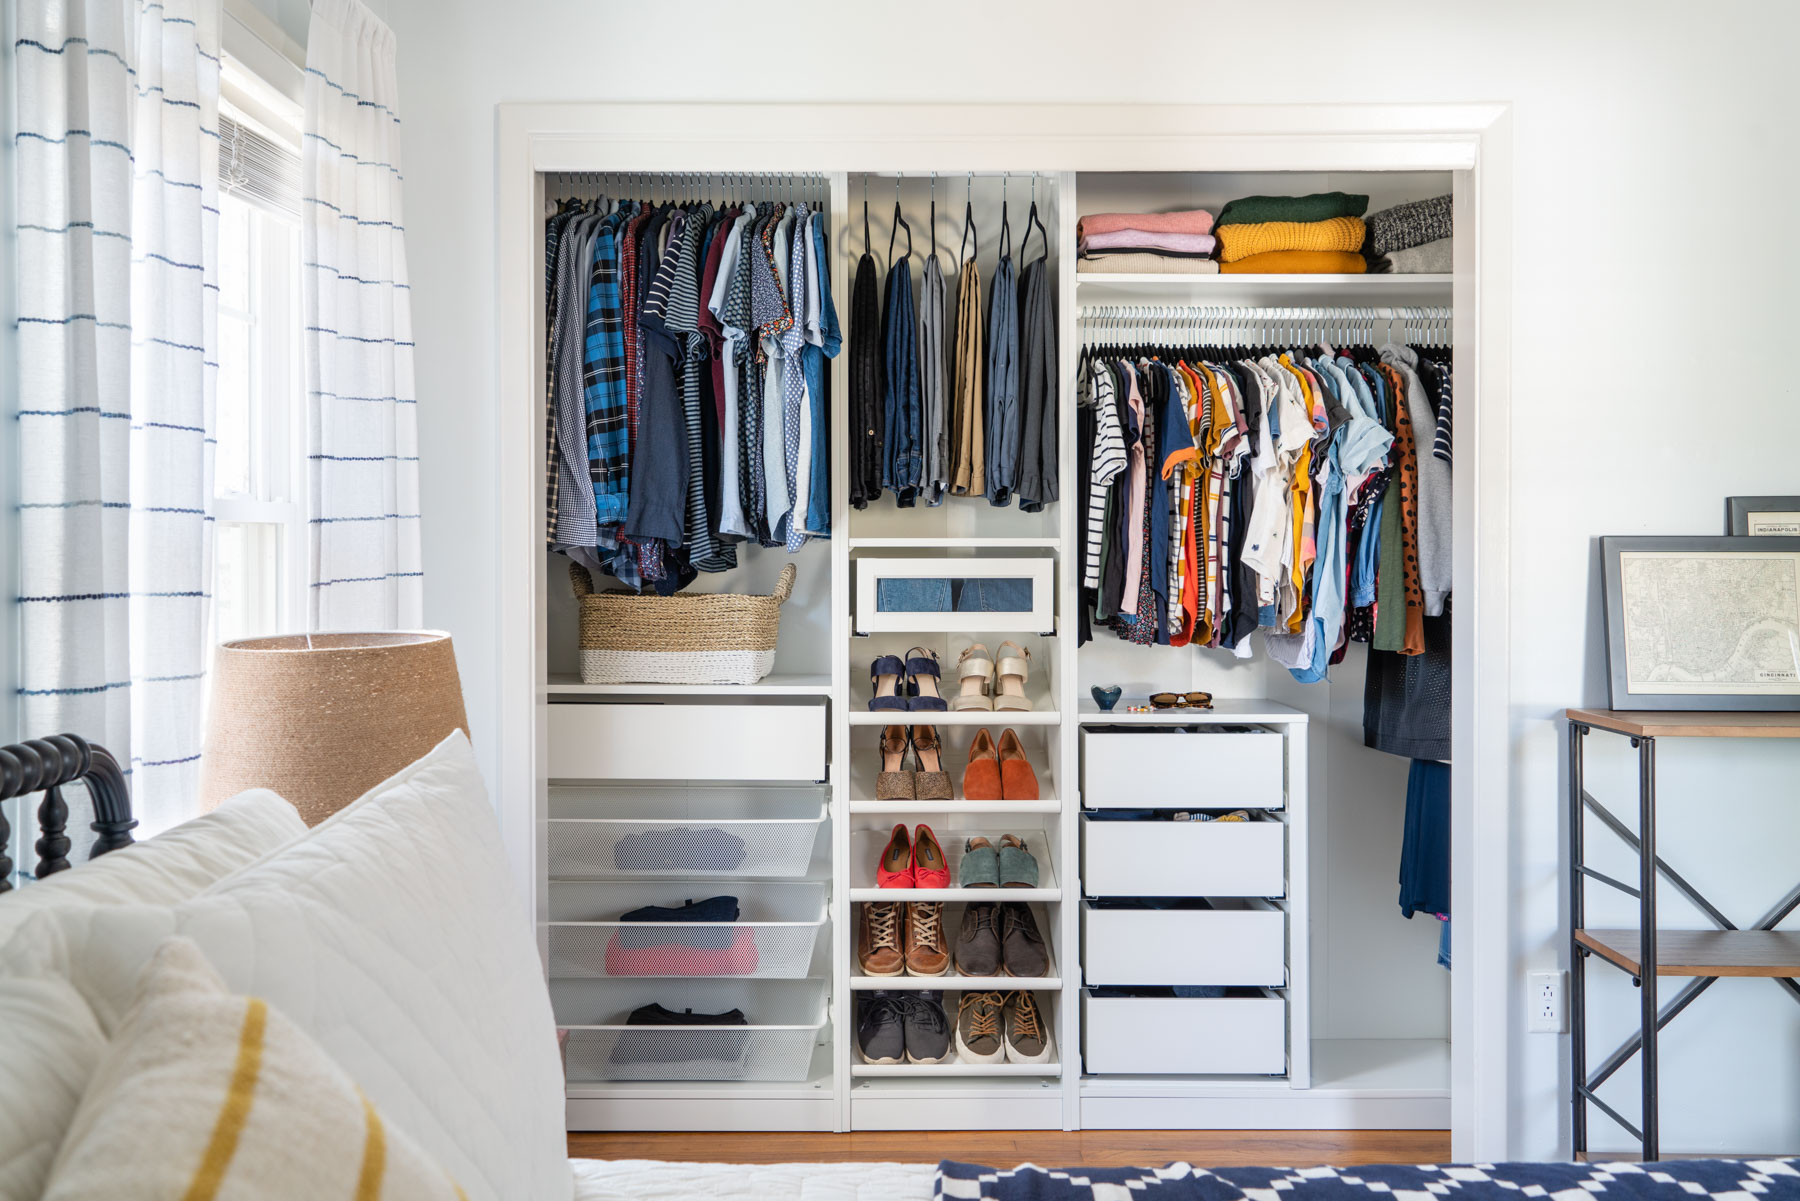
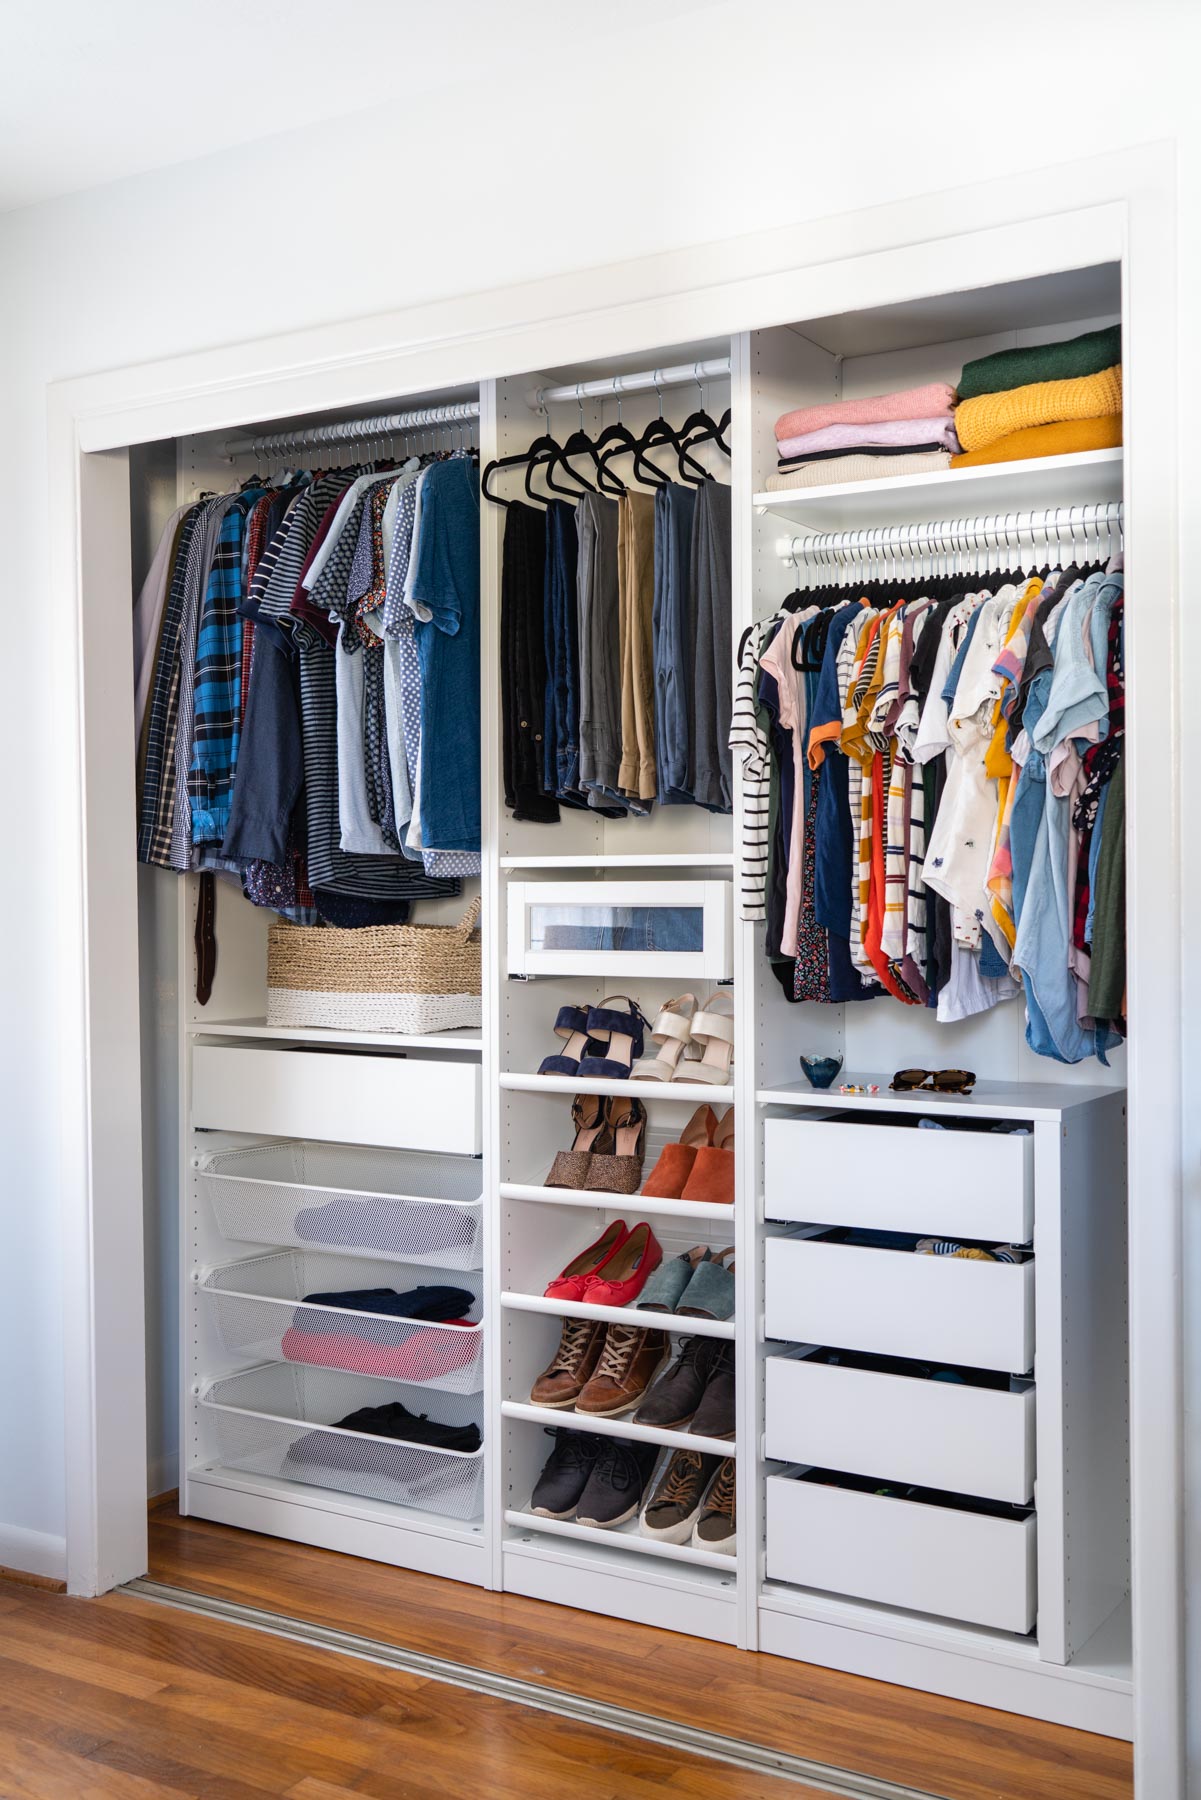

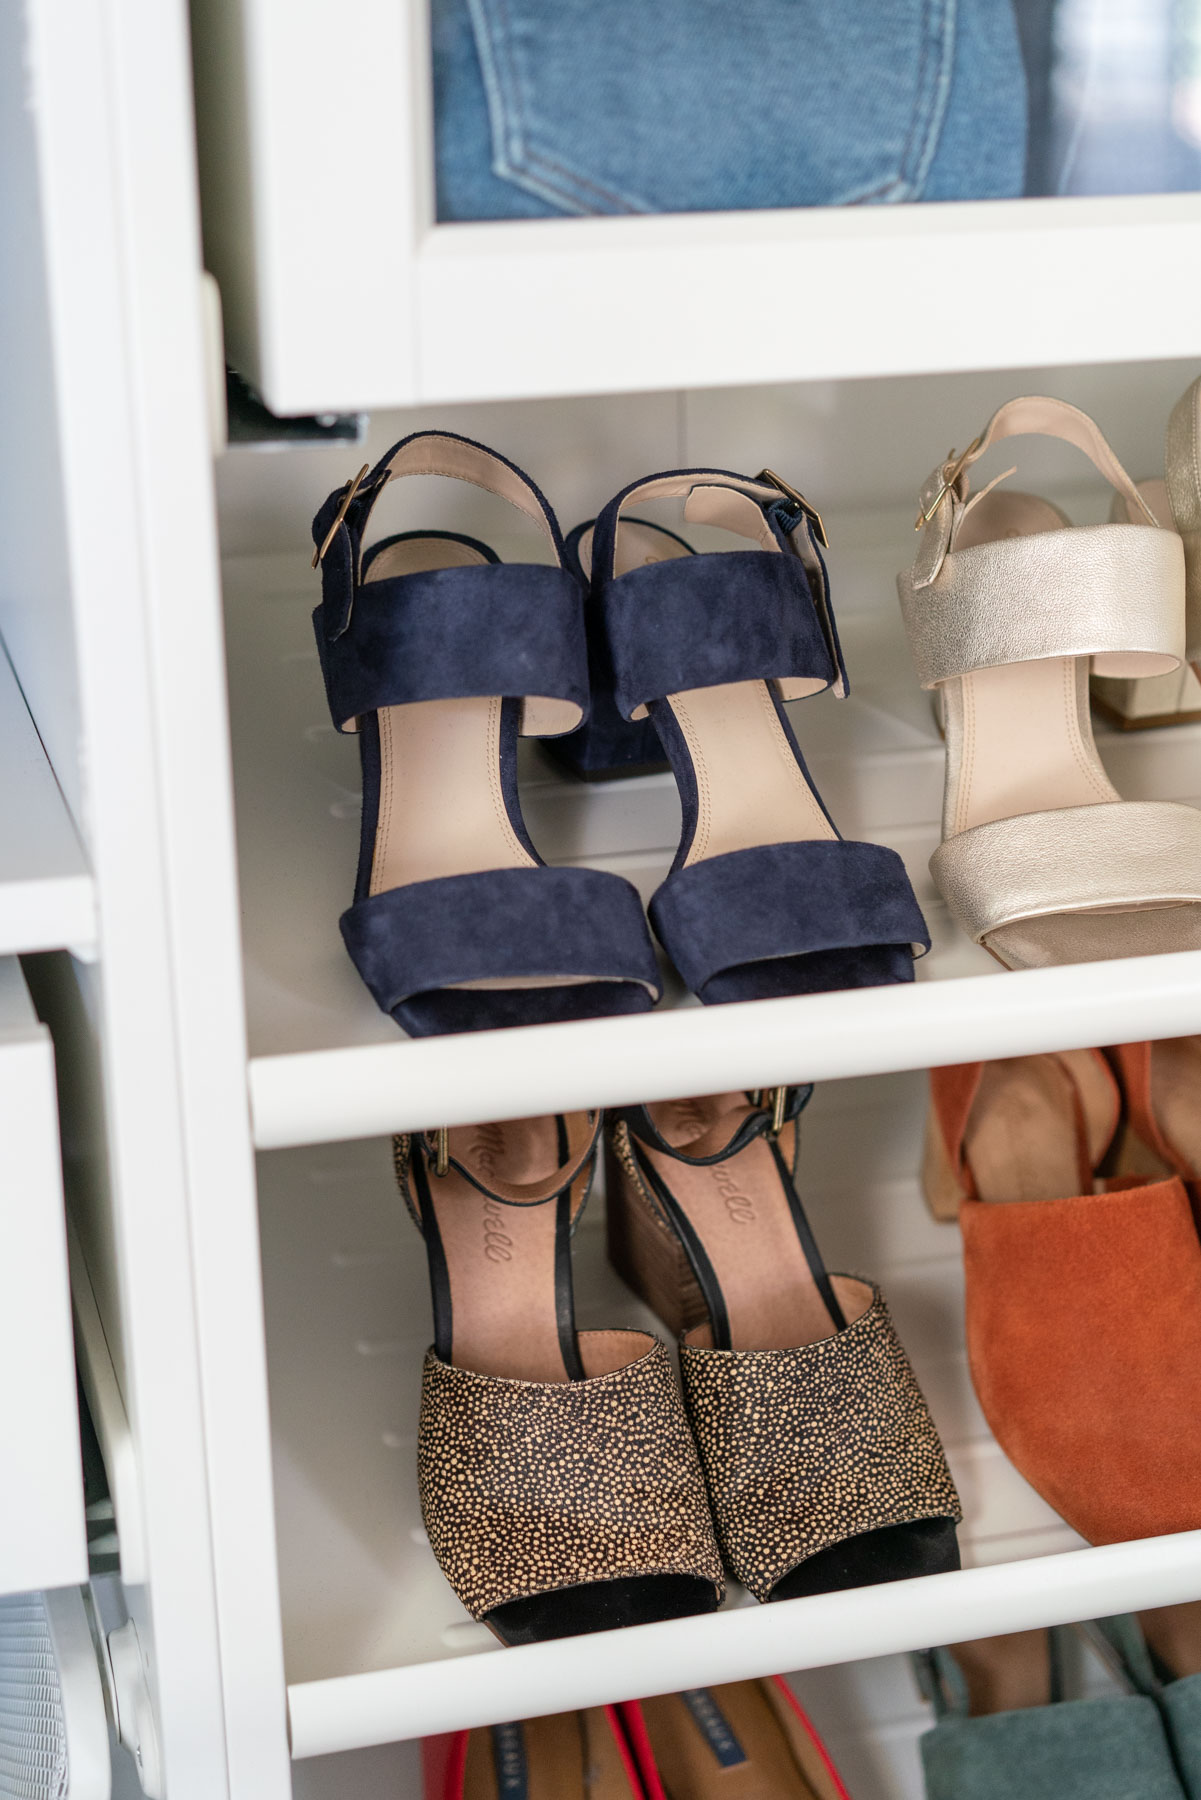
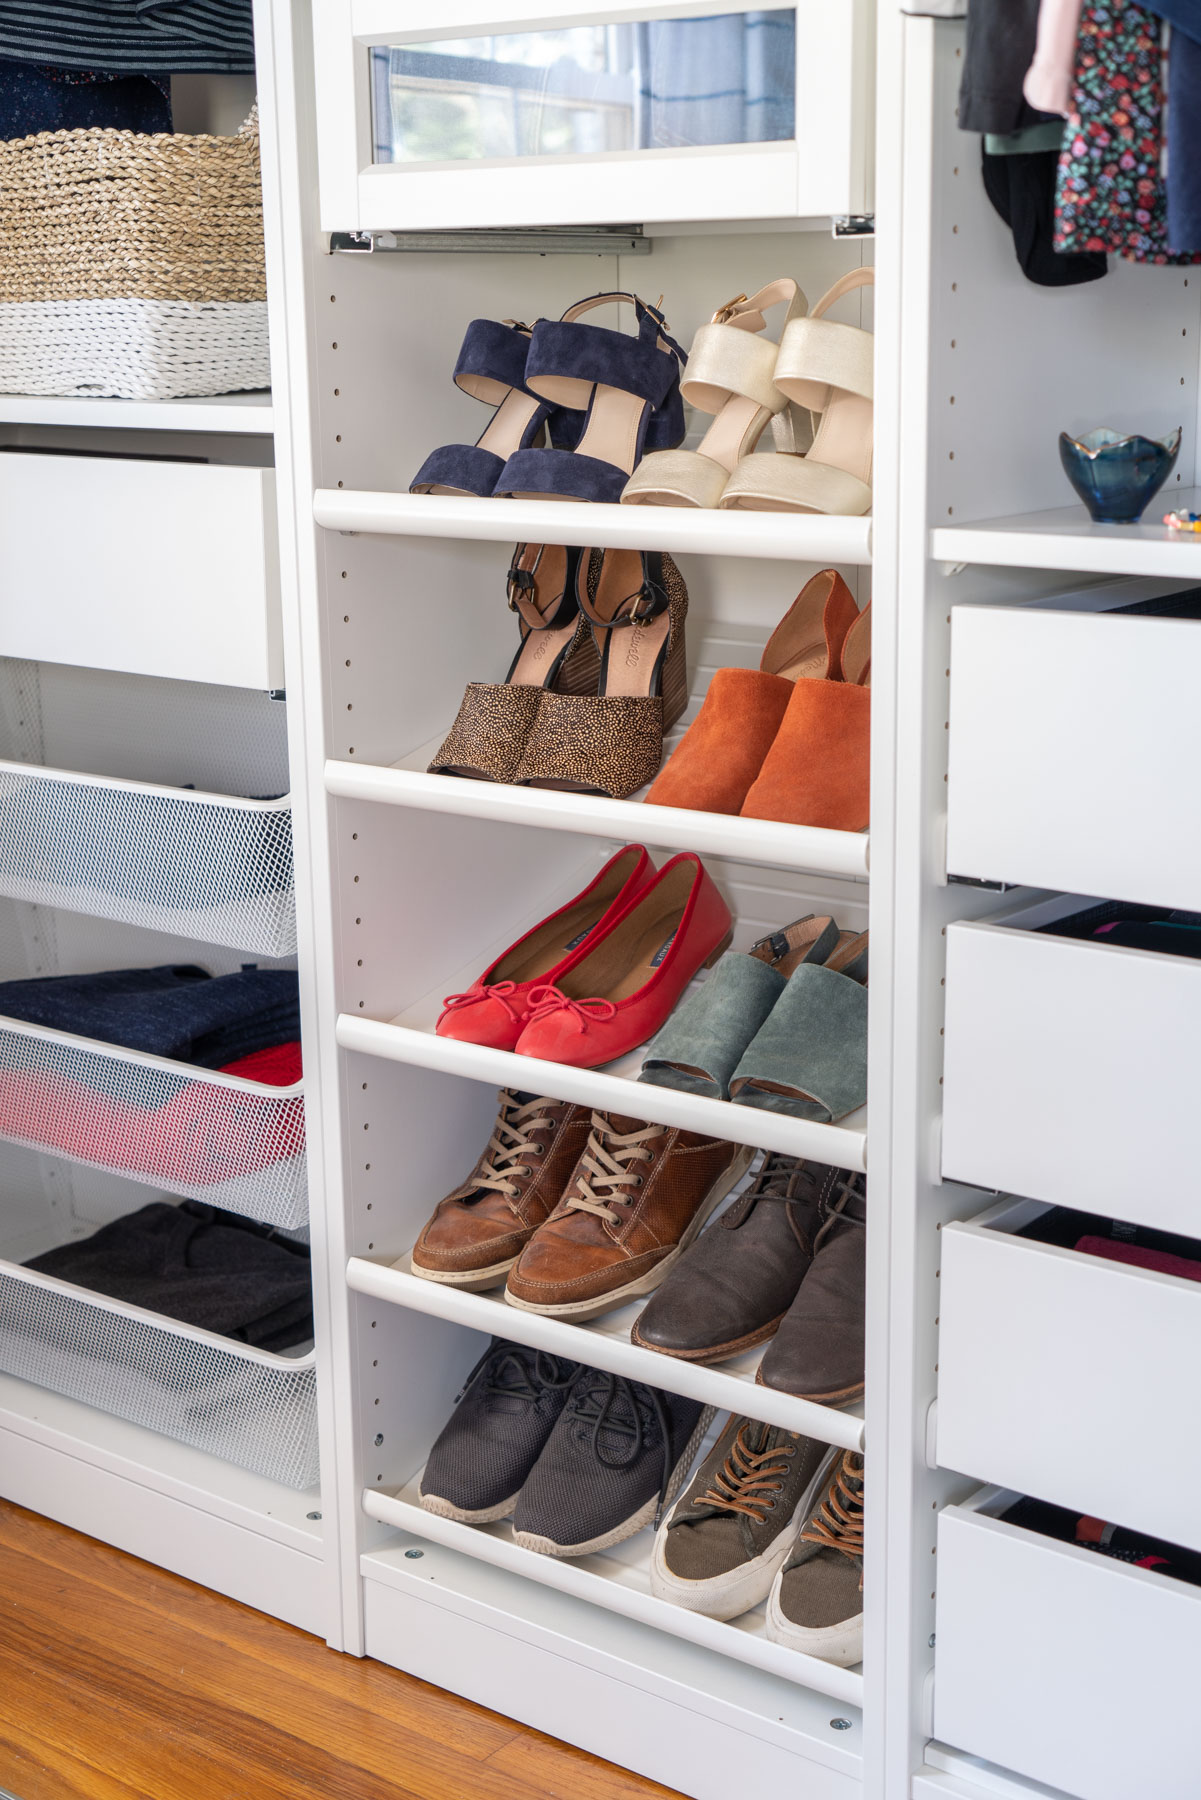


IKEA PAX Wardrobe Ideas & Specs
Before you start designing your own closet with these IKEA PAX wardrobe ideas, you’ll first want to accurately measure your space. IKEA has a helpful online design tool to create your closet and order your pieces straight from your design. Simply plug in your closet measurements and start designing!
IKEA PAX Frames
You’ll start by choosing your frames. They come in two depths: 13 3/4″ and 22 7/8″, as well as three lengths: 19 5/8″, 29 1/2″ and 39 3/8″. Our master closet is 2 feet deep and has 2 sliding doors. Hunter and I knew right away the 22 7/8″ depth frames wouldn’t work if we wanted drawers. We started designing with 13 3/4″ frames, but quickly realized that they don’t technically accommodate the clothes rails.
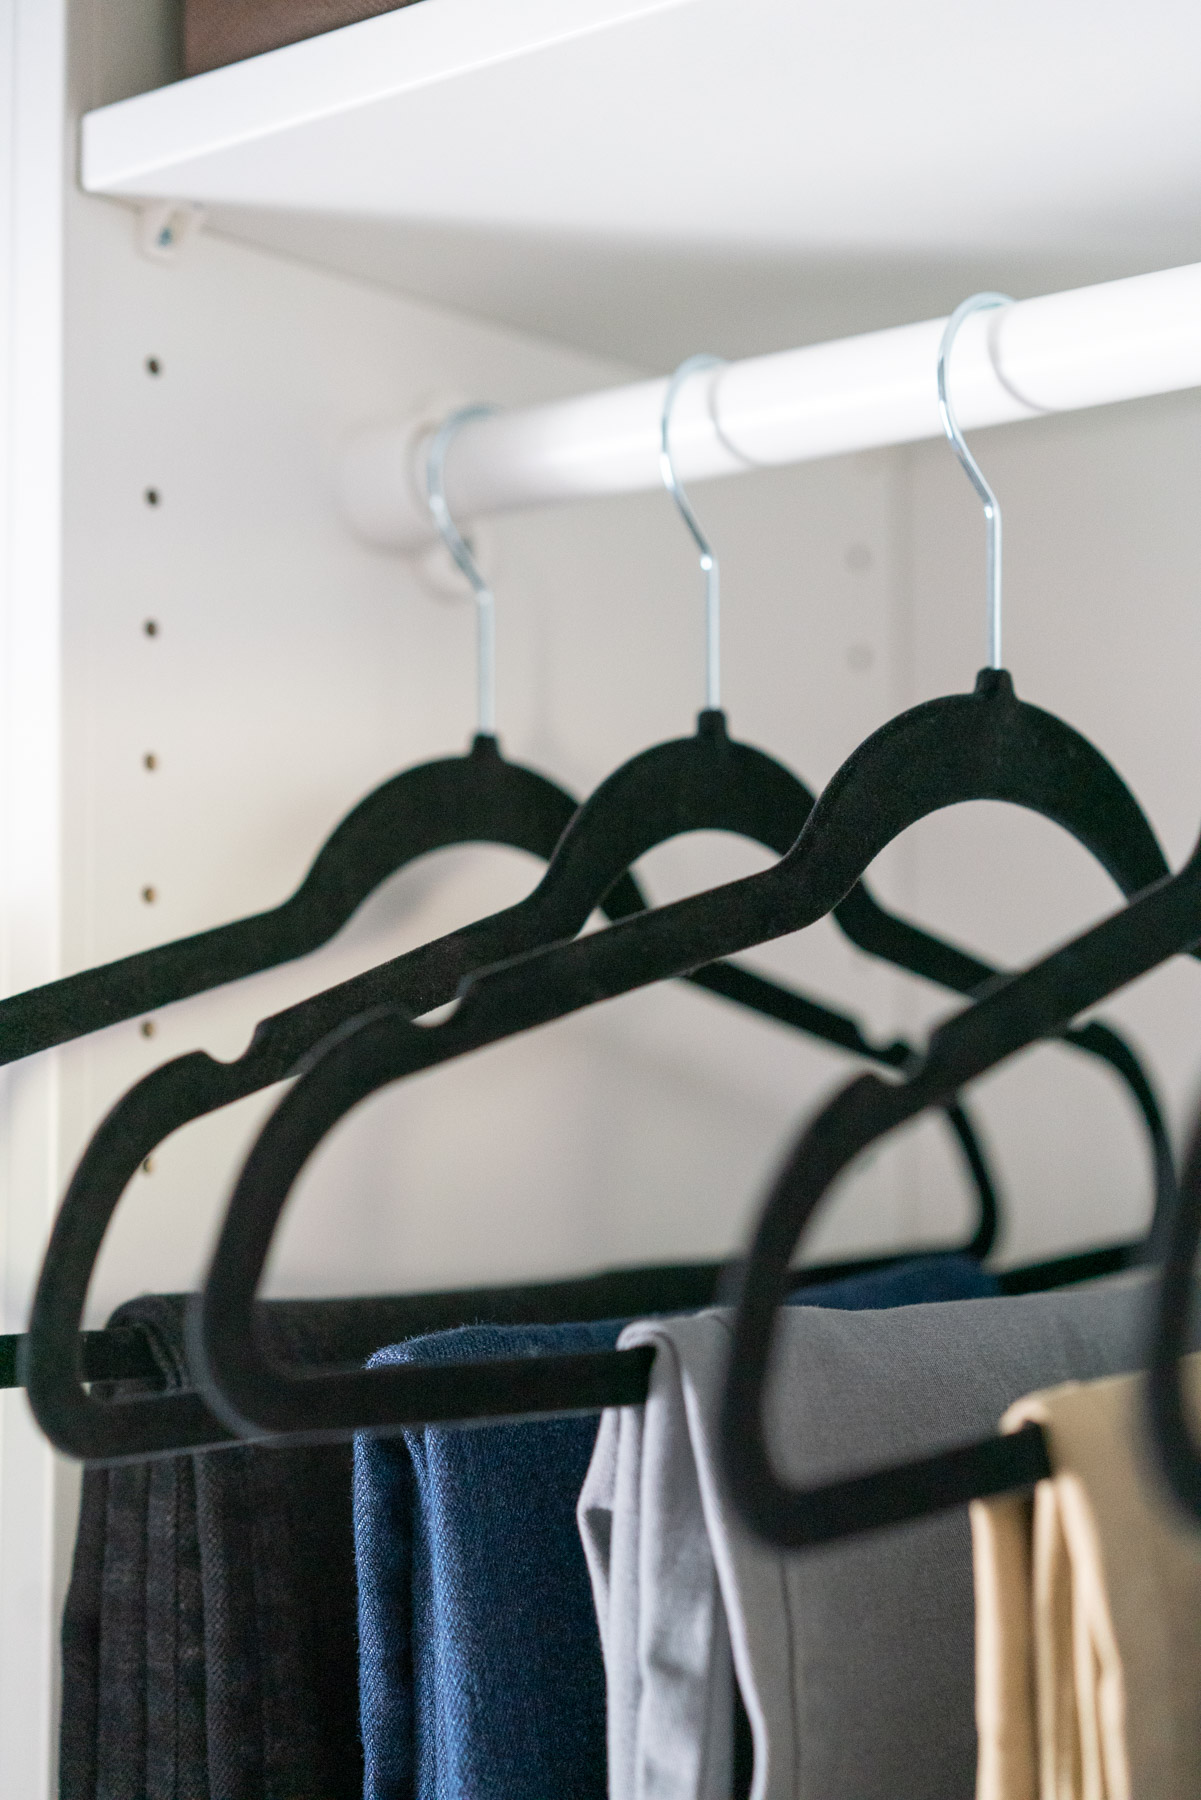
That’s where IKEA hacks come in: we simply drilled our own holes and made it work! Our clothes stick out beyond the frame, but we knew it wouldn’t be a problem with our closet. If you want to see what clothes rails look like in the PAX planner, you’ll have to design it with 22 7/8″ deep frames. Just don’t forget to replace them in your cart with the 13 3/4″ deep frames when you’re ready to order!
IKEA PAX Interior Organizers
Now for the fun part: shelves, drawers, and interior organizers! As you start building your closet, consider your current problem areas and how they can be more functional. Firstly, think about the items you use most and making those front and center. Consider high shelving for out of season pieces. Would a few extra drawers free up space and hide accessories or clothing you don’t need on display? It may be helpful to write out a list of what you need to store. As you design, assign shelves, drawers, and clothes rails to items on your list.
Our IKEA PAX Shopping List
This is the configuration we landed on and our complete shopping list:
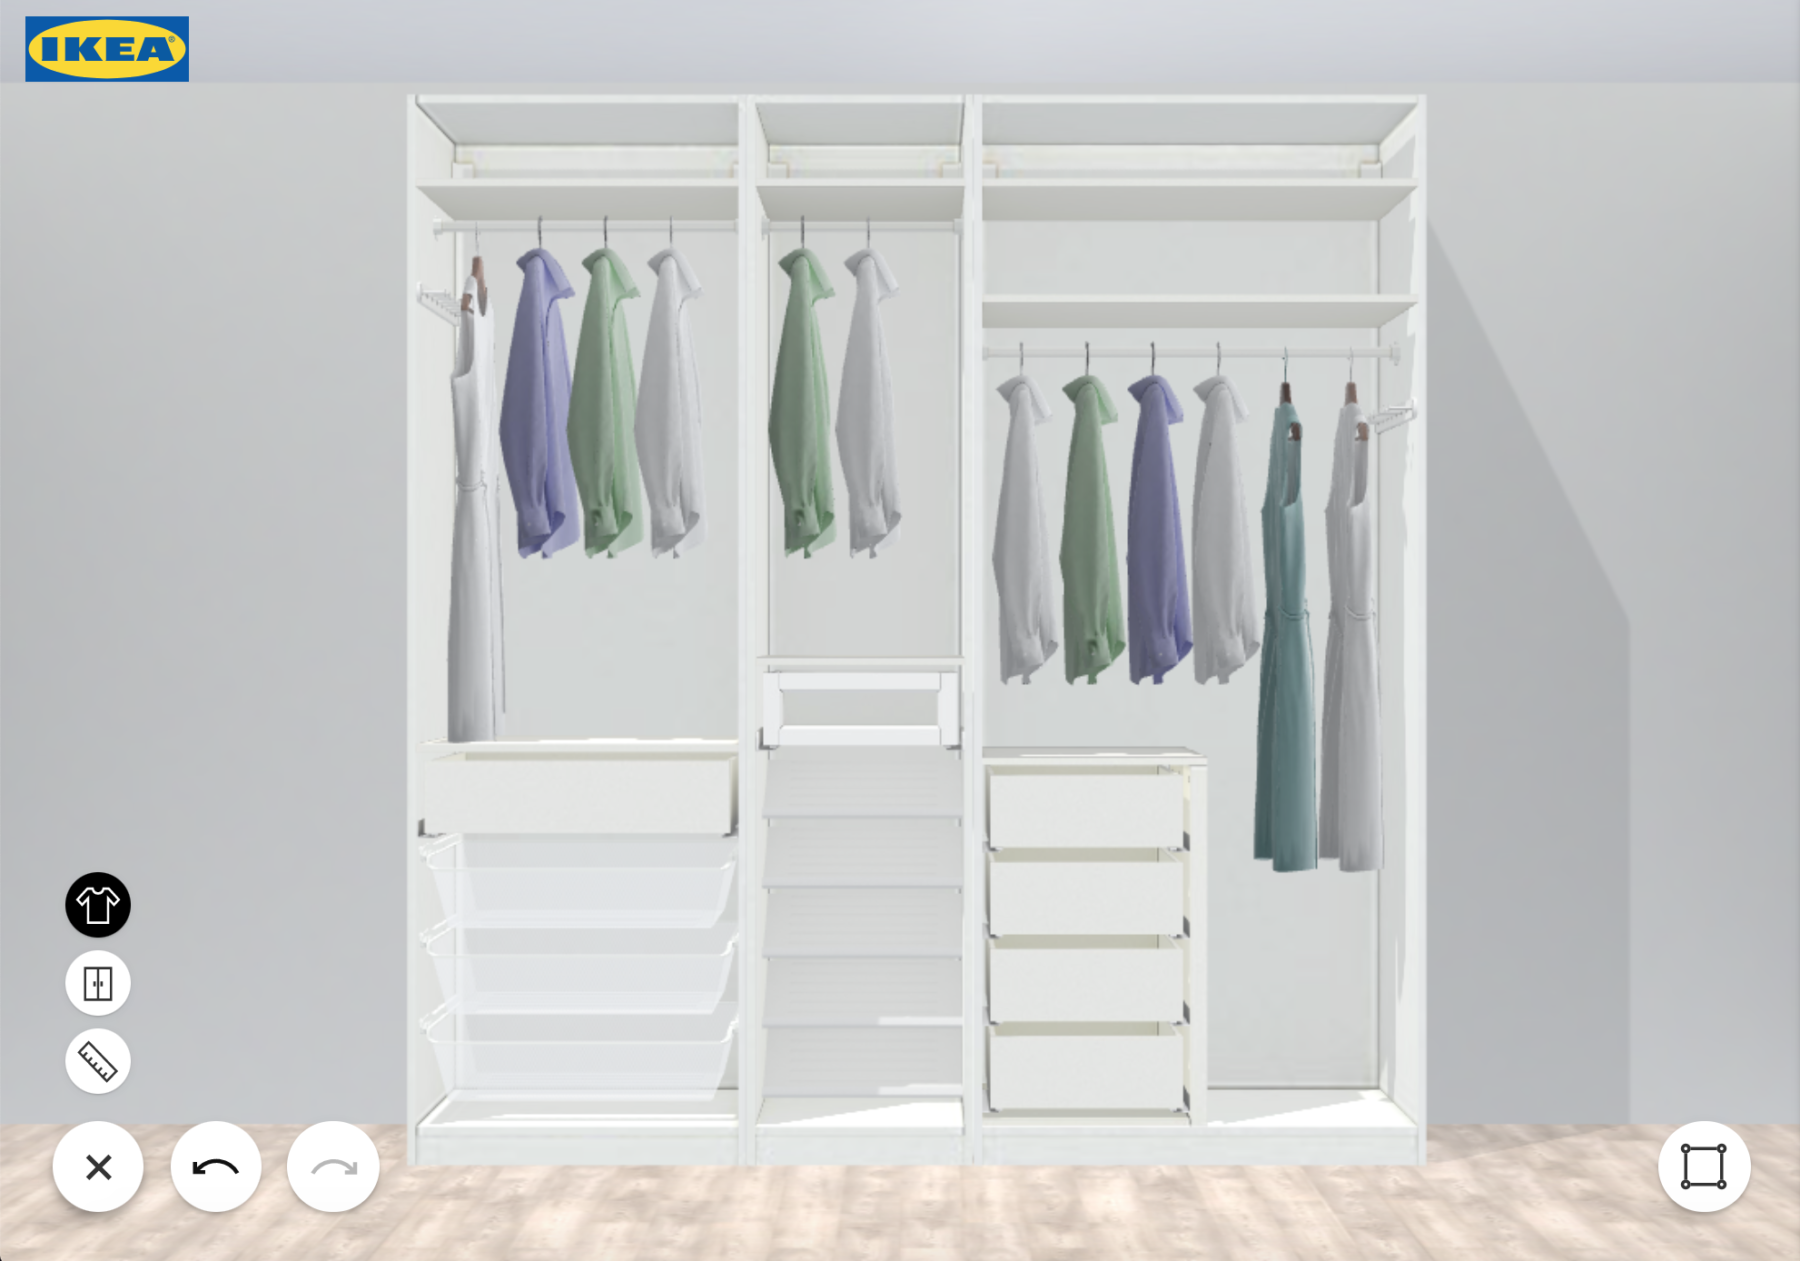
- PAX Wardrobe Frame — (1) 19 5/8×13 3/4×92 7/8 “
- Wardrobe Frame — (1) 29 1/2×13 3/4×92 7/8 “
- Wardrobe Frame — (1) 39 3/8×13 3/4×92 7/8 “
- KOMPLEMENT Divider for Frame — (1) 29 1/2-39 3/8×13 3/4 “
- Clothes Rail – (1) 19 5/8″, (1) 29 1/2″, and (1) 39 3/8″
- Shelf — (2) 19 5/8×13 3/4″, (3) 29 1/2×13 3/4″, (2) 39 3/8×13 3/4″
- Drawer — (4) 19 5/8×13 3/4″, (1) 39 3/8×13 3/4″
- Glass-Front Drawer — (1) 19 5/8×13 3/4″
- Shoe Shelf — (5) 19 5/8×13 3/4″
- Mesh Basket (we use these for laundry!) — (3) 29 1/2×13 3/4″
- Pull-Out Multi-Use Hanger — (2) 13 3/4″
The total price of our IKEA PAX system was $810.00 before tax and delivery. Not bad for a completely custom closet!
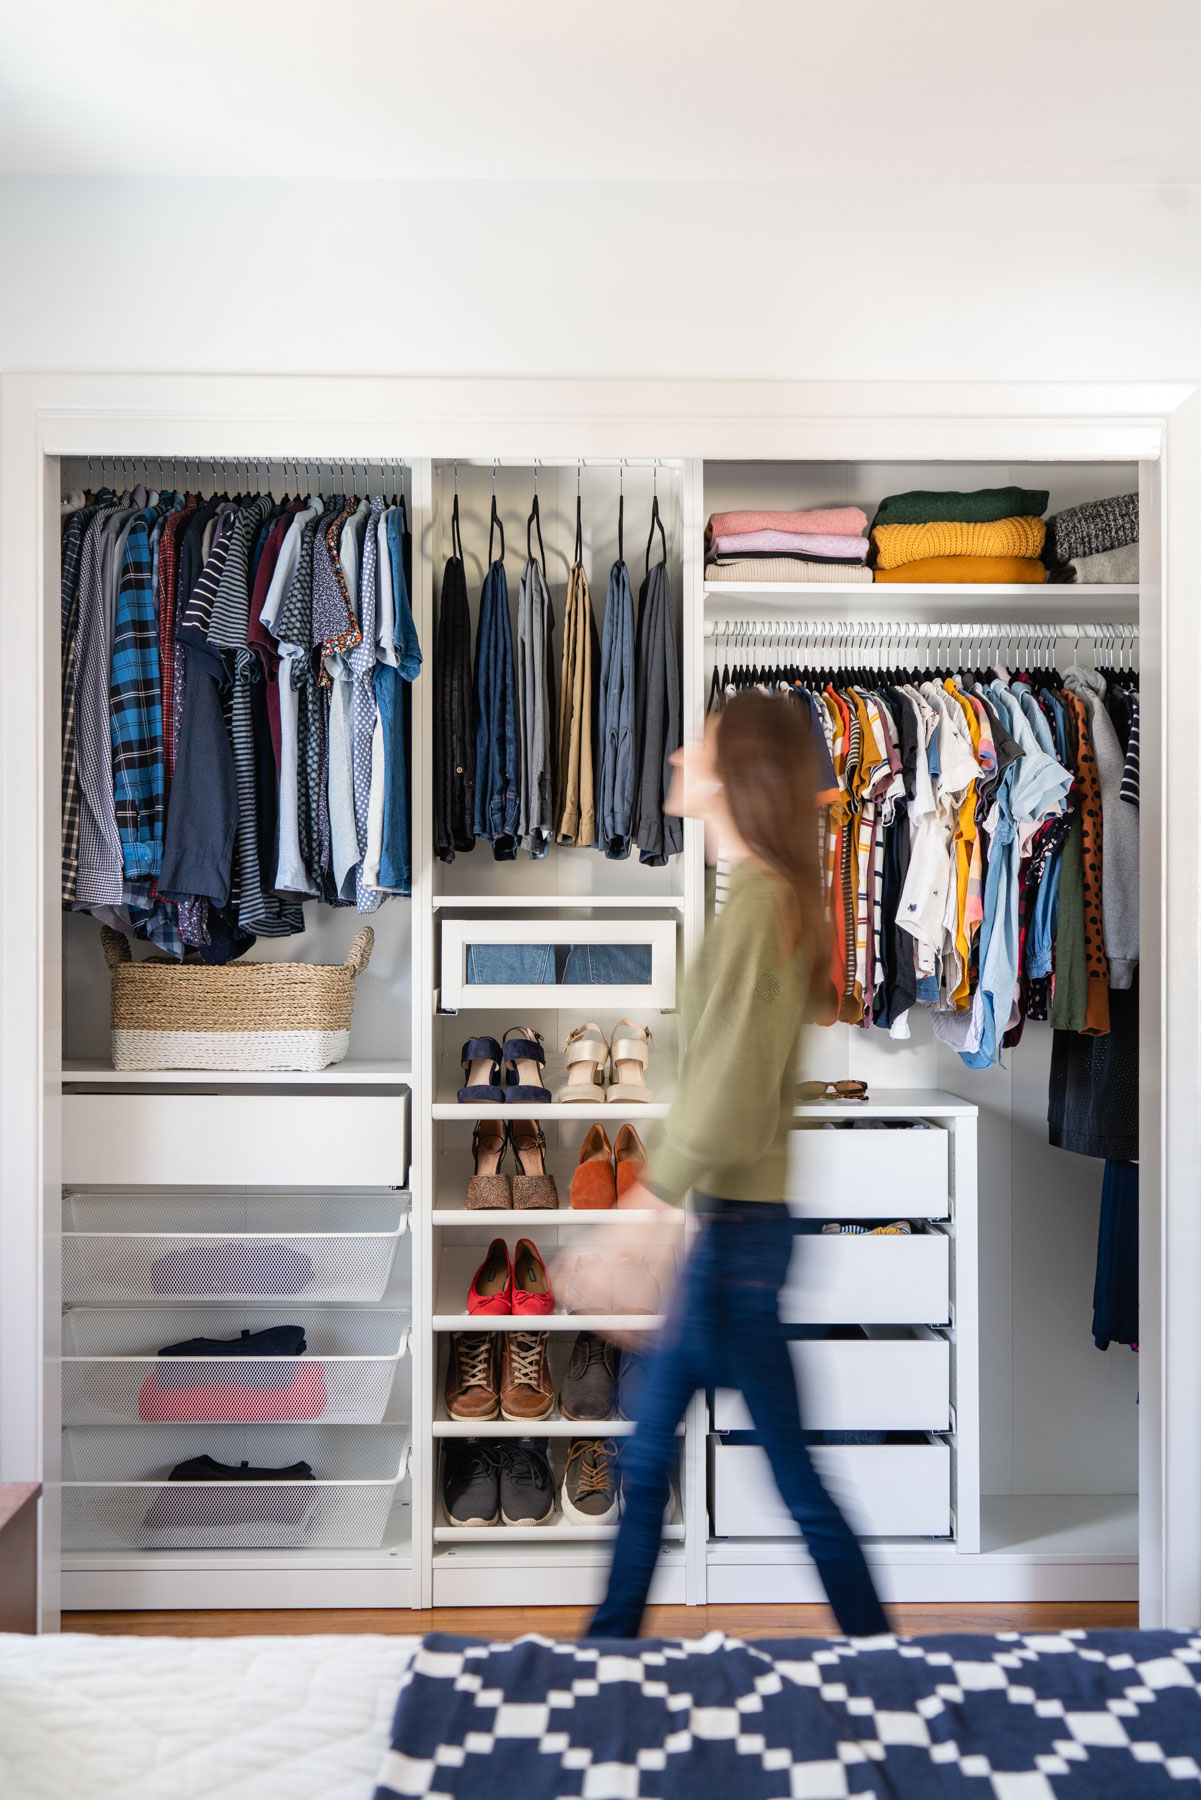
Installing our IKEA PAX Closet
Everyone knows the headache of putting together IKEA furniture! Despite this, the PAX system was actually one of the easier pieces I’ve constructed. One major hurdle we had to figure out was delivery. Most of our items were unavailable for delivery to Charleston, so we ended up shipping the pieces to my parents’ in Atlanta. You may have to pick up from your nearest store or deliver to a willing friend or family member if you live outside delivery ranges. It was a bit humorous packing our SUV with 27 IKEA boxes, but they all fit and we got them home safely!
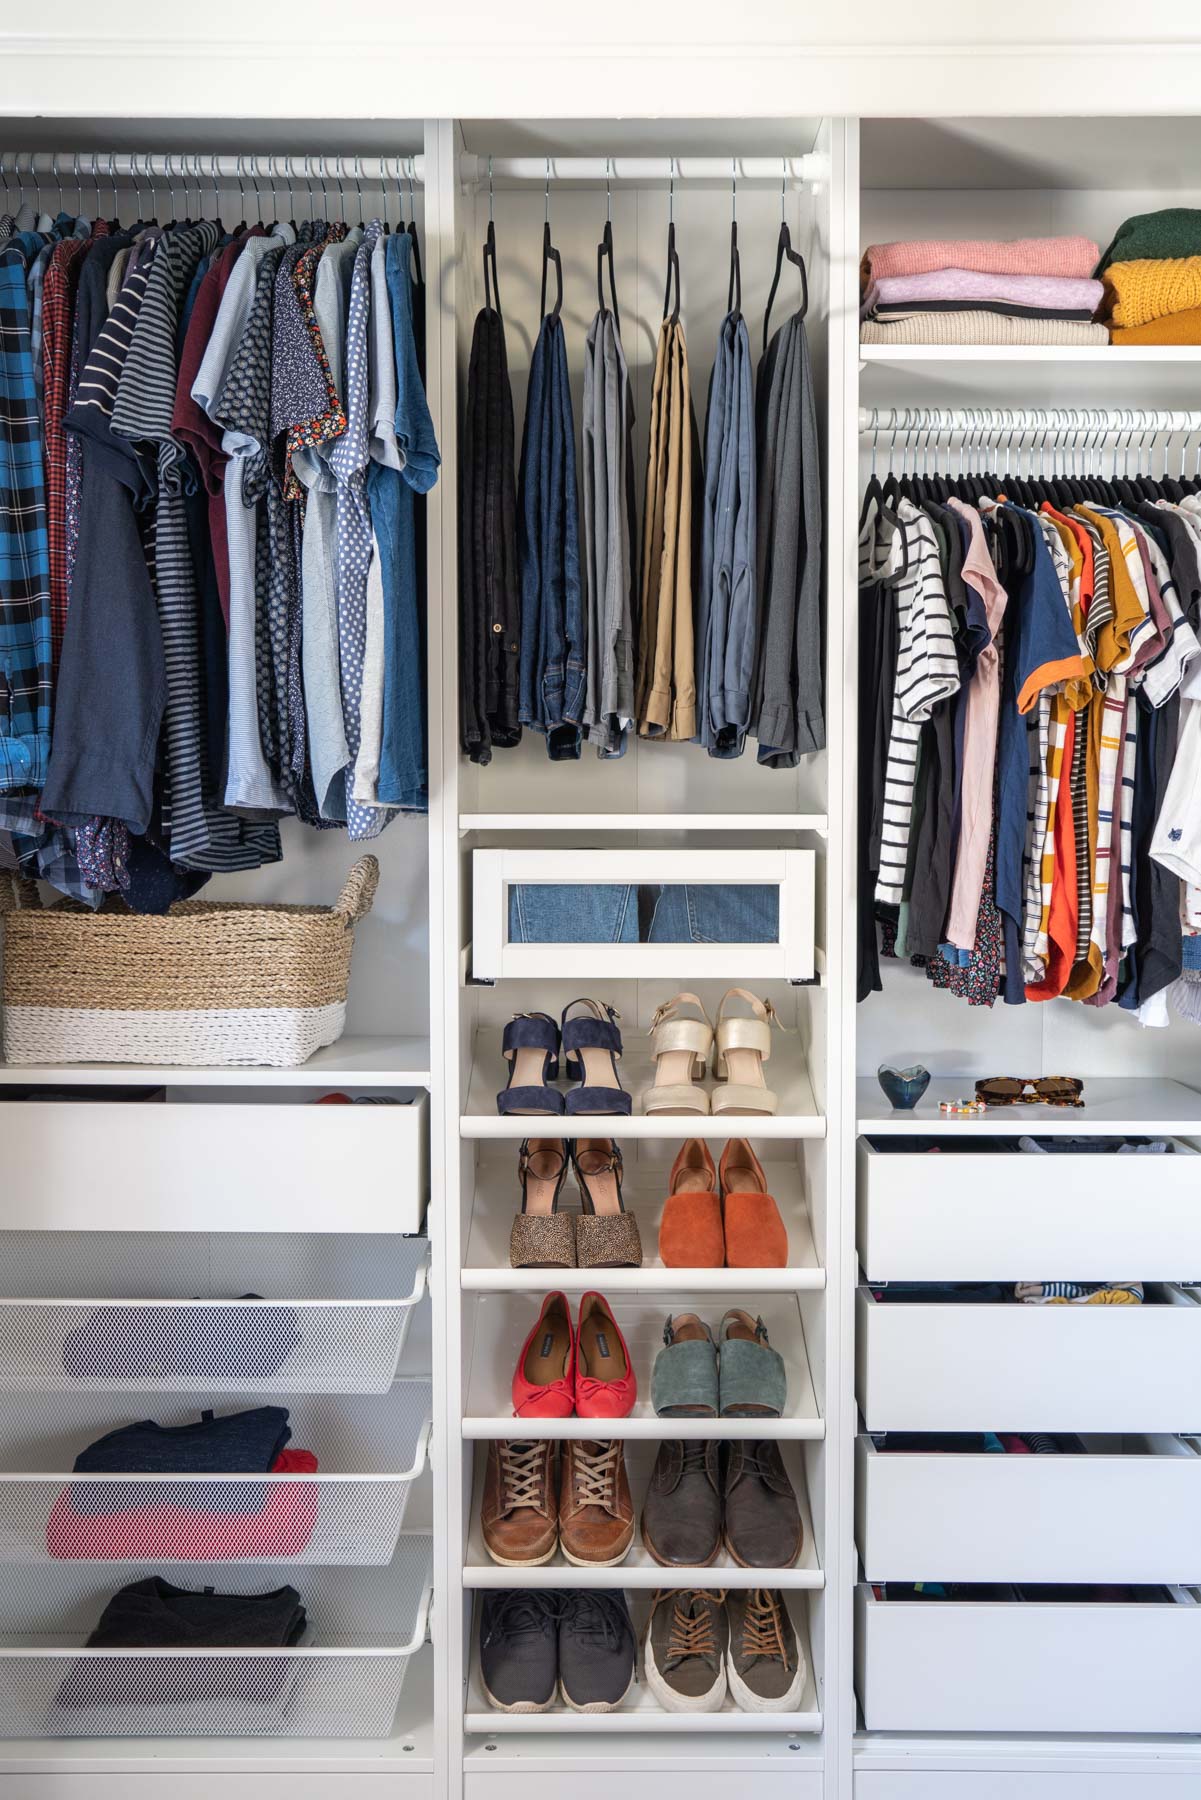
Not surprisingly, constructing and installing your IKEA PAX system is definitely a two-person job (head to my Instagram here to watch a reel of how we installed our PAX). The frame boxes are heavy. Hunter and I had only one hiccup in the entire process. One of the frame backings was a tad misaligned out of the box and I ended up hammering a nail through the back and chipping the side of the frame. Not a big deal since a shelf covers it! My only advice for installing IKEA furniture is to double check the instructions as you go and take your time to avoid accidents like these.
After the frames were in, we installed all of the interior organizers. First, we inserted the frame divider on my side of the closet. I love this piece because it gives you extra storage space but still allows longer pieces like dresses and overalls to hang.
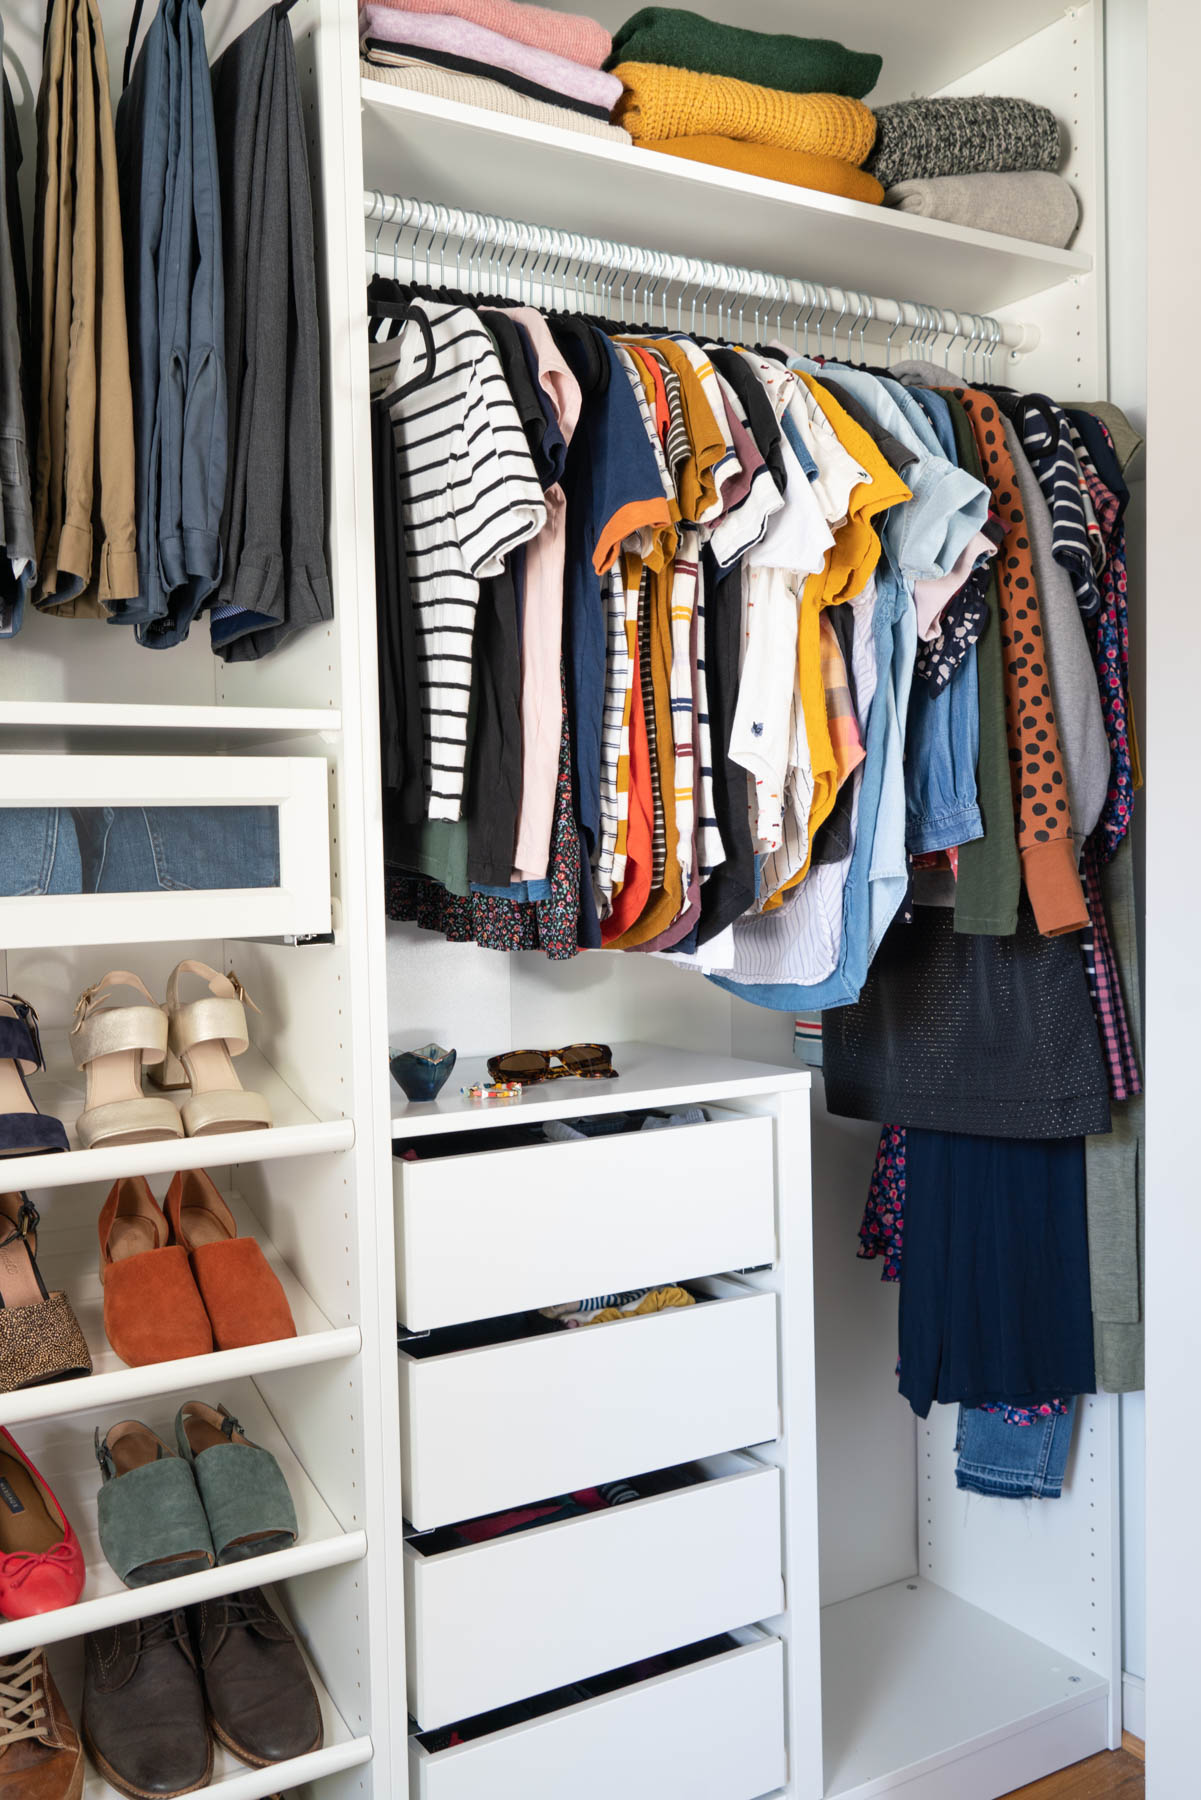
Next, we installed the clothes rails. Like I mentioned, technically the clothes rails only “fit” according to IKEA with 22 7/8″ depth frames. This is so the full length of a hanger will match the depth of the frame. We didn’t mind that our hangers would stick out past our 13 3/4″ frames, so we did an IKEA hack! We first held up the rail with a few clothing items to determine the best height. Then, we screwed the rail a couple of inches back from the pre-made holes. Easy!
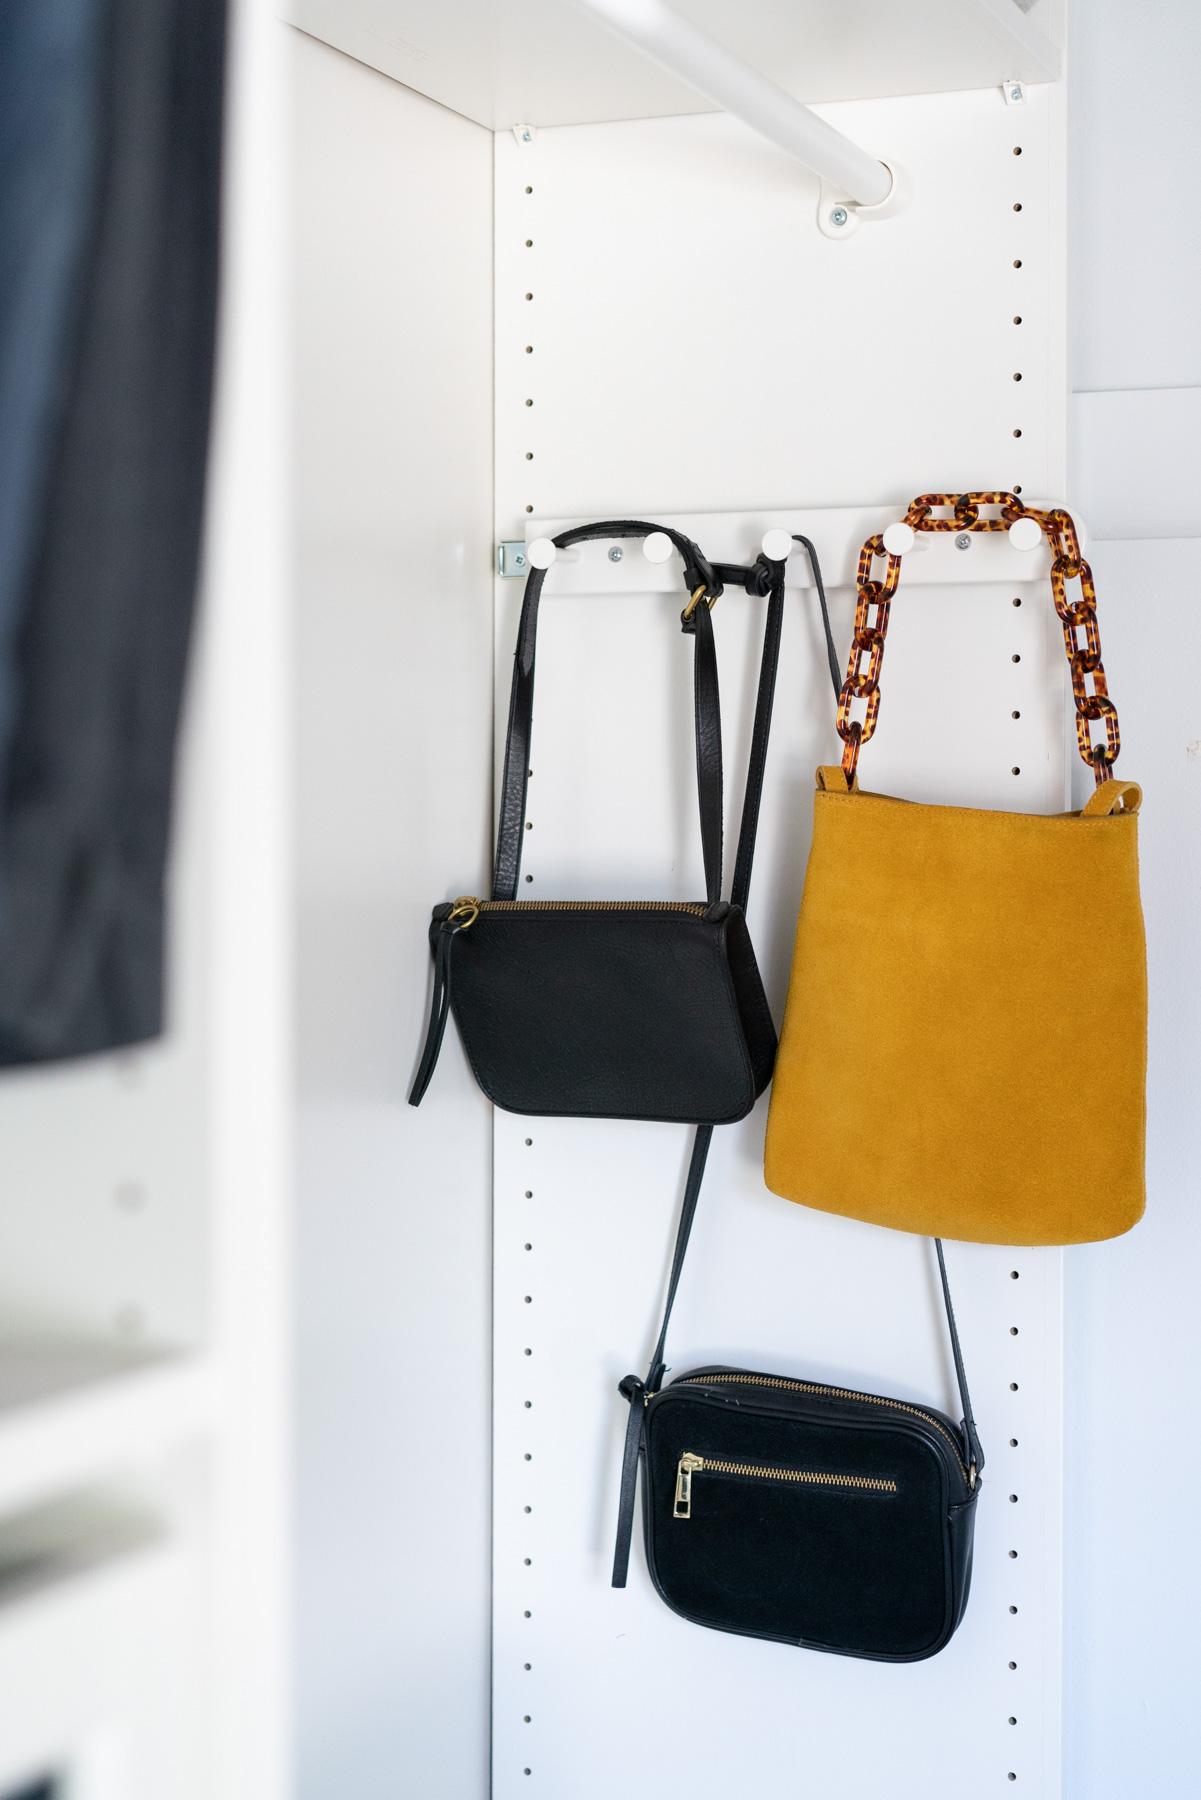
After the clothes rails, we installed drawers, shelves, and shoe racks, which were all easy to place in the frames. We also added a Pull-Out Multi-Use Hanger on both ends of our closet. I hang purses on mine, and Hunter hangs belts and ties on his.

Design Your Dream Closet
Our IKEA PAX closet makeover proves that you can design your dream closet on a budget! Unlike other custom closet systems Hunter and I researched, you’ll get the perfect mix of affordability, quality, and customization. I hope these IKEA PAX wardrobe ideas have given you the inspiration to design the most organized, functional, and beautiful closet of your life! Above all, you’ll get ready every morning with more peace of mind and accessibility to the clothing items you love. For more inspiring organization projects, head to my Garage Makeover and How to Organize Your Pantry posts.
Get the Look
READ NEXT


Hello,
For the Komplement divider for frame, I noticed they only sell it in the 22 7/8″ width, not in the 13 3/4″. So did you ended up cutting it down to fit?
On the cloth rail hack, any issues with the weight it could support? Did you just used the rail from IKEA and just attached it at a different place?
Hi! It looks like they still sell the frames in 13 3/4″. Try this link: https://www.ikea.com/us/en/p/pax-wall-mounted-storage-frame-w-rail-white-00588161/. When you search PAX frames, you can filter based on the depth. We haven’t had any issues with weight and we did use the IKEA rails and drilled our own holes. Clothes on hangers stick out a bit past the frame, but it’s not a problem with our set up!
Did you had to assemble your unit standing up inside the closet or were you able to do it outside on the floor and then stand it up/slide it into the closet. I asked because that sliding closet door opening looks like is 80″ high, with a cover strip up front that is about 4″, so you really have about 76″ there. I have the same set up and a bit concern about the ability to get the closet in from the outside. My closet depth is also 25″, and ceiling height inside 96″.
We were able to assemble the units outside on the floor and then slide them up. It is definitely a two person job and you also need enough space in front of the closet to maneuver them around before sliding them into the closet. We took the doors off while we assembled so that helped, too!