


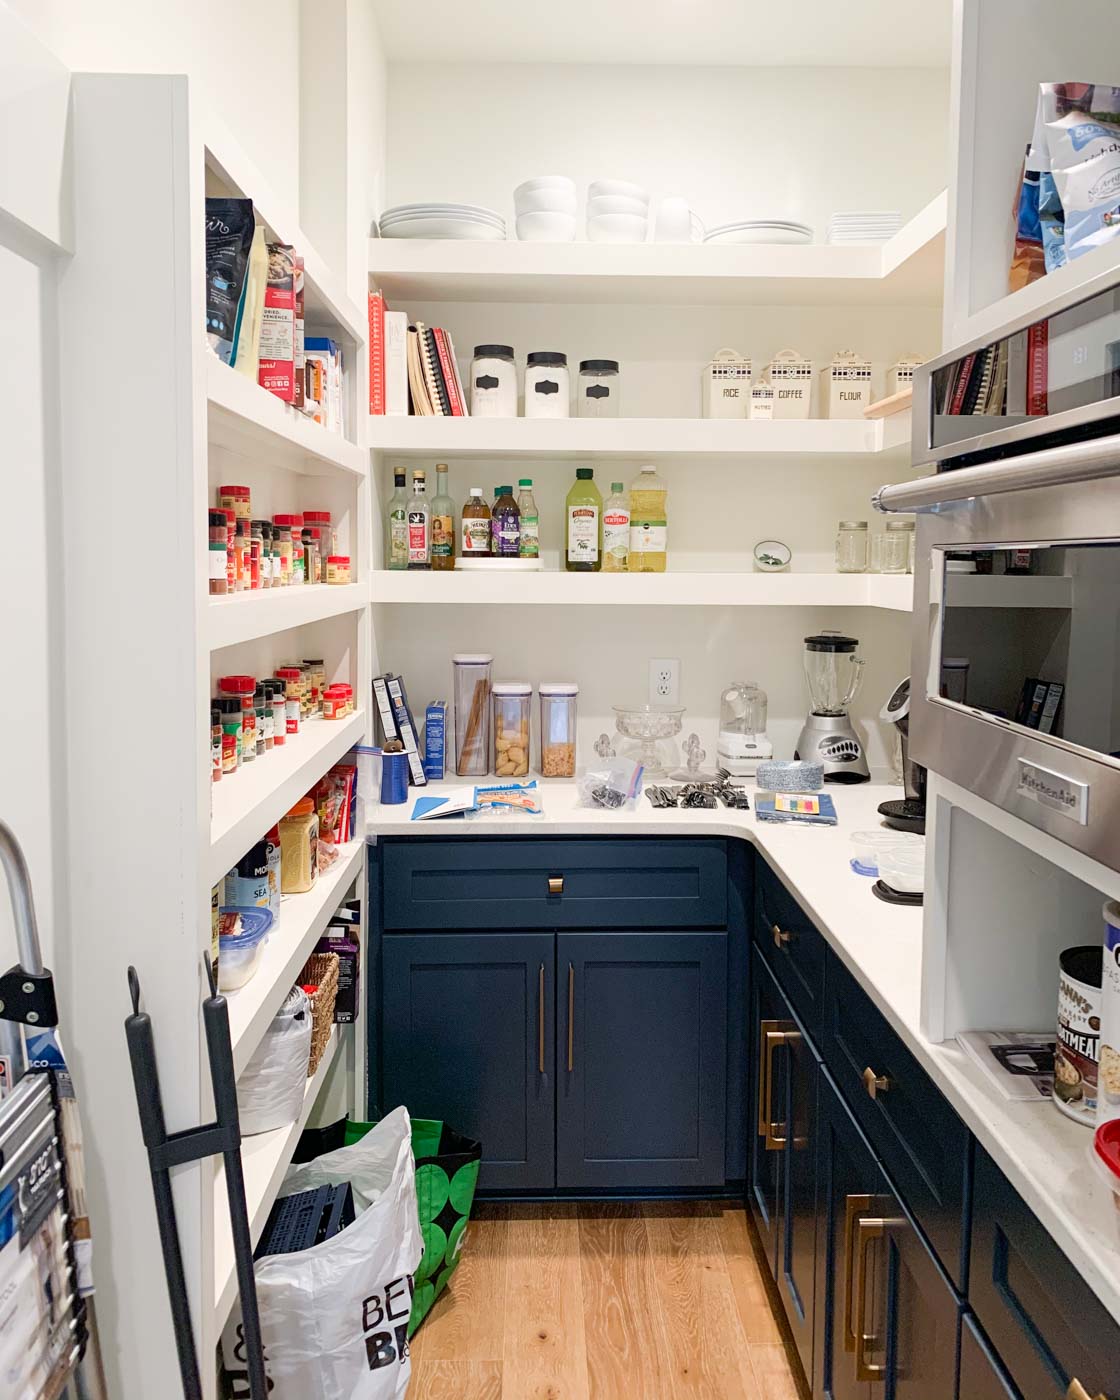
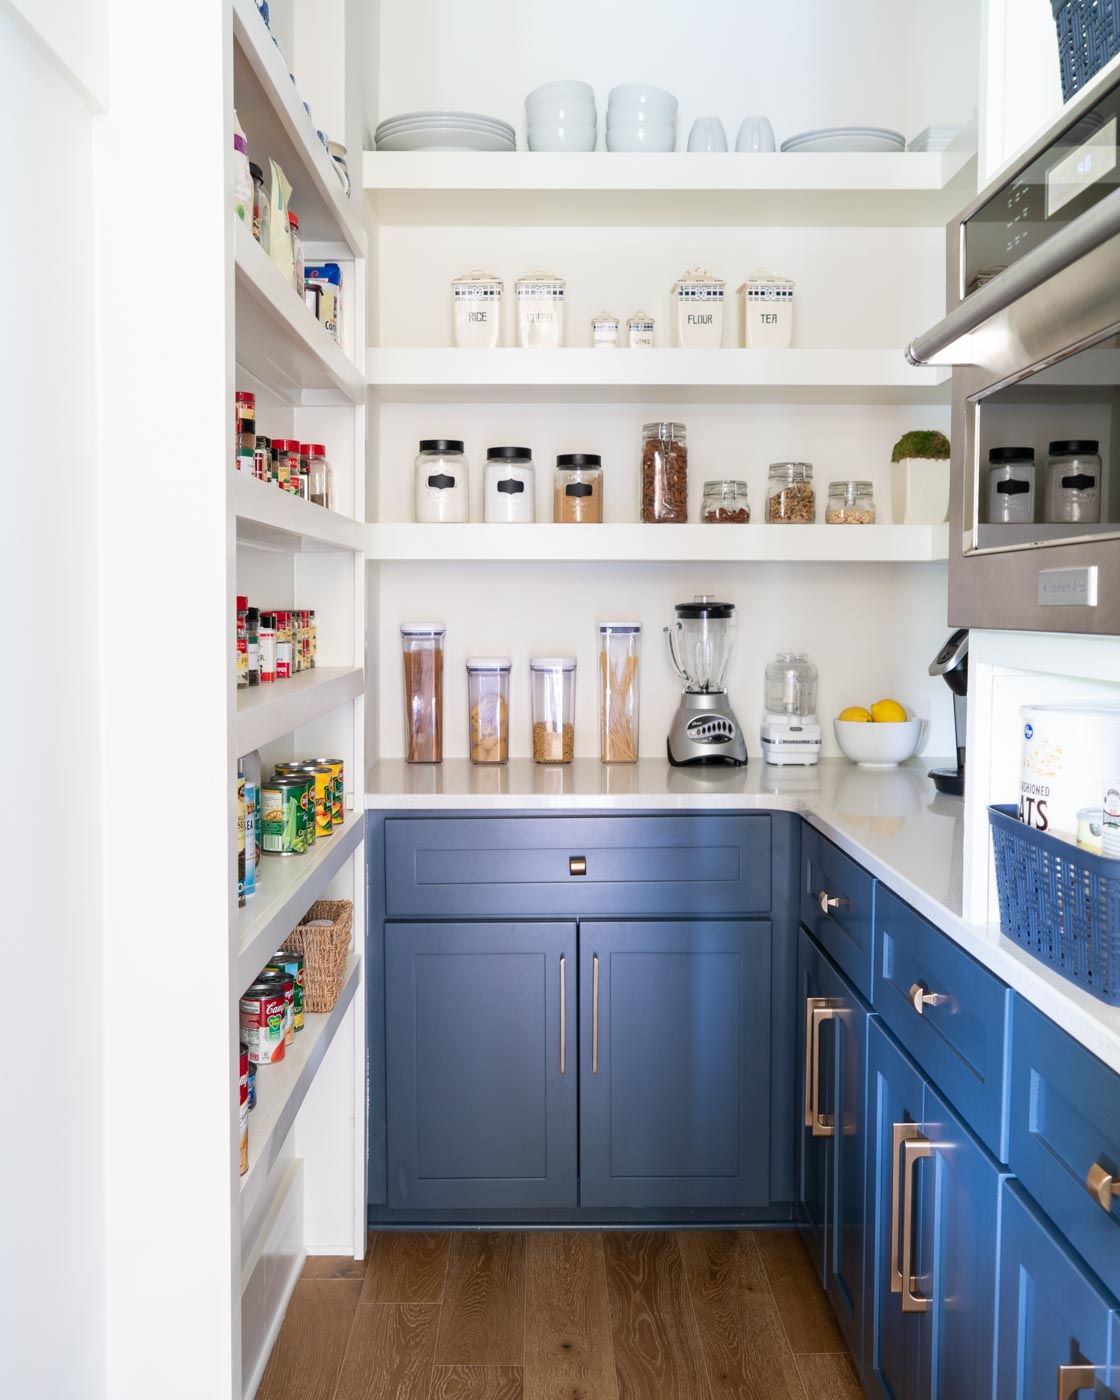
One of my favorite places to have organized in my home is my kitchen pantry. There is something so satisfying about opening my cabinets and seeing my favorite snacks and ingredients neatly lined up and ready to be eaten. While the pantry looks so pleasing when it’s neat and tidy, it’s also the hardest place to organize and keep organized. While organizing my own kitchen cabinets and my mom’s gorgeous pantry (see the photos below!), I picked up a few helpful tips. I’m here to share my exact process on how to organize your pantry!

Let’s organize your pantry!
1. Make a plan & evaluate
Before you do any organizing, you’ll want to evaluate your pantry and cabinet space. Grab a measuring tape and accurately measure every drawer, cabinet, and shelf. Keep this list of measurements handy while shopping in-store or online for your organizing essentials.
You’ll want to purchase just a few organizing supplies before you begin. I don’t suggest buying everything you think you need because your storage needs will shift as you start organizing. I recommend getting a few key pieces you know you’ll use and expand when you get a better feel for your space’s unique needs.
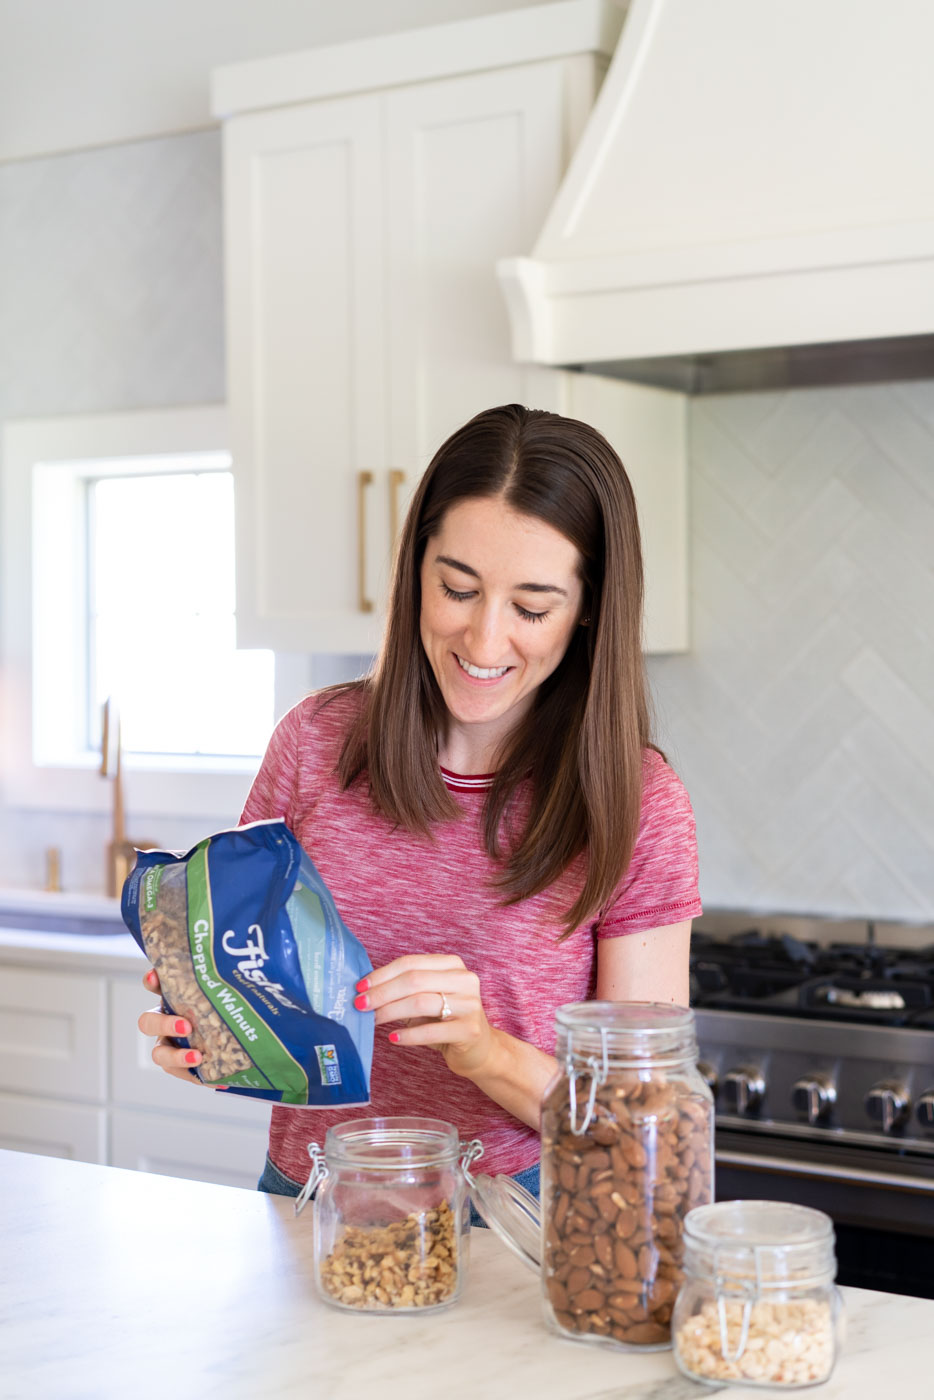
Here is a list of organizing staples I recommend for every pantry. When I organized my pantry, I wasn’t ready to commit to permanent storage containers for items like nuts, dried fruits, chocolate chips, and other similar ingredients and snacks. Mason jars are an inexpensive storage solution that you can leave as-is, or upgrade when you’re feeling confident in your new pantry configuration.
- 3-4 large containers for flours and sugars
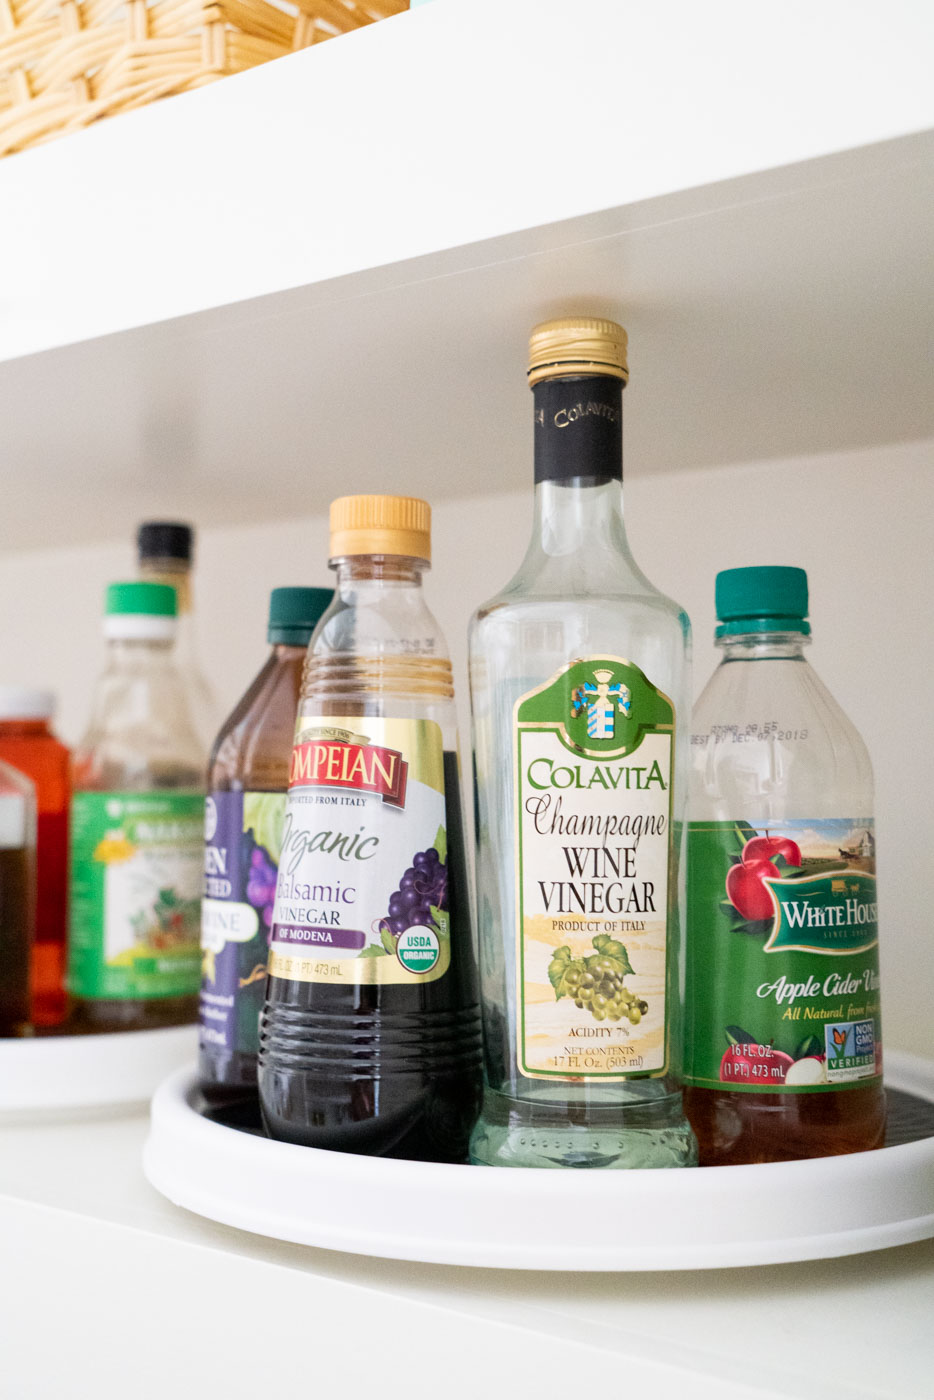
- 2-3 lazy susans in varying sizes for sauces, oils, and condiments
- 1 shelf riser for canned goods and jars
- 1 drawer organizer for silverware and kitchen tools
- Set of medium mason jars
- Set of large mason jars
Organize Your Pantry Starter Kit

Lastly, plan to spend at least half a day organizing your pantry. Depending on how big your collection of snacks and canned goods is, it could take the entire day. Also make sure to make a plan for what you’ll eat while you organize! This might be a good day to set aside ingredients for an easy PB&J and grab take-out for dinner.
2. Categorize
Before you start organizing anything, clear your countertops and grab your sticky notes. Write 1 category on each sticky note for the different categories your pantry items fall into. Start with some of these broad categories:
- Baking
- Snacks
- Condiments
- Nuts
- Canned goods
- Spreads
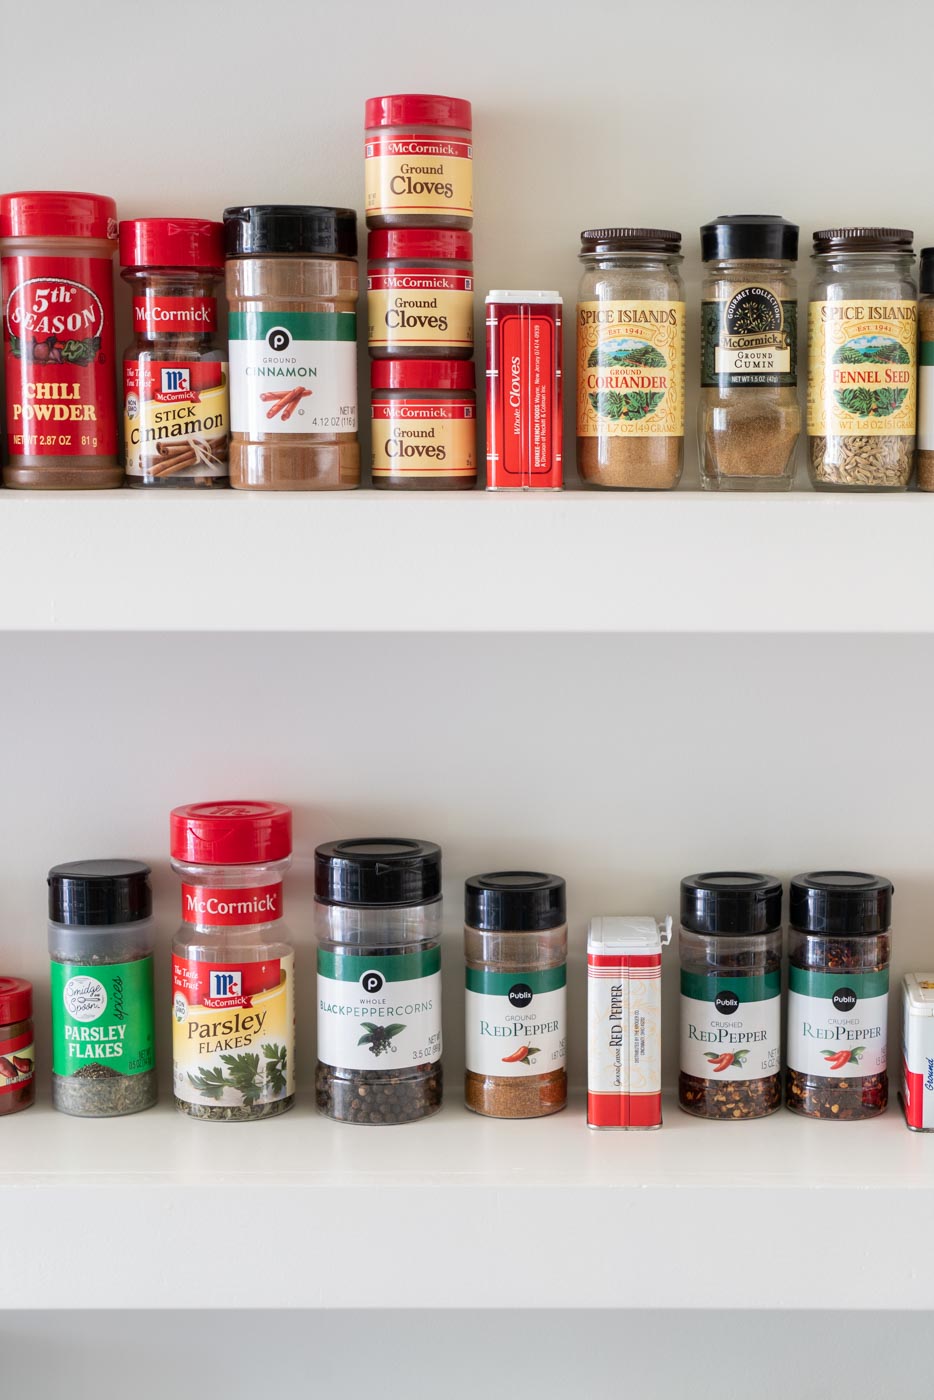
- Spices
- Cereal
- Pasta
- Non-perishables to donate
Sticky notes are great for this initial, temporary categorization. Later when you have everything placed back in shelves, you can permanently label your items. I love these chalkboard labels or these clip labels for baskets and bins (more great labels are linked at the bottom of this post).
3. Purge Your Cabinets
Next, take everything out of your cabinets, drawers, and shelves. Yep, everything. Place each item by its proper category label. As you go, throw out any food that’s expired or no longer needed. If you haven’t touched it in several months or forgot you had it, it’s probably time to throw it out.
Resist the urge to start organizing anything in your cabinets or putting anything in your fancy new containers. It will be much easier to see your organizing needs clearly when everything is out and categorized. Also, you need to do the next step first!
4. Give Your Pantry a Good Cleaning
Take this opportunity to vacuum out any crumbs and wipe down spills that may have accumulated. Your cabinets and drawers will thank you! I keep this task on our seasonal chore list so I make sure it gets done once every season.

5. Contain Everything
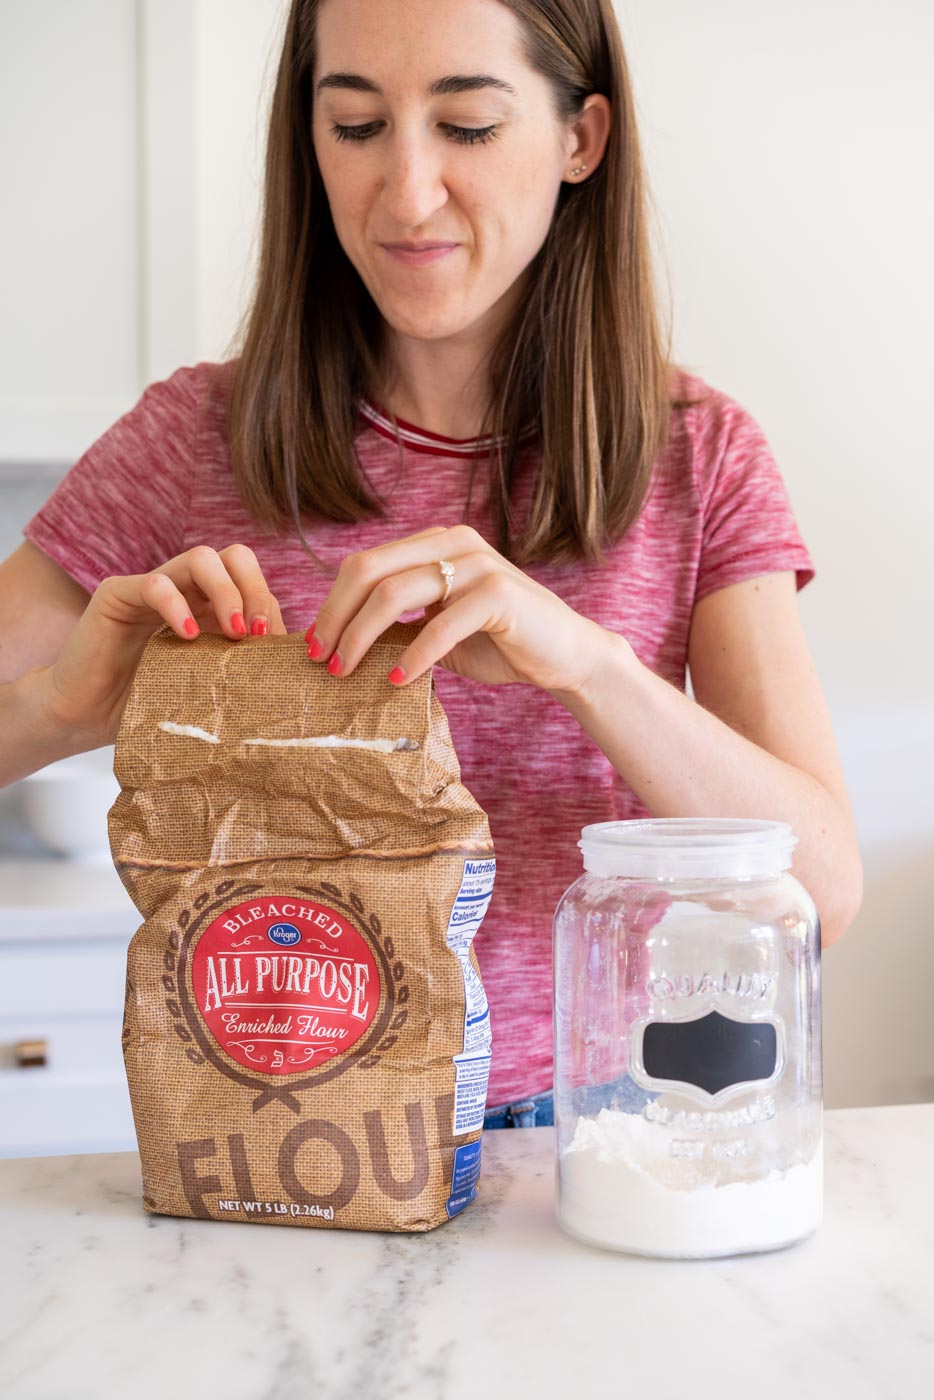
Now for the fun part! Next up, you’re going to transfer flours, sugars, nuts, and other ingredients into the new containers you purchased before you began organizing. The baking category is always an easy one to start with. Transfer your flours, sugars, and other ingredients like baking powder and soda into containers or jars, choosing an appropriate size based on the ingredient. Remember, you can use mason jars for now and upgrade your containers later when you’ve lived with your new set-up for a month or so.
If you need to save any expiration dates or cooking instructions from boxes, such as pasta cooking times, you could cut out the steps and stick it in your container, or write on your container with a dry-erase pen.
6. Evaluate & Organize Your Pantry
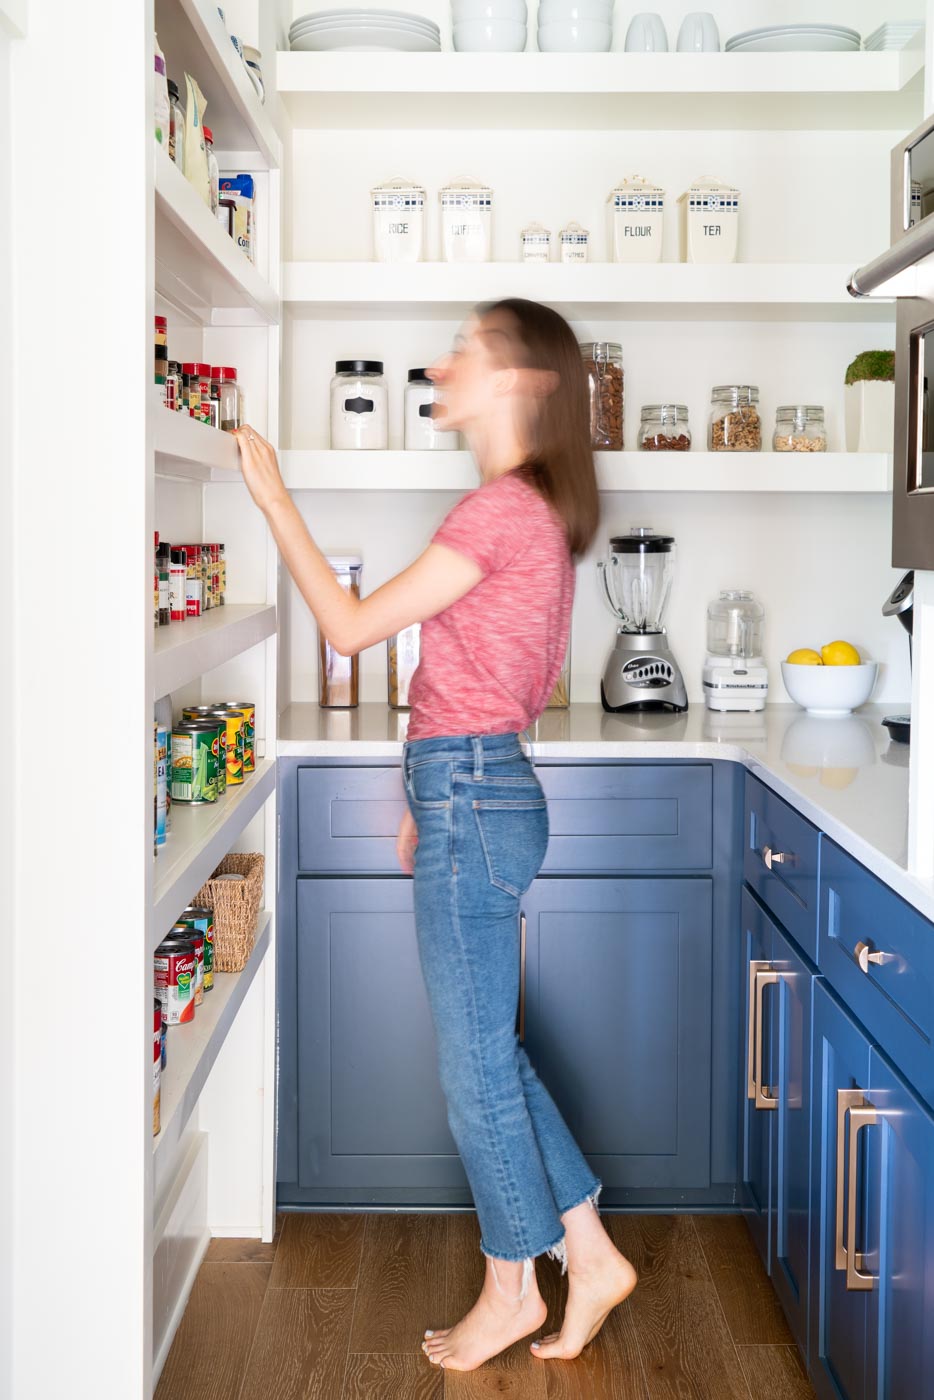
Take a step back at your categorizing and empty shelves and evaluate how you and your family will use your pantry. What do you reach for the most? Can kids grab their own snacks from a lower shelf? If you have a cabinet near the stove, are there any items that would be good to have at arm’s length? Before you put anything back on your shelves, think about how you can maximize the space and how it can be the most user-friendly for you and your family. Also remember that you can always try new locations for different categories. If it doesn’t seem to be working, switch it up!
7. Put on the Finishing Touches
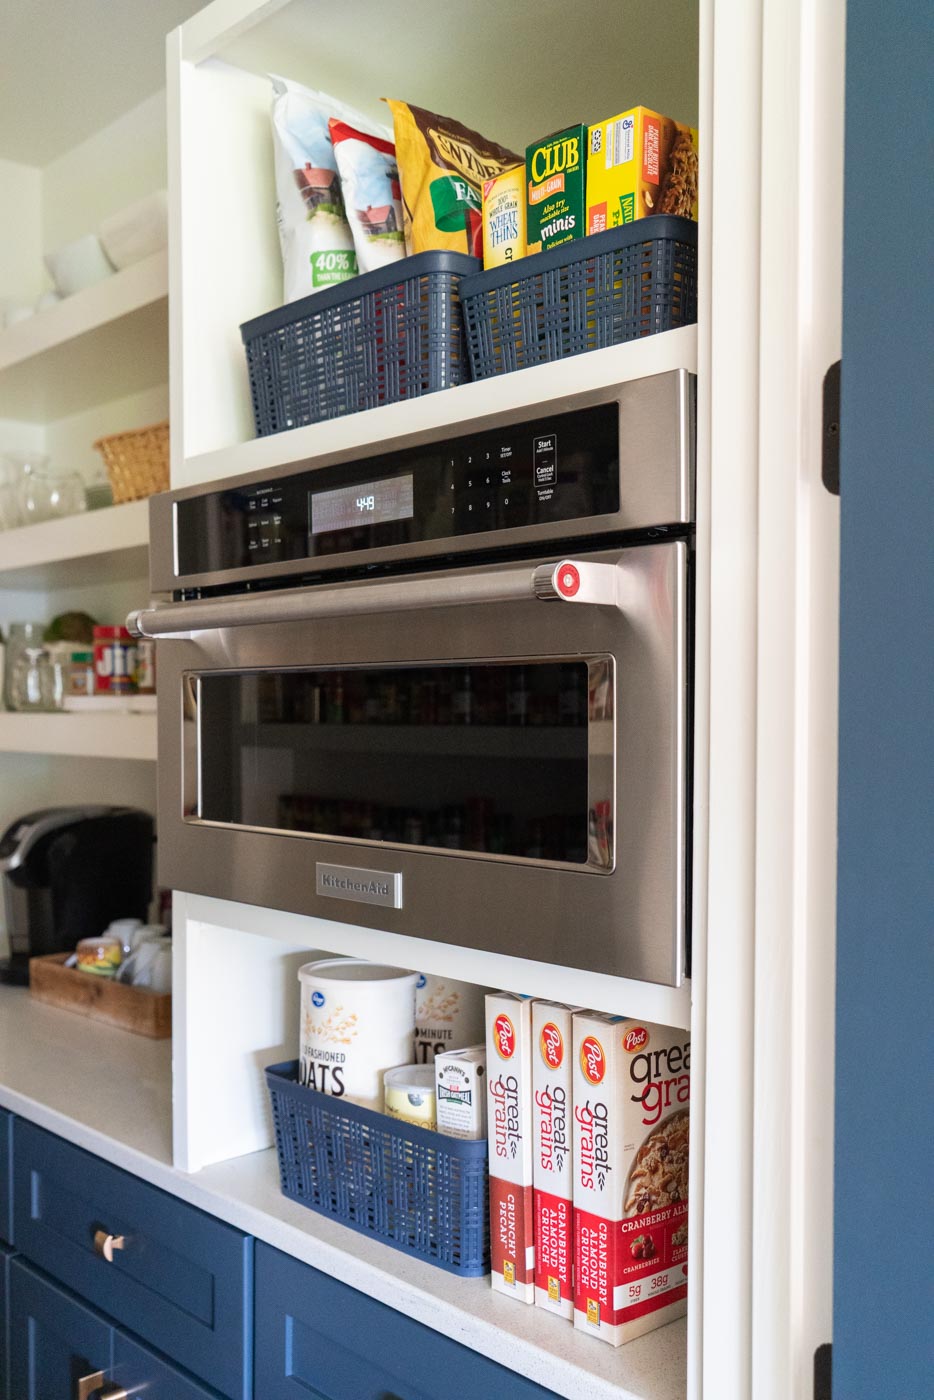
When you’re ready to add more organizing products for your pantry, there are so many great options out there! Everyone’s pantries are different, and yours will likely have unique needs. Here are some of my favorite products for organizing pantry items beyond the basics:
Great bins to contain snacks, pasta boxes, grains, jars, and beyond in your pantry:
Products for expanding your existing space:
The best labels for keeping everything as organized as it is now:
I hope you enjoyed learning how to organize your pantry! Will you share your pantry before and after in the comments? As always, email me your photos and questions at abbymurphyphoto@gmail.com.


+ SHOW comments
Add a comment